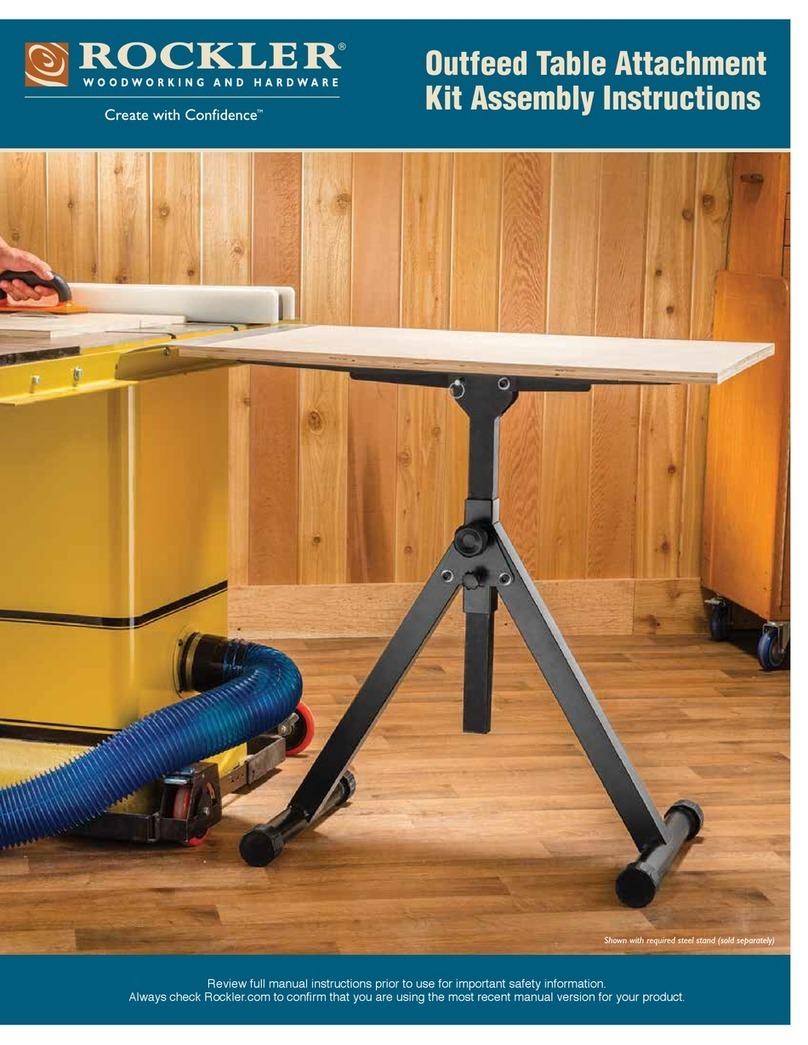
Rockler 22526 User manual

1
1Workbench Top (1) 24" x 471⁄2" x 13⁄4"
2Sides (2) 97⁄8" x 60" x 1"
3Front Legs (2) 3" x 32" x 13⁄4"
4Back Legs (2) 3" x 27" x 13⁄4"
5Leg Supports (4) 3" x 133⁄8" x 13⁄4"
6Top Shelf (1) 95⁄16" x 481⁄4" x 3/4"
7Top Back Support (1) 33⁄4" x 48" x 3/4"
8Light Hood (1) 31⁄8" x 48" x 3/4"
9Bottom Back Support (1) 6" x 481⁄4" x 3/4"
10 Tray Ends (2) 3" x 45⁄8" x 3/4"
11 Tray Front (1) 31⁄8" x 48" x 3/4"
12 Tray Back (1) 41⁄8" x 48" x 3/4"
13 Tray Bottom (1) 6" x 48" x 1/2"
14 Pegboard (1) 233⁄8" x 48" x 1/4"
15 RH Pivot Hinge (1) Not Shown
16 LH Pivot Hinge (1)
PARTS LIST - FOLDING WORKBENCH W x L x T
Folding Workbench
Instructions
Tray components
17 31⁄2" Hinge (2 pr.) Not Shown
18 1/2-13 x 51⁄2" Bolt (8) Not Shown
19 1/2" USS Flatwasher (10) Not Shown
20 2" Confirmat Screws (10) Not Shown
21 Bullet Catch (2) Not Shown
22 #8 x 1" Panhead Screw (14) Not Shown
23 #6 x 11⁄2" Flathead Wood Screw (28) Not Shown
PARTS LIST - TOOLS NEEDED
• Drill • 12" “F” Style Clamps
• Tri-Square • 60" Bar Clamp
• Pencil • #2 Phillips Screwdriver
• Sanding Block • Square Drive Screwdriver
• Level • 3/16", 1/8", and 1/4" drill bits
• Tape Measure • 4mm Allen Wrench or
• Bevel Guage hex drive bit
LH Pivot Hinge
(underside of Workbench Top)
10
11
13
12
16
6
4
35
2
2
1
8
9
7
14
10
(22526)
RTD10314401AA

2
Congratulations on purchasing the
Rockler Folding Workbench! Please read
through these instructions completely
before starting assembly
.
Making the Top Shelf
1. Fit the Top Shelf (6) into the dadoes
towards the top of the two Sides (2). The
groove running the length of the Top
Shelf should be facing down and to the
front. The front of the Top Shelf should
be flush with the front edges of the two
Sides. Use a clamp to hold the three
pieces in place. Fig. 1.
2. Place the Top Back Support (7) in place,
fitting the Top Shelf (6) into the groove
running the length of the Top Back
Support (7). It should be flush with the
top and back edges of the two Sides (2).
3. Using the pre-drilled indicator holes as a
guide, drill five 1/8" pilot holes through
the Top Back Support (7) and into the
Top Shelf (6).
4. Apply a thin layer of glue to the edge of
the Top Shelf (6) and use five 11⁄2"
Flathead Wood Screws (23) to screw
the Top Back Support (7) in place.
5. Fit the Light Hood (8) into the groove
running the length of the underside of
the Top Shelf (6). Fig. 1 inset.
6. Using the pre-drilled indicator holes as a
guide, drill three 1/8" pilot holes through
the Top Shelf (6) and into the Light
Hood (8).
7. Apply a thin layer of glue to the edge of
the Light Hood (8) and use three 11⁄2"
Flathead Wood Screws (23) to screw it in
place. Fig. 1 inset.
At this point, you should have a completed top
shelf assembly. Now, it’s time to drill for the
“stepped” confirmat screws that hold the Sides
(2) to the Top Back Support (7) and Bottom
Back Support (9). Start with the upper three
indicator holes on each Side (see Fig 3). In
each hole:
8. Use a 1/4" drill bit and drill only
1/4" deep.
9. Next, drill a 3/16" diameter hole, 3"
deep. Fig. 2.
10.Place the Bottom Back Support (9) in
the slots in the two Sides (2).
Fig. 1
3"
1⁄4"
Fig. 2
1⁄4"
3⁄16"
6
2
8
Groove
in front
Flush
7
ShelfAssembly
Side
Slot for back
support goes
towards the back.
2
2
6
7
8

11. Repeat steps 8 through 10 for the two
remaining indicator holes in both Sides.
A cutaway of what you should have is
shown in Fig. 2 inset.
12. Screw in the ten 2" Confirmat
Screws (20).
Leg and Top Assembly
13. Assemble the Legs as shown in Fig. 3.
14. Using the pre-drilled pilot holes in the
Legs as a guide, attach the 31⁄2"
Hinges (17) to the legs.
15. Attach the hinge and leg assemblies to
the workbench Sides (2), again using
pre-drilled pilot holes as a guide.
16. Insert the RH and LH Pivot
Hinges (15 & 16) and washers into
holes pre-drilled into the workbench
Sides (2).
17. Pull out the Legs.
18. Center the Workbench Top (1) in
position on top of the Legs and Pivot
Hinges (15 & 16) making sure the
hinge is flush with the table’s edge.
19. Mark the location of the slotted
screw holes only in both Pivot
Hinges (15 & 16). See Fig. 4.
20. Remove the Workbench Top (1) and
drill 1/8" pilot holes where you’ve
marked. See Fig. 4 inset.
21. Put the Workbench Top (1) back
in place on top of the Legs and
Pivot Hinges.
22. Attach the Workbench Top to the Pivot
Hinges (15 & 16) with 1" Pan Head
Screws (22) in the hinges’ slotted holes.
Note: Right now you are using only the slotted
holes so the Workbench Top’s position can be
adjusted. You’ll drill the rest of the pilot holes
and attach the remaining screws after
everything else is set.
Tray Assembly and Installation
23. Apply a thin layer of glue to the bottom
edges of the Tray Front (11) and Tray
Back (12). See page 1.
24. Fit them into the two grooves running
the length of the Tray Bottom (13).
Clamp the pieces in place.
3
Fig. 3 - Right Leg Assembly.
Fig. 4 - View from below the Workbench Top (1).
5
4
5
3
15
Washer
Turn the cross dowel so
the slot is perpendicular
to the connector bolt and
screw the connector bolt
in place.
Connector Bolt
Cross Dowel
Underside of
WorkbenchTop
RH Hinge
Pre-drilled
Hinge Holes
When mounting the 31⁄2"
hinges be sure the
knuckle points down.
3
2
3
5
2
1
1
61⁄2"
5"
TopView

4
25. Using the pre-drilled indicator holes as a guide,
drill ten 1/8" pilot holes through the Tray
Bottom (14) and into the Tray Front (11) and
Tray Back (12).
26. Fasten the pieces together with ten 11⁄2" Flathead
Wood Screws (23).
27. Glue and screw the Tray Ends (11) in place in
similar fashion to complete assembly.
28. Posistion the tray assembly in place, behind the
Workbench Top (1) and flush with the back
edges of the Sides (2), using a straight edge to
ensure the correct height placement.
See Fig. 5.
29. Once it is in place, drill 1/8" pilot holes and
screw the tray assembly to the Sides (2) with
two 11⁄2" Flathead Wood Screws (23) per side.
Final Assembly
30. Open and close the Workbench Top (1) and
Legs, making sure that the top is working
correctly. Adjust as needed.
31. Drill the remaining 1/8" pilot holes for the
Pivot Hinges (15, 16) and insert 1" Panhead
Screws (22).
32. Drill and insert the male ends of the bullet
catches into 3/8" diameter holes 3/8" deep,
centered on the top of the legs. Fig. 6.
33. Pull the legs out 90°.
34. Mark and drill 1/4" holes 1/2" deep in the
under side of the Workbench Top for the female
ends of the bullet catches. Fig. 6 Inset.
35. Sand and finish as needed. We recommend
Maloof’s Poly/Oil Finish
(Rockler product #58644)
Mounting to the Wall
This unit must be secured to a wall stud or other
structure in order to keep it from tipping and
possibly causing physical harm. Use the mounting
hardware and technique that is appropriate for your
location and application.
36. Locate the Folding Workbench where you are
going to use it.
37. Extend the legs.
38. Slide the Workbench up to wall and shim the
back of the cabinet as needed.
39. Secure to the wall with chosen hardware and
technique. Lag bolts or other heavy duty
fasteners (not included) are recommended.
See Fig. 7.
40. Attach the Pegboard (14) with the remaining
1" Panhead Screws (22).
Fig. 5
Fig. 6 - Bench tipped on side, showing alignment of
benchtop and catch.
Fig. 7 - Use lag bolts for wall mounting (not included)
Left Side
Other Rockler Tools Storage manuals