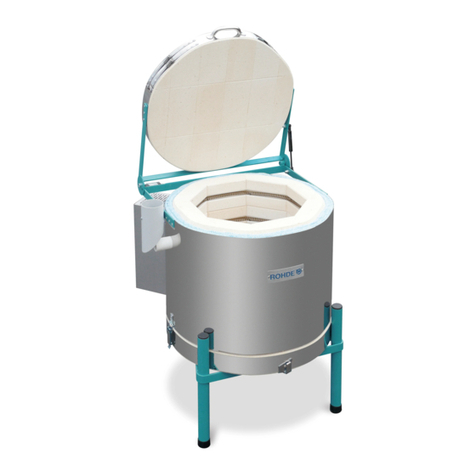
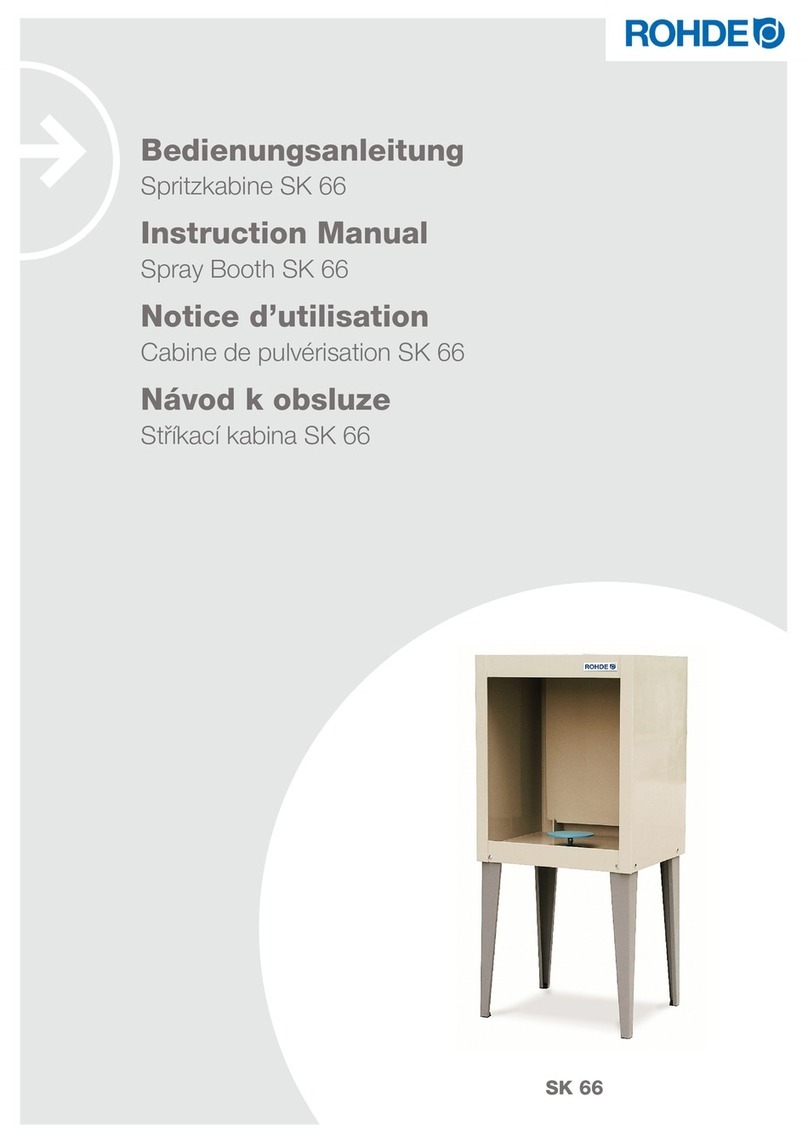
Rohde Spray Booth SK 66 User manual

Instruction Manual
Spray Booth SK 66
SK 66

Page 1

1. IMPORTANT SAFETY INSTRUCTIONS
1.1. General information
Please make sure that you understand both the safety instructions and the safety icons,
in order to eliminate potential danger. It is in your own interest to read through the
following safety instructions very carefully before you start operating your spray booth.
Always keep your instruction manual in a safe place. For your own safety use only
ROHDE spare parts!
1.2. Safety instructions
The ROHDE spray booth his an electrically operated device of Safety Class I according to
DIN VDE, which should exclusively be used for painting ceramics, glass and porcellain with
glaze.
1.3. Safety instructions for operation
The safe operation of a ROHDE spray booth will only be possible by adhering to the
following safety instructions:
•For your own safety you should wear an appropriate respirator, as well as protective
glasses in order to protect yourself against stone dust, etc. Ignoring these safety
instructions can result in damage to persons and health. The manufacturer does not
assume any liability for such cases!
•For industrial use, a qualified electrician must check the spray booth in proper and
perfect condition prior to first operation and in periods of 4 years.
•Repair and maintenance of electric components must be carried out by a
qualified electrician.
•For safety reasons the power plug must be disconnected before carrying out
maintenance or repair work.
Page 2

2. INITIAL OPERATION
2.1. Delivery / removal of packing material
If the ROHDE Spray booth is delivered on pallet by a freight forwarding, please check the
delivery immediately for damages. Should you find any damages on the packing, unpack
the pallet together with the driver and check the product for any damages. Write down
any damages found on the delivery note and do not forget to have the note
countersigned by the driver. Keep a copy of the damage complaint. Notify the forwarding
agent immediately about the damage. We regret that later claims cannot be accepted.
2.2. Disposal of packing material
Please contribute to a clean environment by disposing of the wood, cardboard and
plastic packing material in your nearest recycling centre. For further information on the
disposal of packing material please contact your retailer or community council.
2.3. Operation environment / place of operation
When you choose a suitable place for your Spray booth, please take note of the following
guidelines and prepare the spray booth accordingly:
Place the spray booth on an even surface.
The distance to the walls should be at least 25 cm on each side.
Floor, insulations of the ceiling, walls, dividing walls, panelling, etc have to be
made of material which is not easily flammable.
Make sure that the environment of the spray booth can be aired properly. If
this is not the case a ventilation system has to be installed. Please consult a
qualified ventilation specialist to find out if a ventilation system is necessary.
Page 3

2.4. Mounting of spray booth
2.4.1. Accessories of spray booth
At first you should check the enclosed accessories (Picture 1) :
4 pieces of metal legs
8 pieces of wing nuts
8 pieces of spring nuts
8 pieces of washers
8 pieces of carriage bolts
1 piece of drain plug
Picture 1
2.4.2. Mounting the spray booth on its legs
Place the body of the spray booth flat on one side, in order to facilitate assembly. Make
sure, that all drill holes for fixing the legs are accessible.
Place the legs on the spray booth body in a way, that the drill holes in the body and the
legs are visible.
Now insert the carriage bolts (picture 2) into the drill holes and fasten each of them with
a washer, a spring ring and the wing nut.
Attach the remaining legs in the same way.
With the help of another person lift the spray booth and place it onto its legs. Ensure that
it is in a stable position. You might have to tighten the wing nut again.
Page 4
Picture 2Picture 3

2.4.3. Drain plug
Finally you have to install the drain plug in the provided drain hole (picture 4). For this
purpose, please push the plug slightly into the hole (picture 5) and then press it in firmly.
Picture 4Picture 5
The purpose of the drain hole is to enable you to clean the spray booth. Rinsing or
cleaning liquid can drain out through it.
2.4.4. Switching the suction motor ON/OFF
After you have assembled the spray booth and placed it in its final position, you can
connect it to the power supply.
The ON/OFF switch for the suction motor unit is located on the cealing (picture 6) of
the spray booth. By turning the switch to the position ON or OFF, the suction motor can be
switched on or off (picture 7).
Picture 6Picture 7
Page 5

As an optional equipment we provide a connection reduction to ø 150mm for onward
piping.
CAUTION: Always disconnect the power plug from the mains before
carrying out any assembly operations!
Remove the safety guard of the suction motor for the assembly operation. Then screw
the connection reduction onto the suction motor.
3. MAINTENANCE / CLEANING
CAUTION: Always disconnect the power plug from the mains before
carrying out any cleaning operations!
The spray booth naturally is exposed to contamination, which can be kept to a minimum
by cleaning the spray booth regularly.
3.1. Preparation
In order to facilitate removing dried glazes, it is necessary to wet he spray booth with
regular water.
You should therefore spray the booth with clean water several times. This should be
done with water only, do not use any detergents!
Wipe the inside of the booth with a wet sponge. You might have to repeat this
procedure.
The filter must be cleaned immediately after use.
If you open the drain hole (picture 8) during the cleaning process, you can drain the
waste water into a water bucket.
Picture 8
Do not forget to insert the drain plug again after the cleaning process!
Page 6

3.2. Exchanging the filter foam
Lift the rear wall with both hands upwards out of the anchorage (picture 9) and then pull it
away towards the front. The rear wall will be pulled out of the upper support automatically
(picture 10).
Picture 9Picture 10
Place the rear wall flat in front of you (picture 11) and you can detach the filter foam
easily.
Picture11 Picture12
Remove the dirty filter and replace it with a new, clean one. Clamp it in the rims of the
filter foam as demonstrated in picture 12. Further fixation is not necessary!
After you have exchanged the filters you can remount the rear wall to the spray booth.
Lift the wall into the upper support and push it into the direction of the motor.
The lower anchorage locks automatically, you can now let go of the rear wall.
Page 7

4. CIRCUIT DIAGRAM
Page 8

5. GUARANTEE REGULATIONS
We guarantee the faultless workmanship and function of the delivered spray booth and
grant a 36-month guarantee.
In addition the the filter material (wearing parts) the following points are exempt from the
guarantee:
Damages which have been caused by the customer.
Damage caused by the customer, e.g. unsuitable, aggressive detergents.
Damage caused by inappropriate transport(s).
Damage caused by inadequate applications for which the spray booth was not
intended by the manufacturer.
The manufacturer is not liable
What to do in the event of guarantee/damage:
Please notify your retailer - before any costs arise. Your retailer will then talk to us, the
manufacturer, how to proceed.
In the case of a reclamation, please state the spray booth type, product number and
the date of purchase or the year of construction (see type plate on the spray booth
side).
Page 9

6. PROPERTY RIGHTS / TRADE NAMES / DISCLAIMER
The content of the instruction manual are purely informative. It may be changed without
prior notice and may not be seen as a liability of Helmut Rohde GmbH. We do not
guarantee or take over responsibility for the correctness or precision of the contents in
this instruction manual.
We mention names, trade names, product identifications etc. without special
identification, as they are commonly known. Those names and identifications, however,
may be the property of companies or institutes.
7. SPARE PARTS
8. SERVICE
We hope you will enjoy working with your new ROHDE spray
booth and wish you much success at all times!
Your ROHDE-Team
Page 10
Should you have any questions left regarding your kiln, spare parts or additional equipment
please contact your retailer.
When ordering spare parts please have your invoice of purchase ready at any time.
For your own safety, only use ROHDE spare parts!

20220824-02
Table of contents
Other Rohde Industrial Equipment manuals
Popular Industrial Equipment manuals by other brands

Leister
Leister WELDPLAST 200-i operating instructions

InterPuls
InterPuls ACR Smart MMV Instruction Manual, Operation and Maintenance original instructions
Interpack
Interpack RSA 20-B user manual
Staubli
Staubli MA417-1 Assembly instructions
Wavetronix
Wavetronix Click 516 user guide
Arrow
Arrow 1200 DIGITAL operating instructions

