manuals.online logo
Brands
  1. Home
  2. •
  3. Brands
  4. •
  5. Rola
  6. •
  7. Automobile Accessories
  8. •
  9. Rola 59505 User manual

Rola 59505 User manual

Product Code:
Product Name:
59505
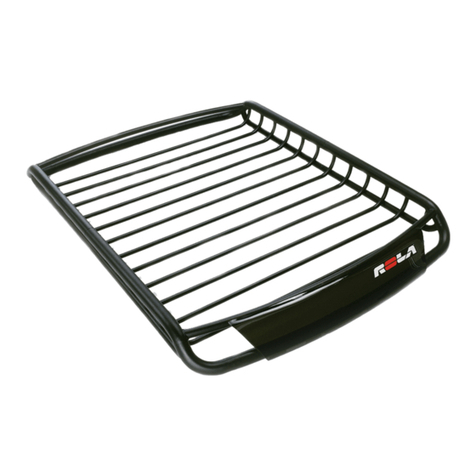
Roof Top Carrier Extension
WARNING: The Maximum basket content weight capacity is 130 pounds (60 Kg).
DO NOT EXCEED the lowest of vehicle manufacturer’s cross bar rating or basket content weight limit
of 130 pounds (60 Kg).
WARNING: Not for transport of people, animals, or flammable liquids.
WARNING: Distribute your load evenly inside the basket.
WARNING: Securely fasten load to cargo basket. Make sure all bolts, screws, straps and plastic knobs are firmly
attached before every trip and check regularly during the trip.
WARNING: Check security of all cargo basket attachments and load at fuel and rest stops.
WARNING: Check for clearance between sunroof and cargo basket before operating sunroof. (if equipped)
WARNING: Do not carry any loads wider than your vehicle.
WARNING: Do not drill or weld to this product.
TOOLS REQUIRED:
Phillips Screwdriver
Tape Measure
LOAD RATING LIMITS:
-
Basket Weight with Extension (50 Lbs.)
=Basket
Weight Limit
(A)
PARTS LIST:
Vehicle Manufacturer’s cross bar rating
PART DESCRIPTION QTY.
A Basket Extension 1
B Screw, #10-32 (Self Tapping) 8
Please read all instructions carefully before assembly, installation and/or use of this product.
1ASSEMBLE CARGO BASKET
EXTENSION
NOTE: FOR COMPLETE ASSEMBLY
AND INSTALLATION STEPS,
REFER TO 59504 INSTRUCTIONS.
IF YOU ALREADY HAVE THE 59504
BASKET CARRIER INSTALLED:
• Remove basket from your vehicle.
• Separate the two halves of basket
by removing the four screws at the
joints.
• Insert the basket extension.
• Install the eight (8) self-tapping
screws into the existing holes, four
(4) per side as shown.
SHOWN ASSEMBLED
(B)
Product Code:
Product Name:
2POSITION CROSS BARS
• Re-adjust cross bars to a wider setting if
necessary.
• 26-1/4” center to center – Minimum
•NOTE: It is recommended to use the
widest setting for optimum load
distribution. Refer to 59504
instructions for more information.
cross bar
Please read all instructions carefully before assembly, installation and/or use of this product.
26-1/4”
MIN.
3INSERT SPACER BLOCKS
• Reinstall the spacer blocks into cargo basket. NOTE: Locate the spacer blocks in the widest position
possible. (The location of spacer blocks will depend on cross bar setting)
Attach mounting brackets to main basket sections only.
The spacer blocks
snap onto bars.
Tip: Use tape to hold
in place temporarily.
Do NOT attach mounting brackets in shaded area
25” MIN.
4LOAD BASKET ONTO VEHICLE CROSS BARS
• Center basket over vehicle’s cross bars.
•Check and adjust cross bars so they are
centered on spacer blocks.
• Center spacer blocks 25” apart (min.) in cargo
basket (see diagram).
• DO NOT locate spacer blocks on top of cross
bar brackets (if applicable).
• Check clearance for vehicle’s hatch.
½”
Do not locate spacer
blocks on top of
cross bar brackets.
cross bar centered
MAIN BASKET SECTION
CAUTION: Hatch interference may be
unavoidable on some vehicles.
59505
Roof Top Carrier Extension
SPACER BLOCKS – 4 PLACES
48-3/4” REF.
Product Code:
Product Name:
5ATTACH MOUNTING CLAMPS
• Place mounting brackets on top of each
spacer block. The square holes in
brackets must engage the squares on
spacer blocks.
• Install u-bolts around cross bars and into
slots in mounting brackets.
• Install plastic knobs onto u-bolts.
• Tighten all plastic knobs firmly and evenly.
• Tighten vehicle’s cross bars.
• Make sure installation is secure by pulling
side-to-side and fore and aft on basket.
NOTE: The cargo carrier should not move
on cross bars when plastic knobs are
tightened properly.
WARNING: There must be a minimum of ½”
of threads engaged on u-bolt on all plastic
knobs.
CAUTION:
• As with any metal equipment it is recommended that you keep the product clean and remove road salt and debris.
• Do not allow harsh chemicals, road salt, or mud to accumulate on the product for an extended period of time.
• Wash the product with mild soap and water only and a non-abrasive cloth.
Plastic Knob
Mounting
Bracket
Spacer Block
cross bar
U-Bolt
Basket
INCORRECT CORRECT 3-1/4” Max.
1-1/4” Max. ½” Min.
cross bar
•Longer loads, such as canoes or kayaks,
MUST be tied down to the front and rear of
vehicle.
Please read all instructions carefully before assembly, installation and/or use of this product.
59505
Roof Top Carrier Extension

Other Rola Automobile Accessories manuals

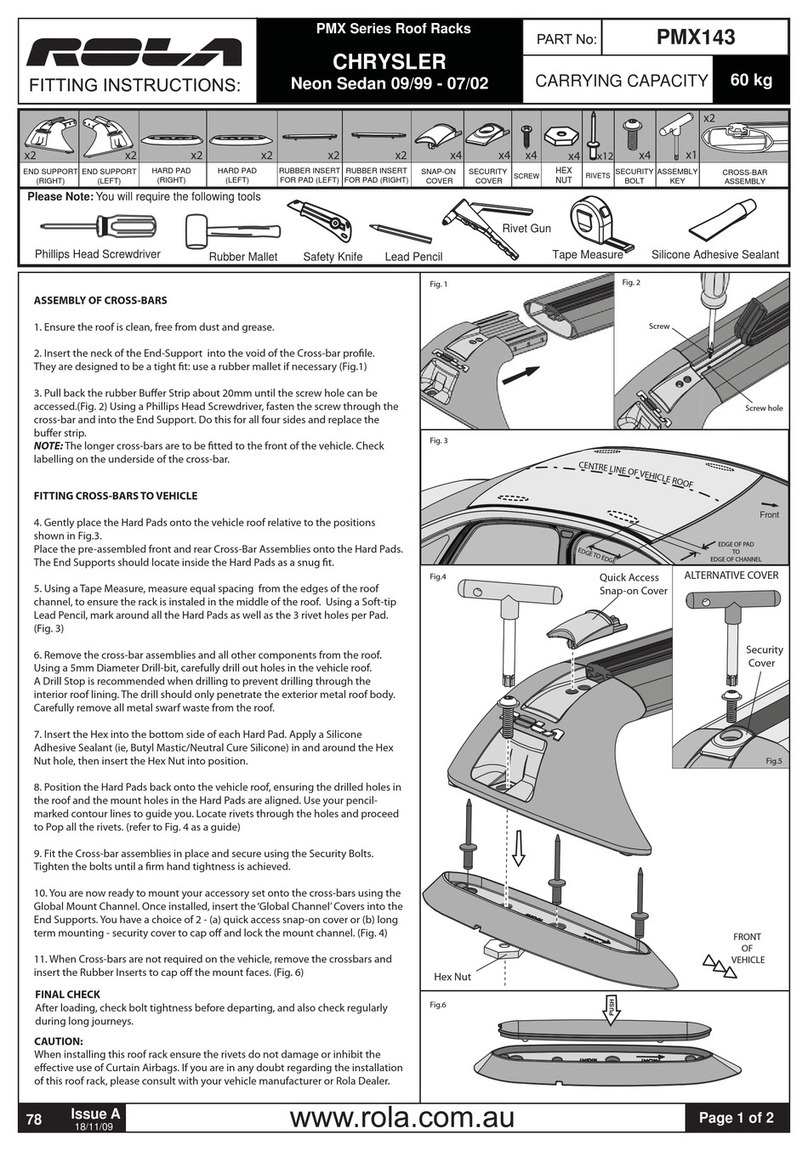
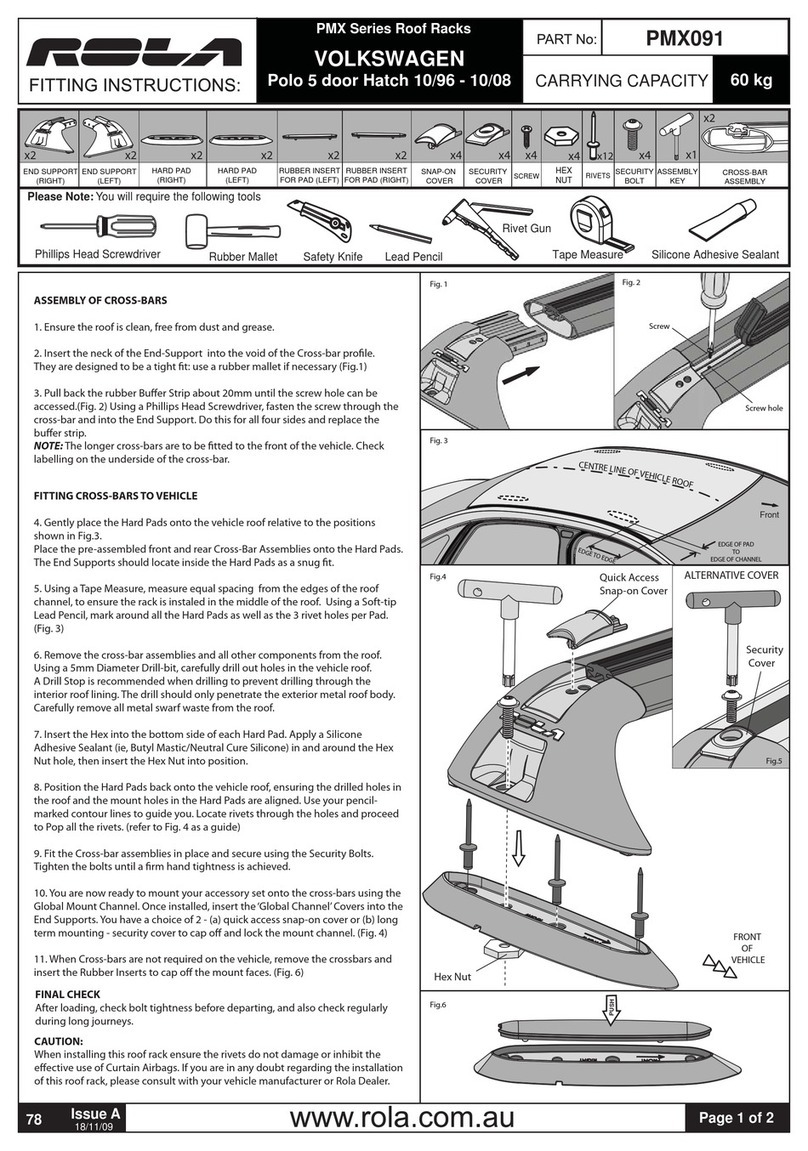
Rola PMX091 User manual

Rola

Rola PMX091 User manual

Rola 59684 User manual

Rola

Rola 59684 User manual

Rola RMX430 User manual

Rola

Rola RMX430 User manual

Rola 59972 Manual

Rola

Rola 59972 Manual

Rola 59400 User manual

Rola

Rola 59400 User manual

Rola 59970 Manual

Rola

Rola 59970 Manual

Rola TMX Series User manual

Rola

Rola TMX Series User manual

Rola PMX143 User manual

Rola

Rola PMX143 User manual

Rola VORTEX 59502 Manual

Rola

Rola VORTEX 59502 Manual

Rola PMX075 User manual

Rola

Rola PMX075 User manual

Rola RMX Series User manual

Rola

Rola RMX Series User manual

Rola RMX Series User manual

Rola

Rola RMX Series User manual

Rola 4 Place Bike Carrier - Folding Instruction manual

Rola

Rola 4 Place Bike Carrier - Folding Instruction manual

Rola PMX018 User manual

Rola

Rola PMX018 User manual

Rola PMX154 User manual

Rola

Rola PMX154 User manual

Rola PMX191 User manual

Rola

Rola PMX191 User manual

Rola PMX115 User manual

Rola

Rola PMX115 User manual

Rola 59004 User manual

Rola

Rola 59004 User manual

Rola PMX029 User manual

Rola

Rola PMX029 User manual

Rola GTX REMOVABLE Series User manual

Rola

Rola GTX REMOVABLE Series User manual

Rola 59043 Manual

Rola

Rola 59043 Manual

Rola 58966 User manual

Rola

Rola 58966 User manual

Rola 59871 User manual

Rola

Rola 59871 User manual

Rola PMX164 User manual

Rola

Rola PMX164 User manual

Popular Automobile Accessories manuals by other brands

Yakima FlipSide 4 manual

Yakima

Yakima FlipSide 4 manual

Diamondback 270 installation guide

Diamondback

Diamondback 270 installation guide

Mishimoto MMBCC-DRAIN-01 PARTS LIST & INSTALLATION GUIDE

Mishimoto

Mishimoto MMBCC-DRAIN-01 PARTS LIST & INSTALLATION GUIDE

Prorack K375 Fitting instructions

Prorack

Prorack K375 Fitting instructions

Fortin EVO ALL Addendum - Suggested Wiring Configuration

Fortin

Fortin EVO ALL Addendum - Suggested Wiring Configuration

VDO DTCO 1381 Operating instructions company & driver

VDO

VDO DTCO 1381 Operating instructions company & driver

Brodit 512588 installation instructions

Brodit

Brodit 512588 installation instructions

Hirschmann HIT AUTA 16 V DAB Mounting instructions

Hirschmann

Hirschmann HIT AUTA 16 V DAB Mounting instructions

Polaris 2882534 quick start guide

Polaris

Polaris 2882534 quick start guide

iDataLink Maestro RR install guide

iDataLink

iDataLink Maestro RR install guide

ICI 840121412968 Direction for Installation and Use

ICI

ICI 840121412968 Direction for Installation and Use

Cruz Alu-Bike Assembly instructions

Cruz

Cruz Alu-Bike Assembly instructions

Black Horse Off Road B30 installation instructions

Black Horse Off Road

Black Horse Off Road B30 installation instructions

Dunlop L.NAV.05.C.M installation manual

Dunlop

Dunlop L.NAV.05.C.M installation manual

Hamron 002-263 Translation of the original operation instructions

Hamron

Hamron 002-263 Translation of the original operation instructions

Xpresskit DBALL installation guide

Xpresskit

Xpresskit DBALL installation guide

Feniex QUAD QSM-8101 manual

Feniex

Feniex QUAD QSM-8101 manual

Whispbar K544W Fitting instructions

Whispbar

Whispbar K544W Fitting instructions

manuals.online logo
manuals.online logoBrands
  • About & Mission
  • Contact us
  • Privacy Policy
  • Terms and Conditions

Copyright 2025 Manuals.Online. All Rights Reserved.