Rompa Ultimate T Swing User manual

5. Contents
1 x T Swing
3 x Height Adjustment Systems:
Each system includes:
1 x Safety Rotational Device
1 x 3m rope
1 x Vertical Ascension Device
3 x Safety Snaps
1 to 3 additional Safety Snap(s) will be required to suspend the Height Adjustment System(s)
to the final point(s) of suspension (to be purchased separately)
6. Snoezelen® Stimulations
Vestibular
7. Best Use
For use by a suitably qualified professional, suspended from a safely-located, secure and
appropriate suspension system. For indoor use only.
8. Compatible ROMPA® Products
Please note that a suspension system etc. is not included but are available from
ROMPA®. ROMPA® offer a range of Sensory Integration suspension products such as
swings, gliders, nets, bolsters etc. Please visit www.rompa.com for details about our full
range.
21958 Hanging Bracket
21570 Safety Snap
21590 Locking Safety Snap
21548, 21607, 21546 Height Adjustment System
21559 Safety Rotational Device
21567 Vertical Bouncer Kit

9. Starting Up
There are no short-cuts to setting up Sensory Integration products. Read all instructions
thoroughly before installing and using the Ultimate T Swing and keep the instructions in
a safe place.
10. Detailed Description
Three swings in one!
This versatile and unique vinyl swing can be used 3 ways: upside down, flat and right
side up. Excellent for treating multiple children at the same time. Features three
points of attachment and simple height adjustments; 3 Safety Snaps.
Working load: 180kg (400 lbs)

11. Safety
Always supervise the use of this product.
This product is not a toy. Any activity involving motion, height, or rotation may cause serious
injury. This product is intended for use under the supervision of trained professionals.
Do not exceed the 180kg (400lbs) working load.
This equipment is intended for professional clinical use only under supervised
conditions by a trained specialist. Use without proper supervision or knowledge is
potentially dangerous and should not be undertaken or permitted. Before using
these products, make sure you know your limitations and that of your equipment.
Client safety is dependent on the appropriate choice of activity to match, yet
challenge physical ability.
The layout of the activity area, proper installation and maintenance of equipment is
critical –use this swing appropriately and safely.
Do not use or store outside.
Take time to familiarize yourself with the use and maintenance of this equipment
before using and file these instructions in an accessible location. These instructions
must be read and be familiar to anyone who is using this equipment.
All parts of the Safety Snap should be thoroughly checked at least on a monthly basis
and before use along with all suspended equipment including the Suspension System.
Check all points where movement occurs for wear of any kind. All wear points
should be checked regularly and recorded on the maintenance checklist enclosed to
monitor their condition. Worn parts should be replaced or repaired immediately.
Clients should always wear a safety helmet with all suspended equipment.
Floor mats of an appropriate thickness should be positioned properly underneath
and around all suspended equipment. Wall matting/cushioning should also be
considered if appropriate.
Steel safety snaps are recommended as aluminium Safety Snaps wear more quickly.
The locking nut of the Safety Snap should not move from side to side at any great
angle. If it does, discontinue use immediately.
The suspension point must have a clear distance of at least 6 feet from walls and
other obstacles.
Risk assess before use. Inspect equipment for wear and tear before use and
discontinue use if any doubt.
Your client may require assistance to enter and exit the swing. Assess how to
transfer safely before attempting use.
Do not remove the vertical ascension device from the rope.
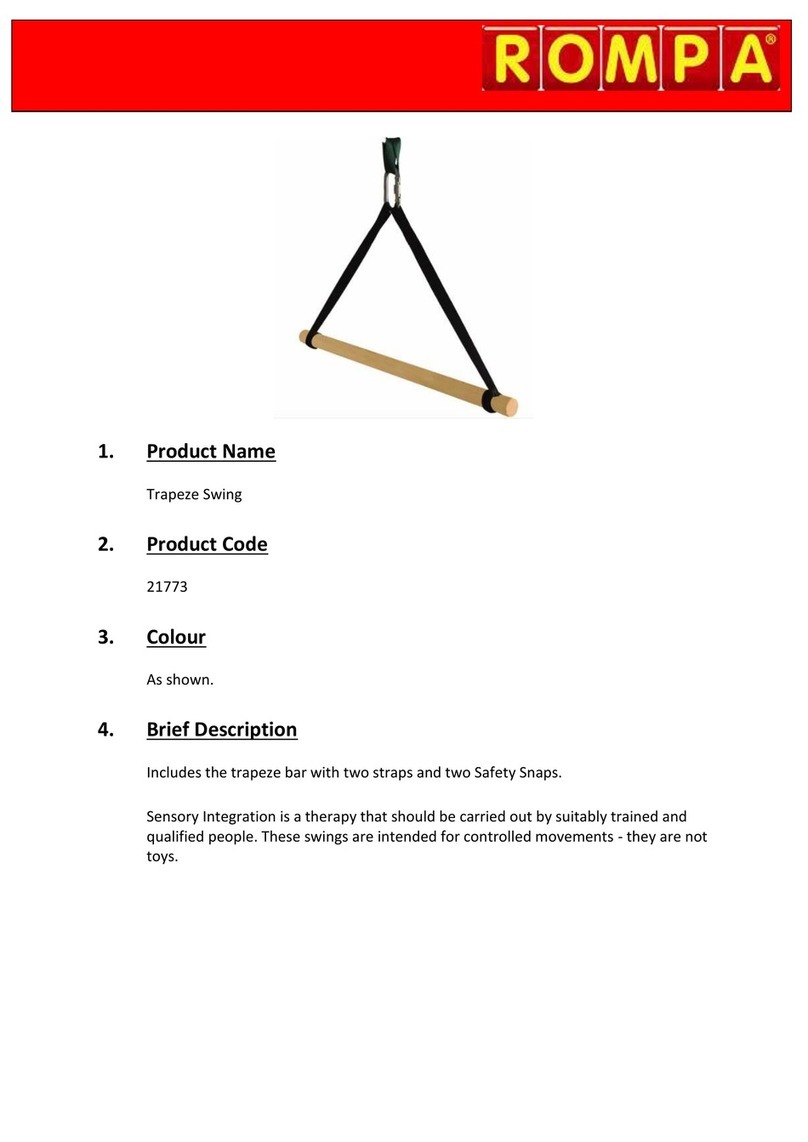
Do not remove the ascension cable pin from the assembly during use or adjustment.
In the unlikely event that you do ever need to remove the ascension cable pin, make
sure the locking knobs are completely visible and seated once the ascension cable
pin is back in place.
12. Technical Specification
Size: Crossbeam 120cmL; upright 90cmL x 25cm diameter
Working load: 180kg (400lbs)
13. Installation
Please ensure that you ascertain from the appropriate authorities that the fixing
point is suitable and will hold up to 200kg load at up to a 45° angle in any direction.
Please check equipment immediately for any damage that may have resulted during
shipping. If any damage has occurred, please contact ROMPA® immediately.
1. To open the Safety Snap, turn the locking nut
clockwise as far as possible.
2. To close and lock the Safety Snap, turn the locking
nut anti-clockwise as far as possible.
Each Safety Snap is intended for use with one piece
of equipment and / or one accessory.

3. The Height Adjustment Systems are supplied fully assembled and ready to suspend.
An additional Safety Snap is not included but will be required to secure each Height
Adjustment System used to the final point of suspension.
4. We recommend that you adjust the Vertical Ascension Device before
hanging your equipment from it. Make sure that nothing is hanging
on or obstructing the rope or Vertical Ascension Device while
adjusting the height.
5. Let the rope hang straight under the Vertical Ascension Device once the system is
secured to the final point of suspension.
6. Gently push the round loop of the Vertical Ascension Device upwards, allowing the
rope to move freely through the device to the desired height. Once the desired
height has been achieved, release the round loop allowing the ‘teeth’ of the Vertical
Ascension Device to grip the rope, stopping any further movement of the Vertical
Ascension Device.

7. Pull down on the Locking Carabiner to verify the security of the rope position. The
rope position needs to be fully locked (immoveable) in order to use the system and
attach equipment safely.
8. Attach the Safety Snaps on each end of the Height Adjustment System and attach to
the eyebolt loop(s) on the swing according to how you wish to use it:
right side up

flat
upside down
9. Once the Height Adjustment System is secured to an appropriate final point of
suspension and the chosen height of the rope has been secured, any equipment needs
to hang from the Locking Carabiner attached to the Vertical Ascension Device. Putting
weight on the Locking Carabiner is what activates the ‘teeth’ of the device and the
weight of any accessory or piece of equipment will arrest any additional movement of
the rope, allowing the selected height to be maintained.

10. Turn the locking nut clockwise to allow the Safety Snap or Locking Carabiner to open.
Turn the locking nut anticlockwise to its fullest extent to lock.
11. After the selected equipment is connected to the Locking Carabiner and the locking
nut has been fully closed/locked, test the strength and stability of the equipment and
the Height Adjustment System by pulling down and testing weight tolerances and
functionality of the equipment before each use.
12. WARNING: If you are using the T Swing in a laying flat formation, injury could occur if
you attach all three Height Adjustment Systems to the same final point of suspension.
Please make sure you attach the stem part of the T which has its own eyebolt loop at
the end to a separate final point of suspension.
13. Make sure the swing is set up safely and securely before use, and that your suspension
system will support the working load.
14. A Safety Rotational Device must be used for all activities, not just for rotation, as this
helps prevent wear on the suspension point (not included but available from ROMPA®).
15. All suspended equipment requires a minimum ceiling height of 2.5 metres/8 feet.
16. Ensure that suspended equipment is clear of other obstacles
17. A clearance of 1.8 metres/6 feet around the hanging item must be observed.
18. The distance between the floor and the product should be at least 30cm (1’).
19. Make sure that all adjustments are secure and tight before use.
20. Check all materials, stitching and connections for wear before using.

14. Care and Maintenance
1. Check for client allergies before using any chemical cleaners.
2. Wipe down with a soft cloth dampened with a mild soap solution and allow to air-dry
naturally. Do not use large amounts of liquid and do not immerse any part of this
swing in water. If this product were exposed to wet conditions or left outside, the
moisture would cause the wood to swell and break apart.
3. Use and store indoors in a dry environment.
15. Troubleshooting
Not applicable
Further copies of these instructions can be downloaded at www.rompa.com
We hope you find our instructions invaluable. If you have any suggestions for improving
them further your comments will be greatly received –please contact us at
ULTIMATE T SWING 21579, January 2016
Copyright ROMPA® Ltd

SENSORY INTEGRATION MAINTENANCE CHECK LIST
PRODUCT: ……………………………………………….
TO CHECK
Date / S (Satisfactory) or R (Repair/replace)

This manual suits for next models
1
Table of contents
Other Rompa Baby Swing manuals

Rompa
Rompa 21011 User manual

Rompa
Rompa 21893 User manual

Rompa
Rompa 20530 User manual

Rompa
Rompa 15631 User manual

Rompa
Rompa TheraGym Sling Swing User manual

Rompa
Rompa TheraGym User manual

Rompa
Rompa 16881 User manual

Rompa
Rompa Theragym 21599 User manual

Rompa
Rompa 19234 User manual

Rompa
Rompa 21773 User manual