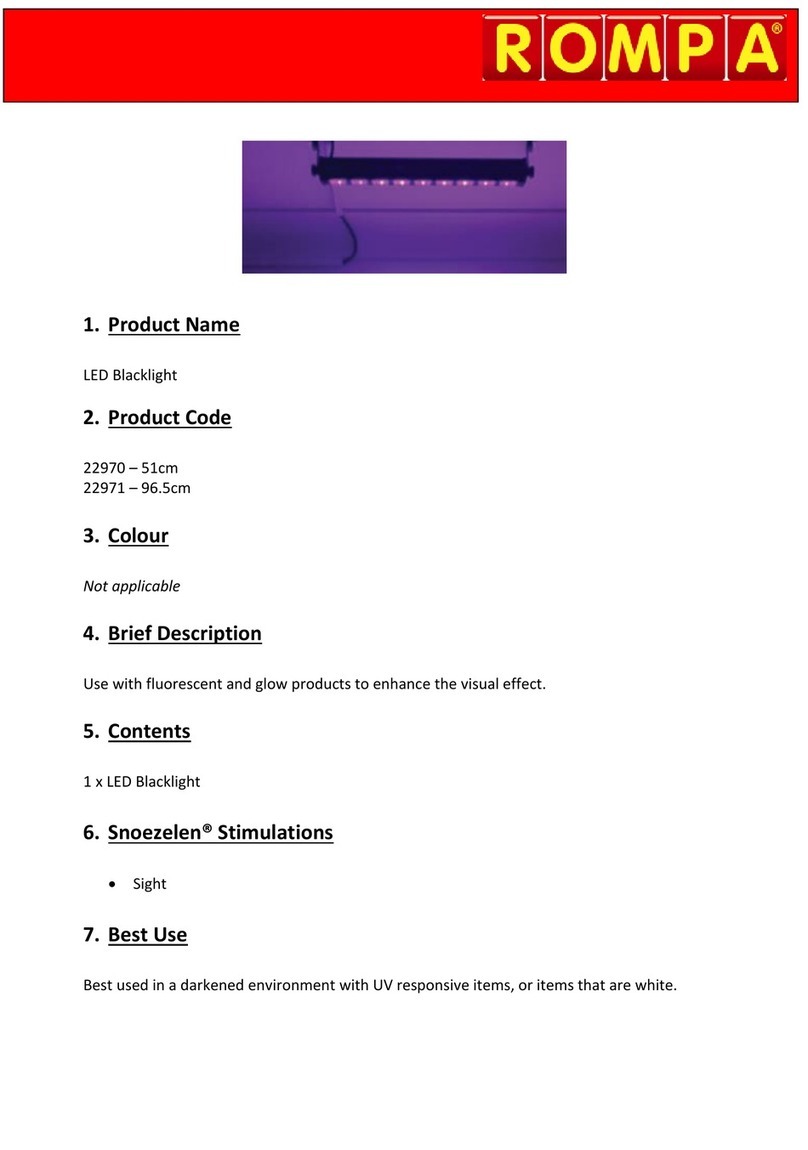
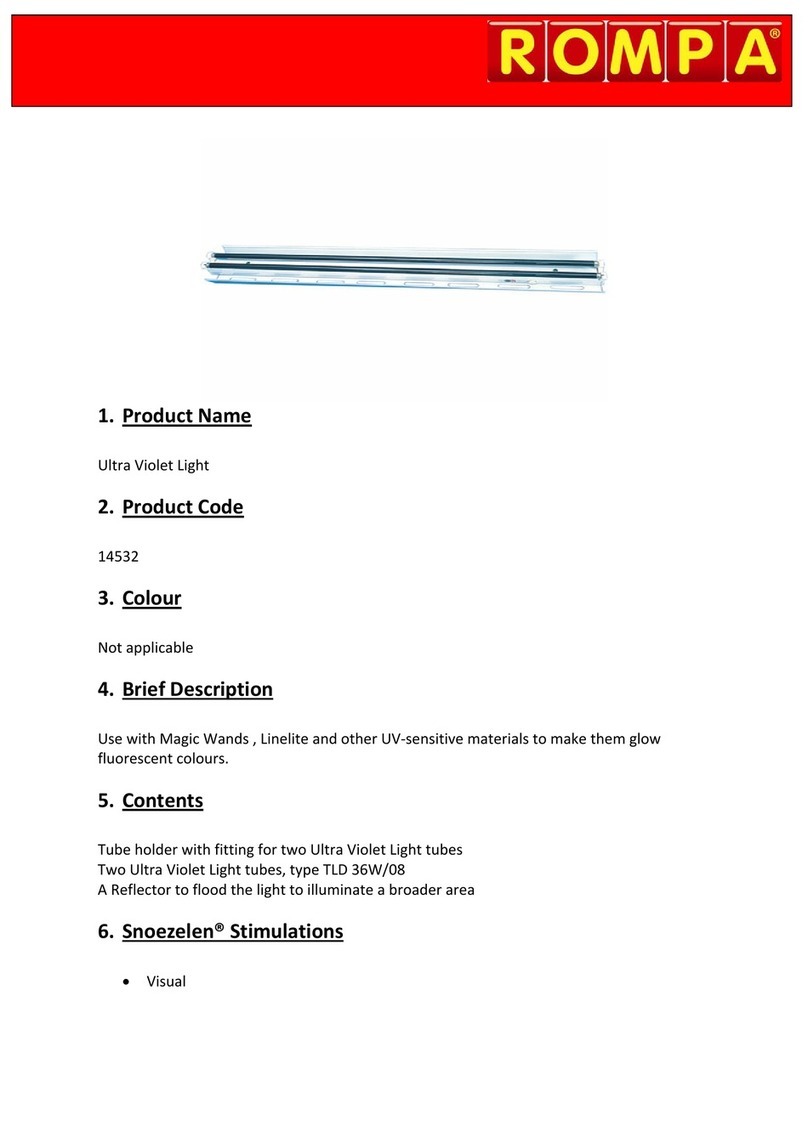
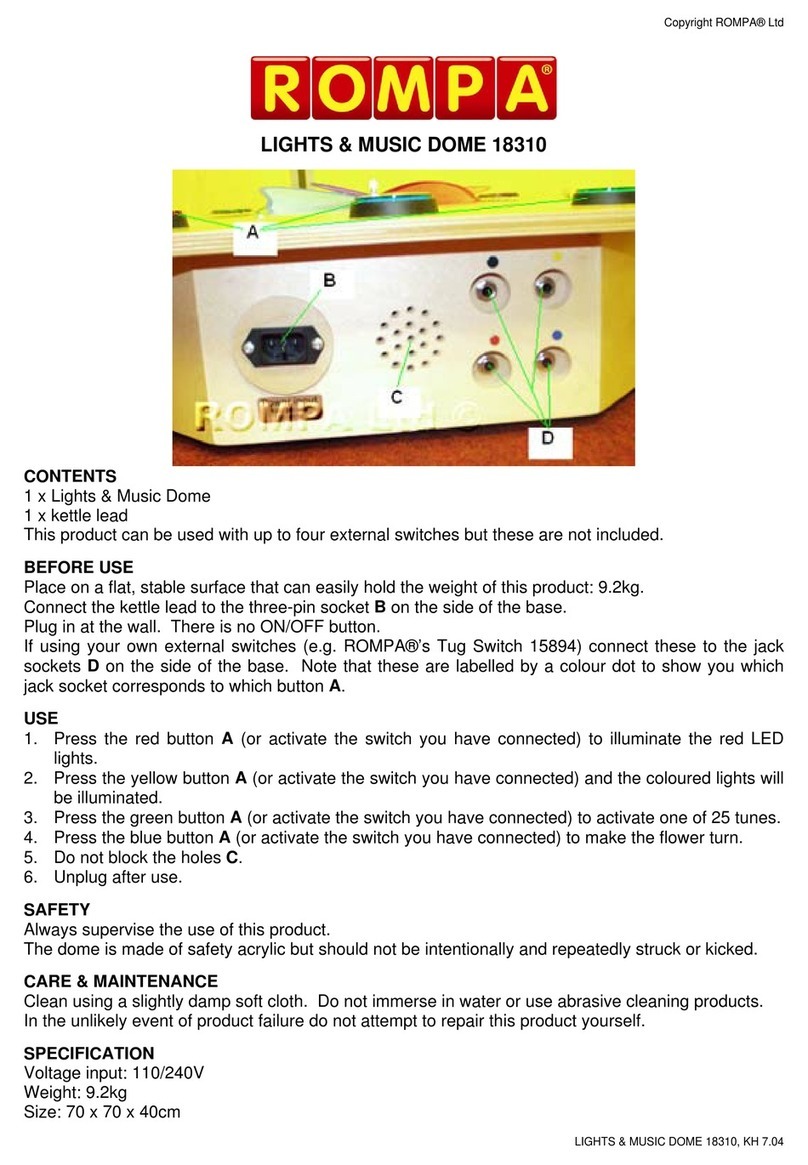
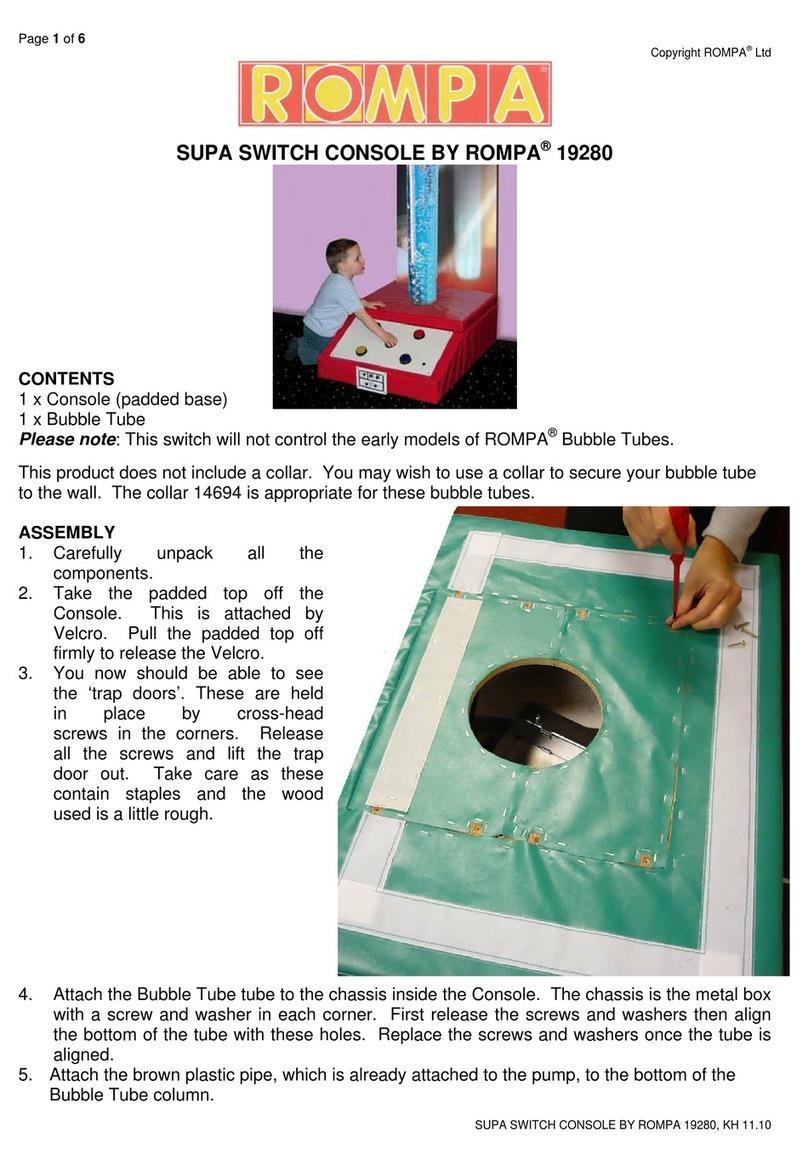
Rompa Maxi Ball-Bubble Tube User manual

1. Product Name
Maxi Ball-Bubble Tube by ROMPA®
2. Product Code
19767(U) -100cm
19768 (U) -150cm
19769 (U) -175cm
19770(U) -200cm
(U suffix denotes 110V version)
3. Colour
White base
4. Brief Description
Bubbles of air propel the multi-coloured balls to the top of the tube. This multi-sensory
Bubble Tube by ROMPA®that can be used non-interactively and interactively, including
wirelessly. Available in 4 heights, this bubble tube has changing colours.

5. Contents
Base Unit (chassis)
Base Cover (white plastic cover)
Bubble Tube Column
Bubble Tube Cap
Power Supply (black box)
Drainage tube
Packet of balls
Protective socket cover (supplied in the RJ45 socket of the base)
6. Snoezelen® Stimulations
Touch
Sight
Sound
7. Best Use
For best effect, use in a darkened room with a collar for safety and a Wi Fi controller for
wireless interactivity.

8. Compatible ROMPA® Products
15192 - Collar for Maxi Tube
20908 –Bubble Tube Filling Pump
20601 - Rapid Water Change Pump
20698 - BCB Fluid
14896 etc. - Cushioned Platform
11160 - Acrylic Mirror Panels
14053 –Light Diffraction Panels
17274 - ROMPA® Super Interactive Switch Box
15203 –Bubble Tube Balls
21799 –White Bubble Tube Balls –Set of 10
19847 –8 Colour Wirefree Controller
19939 –Wi Fi Interactive Carpet Mat Set by ROMPA®
18870 - Talking Cube by ROMPA®
20402 –Mini Talking Cube
21917 –Wi Fi Microphone by ROMPA®
19214 –Colour Changing Panel by ROMPA®
21728 –ROMPA® Wi Fi App Control Box
21918 - Wi Fi Override Transmitter
Sensory Magic™
Please see www.rompa.com for our extensive range of bubble tube accessories
9. Starting Up
Place on a flat, stable floor that is capable of holding the weight of this product.
Remove the plastic base cover from the base unit.
Fit the bubble tube column to the base using the large screws provided. Note the
location of the valves before screwing in place –orientate the column so the pipes
are near to their corresponding valve. See below.
Attach the cloudy plastic pipe to the blue valve on the Ball-Bubble Tube Column and
the brown plastic pipe, which is already attached to the pump, to the metal valve at
the bottom of the Ball-Bubble Tube Column.
Check the lights are working before filling with water. Place the Ball-Bubble Tube in
its final position, on a stable, level surface.
Fill with clean water carefully until the required level is achieved (approximately 5cm
from the top of the tube) and put the bubble tube cap on top of the bubble tube.
We strongly recommend that you use the drainage tube and a filling pump (e.g.
ROMPA®’s 20908) to fill the bubble tube from the bottom of the tube, rather than
pouring water into the top of the tube. Whilst the components inside the chassis
have some protection against spills and splashes, the best way to avoid water
accidentally entering the chassis is to fill the bubble tube using the drainage valve.
Put the balls into the column.
Remove protective plastic film from the Ball-Bubble Tube column.
10. Detailed Description
Bubbles of air propel the multi-coloured balls to the top of the tube. They float gently down
again to start their journey once more. This multi-sensory Bubble Tube by ROMPA®that can
be used non-interactively and interactively, including wirelessly. Available in 4 heights, this
bubble tube has changing colours.
There are essentially three options when using your bubble tube:
1. Allow your Bubble Tube to function passively –that is to say that the eight colours
will change in sequence.
2. Use a round 5 button switch box to control bubbles and the 4 colours –red, blue,
green and yellow. Please see www.rompa.com for details of this –17274.
3. Use a Wi Fi controller to remotely control the Ball-Bubble Tube, such as the Talking
Cubes, 8 Colour Wirefree Controller, Wi Fi Interactive Carpet Switch Set or Colour
Changing Panel, Wi Fi Microphone: When used in conjunction with Wi Fi products,
the Bubble Tube will be lit in the colour chosen by the user. These controllers allow
a choice of up to 8 colours to be selected.
USING THE SUPER INTERACTIVE SWITCH BOX 17274
(to be purchased separately)
Switch off the Bubble Tube completely.
Connect the 5 Button Switch Box to the RJ45 socket in the base of the Bubble Tube (the
socket to the right of the SPEED dial). The protective cover will have to be removed first and
stored in a safe place so it can be replaced after use.

RJ45 socket
To select a coloured light press one of the four buttons (red, green, yellow, blue) on the
top. The selected colour will only be activated for a few seconds (the exact time
depends on how you have set the SPEED and DELAY buttons) before the cycle of colours
resumes. The selected colour will not remain indefinitely till another colour is selected
using the switch box. Experiment with the SPEED and DELAY buttons until you find a
setting that best suits your requirements. For example, set SPEED to a minimum to keep
the colour change as slow as possible.
To stop the bubbles press the central button on the top. Release the button to make the
bubbles start again. On the underside of the Switch Box there is a dial labelled BUBBLES
with two options –NORMALLY ON and NORMALLY OFF. Switch between these so that
one way the bubbles start if the central button is pressed and the other way the bubbles
will stop if the central button is pressed.
To adjust the speed of the light change/flash rate use the SPEED and DELAY buttons
underneath labelled COLOURS.
YOU CAN ADD AN EXTERNAL SWITCH (JACK) –When a ROMPA®switch is plugged into the
Jack Socket on the side of Push Button Switch Box, most other controls will be over-ridden,
i.e. Push Buttons, Colours etc.
There are nine possible options when a ROMPA®switch is used. Use the dials on the
underside of the Super Interactive Switch Box:
1. With the left hand dial set to COLOURS and the right hand one to FLASH ON, then the
Bubbles will be on all of the time and the Lights will come on when the ROMPA®switch is
activated.

2. With the left hand dial set to BUBBLES and the right hand one to FLASH ON, then the
Lights will be on all of the time and the Bubbles will come on when the ROMPA®switch is
activated.
3. With the left hand dial set to COLOURS and the right hand one to FLASH OFF, then the
Bubbles and Lights will be on all of the time and the lights will stop when the ROMPA®
switch is activated.
4. With the left hand dial set to BUBBLES and the right hand one to FLASH OFF, then the
Bubbles and Lights will be on all of the time and the Bubbles will stop when the ROMPA®
switch is activated.
5. With the left hand dial set to COLOURS and the right hand one to HOLD, then the
Bubbles will be on all of the time and the Lights will start when the ROMPA®switch is
activated and will only stop when the ROMPA®switch is activated again.
6. With the left hand dial set to BUBBLES and the right hand one to HOLD, then the Lights
will be on all of the time and the Bubbles will start when the ROMPA®switch is activated
and will only stop when the ROMPA®switch is activated again.
7. With the left hand dial set to BOTH and the right hand one to FLASH ON, then the
Bubbles and Lights will be off and they will only come on when the ROMPA®switch is
activated.
8. With the left hand dial set to BOTH and the right hand one to FLASH OFF, then the
Bubbles and Lights will be on all of the time and the Lights and Bubbles will stop when
the ROMPA®switch is activated.
9. With the left hand dial set to BOTH and the right hand one to HOLD, then the Lights and
Bubbles will be on all of the time and both will stop when the ROMPA®switch is
activated and will only start when the ROMPA®switch is activated again.

11. Safety
Always supervise the use of this product
Please check equipment immediately for any damage that may have resulted during
shipping and contact ROMPA® immediately if there are any problems.
The layout of the activity area, proper installation and maintenance of your
equipment is critical; make sure the product is used in a safe and appropriate place
and way.
Do not attempt to move the Ball-Bubble Tube while filled with water.
Please ensure that no water comes into contact with the circuit boards in the base of
the Ball-Bubble Tube.
Take extreme care when filling/emptying the Ball-Bubble Tube to ensure the
electronics remain dry.
Always disconnect the power cables when filling/emptying the Ball-Bubble Tube
The Maxi Ball-Bubble Tube is suitable for use on a level horizontal floor. Do not
attempt to move the Maxi Ball-Bubble Tube when it is full of water.
Do not insert anything into the bubble tube base other than the power supply
provided and a 17274 Interactive Switch Box.
12. Technical Specification
Base height: 11cm
Tube Diameter: 20cm
Base Diameter: 51cm
Total Product Height:
19767: 107cm
19768: 157cm
19769: 182cm
19770: 207cm
Note: please take total height into consideration if requiring a Canopy when your ceiling is
low
Pump: Schego type WS3
Power Supply: 230 Volt (U - 110V)
Input 110V Output 12V AC 60W
Input 230V Output 12V AC 60W
(The power supply is UL listed –E1494743G58, and meets the requirements of BS EN61558-
1 and BS EN61558-2-6)
Power cable: 5.15m approximately

13. Installation
1. Place on a flat, stable floor that is capable of holding the weight of this product.
2. Remove the plastic base cover from the base unit. Loosen the screws around the
perimeter of the base cover, but do not remove them. Slide the base cover free of the
screws.

3. The bubble tube column needs to be fitted to the base unit using the four screws
provided (shown below on top of silver-coloured washers). Note the location of the
valves before screwing in place –orientate the column so the pipes are near to their
corresponding valve. See point 5.

4. Attach the cloudy plastic pipe to the blue valve on the Ball-Bubble Tube column.

5. Attach the brown plastic pipe, which is already attached to the pump, to the brass valve
at the bottom of the Ball-Bubble Tube column.
6. Replace the plastic base cover. If the Ball-Bubble Tube is to be used in a Cushioned
Platform (padded base), the Base Cover (white plastic cover) may be removed and
discarded.
7. Check the lights are working before filling with water. Place the Ball-Bubble Tube in its
final position as it cannot be moved when full. The Ball-Bubble Tube should now be
placed on a stable, level surface in preparation to be filled with water. If the surface is
not flat, the pump is likely to create more noise than a gentle background ‘humming’.
8. Fill with clean water carefully until the required level is achieved. This should be
approximately 5cm (2 inches) from the top of the tube. The water level will rise when
switched on. Approximate amount of water required: 45 litres. Make sure that the jug
or bucket you are using to draw water from is also clean. We strongly recommend that
you use the drainage tube and a filling pump (e.g. ROMPA®’s 20908) to fill the bubble
tube from the bottom of the tube, rather than pouring water into the top of the tube.
Whilst the components inside the chassis have some protection against spills and
splashes, the best way to avoid water accidentally entering the chassis is to fill the
bubble tube using the drainage valve. Put bubble tube cap (lid) on top of the bubble
tube.
9. Put the balls into the column.

10. Remove protective plastic film from the Ball-Bubble
Tube column.
11. There are two screw holes on each side of the Power Supply should you wish to wall
mount the unit, or secure it to the floor. Note: please wall mount in a well-ventilated
area. No fixings are supplied as these depend on the surface the unit will be attached to.
The Power Supply box weighs 1.3kg.
Please note: image (right) shows a 110V plug –
the plug supplied will be appropriate to the country
of the customer
12. Plug the Power Supply into the POWER IN 12V
AC socket of the bubble tube using the jack plug
supplied.
13. Plug the other end of the Power Supply in at the wall.
14. Switch on at the wall. Switch on the rocker switch on the cable:

15. The green LED light will be lit. There may be a slight delay.
16. The unit will begin to flash, displaying a sequence of coloured lights, and bubbles will
begin to rise up the tube. Turn the wheel labelled ‘SPEED’ on the white Base Cover to
adjust the speed of the light change.
You may wish to use a collar to secure your bubble tube to the
wall. The collar 15192 is appropriate for these bubble tubes.
We recommend the use of a collar to prevent the bubble tube
from being pulled over. Attach your Collar to the wall, to secure
the top of the bubble tube.

14. Care and Maintenance
Regularly change the water and use a suitable water cleansing agent (e.g. BCB Fluid)
The environment the Ball-Bubble Tube is in will affect how often the water needs to
be changed. Bubble tubes in dark, damp environments with minimal ventilation will
need changing at a different frequency to those in bright, well-ventilated rooms.
Changing the water monthly is a good starting guideline. Plan for holidays. For
example, if the bubble tube will be switched off for long periods, empty the water
out. You do not want to return from a long holiday to find the water is green and
unpleasant!
If the tube is used in an area where lime-scale in water is a problem, it may be
advisable to use an appropriate water softener
Failure to cleanse your bubble tube water and/or use an appropriate water softener
can block the valves of the bubble tube and so encourage product failure.
Do not add bleach, coloured dyes or salt to the water
Once this product is eventually exhausted, please dispose of it appropriately and
responsibly.
TO EMPTY THE MAXI BALL-BUBBLE TUBE
Use the drainage tube provided (see below).
Connect this tube to the white socket on the bubble tube base, next to the POWER IN
socket. Push the end with the black stripe into the white socket till you hear a click to
indicate that it is secure. Make sure the other end with the tap is in a suitable container
to take the water. Turn the tap to release the water.
ALWAYS CLOSE THE TAP AFTER EMPTYING THE BALL-BUBBLE TUBE.
REMOVE THE DRAINAGE TUBE AND KEEP IT IN A SAFE PLACE.

To remove the drainage tube, push on the grey button to release the tube. Removing
the drainage tube automatically seals the cloudy pipe of the bubble tube. Empty any
water that has remained in the drainage tube. Keep a piece of paper towel to hand to
place under the white socket to catch the small amount of water that can be released.
Disconnecting the drainage tube:
Connecting the drainage tube to the filling pump tube (to be purchased separately):

Connecting the filling pump to the bubble tube power supply:
Before using the tap on the drainage tube, make sure you are aware how turning the tap
opens and closes the tube:
OPEN:
When the tap is closed, you will not be able to see down the tube.
Alternatively, use an appropriate pump. Remove the cap (round lid at the top of the
tube) and remove the water from the top of the tube using your pump. A pump is
available separately from ROMPA®: code 20601. This pump can also be used to fill your
bubble tube.
GENERAL CARE
Wash the exterior of the Maxi Ball-Bubble Tube with a slightly soapy cloth. Wipe excess
soap away with a damp cloth. NOTE: Never use solvent based cleaning products,
methylated spirits, alcohol wipes or liquid detergents to clean the Maxi Ball-Bubble Tube.
When you need to switch the bubble tube OFF after use, or before maintenance (e.g. before
changing the water) please note that:
There is no ON/OFF switch on the bubble tube itself, or on the power supply shown below.
Power should be disconnected by removing the mains plug from the wall socket. Do not
disconnect the jack plug of the power supply from the round POWER IN 12V AC socket at
the base of the bubble tube. Repeatedly disconnecting the jack plug from this round
socket is likely to lead to damage to the bubble tube, and should also be avoided for safety
reasons.


15. Troubleshooting
In the unlikely event of product failure, please check the following:
Problem: No lights, no bubbles
• Check that the bubble tube is plugged in at the wall
• Check that the power supply is connected
• Check the green LED light is on
Problem: Lights but no bubbles
• Try switching the bubble tube off and then again
• Check all pipes are firmly connected and free of kinks/bends. Check the pipes have not
worked free –occasionally vibrations/transportation can loosen pipes
• Have you connected a Super Interactive Switch Box (17274) to make your Bubble Tube
interactive? Is the Switch Box firmly connected? Turn the Switch Box over –is it set to
‘Bubbles On’? If it is not, set it to this
Problem: Super Interactive Switch Box does not work
• Is the Switch Box firmly connected? Turn the Switch Box over – is it set to ‘Bubbles
On’? If it is not, set it to this
• If this suggestion does not work, it is possible that the pump has failed. Contact ROMPA® for
advice
Problem: The bubble tube is very noisy
• Make sure that the bubble tube is on a completely flat and stable surface, and not on a
slope or uneven surface
• Make sure that the pump is still securely attached inside the chassis and that it has not
worked free of the supports that hold it down
Problem: The bubble tube is leaking
• Fill and drain the bubble tube using the drainage tube and the valve with the grey button
on the chassis –water can be accidentally spilled when filling the tube via the top.
• Make sure that all the tubing inside the bubble tube base is securely attached
•Place paper towels in the chassis to identify exactly where the leak is coming from.
Contact us for advice once the exact location of the leak has been found.
Problem: There is debris inside the bubble tube
• Use the cap as a lid for the bubble tube column to stop dust, lint etc. falling into the tube
•Make sure no beads from the polystyrene packaging have fallen into the tube
•Keep the water clean by organising a regular cleaning schedule to avoid the growth of
algae. Use BCB Fluid to keep the water clean.
Further copies of these instructions can be downloaded at www.rompa.com
We hope you find our instructions invaluable. If you have any suggestions for improving
them further your comments will be greatly received –please contact us at
MAXI BALL-BUBBLE TUBE 19767-70, August 2016
Copyright ROMPA® Ltd

1. Produit
Maxi Colonne à Balles ROMPA®
2. Code
19767(U) -100cm
19768(U) -150cm
19769(U) -175cm
19770(U) -200cm
(Le ‘U’ signifie le modèle à 110V)
3. Couleur
Base blanc
4. Brève Description
Des bulles d'air propulsent les balles multicolores vers le haut du tube. Elles redescendent
lentement pour repartir de plus belle ! Une colonne robuste, sûre et multi-sensorielle de
ROMPA®qu’on peut utiliser de façon passive et interactive (à distance aussi). Disponible en
un choix de 4 hauteurs, cette colonne change de couleur.

5. Contenu
Base (châssis)
Couvercle d'embase (couvercle en plastique blanc)
Colonne
Bouchon
Boîte d’alimentation
Tuyau de vidange
Paquet de balles
Embout protecteur (fourni dans la prise RJ45 de la base)
6. Stimulations Snoezelen®
Toucher
Vue
Ouïe
7. Usage
Usage dans l’obscurité pour un effet encore plus visuel. Servez-vous d’un collier d’arrimage
pour sécurité et un appareil de contrôle Wi Fi pour l’interactivité à distance.
This manual suits for next models
8
Table of contents
Languages:
Other Rompa Lighting Equipment manuals

Rompa
Rompa 17630 User manual

Rompa
Rompa 19280 User manual

Rompa
Rompa 19723 User manual

Rompa
Rompa 14532 User manual

Rompa
Rompa 22970 User manual

Rompa
Rompa 17911 User manual

Rompa
Rompa Light & Music Dome User manual

Rompa
Rompa 19209 User manual

Rompa
Rompa NFINITY & BEYOND User manual

Rompa
Rompa Waterless Rainbow Tube User manual