manuals.online logo
Brands
  1. Home
  2. •
  3. Brands
  4. •
  5. Room & Board
  6. •
  7. Indoor Furnishing
  8. •
  9. Room & Board Griffin Duo Bunkbed User manual

Room & Board Griffin Duo Bunkbed User manual

Rear Guard Fence - full length
Left-hand End
ListofParts:
1 Left-hand End (headboard)
1 Right-hand End (head-
board)
4 Side Rails (note Up Ar-
row labeling)
2 Slat Rolls (1 upper –twin;
1 lower –full size)
2 Guard Fences (1 full-
length Rear; 1 –60 1/4
inches Front)
1 Lad der
ImageA
Hardware:
30 1 1/4-inch coarse thread silver screws: to attach
Slats and Guard Fences
20 3/4-inch coarse thread silver screws: to attach lad-
der to Side Rails; to lock aligned Rail brackets to
Ends.
Tools needed:
Cordless or power drill (or handheld screw driver)
Rubber mallet (or equivalent)
Directions for assembly:
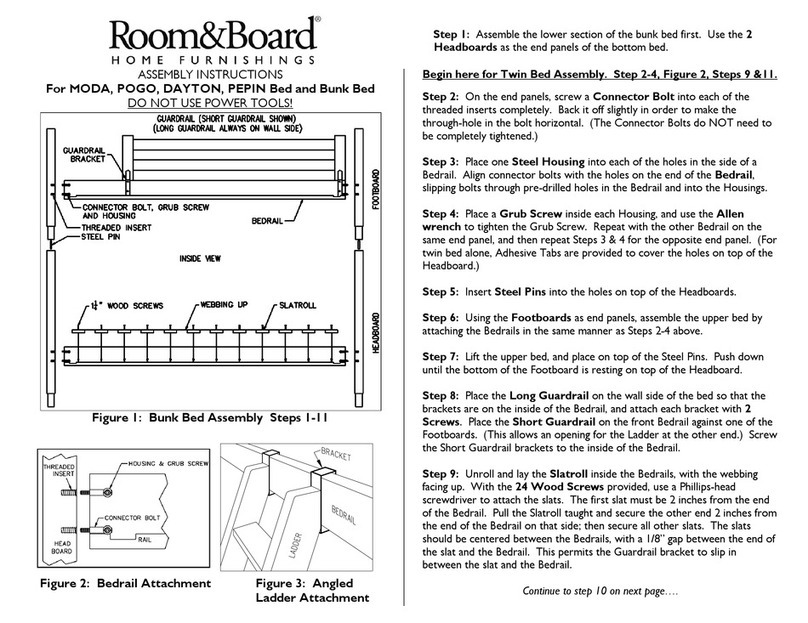
1. With assistance, hold Left-hand End upright near
its desired location.
2. Attach a Side Rail (arrow label should point up) to
either lower side of the End by inserting Side Rail
bracket into End (headboard) bracket. (See Im-
ages B and C.) Tap top of Side Rail until Side
Rail bracket is fully locked into lower position.
Repeat with second Side Rail on other side.
ImageB
ImageC
Cleats for positioning slats
Predrilled holes
Image D
Griffin Duo Bunkbed
Assembly Instructions
Front Guard Fence - short
Side Rails
Lower Slat Roll
Right-hand End
Ladder
3. Attach Side Rails to Right-hand End of bed in the
same manner as described in step 2.
4. Repeat steps 2 and 3 for top Side Rails. Ensure all
rails are in fully-locked positions.
5. Insert 3/4-inch silver screws into alignment holes
to lock brackets. (See Image B.)
6. Roll out Slat Rolls for upper (twin) and lower
(full) bunk beds. Twelve slats distribute inside
(between) the two cleats; one slat goes outside
the cleats at each end. (See Image D.)
7. Use 1 1/4-inch silver screws to attach end and
middle slats to Side Rails, using predrilled holes.
(See Image D.)
8. Place Rear Guard Fence atop the Side Rail
opposite ladder side. Place Front Guard Fence at
either end of the ladder side. Attach both fences
with the 1 1/4-inch silver screws provided. (See
Image E.)
Predrilled hole on Guard Fence
Image E
Image F
L
a
d
d
e
r
h
o
o
k
s
:
u
s
e
¾
-
i
n
c
h
s
il
v
e
r
s
c
r
e
w
s
t
o
s
e
c
u
r
e
s
.
L
a
d
d
e
r
h
o
o
k
s
Image G
9. Secure the four ladder hooks with eight 3/4 inch
silver screws. (see Image F.)
10. Hang the Ladder hooks over the upper and lower
Side Rails in the Ladder space reserved adjacent to
the shorter Guard Fence. Position the Ladder next
to the End and secure the four Ladder hooks to
both the upper and lower Side Rails using the 3/4-
inch silver screws provided. (See Image G.)
11. Place twin-size mattress (39x75-inch, 6-inch
maximum height) on the secured Slat Roll of
upper bunk.
12. Place full-size mattress (54x75-inch, 6-inch
maximum height) on secured lower Slat
Roll of bottom bunk.
Revised 12/16/2014
Important
Safety
Warnings
1Follow the information on the warning labels ap-
pearing on the upper bunk end structure and on
the carton. Do not remove warning label from
bed or from cartons.
2Always use the recommended size mattress or mat-
tress support (or both) to help prevent the likelihood
of entrapment or falls.
3Surface of mattress must be at least 5 inches (127
millimeters) below the upper edge of guard fences.
4Do not allow children under 6 years of age to use
the upper bunk.
5Attachment of guardrails. If the bunk bed will be
placed next to the wall, the guardrail that runs the
full length of the bed should be placed against the
wall to prevent entrapment between the bed and
wall.
6Periodically check and ensure that the guard fences,
ladder and other components are in their proper
position, free from damage, and that all connectors
are tight.
7Do not allow horseplay on or under the bed. Pro-
hibit jumping on the bed.
8Always use the ladder for entering and leaving the
upper bunk.
9Do not use substitute parts. Contact Room & Board
for additional guard rails and replacement parts .
10 Use of a night-light may provide added safety
precaution for a child using the upper bunk.
11 Always use guardrails on both long sides of the up-
per bunk. If the bunk bed will be placed next to the
wall, the guardrail that runs the full length of the
bed should be placed against the wall to prevent
entrapment between the bed and wall.
12 The use of water or sleep flotation mattresses
is prohibited.
13 STRANGULATION HAZARD—Never attach or hang
items to any part of the bunk bed that are not
designed for use with the bed; for example, but
not limited to, hooks, belts and jump ropes.
14 Prohibit more than one person on upper bunk.
15 Keep these instructions for future reference.
Install Hooks with hooked end
towards Top
(angled end)
TOP
END
Ladder hooks: use ¾-inch silver screws to
secure top (shown) and bottom hooks.

Other Room & Board Indoor Furnishing manuals
Room & Board MODA Crib User manual

Room & Board

Room & Board MODA Crib User manual

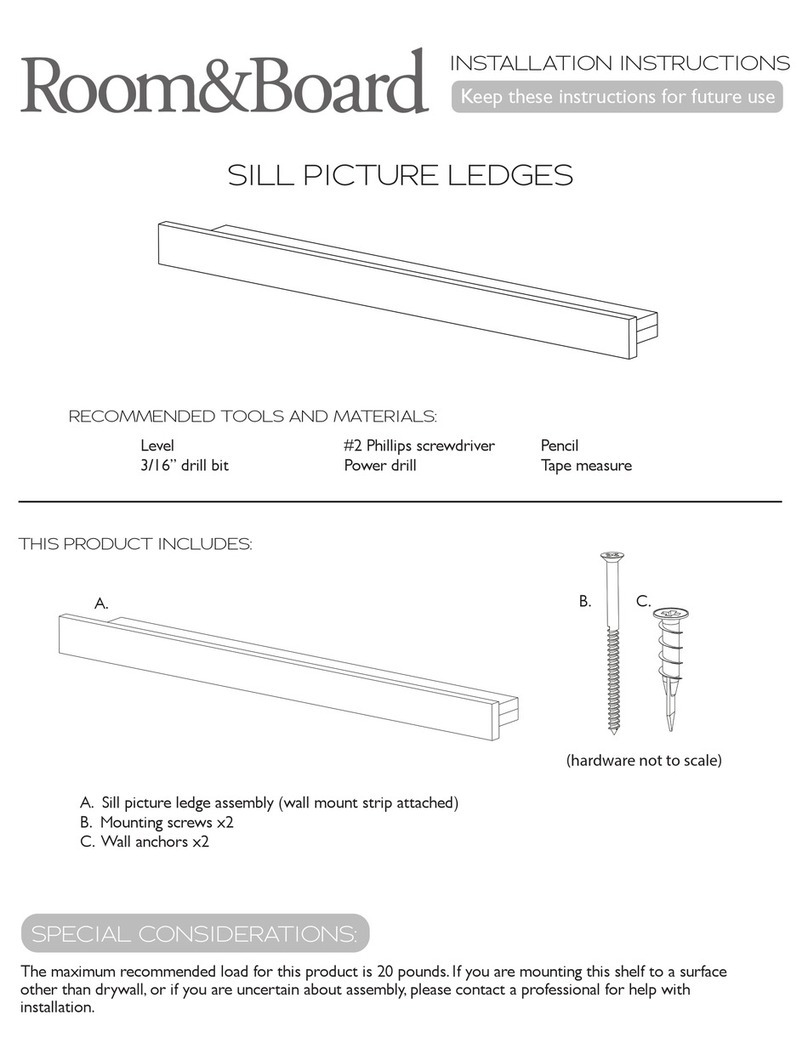
Room & Board Sill Picture Ledges User manual

Room & Board

Room & Board Sill Picture Ledges User manual

Room & Board Berkeley Storage Bed User manual

Room & Board

Room & Board Berkeley Storage Bed User manual

Room & Board Lark Bunk Bed User manual

Room & Board

Room & Board Lark Bunk Bed User manual

Room & Board MODA LOFT User manual

Room & Board

Room & Board MODA LOFT User manual

Room & Board MODA User manual

Room & Board

Room & Board MODA User manual

Room & Board ASPEN ROUND TABLE 36 User manual

Room & Board

Room & Board ASPEN ROUND TABLE 36 User manual

Room & Board Fort Bunk Bed User manual

Room & Board

Room & Board Fort Bunk Bed User manual

Room & Board HOVER User manual

Room & Board

Room & Board HOVER User manual

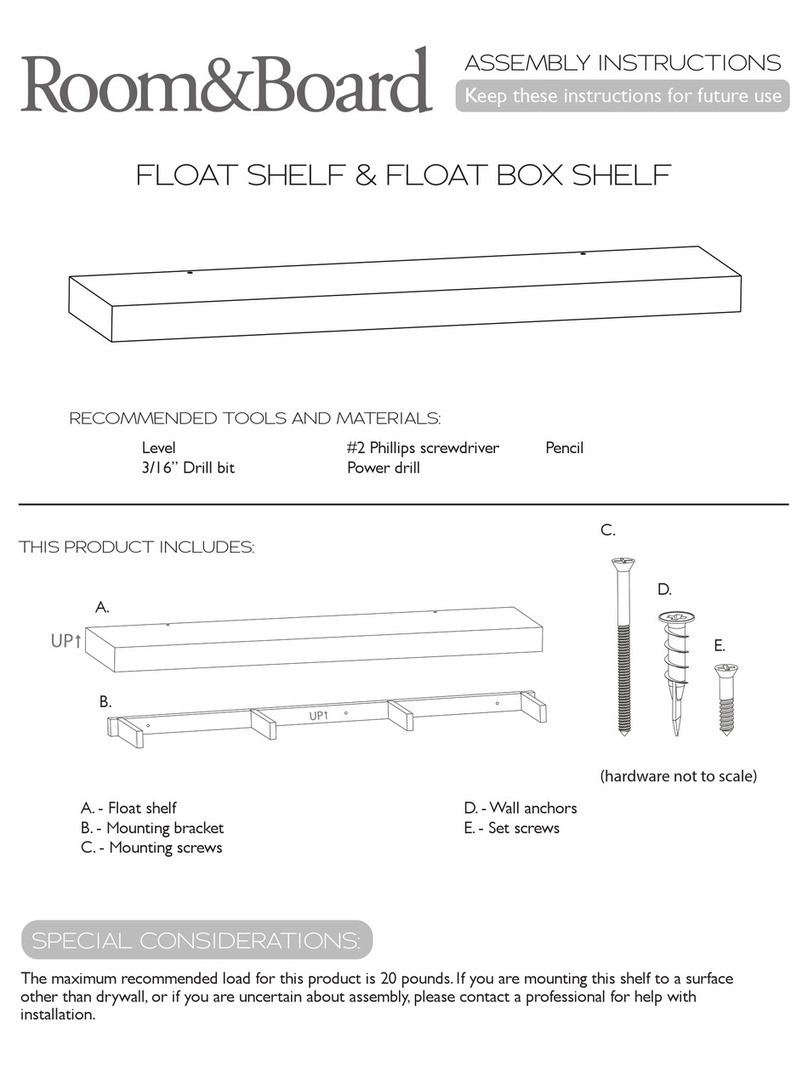
Room & Board FLOAT SHELF User manual

Room & Board

Room & Board FLOAT SHELF User manual

Room & Board LW User manual

Room & Board

Room & Board LW User manual

Room & Board Emerson Bed User manual

Room & Board

Room & Board Emerson Bed User manual

Room & Board BERKLEY User manual

Room & Board

Room & Board BERKLEY User manual

Room & Board Plimode User manual

Room & Board

Room & Board Plimode User manual

Room & Board Moda Changing Tray User manual

Room & Board

Room & Board Moda Changing Tray User manual

Room & Board Anton User manual

Room & Board

Room & Board Anton User manual

Room & Board ASPEN ROUND TABLE 36 User manual

Room & Board

Room & Board ASPEN ROUND TABLE 36 User manual

Room & Board Choral User manual

Room & Board

Room & Board Choral User manual

Room & Board HALE BED User manual

Room & Board

Room & Board HALE BED User manual

Room & Board FOSHAY WALL SHELF User manual
Room & Board

Room & Board FOSHAY WALL SHELF User manual

Room & Board FLYNN User manual

Room & Board

Room & Board FLYNN User manual
Popular Indoor Furnishing manuals by other brands

Courtyard Creations TGS27NW-WM Assembly instructions

Courtyard Creations

Courtyard Creations TGS27NW-WM Assembly instructions

Croydex WC2800 manual

Croydex

Croydex WC2800 manual

OfficeSource RCN4731 Assembly instructions

OfficeSource

OfficeSource RCN4731 Assembly instructions

Walker Edison VULL8K Assembly instructions

Walker Edison

Walker Edison VULL8K Assembly instructions

Easy Track RB1448 Assembly instructions

Easy Track

Easy Track RB1448 Assembly instructions

GPM Palermo BEDPALWHT Assembly instructions

GPM

GPM Palermo BEDPALWHT Assembly instructions

Homelegance 1743-9 Assembly instruction

Homelegance

Homelegance 1743-9 Assembly instruction

Officeworks STILFORD JBSTIHA16 Assembly instructions

Officeworks

Officeworks STILFORD JBSTIHA16 Assembly instructions

Next BRONX 941838 Assembly instructions

Next

Next BRONX 941838 Assembly instructions

Triarch Indoor Lighting 31405 Assembly instructions

Triarch

Triarch Indoor Lighting 31405 Assembly instructions

Songmics Vasagle LWD48 manual

Songmics

Songmics Vasagle LWD48 manual

Kesseböhmer eTouch CONVOY Centro operating instructions

Kesseböhmer

Kesseböhmer eTouch CONVOY Centro operating instructions

Safavieh Furniture SFV2504A quick start guide

Safavieh Furniture

Safavieh Furniture SFV2504A quick start guide

Southern Covina HZ104500TX Assembly instructions

Southern

Southern Covina HZ104500TX Assembly instructions

Kesseböhmer WASTEBIN PULLOUT quick start guide

Kesseböhmer

Kesseböhmer WASTEBIN PULLOUT quick start guide

Seconique PANAMA 3' BUNK BED Assembly instructions

Seconique

Seconique PANAMA 3' BUNK BED Assembly instructions

Evolur CHANGING TRAY Assembly instructions

Evolur

Evolur CHANGING TRAY Assembly instructions

Kobalt 0019002 manual

Kobalt

Kobalt 0019002 manual

manuals.online logo
manuals.online logoBrands
  • About & Mission
  • Contact us
  • Privacy Policy
  • Terms and Conditions

Copyright 2025 Manuals.Online. All Rights Reserved.