manuals.online logo
Brands
  1. Home
  2. •
  3. Brands
  4. •
  5. Room & Board
  6. •
  7. Indoor Furnishing
  8. •
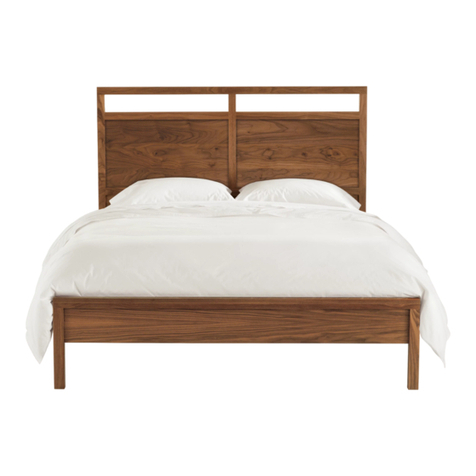
  9. Room & Board MODA User manual

Room & Board MODA User manual

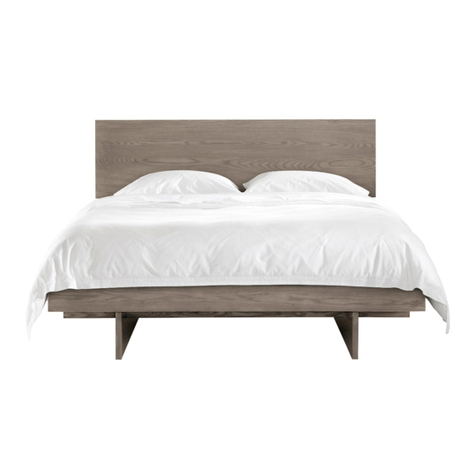
Step 1: Assemble the lower section of the bunk bed first. Use the 2
Headboards as the end panels of the bottom bed.
ASSEMBLY INSTRUCTIONS
For MODA, POGO, DAYTON, PEPIN Bed and Bunk Bed
DO NOT USE POWER TOOLS!
Figure 1: Bunk Bed Assembly Steps 1-11
Figure 2: Bedrail Attachment Figure 3: Angled
Ladder Attachment
Begin here for Twin Bed Assembly. Step 2-4, Figure 2, Steps 9 &11.
Step 2: On the end panels, screw a Connector Bolt into each of the
threaded inserts completely. Back it off slightly in order to make the
through-hole in the bolt horizontal. (The Connector Bolts do NOT need to
be completely tightened.)
Step 3: Place one Steel Housing into each of the holes in the side of a
Bedrail. Align connector bolts with the holes on the end of the Bedrail,
slipping bolts through pre-drilled holes in the Bedrail and into the Housings.
Step 4: Place a Grub Screw inside each Housing, and use the Allen
wrench to tighten the Grub Screw. Repeat with the other Bedrail on the
same end panel, and then repeat Steps 3 & 4 for the opposite end panel. (For
twin bed alone, Adhesive Tabs are provided to cover the holes on top of the
Headboard.)
Step 5: Insert Steel Pins into the holes on top of the Headboards.
Step 6: Using the Footboards as end panels, assemble the upper bed by
attaching the Bedrails in the same manner as Steps 2-4 above.
Step 7: Lift the upper bed, and place on top of the Steel Pins. Push down
until the bottom of the Footboard is resting on top of the Headboard.
Step 8: Place the Long Guardrail on the wall side of the bed so that the
brackets are on the inside of the Bedrail, and attach each bracket with 2
Screws. Place the Short Guardrail on the front Bedrail against one of the
Footboards. (This allows an opening for the Ladder at the other end.) Screw
the Short Guardrail brackets to the inside of the Bedrail.
Step 9: Unroll and lay the Slatroll inside the Bedrails, with the webbing
facing up. With the 24 Wood Screws provided, use a Phillips-head
screwdriver to attach the slats. The first slat must be 2 inches from the end
of the Bedrail. Pull the Slatroll taught and secure the other end 2 inches from
the end of the Bedrail on that side; then secure all other slats. The slats
should be centered between the Bedrails, with a 1/8” gap between the end of
the slat and the Bedrail. This permits the Guardrail bracket to slip in
between the slat and the Bedrail.
Continue to step 10 on next page….
Step 10: Attach the Ladder. For Flat Ladder, set notch on bottom
bedrail and loosen top bracket. Set bracket against bedrail and tighten. For
Angled Ladder, hook the bracket over the Bedrail (Fig. 3).
Step 11: Mattress may be placed with or without a platform board on
Slatroll.
Use only mattress which is 74”-75” long and 37 ½”-38 ½” wide on upper
bunk. Ensure thickness of mattress and foundation combined does not
exceed 7” and surface of mattress is at least 5” below upper edge of
guardrails.
Replacement parts, including additional guardrails, may be
obtained from any Room & Board store.
SAFETY WARNINGS
Follow the information on the warnings appearing on the upper bunk
end structure and on the carton. Do not remove warning label from
bed.
Always use the recommended size mattress or mattress support, or
both, to help prevent the likelihood of entrapment or falls.
Surface of mattress must be at least 5 in. (127 mm) below the upper
edge of guardrails.
Do not allow children under 6 years of age to use the upper bunk.
Periodically check and ensure that the guardrail, ladder and other
components are in their proper position, free from damage and
that all connectors are tight.
Do not allow horseplay on or under the bed and prohibit jumping
on the bed.
Always use the ladder for entering and leaving upper bunk.
Do not substitute parts. Contact the manufacturer or dealer for
replacement parts.
Use of a night light may provide added safety precaution for a child
using an upper bunk.
Always use guardrails on both long sides of the upper bunk. If the bunk
bed will be placed next to a wall, the guardrail that runs the full length
of the bed should be placed against the wall to prevent entrapment
between the bed and the wall.
The use of water or sleep flotation mattresses is prohibited.
Prohibit more than one person on upper bunk.
STRANGULATION HAZARD-- Never attach or hang items to
any part of the bunk bed that are not designed for use with the
bed; for example, but not limited to, hooks, belts and jump ropes.
Keep these instructions for future reference.
Maintenance: Periodically check to make sure all screws, bolts and
fastening devices are tight.
Cleaning: Mix a mild solution of gentle dishwashing liquid and water,
apply to surface using a soft, clean cloth, then dry all surfaces with a
soft, dry cloth. NO ABRASIVES, SCOURING PADS, STEEL WOOL,
OR COARSE RAGS should be used to clean this fine furniture.
PARTS FOR TWIN OR FULL BED
1 –HEADBOARD 1 –FOOTBOARD 2 –BEDRAILS 1 –SLATROLL
PARTS FOR A BUNK BED –2 SETS OF THE ABOVE PLUS THE FOLLOWING
1 –SHORT GUARDRAIL 1 –LONG GUARDRAIL 1 –LADDER 4 –STEEL PINS
(screws enclosed in cardboard pad on bracket) (wrapped with Ladder)
HARDWARE FOR TWIN OR FULL BED –(2 SETS FOR A BUNK BED)
8 –STEEL HOUSINGS 8 –CONNECTOR BOLTS 8 –GRUB SCREWS ADHESIVE TABS
(2 of each available color)
1 –ALLEN WRENCH 24 –WOOD SCREWS FOR SLATROLL (1 ¼”) PHILLIPS-HEAD SCREWDRIVER
TOOL NOT INCLUDED

This manual suits for next models

3

Other Room & Board Indoor Furnishing manuals
Room & Board HALE BED User manual

Room & Board

Room & Board HALE BED User manual

Room & Board FLYNN User manual

Room & Board

Room & Board FLYNN User manual

Room & Board Plimode User manual

Room & Board

Room & Board Plimode User manual

Room & Board Emerson Bed User manual

Room & Board

Room & Board Emerson Bed User manual

Room & Board Anton User manual

Room & Board

Room & Board Anton User manual

Room & Board MODA LOFT User manual

Room & Board

Room & Board MODA LOFT User manual

Room & Board Berkeley Storage Bed User manual

Room & Board

Room & Board Berkeley Storage Bed User manual

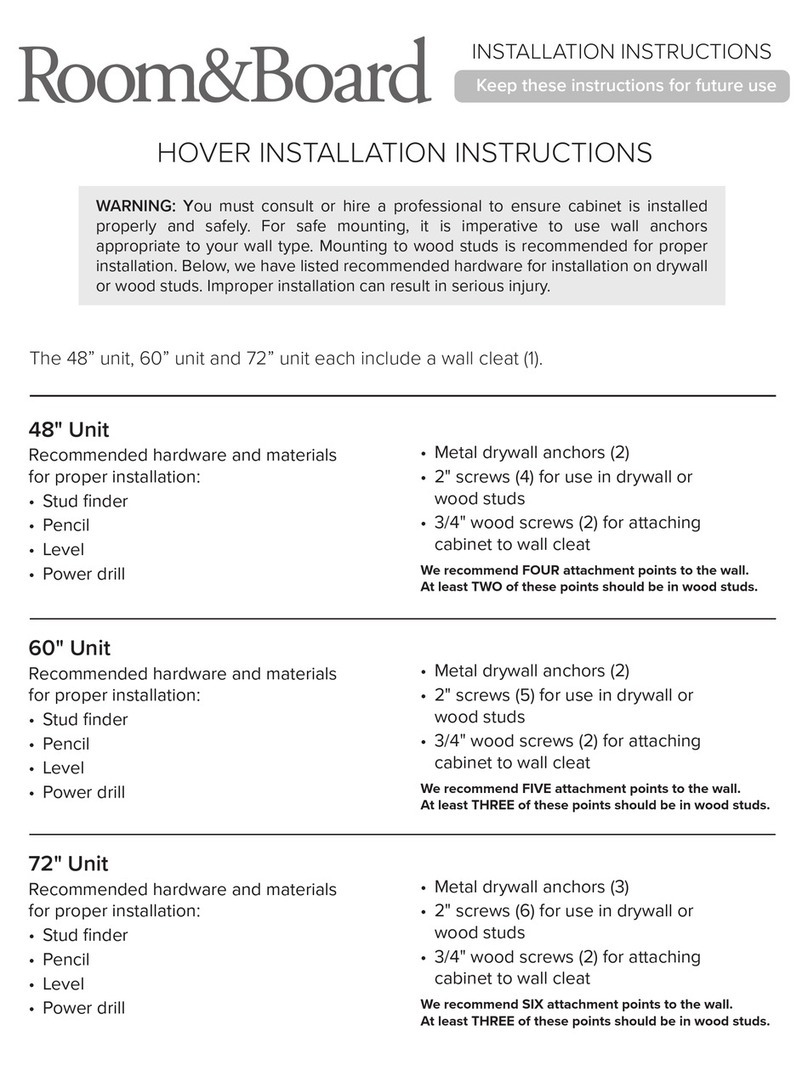
Room & Board HOVER User manual

Room & Board

Room & Board HOVER User manual
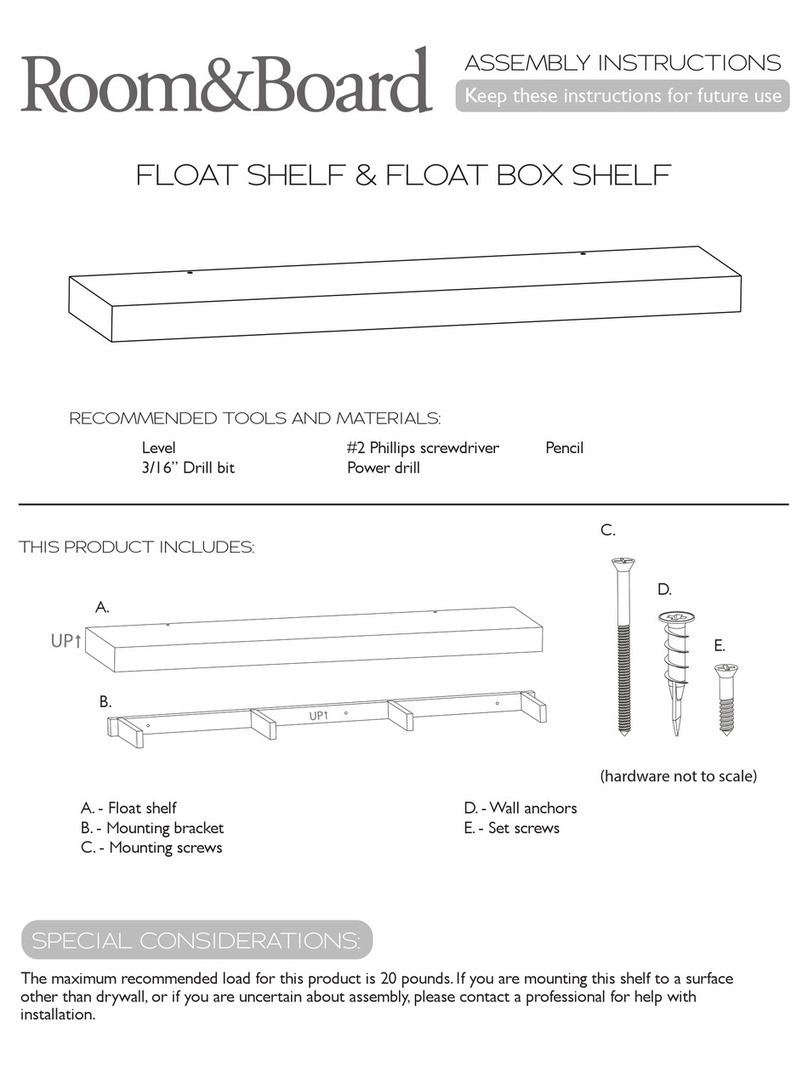
Room & Board Fort Bunk Bed User manual

Room & Board

Room & Board Fort Bunk Bed User manual

Room & Board MODA Crib User manual

Room & Board

Room & Board MODA Crib User manual

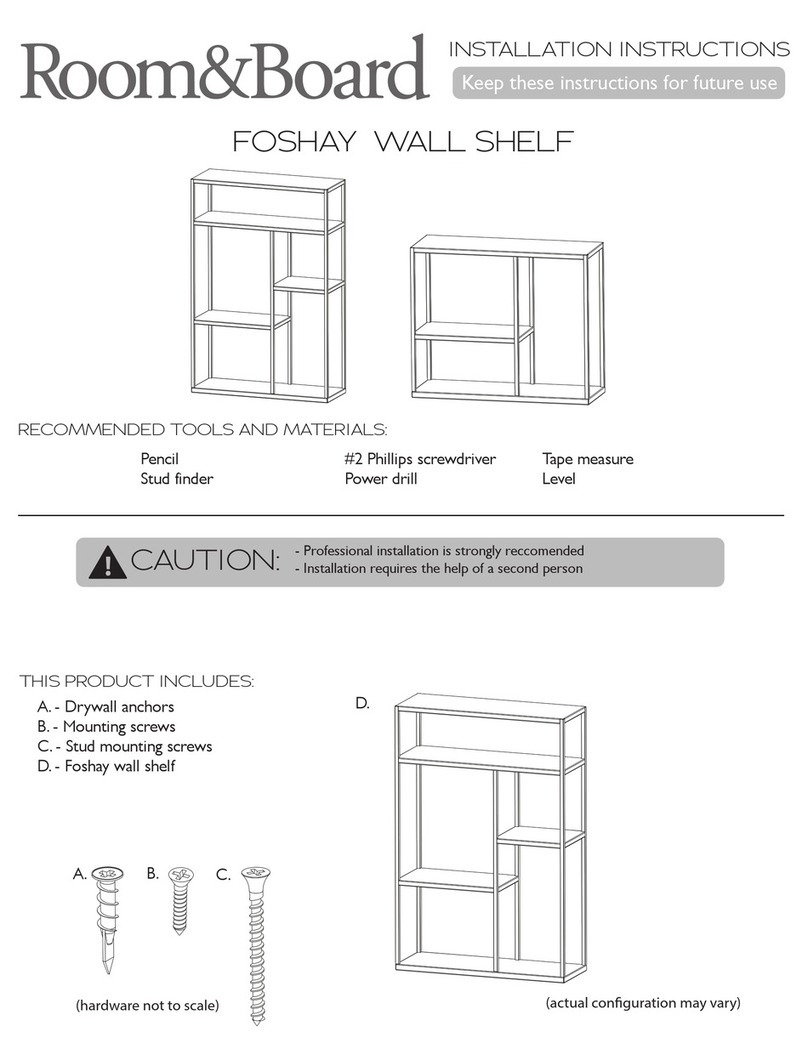
Room & Board FOSHAY WALL SHELF User manual

Room & Board

Room & Board FOSHAY WALL SHELF User manual

Room & Board Choral User manual

Room & Board

Room & Board Choral User manual

Room & Board Moda Changing Tray User manual

Room & Board

Room & Board Moda Changing Tray User manual

Room & Board ASPEN ROUND TABLE 36 User manual

Room & Board

Room & Board ASPEN ROUND TABLE 36 User manual

Room & Board Griffin Duo Bunkbed User manual

Room & Board

Room & Board Griffin Duo Bunkbed User manual

Room & Board FLOAT SHELF User manual

Room & Board

Room & Board FLOAT SHELF User manual

Room & Board BERKLEY User manual

Room & Board

Room & Board BERKLEY User manual

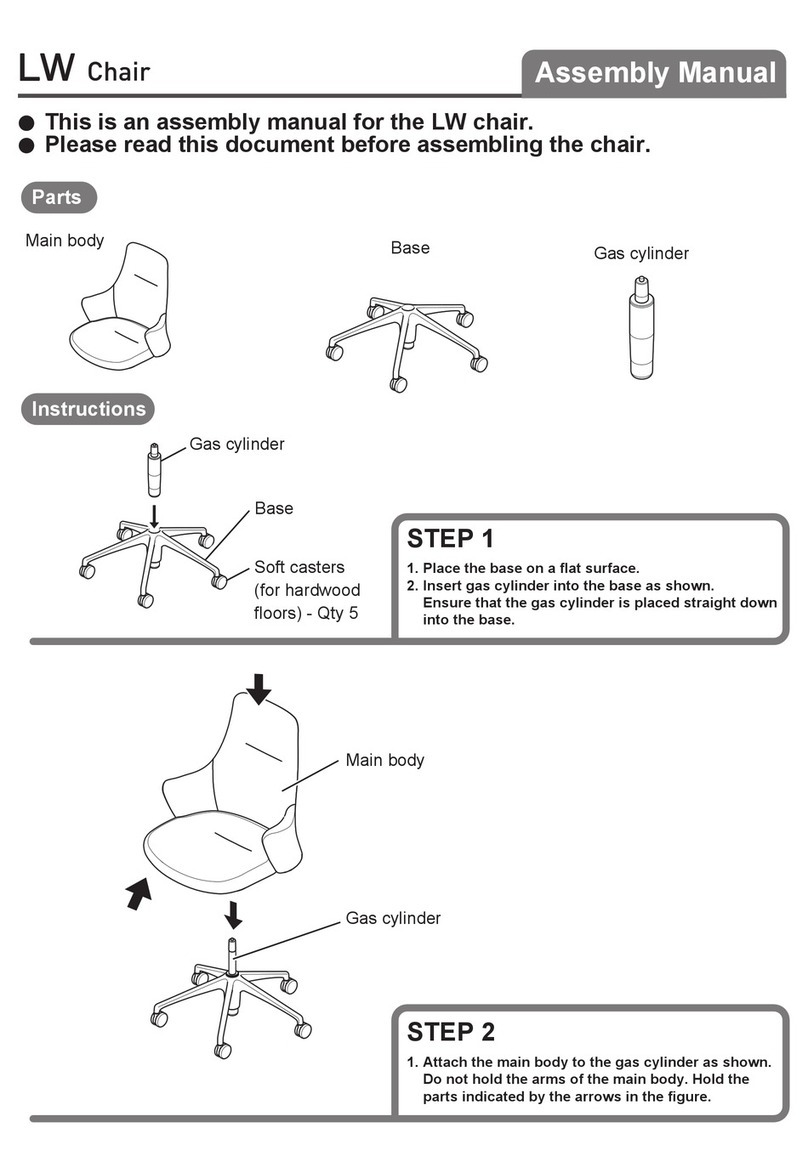
Room & Board LW User manual

Room & Board

Room & Board LW User manual

Room & Board Sill Picture Ledges User manual

Room & Board

Room & Board Sill Picture Ledges User manual

Room & Board ASPEN ROUND TABLE 36 User manual
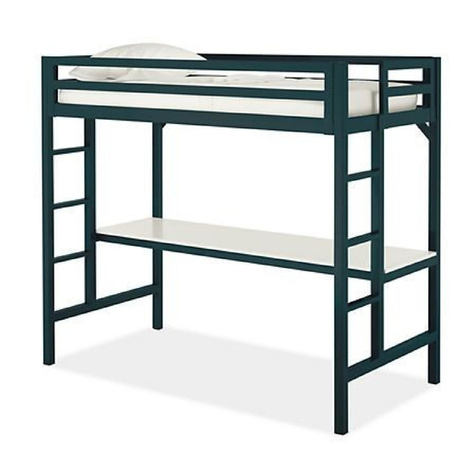
Room & Board

Room & Board ASPEN ROUND TABLE 36 User manual

Room & Board Lark Bunk Bed User manual
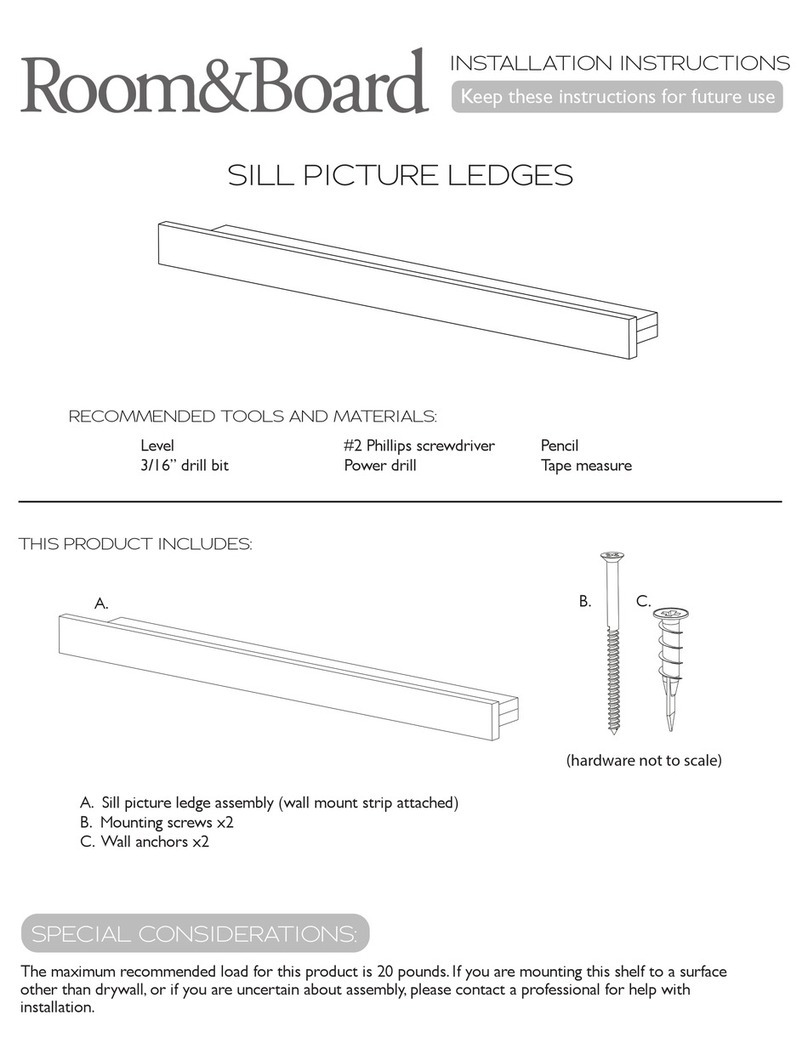
Room & Board

Room & Board Lark Bunk Bed User manual

Popular Indoor Furnishing manuals by other brands

VISIONARY DESIGNS MOD-1198 Setup instructions

VISIONARY DESIGNS

VISIONARY DESIGNS MOD-1198 Setup instructions

FMD Furniture BRISTOL 400 Assembly instruction

FMD Furniture

FMD Furniture BRISTOL 400 Assembly instruction

Manutti Flex instruction manual

Manutti

Manutti Flex instruction manual

Sauder Shoal Creek 411222 manual

Sauder

Sauder Shoal Creek 411222 manual

OVE RALPH II 42 installation manual

OVE

OVE RALPH II 42 installation manual

Next 404759 Assembly instructions

Next

Next 404759 Assembly instructions

AVB B8270-F-HBFB Assembly instructions

AVB

AVB B8270-F-HBFB Assembly instructions

Cello Logos 410 instruction manual

Cello

Cello Logos 410 instruction manual

Pulsar ZRS2768GD installation guide

Pulsar

Pulsar ZRS2768GD installation guide

KLUPS PAULA manual

KLUPS

KLUPS PAULA manual

VISIONARY DESIGNS MOD-1185 Setup instructions

VISIONARY DESIGNS

VISIONARY DESIGNS MOD-1185 Setup instructions

Mocka Kirra Six Drawer Assembly instructions

Mocka

Mocka Kirra Six Drawer Assembly instructions

Astonica 50105364 instruction manual

Astonica

Astonica 50105364 instruction manual

MIGROS HI-FI-TV MAMBO Instructions for use

MIGROS

MIGROS HI-FI-TV MAMBO Instructions for use

aspenhome I256-6052 Assembly instructions

aspenhome

aspenhome I256-6052 Assembly instructions

SouthShore 3880 Assembly instructions

SouthShore

SouthShore 3880 Assembly instructions

Sauder 416519 manual

Sauder

Sauder 416519 manual

Storage S458-450 Assembly instructions

Storage

Storage S458-450 Assembly instructions

manuals.online logo
manuals.online logoBrands
  • About & Mission
  • Contact us
  • Privacy Policy
  • Terms and Conditions

Copyright 2025 Manuals.Online. All Rights Reserved.