manuals.online logo
Brands
  1. Home
  2. •
  3. Brands
  4. •
  5. Rosewill
  6. •
  7. Enclosure
  8. •
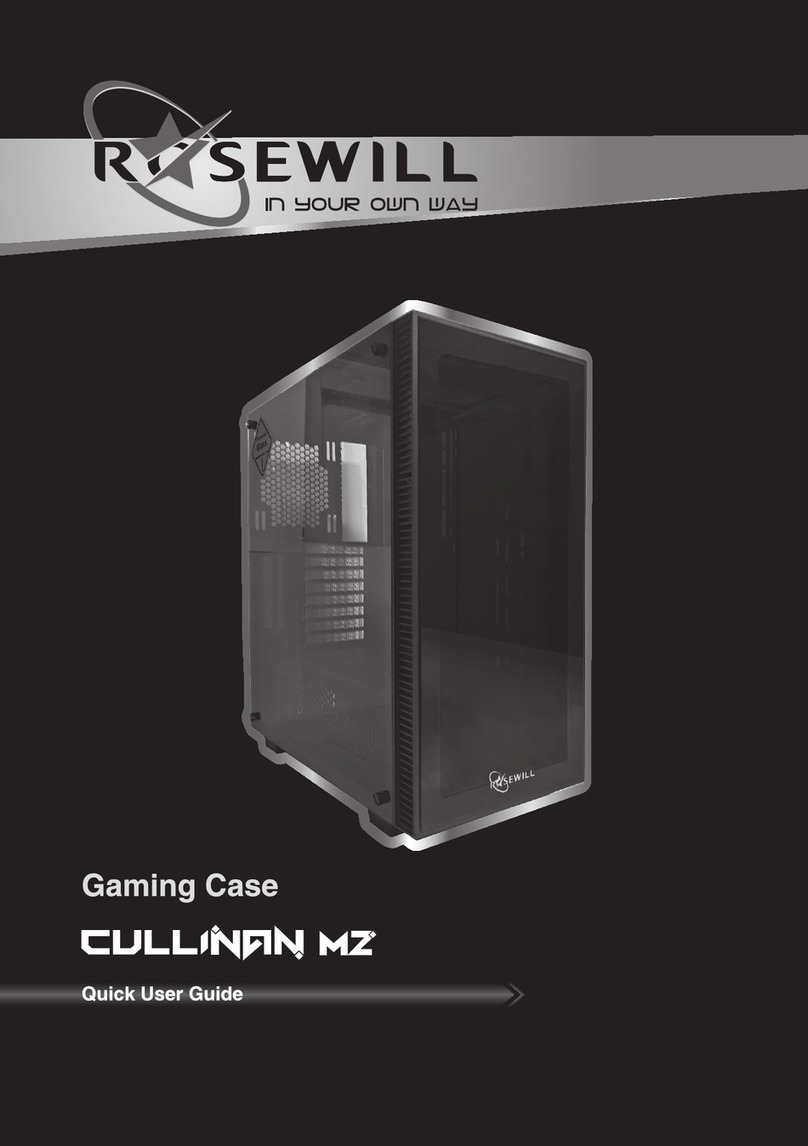
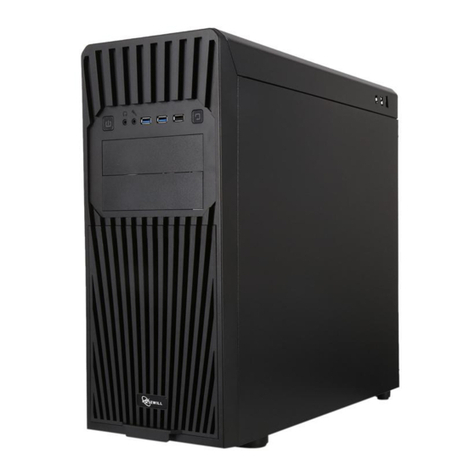
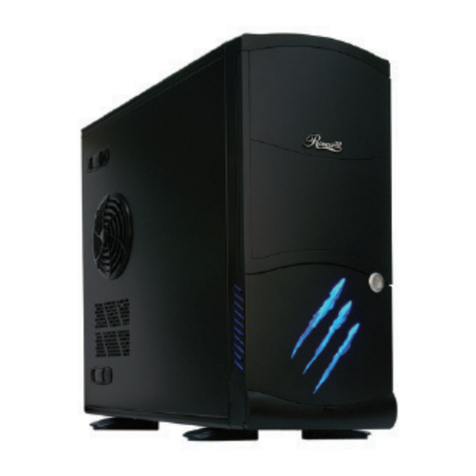
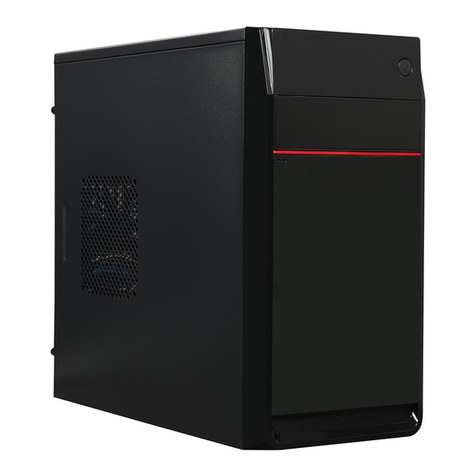
  9. Rosewill Legacy MX2 User manual

Rosewill Legacy MX2 User manual

www.rosewill.com
MX2
© All rights reserved by Rosewill
Contents
Opening Chassis P.4
Installing PSU P.4
Installing 3.5” HDD P.5
Specification P.2
Disassemble Chart P.3
P.3Accessory Box
P.3Connectors
P.6Installing 2.5” HDD
P.6
Installing Motherboard
P.7Installing Display Card
P.7
Installing ODD
P.8Finished
Installation Guide
Product Overview
Connectors
Specification
Material
Dimension
Motherboard
Drive Bay
Cooling
System
Expansion Slot
Fan Speed Controller
CPU Cooler
Display Card
Front I/O Port
Power Supply
Weight
2.5mm Aluminum Alloy
SGCC steel
2.0mm Aluminum Alloy
200 mm x 421 mm x 445 mm (W x D x H)
ATX, Micro-ATX, U-ATX, ITX
3 x3.5”, 1 x 2.5”, 1 x Slot-in Optical Drive
1 x140mm fan (built-in)
2x120mm fan (built-in)
2x80mm fan (optional)
N/A
7
Not higher than 150mm
Not longer than 280mm
2x USB 3.0, 2x USB 2.0, 1x Audio, 1x MIC
Standard ATX PSII PSU (Not longer than 160mm)
7.4kg
Disassemble Chart
Accessory Box
Hard drive LED Connection
Power Button Connection Power LED Connection
HD AUDIO Connection
USB 3.0 Connection
VBUS
SSRX1-
SSRX1+
SSTX1-
SSTX1+
D1-
D1+
GND
GND
NC
VBUS
SSRX2-
GND
SSTX2-
GND
D2-
SSRX2+
SSTX2+
D2+
Buzzer 1PCS
For looking ODD 5PCS
For locking Fan 8PCS
For locking
motherboard and PSU
For locking 3.5”HDD
(left side)
HDD Rubber 12PCS
Gasket 10PCS
15PCS
10PCS For locking 3.5”HDD
(right side) 6PCS
Bunch Wire Ties 5PCS
Hexagonal Stand-off 2PCS
For locking 2.5”HDD 5PCS
Side Panel×2
Motherboard
PSU Bracket
HDD
Cage
ODD
Bracket
140mm Fan Iron Wire Mesh
140mm Fan
ODD Slot
Wire
Protection
Grommet ×2
U-type Bracket ×2
120mm Fan×2
Fan Dust Filter×2
PORT 1L
PORT 1R
PORT 2R
SENCE_SEND
PORT 2L
AUG GND
PRESENCE
SENSE1_RETURN
SENSE2_RETURN
External
Internal
Side Plate
Top
Bottom
Rear
Motherboard is NOT INCLUDED.
2© All rights reserved by Rosewill 3© All rights reserved by Rosewill
Installation Guide Installation Guide
2ENGLISH
Unscrew the 4 screws to remove the
PSU bracket.
DEUTSCH
Lösen Sie die 4 Schrauben und entnehmen
Sie die Netzteilhalterung.
ITALIANO
Svitare le 4 vite, spostare lo supporto
alimentazione.
ESPAÑOL
Destornilla los 4 tornillos y saca el soporte
de batería.
FRANÇAIS
Dévisser les 4 vis et retirer le support
d’alimentation.
Pусский
Вскрывать 4 винта, выносить стойку
питания.
한국의
4개나사를풀어전원랙을꺼냅니다.
繁体中文
简体中文
日本語
4本のネジを外し、電源カバーを取
り外す。
1
3
ENGLISH
Pull out the side panel from the bottom
arc part.
DEUTSCH
Ziehen Sie das Seitenteil an der gebogenen
Unterseite des Gehäuses ab.
ITALIANO
Al posto arco tirare verso l'esterno il
fianco a mano.
ESPAÑOL
Inserta la mano a la posición del arco y jale
la placa para fuera.
FRANÇAIS
Retirer le panneau latéral par la partie en
forme d’arc.
Pусский
한국의
繁体中文
简体中文
日本語
ENGLISH
DEUTSCH
.
ITALIANO
ESPAÑOL
FRANÇAIS
Pусский
한국의
繁体中文
简体中文
日本語
ENGLISH
DEUTSCH
ITALIANO
ESPAÑOL
FRANÇAIS
Pусский
한국의
繁体中文
简体中文
日本語
5
4
6
ENGLISH
DEUTSCH
ITALIANO
ESPAÑOL
FRANÇAIS
Pусский
한국의
繁体中文
简体中文
日本語
手伸到圆弧位向外拉开侧板。
手伸到圓弧位向外拉開側板。
Протянуть руку на круглую дугу, отвести
наружу боковину.
側板(円弧状の凹部から)を手前に引
き出し開ける。
원호위치에서밖으로측판을당기세요.
拆开这4个螺丝取出电源架。
拆開這4個螺絲取出電源架。
ENGLISH
Remove the PSU bracket.
DEUTSCH
Nehmen Sie die Netzteilhalterung aus
dem Gehäuse.
ITALIANO
ESPAÑOL
FRANÇAIS
Retirer le support d’alimentation.
Spostare lo supporto alimentazione.
Saca el soporte de batería.
Pусский
한국의
繁体中文
简体中文
日本語
取出电源架。
取出電源架。
Выносить стойку питания.
電源カバーを取り外す。
전원랙을꺼냅니다.
装上电源4颗螺丝,(如果是12公分风扇电源 ,
风扇最好对着显卡位。)
Install the PSU with 4 screws. For PSU with fan
larger than 120mm, please have the fan face to
the display card.
裝上電源4顆螺絲,(如果是12公分風扇電源 ,
風扇最好對著顯卡位。)
Installieren Sie das Netzteil und fixieren es mit
4 Schrauben. (Sollte das Netzteil mit einem
mind. 12 cm großen Lüfter ausgestattet sein,
sollte dieser zur Grafikkarte gerichtet sein.)
Installer l’alimentation avec 4 vis. (Si l’alimentation
est équipée d’un ventilateur de 12cm, Il est
préférable de le tourner vers la carte VGA.)
Установить 4 винта питания .(для
питания вентилятора 12 сантиметров,
лучше установить вентилятор против
видеокарты.)
serrare le 4 vite all’alimentazione .(se è
l’alimentazione della ventola di 12 cm, la
ventola è meglio stare davanti al posto
scheda video.)
Armar los 4 tornillos de la batería(si la batería
es para ventilador de 12 pulgadas, mejor
dispongan el ventilador justamente frente a
tarjeta de gráfica.)
電源を取り付け、4本のネジで固定する。
(直径12センチの電源ファンが付いている
場合はファンがビデオカードの方に向く。)
전윈의 4개나사를 고정합니다.(만약12cm
선풍기 전원이면 그래픽 카드위치에 있으
면좋습니다.)
把硬盘滑入硬盘笼里。注:左边用手拧螺丝,
右边用平头螺丝。
Insert the hard disk into the HDD cage.
Note: Toolless screws are used in the left side,
flat-head screws are used in the right side
把硬盤滑入硬盤籠裏。注:左邊用手擰螺絲,
右邊用平頭螺絲。
Schieben Sie die Festplatte in den hierfür
vorgesehenen Festplattenkäfig.Zur Befestigung
schrauben Sie bitte die Rändelschrauben an die
linke und die Flachkopfschrauben an die rechte
Seite des Laufwerks.
Glisser les disques durs dans la cage HDD.
Note : Les vis à mains doivent être vissées dans
la partie gauche et les vis à tête plate du coté droit.
Вскользнуть ортштейн в клетку ортштейна.
Scivolare il disco rigido alla cabina del disco rigido.
Inserta el disco duro dentro de su hueco.
HDDをハードディスクのかごへ入れる。
하드웨어를 하드 디스크안에넣으세요.
硬盘装到位后,再固定最后一颗手拧螺丝。
如拆下硬盘用手把左边手拧螺丝向外推出。
硬盤裝到位後,再固定最後壹顆手擰螺絲。
如拆下硬盤用手把左邊手擰螺絲向外推出。
Nach der Installation der HDD, fixieren Sie sie
mit der Rändelschraube. Um die HDD wieder
zu entnehmen, ziehen Sie diese einfach an der
leicht gelockerten Rändelschraube heraus.
Après avoir installé les disques durs, fixer les
avec les vis à mains. Si vous avez besoin de
retirer les disques durs, pousser juste les vis à
mains vers l’exterieur.
After installing the HDD, secure with the toolless
screw. If you need to remove the HDD, just push
the left side toolless screw outwards.
После вставления ортштейна укрепить
Dopo il disco rigido è pronto, fissare l’ultima vita
di mano. Se spostare il disco rigido, spingere la
vita di mano verso esterno a mano.
Cuando el disco duro está en su posición, fijase
el ultimo tornillo de apriete a mano. Y si quiere
sacar el disco duro , empuje el tornillo de apriete
a mano a fuera primero.
HDDを取り付けた後、ネジで固定する。
HDDを取り外したら、左側のビスを押。
하드웨어를 넣은후마지막 나사를 고정하고
Toolless
Screw
Flat-head
Screw
Left: Right:
User’s ManualLegacy MX2
CASE
User’s ManualLegacy MX2
CASE
4© All rights reserved by Rosewill 5© All rights reserved by Rosewill
Вставить материнскую плату. (примечание: перед
определением винта материнской платы, лучше
ввернуть проволоку передней амбразуры IO и
включатель в материнскую плату, а то два
вентилятора на дне мешают вкладке
проволоки.)
Installieren Sie das Mainboard. Es wird empfohlen,
die Frontanschlusskabel an das Mainboardanzuschließen
BEVOR Sie das Mainboard festschrauben. Andernfalls
werden die beiden Lüfter am Gehäuseboden blockiert
und sind schwer zu installieren.
Install the motherboard. (Note: It is recommended
to connect the front IO cables to the motherboard
before locking the motherboard with screws, or
the access will be blocked by the 2 bottom fans.)
Installation Guide Installation Guide
8ENGLISH
DEUTSCH
ITALIANO
ESPAÑOL
FRANÇAIS
Pусский
한국의
繁体中文
简体中文
日本語
7
9
ENGLISH
DEUTSCH
ITALIANO
ESPAÑOL
FRANÇAIS
Pусский
한국의
繁体中文
简体中文
日本語
.
11
10
12
ENGLISH
DEUTSCH
ITALIANO
ESPAÑOL
FRANÇAIS
Pусский
한국의
繁体中文
简体中文
日本語
ENGLISH
DEUTSCH
ITALIANO
ESPAÑOL
FRANÇAIS
Pусский
한국의
繁体中文
简体中文
日本語
装上2.5HDD或SSD。(注:一定要在
装主板前先装好,否则无法固定。)
Install the 2.5” HDD or SSD. (Note: It has
to be installed before installing
motherboard, or it cannot be fixed. )
裝上2.5HDD或SSD。(注: 一定要在
裝主板前先裝好,否則無法固定。)
Installieren Sie ggf. bis zu zwei 2,5“ HDD oder
SSD an der Rückseite des Mainboardträgers.
(Bitte beachten Sie: Diese muss/müssen VOR
der Mainboardmontage installiert werden, damit
ein Zugang zu den Montagelöchern gegeben ist.)
Installer les disques durs 2.5’’. (Note : Installer
les avant de poser la carte mère, sinon ils ne
pourront pas être fixés.)
Установить 2.5 HDD или SSD. (примечание:
перед установлением материнской платы
надо зарядить, а то нельзя укрепить.)
Installare 2.5 HDD o SSD .(Note: deve essere
pronto prima di caricare il mainboard, o non
si puo fissarlo)
Instala 2.5 HDD o SSD.(nota: deben de instalar
bien antes de la instalación de la placa principal,
si no , no se puede fijar)
2.5インチHDD(SDD)を取り付ける。
(手順としては、マザーボードを取り
付けた後、HDDまたはSDDを。)
2.5 HDD 혹은SSD를장착하세요. (주:반드
시메인보드를장착하기전에 넣어야 하는바
그렇지 않을 겨우고정시킬수없습니다.)
装入主板。(注:锁主板螺丝前最好先把前置IO口的
线材和开关插在主板上,否则底部的2个风扇会挡
着不方便插线。)
裝入主板。(注:鎖主板螺絲前最好先把前置IO口的
線材和開關插在主板上,否則底部的2個風扇會擋
著不方便插線。)
Installer la carte mère. (Note : Il est recommandé de
brancher les ports E/S de la façade avant de fixer la
carte mère avec les vis, sinon les 2 ventilateurs du
bas vont gêner lors de la connexion.)
Caricare il mainboard .(Note: prima di fassare la
vita del mainboard, è meglio agganciare i fili di
IO porta davandi e interruttore al mainboard, se
non, le 2 ventole alla base sarano bloccate e non
è conveniente agganciare i fili.)
Instala la placa principal .( nota :mejor dispongan
las lineas y interrupdores de IO a la placa principal
antes de armar los tornillos.)
マザーボードを取り付ける。(マザーボードを
固定する前に、I/O挿入口(前置き)のケーブル
とスイッチをマザーボードに挿し込む。)
메인보드를장착하세요.(주:메인보드 나사를
고정시키기전에 앞면 IO 포트의 케이블과 스위
치를 메인보드에 꽂아야 하는바 그렇지 않을 경우
아래쪽의 2개 선풍기가 가로막아 케이 블의
장착에 불편합니다.)
取出PCI卡条。(第7个PCI和底部风扇共用位置,
如要用到请拆下风扇。)
Remove the PCI slot cover. (The 7th PCI slot
shares the same space with the bottom fan(s).
Please remove the fan(s) before making use of it.)
取出PCI卡條。(第7個PCI和底部風扇共用位置,
如要用到請拆下風扇。)
Bei Verwendung von Erweiterungskarten
entfernen Sie die entsprechenden PCI
Slotblenden. (Achtung: Der siebte Slot teilt sich
den Platz mit mindestens einem Lüfter am
Gehäuseboden.)
Retirer les caches de extension de slot PCI.
(le 7ème slot PCI partage la place avec les
ventilateurs du bas, les retirer si vous
utilisez l’emplacement.)
Выносить рейку PCI. (общее положение седьмой
PCI и вентилятора на дне, если использовать, то
снять вентилятор.)
Spostare le schede PCI. (la settima scheda usa
lo stesso posizione con la ventola sotto la drive,
se è neccessario rimuovere la ventola .)
Saca la barra de PCI.( la séptima barra de PCI
comparte con el ventilador el mismo lugar, si
se va a aplicar, desarma el ventilador.)
PCIを取り外す。(七つ目のPCIスロットを使
う場合は、ファンを取り外してください。)
PCI 패널을꺼내세요.(제7개 PCI 와아래쪽의
공용위치는수요되면선풍기를내려놓으세요.)
装入光驱。(吸入式笔记本光驱)
装入显卡。
锁上光驱4颗螺丝。
Install the display card into position.
Install the ODD. (Slot-in style)
Lock the ODD with 4 screws.
鎖上光驅4顆螺絲。
裝入光驅。(吸入式筆記本光驅)
裝入顯卡。
Falls benötigt installieren Sie nun
Ihre Grafikkarte.
Ggf. installieren Sie nun Ihr optisches Slim
Laufwerk .(mit Slot-in Einschub)
Fixieren Sie das optische Laufwerk mit 4
Schrauben.
Installer la carte graphique.
Installer le lecteur de disque. (Slot in)
Fixer le lecteur avec 4 vis.
Вставить видеокарту.
Вставить дисковод .(впускной
дисковод нотбука)
Запереть 4 винта дисковода.
Bloccare i quattro vite sulla drive.
Caricare la drive. ( la drive a succhiamento
del portatile)
Caricare la scheda video.
Instala la tarjeta de gráfica.
Carga de la unidad óptica .(unidad óptica de
slot-notebook)
Arma los 4 tornillos de la unidad óptica.
ビデオカードを取り付ける。
ドライブを取り付ける。(吸込
み式ノートドライブ)
ドライブカバーを4本のネジで
固定する。
그래픽카드를넣으세요 .
ENGLISH
DEUTSCH
ITALIANO
ESPAÑOL
FRANÇAIS
Pусский
한국의
繁体中文
简体中文
日本語
ENGLISH
DEUTSCH
ITALIANO
ESPAÑOL
FRANÇAIS
Pусский
한국의
繁体中文
简体中文
日本語
시디 드라이브를 장착합니다.
(흡입식노트북 시디 드라이브)
시디 드라이브 4개 나사를고정
시킵니다.
User’s ManualLegacy MX2
CASE
User’s ManualLegacy MX2
CASE
6© All rights reserved by Rosewill 7© All rights reserved by Rosewill
Installation Guide
Thank you for purchasing a High-Quality Rosewill Product.
Please register your product at : http://www.rosewill.com
for complete warranty information and future support for your product.
If you have any question while using our products, please visit our website : www.rosewill.com
for latest driver & user manual or feel free to contact us.
Support Phone Number: 800-575-9885
Support Email: [email protected]
14.
13.
ENGLISH
DEUTSCH
ITALIANO
Fissare 3,5 "HDD sulla struttura
laterale di disco rigido.
ESPAÑOL
El HDD de 3.5″debe bloquearse en el
bastidor lateral de disco duro.
FRANÇAIS
Pусский
Зафиксируйте HDD 3.5″на боковую
рамку жесткого диска.
한국의
3.5″ HDD를 측면 하드 디스크
받침대에 로킹시킵니다.
繁体中文
將3.5" HDD鎖固在側硬盤架上。
简体中文
将3.5" HDD锁固在侧硬盘架上。
日本語
3.5″ HDDを側面のハードディスク
台に固定する。
Install the side panel and feet.
Montieren Sie das Seitenteil
wieder an das Gehäuse und
befestigen die Füße.
Refermer le panneau latéral et
poser les pieds.
ENGLISH
DEUTSCH
ITALIANO
ESPAÑOL
FRANÇAIS
Pусский
한국의
繁体中文
简体中文
日本語
组装完成。
Die Montage ist nun beendet.
Монтаж кончится.
Termina de armar.
장착완성
組裝完成。
Assembly complete.
Installation terminée.
Finita installazione.
組み立て完成。
8© All rights reserved by Rosewill 9© All rights reserved by Rosewill
Other Rosewill Enclosure manuals

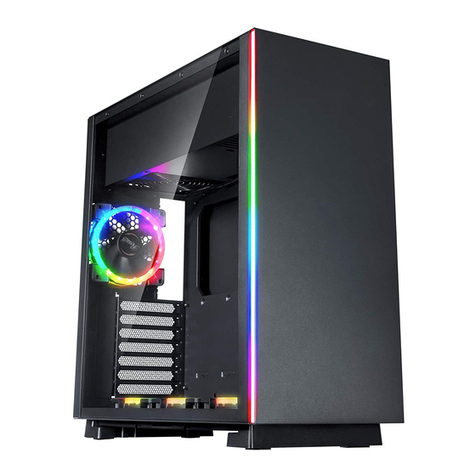
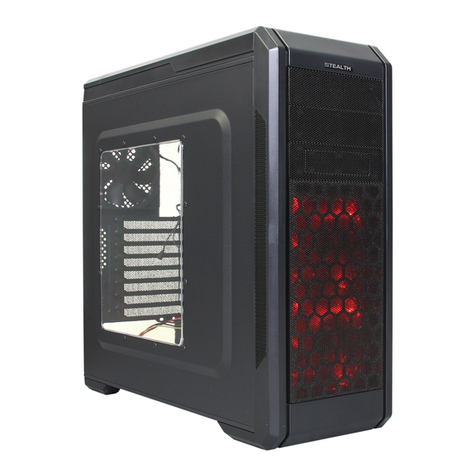
Rosewill Cullinan MX Instruction manual

Rosewill

Rosewill Cullinan MX Instruction manual

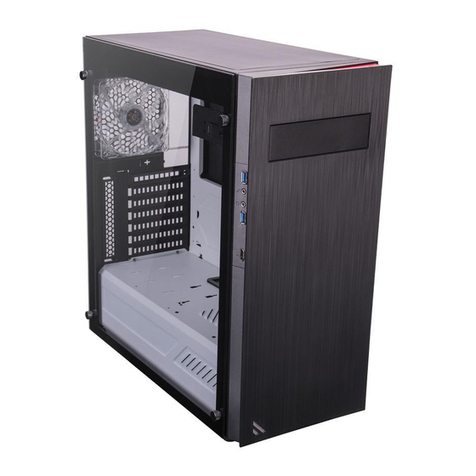
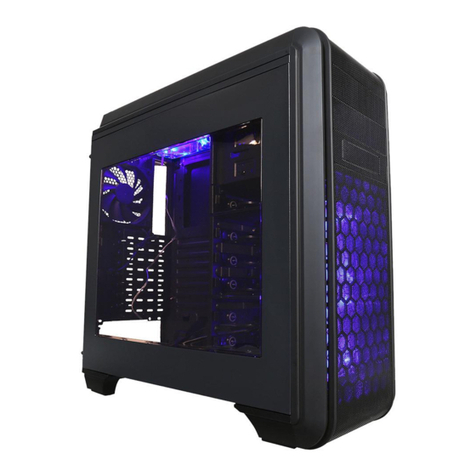
Rosewill STEALTH User manual

Rosewill

Rosewill STEALTH User manual

Rosewill Himars Instruction manual

Rosewill

Rosewill Himars Instruction manual

Rosewill VIPER Z User manual

Rosewill

Rosewill VIPER Z User manual

Rosewill PRISM T User manual

Rosewill

Rosewill PRISM T User manual

Rosewill 5600 Series User manual

Rosewill

Rosewill 5600 Series User manual

Rosewill RX32 User manual

Rosewill

Rosewill RX32 User manual

Rosewill R7229 R7229 User manual

Rosewill

Rosewill R7229 R7229 User manual

Rosewill RISE User manual

Rosewill

Rosewill RISE User manual

Rosewill RX81U-AT-25A User manual

Rosewill

Rosewill RX81U-AT-25A User manual

Rosewill RX81U-MP-25A-S/B User manual

Rosewill

Rosewill RX81U-MP-25A-S/B User manual

Rosewill RX25-AT-SC-BLK/SLV User manual

Rosewill

Rosewill RX25-AT-SC-BLK/SLV User manual

Rosewill PRISM S500 Instruction manual

Rosewill

Rosewill PRISM S500 Instruction manual

Rosewill SRM-01 User manual

Rosewill

Rosewill SRM-01 User manual

Rosewill RX35-AT-IU BLK User manual

Rosewill

Rosewill RX35-AT-IU BLK User manual

Rosewill CASE 422 Series User manual

Rosewill

Rosewill CASE 422 Series User manual

Rosewill CHALLENGER-S User manual

Rosewill

Rosewill CHALLENGER-S User manual

Rosewill Lineom User manual

Rosewill

Rosewill Lineom User manual

Rosewill CULLINAN MX Series Instruction manual

Rosewill

Rosewill CULLINAN MX Series Instruction manual

Rosewill CHALLENGER-U3 User manual

Rosewill

Rosewill CHALLENGER-U3 User manual

Rosewill RX355-U User manual

Rosewill

Rosewill RX355-U User manual

Rosewill SCM-01 Instruction manual

Rosewill

Rosewill SCM-01 Instruction manual

Rosewill CASE 422 Series User manual

Rosewill

Rosewill CASE 422 Series User manual

Rosewill FBM-01 User manual

Rosewill

Rosewill FBM-01 User manual

Popular Enclosure manuals by other brands

Octave TouchTunes Fusion DIY user guide

Octave

Octave TouchTunes Fusion DIY user guide

Renkforce 62 97 34 operating instructions

Renkforce

Renkforce 62 97 34 operating instructions

Rockwell Automation 1336 PLUS instructions

Rockwell Automation

Rockwell Automation 1336 PLUS instructions

Bull ESCALA Series manual

Bull

Bull ESCALA Series manual

Pulsar AWO352 Assembly instructions

Pulsar

Pulsar AWO352 Assembly instructions

CRU Dataport RTX430-3QR quick start guide

CRU Dataport

CRU Dataport RTX430-3QR quick start guide

Hartke VX810 owner's manual

Hartke

Hartke VX810 owner's manual

Edwards Acoustic Enclosure instruction manual

Edwards

Edwards Acoustic Enclosure instruction manual

Boston Acoustics GTuned G510RS Specifications

Boston Acoustics

Boston Acoustics GTuned G510RS Specifications

Hartke PRO 2100 user guide

Hartke

Hartke PRO 2100 user guide

V7 RMWC6U installation manual

V7

V7 RMWC6U installation manual

Konig CMP-COMPCASE20 manual

Konig

Konig CMP-COMPCASE20 manual

Kingwin ATK-25U-BK user manual

Kingwin

Kingwin ATK-25U-BK user manual

Alumax ProLine PL50 installation instructions

Alumax

Alumax ProLine PL50 installation instructions

OWC Mercury On-The-Go Assembly manual

OWC

OWC Mercury On-The-Go Assembly manual

SUNRICH TECHNOLOGY S-190 user manual

SUNRICH TECHNOLOGY

SUNRICH TECHNOLOGY S-190 user manual

Eaton Crouse-Hinds 9373-FB3 Series instruction manual

Eaton

Eaton Crouse-Hinds 9373-FB3 Series instruction manual

Western Digital My Passport AV-TV Quick installation guide

Western Digital

Western Digital My Passport AV-TV Quick installation guide

manuals.online logo
manuals.online logoBrands
  • About & Mission
  • Contact us
  • Privacy Policy
  • Terms and Conditions

Copyright 2025 Manuals.Online. All Rights Reserved.