rotork Pakscan IIS User manual

Publication - S130E Issue 1.0 23 June 1996
Pakscan IIS
Master Station
Technical Manual

2 Publication S130E Issue 1.0 Pakscan IIS Technical Manual
As we are continually developing our products their design is subject to change without notice.
The contents of this document are copyright and must not be reproduced without the written permission
of Rotork Controls Ltd.
Modbus is a registered trade mark of AEG Modicon
Windows is a registered trademark of Microsoft Corporation
C

Pakscan IIS Technical Manual Issue 1.0 Publication S130E 3
1. INTRODUCTION
1.1 Related Documents
2. EQUIPMENT DESCRIPTION
3. STORAGE PROCEDURE
4. OVERVIEW of PAKSCAN
4.1 Field Control Units
4.2 Control and Indication
5. INITIAL SETTING UP
5.1 Jumper and Link Settings
5.2 Set up RS485 line options
5.3 External Links (ESD)
5.4 Display Screen Contrast
6. FUNCTIONS
6.1 Cable Fault Protection
6.2 Current Loop Operations
6.3 Modbus Serial Interfaces
6.4 Local User Interface
7. INSTALLATION and CONNECTION
7.1 Mounting
7.2 Power
7.3 Field Wiring
7.4 Loop Checks
8. LCD and KEYPAD
8.1 Keypad Security
8.2 Menu Structure
8.3 Master Station Status
8.4 Diagnostic Menus
8.5 Setup Menus
8.6 Field Unit Menus
8.7 Sequence and Interlock Menus
9. SETTING PARAMETERS and
DOWNLOADING PROGRAMMES
9.1 Initial Decisions
9.2 Communication Ports
9.3 Loop Data
9.4 Tag Names
9.5 Date and Time
9.6 ESD Configuration
9.7 Security Access Level
9.8 Final Checks
9.9 Downloading Sequences
10. COMMISSIONING THE SYSTEM
10.1 Checking Individual Field Units.
10.2 Checking the Loop Itself
10.3 Checking System Performance
10.4 Diagnostic Information
10.5 Final Checks
10.6 Commissioning Aids
11. SET UP DATA RECORDS
12. TECHNICAL SPECIFICATIONS
12.1 Master Station
12.2 GP Field Units
12.3 2-Wire Loop
12.4 External Connections
12.5 Master Station Dimensions
12.6 Pushbutton and LED Labels
12.7 Typical Comms Connections
12.8 Sequencer Information
12.9 Maintenance
Appendix 1 - General Safety Information
Contents
CE Declaration
How to use this manual

4 Publication S130E Issue 1.0 Pakscan IIS Technical Manual

Pakscan IIS Technical Manual Issue 1.0 Publication S130E 5
How to use this Manual
In order to make the best use of the information in the following pages we suggest you use this manual as
follows:
!Familiarise yourself with the hardware - Section 2 will show you all the parts.
!Read Sections 2 to 7 before attempting to commission the system.
!Refer to Section 5 to check the internal link settings
!Make sure you understand how to connect the system - Section 7 tells you how.
!Find out about the screen displays, there are examples of all screens in section 8
!Set up the Software selected parameters - see Section 9
!Commissioning the system is explained in Section 10.
!Record the information about your system on data sheets such as those outlined in Section 11.
!Section 12 has technical information you might need
Software level
This technical manual relates to Pakscan IIS master stations with software version 5222-020 V1.2 or later.

6 Publication S130E Issue 1.0 Pakscan IIS Technical Manual
Fig. 1 - Pakscan IIS Master Station and IQ actuator

Pakscan IIS Technical Manual Issue 1.0 Publication S130E 7
1. INTRODUCTION
This manual describes Pakscan IIS equipment and the procedures for setting up and commissioning a Pakscan
IIS master station. If the unit is to be stored for a period of time prior to its use, then please refer to Section 2
for information about storage of electronic equipment.
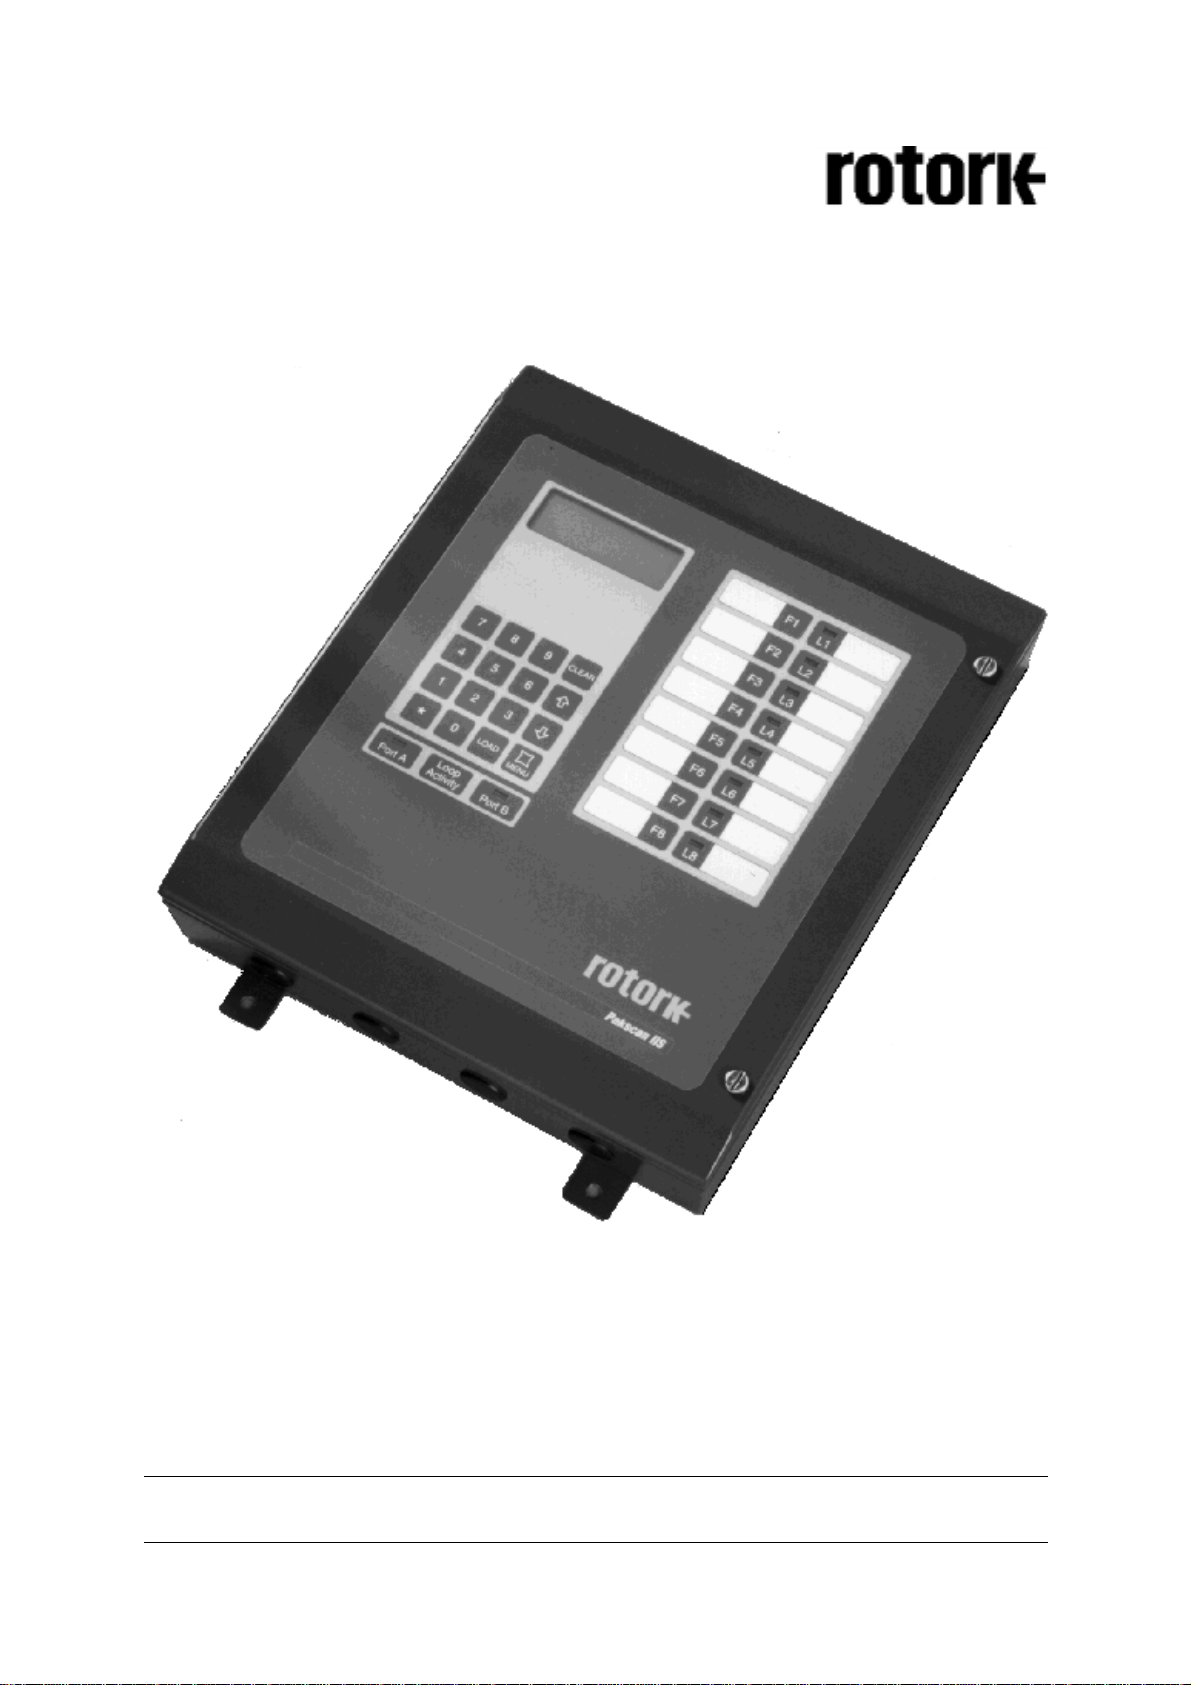
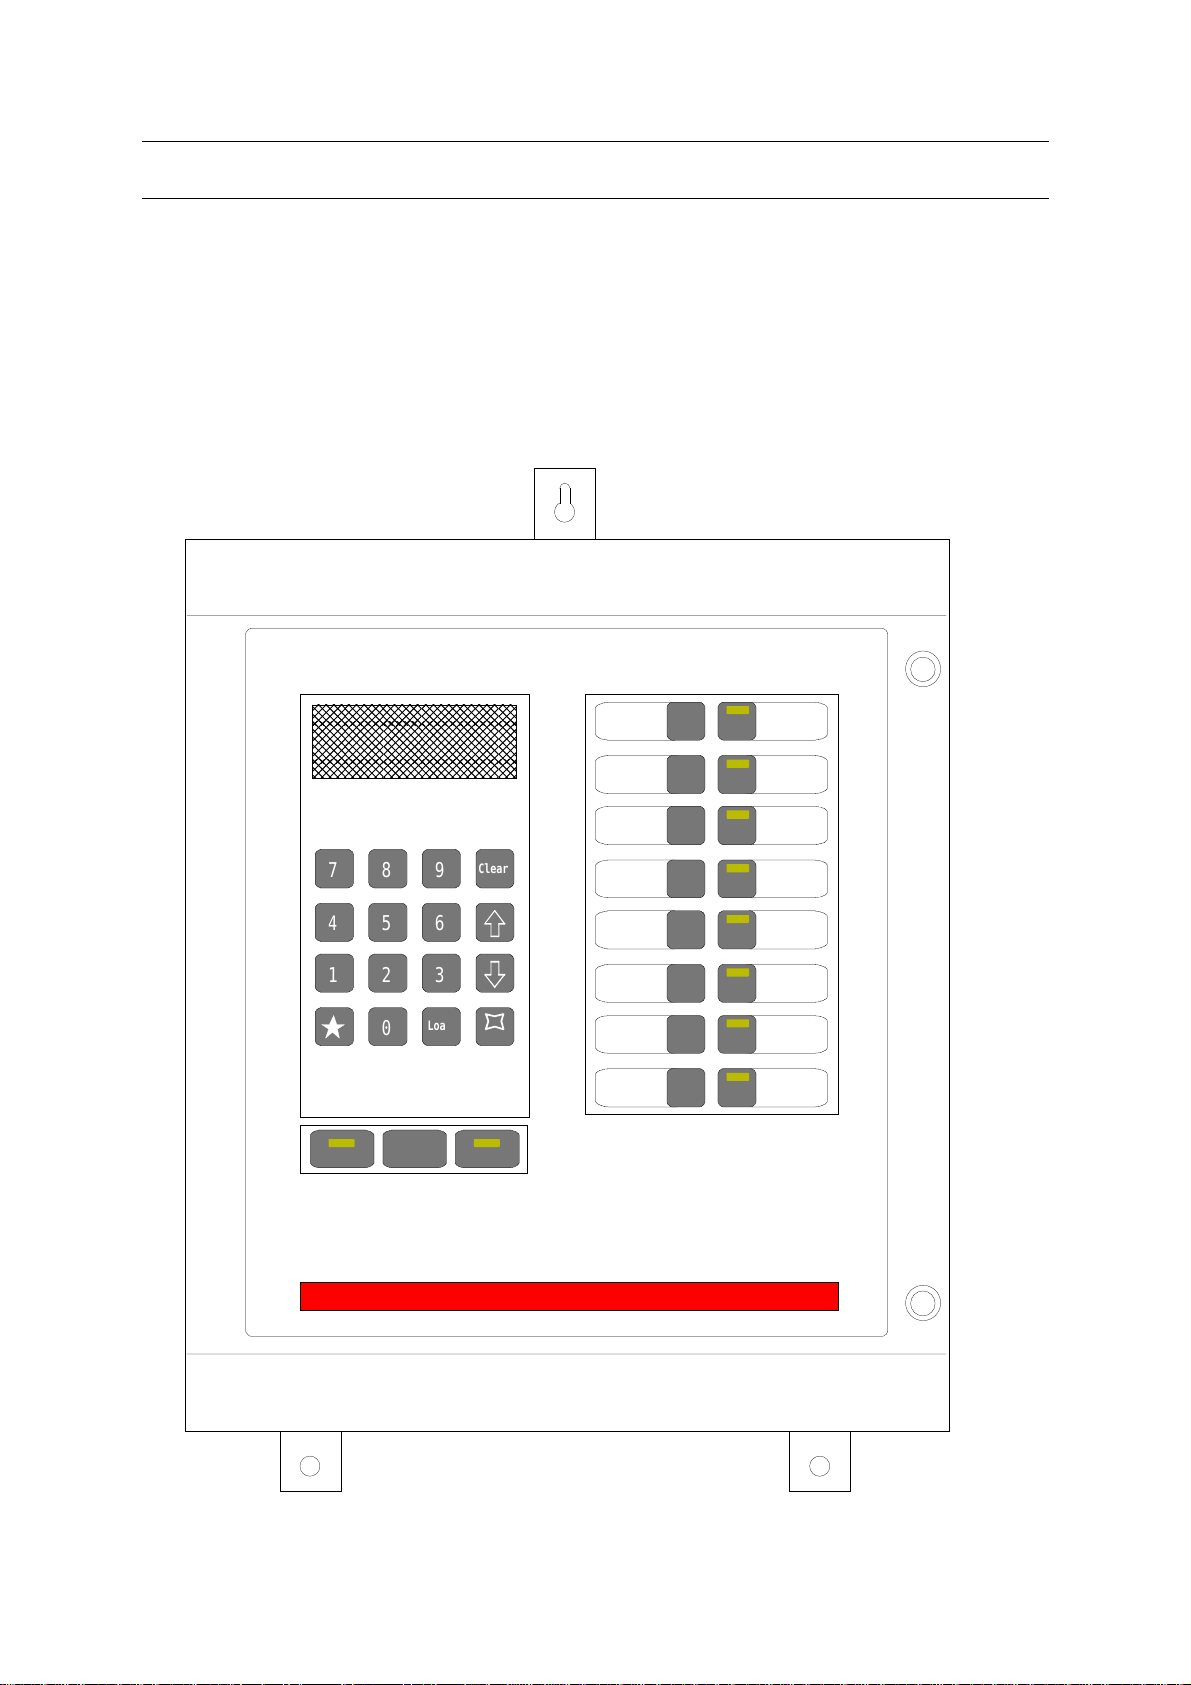
The Pakscan IIS master station hardware is a stand alone unit requiring only the connection of power and
suitable field units to operate. This manual describes the Pakscan IIS master station only. Please refer to the
documentation relating to the field units for information on those parts of the system.
The Pakscan IIS system is compatible with all Pakscan II and IIE field units and setting tools. It also includes
the ability to be programmed to operate plant sequences and to interlock the plant output commands. The
information relating to the construction and downloading of these programmable functions is contained in the
SCT programming manual.
The Pakscan IIS is equipped with two serial communication ports through which the master station can be
controlled and operated from another device, or the SCT programme may be downloaded. The communication
protocol supported by these ports is Modbus RTU and details of the function codes and data base organisation
already established within the master station are contained in the associated protocol documents. All
connections to the Pakscan IIS are via screw terminals.
1.1 Related Documents
There are a number of documents for the Pakscan system that relate to the Pakscan IIS master station these
include:
General
(1) Pakscan IIS SCT Programming Manual 6000-100
(2) Field Test Unit Technical Manual (Paktester) R5161-016
(3) Master Station Test Unit Technical Manual (Pakreader) 5161-021
(4) Pakscan IIE RS485 Converter Technical Manual 5218-023
Serial Communications
(5) Pakscan IIE Generic Modbus Interface Specification R5206-012
(6) Pakscan IIE Honeywell Modbus Interface Spec ( EPLCG) MO2185-001
(7) Pakscan IIE Yokogawa Modbus Interface Specification SZ1772-001
(8) Pakscan IIE Honeywell SI Modbus Interface Specification S171E

8 Publication S130E Issue 1.0 Pakscan IIS Technical Manual
This page is intentionally left blank

Pakscan IIS Technical Manual Issue 1.0 Publication S130E 9
789
Clear
4
56
123
0
Load Menu
Port A Port B
F1
F2
F3
F4
F5
F6
F7
F8
L1
L2
L3
L4
L5
L6
L7
L8
Pakscan IIS
Loop
Activity
Fig. 2 - The Pakscan IIS Master Station
2. EQUIPMENT DESCRIPTION
The Pakscan IIS master station is a stand alone unit suitable for mounting on a flat vertical surface. The
enclosure is sealed and weatherproof and all access is from the front of the unit. The door, hinged on the left,
provides access to the terminals and circuit board inside. The door is released by turning the two quarter turn
fasteners through 90 degrees anti-clockwise. All cable entries to the enclosure are in the bottom.
Internally there is a single circuit board mounted in the enclosure that contains all the field terminals, the

10 Publication S130E Issue 1.0 Pakscan IIS Technical Manual
CONTRAST
+-
Fig. 3 - Pakscan IIS Master Station, Inside Door
system power supply and power terminals, and all the electronic parts. The door carries a second circuit board
that has the display module, keypad, function buttons and LED's mounted on it. Both of these internal circuit
boards are protected by covers that prevent inadvertent access to the electronic components or high voltage
circuits. When these covers are in place the power, input and output terminals remain accessible.
The Pakscan IIS is suitable for an a.c. power supply and there is a single fuse fitted internally. The a.c. power
is wired to three terminals (LNE) on the main circuit board.

Pakscan IIS Technical Manual Issue 1.0 Publication S130E 11
Fig. 4 - Pakscan IIS Master Station, Door Open
LOOP B
LOOP A
+-
+
-
RV182 RV181
1
S2
1
S3
1
S1LK4LK5
J7
J9
J8
J10
J5
J6
B
LK6
LK7
TB 2
E
N
L
(-)
(+ )
F2
F1
-
+
BATT
ESD - 33
ESD + 32
NC 31
C 3 0
NO 29
COM 28
IMOK 27
HESOK 26
IMBO SS 25
HESBO SS 24
+ 24V 23
GND 22
BO U T 21
BIN 20
GND 19
AIN 18
AOUT 17
GND 16
COM B 15
RTSB 14
CTSB 13
RXB- 12
RXB+ 11
TXB- 10
TXB+ 9
GND 8
COMA 7
RTSA 6
CTSA 5
RXA- 4
RXA+ 3
TXA- 2
TXA+ 1
PA KS CAN IIS M FU M ASTERSTATION BD ROTORK INSTRUMENTS
SK13 SK12 SK11
SK10
TB1
SK1
LK3
LK 6
LK 7
LK4
LK5
J
5
J
6
J10
J8
J
9
J
7
S2
S1
S3
IMBOSS
HESBOSS
+24V23
24
25
COM
IMOK
HESOK26
27
28
GND
B IN
B OUT
20
21
22
LK5
GND
A IN
A OUT
17
18
19
LK4
RV 181
+-
LOOP A
L
N
ECHASSIS GROUND
NEUTRAL
LINE (96-264 V a.c.) F1 = 3.15 A
POWER
SUPPLY
GND
COMA
RTSA
CTSA
5
6
7
8
J6
J10CTSA
RTSA
RS232
ABAB
RS485
LOOP
CABLES
A
B
PORT 1
(TO HOST)
PORT 2
(TO HOST)
ALM NC
ALM C
ALM NO29
30
31
NC ESD
NC ESD
32
33
ESD WHEN INPUT = OPEN CONTACT
GND
COMB
RTSB
CTSB
13
14
15
16
RS232
AB
AB
RS485
J9
J7
-ve
RXB -
RXB +
TXB -
TXB +
9
10
11
12
LK7 RS232 RS485
J8 ABAB 34
S1
2 / 4 WIRE
13
42
+ve
S3
RXA -
RXA +
TXA -
TXA +
1
2
3
4
2 / 4 WIRE
21
S1
LK6
RS232 RS485
J5 ABAB
13
42
-ve
S2
RV 182
+
-
LOOP B
TERMINAL CONNECTIONS AND JUMPER SETTINGS
CTSB
RTSB
+ve
WARNING - HIGH VOLTAGE
DISCONNECT SUPPLY BEFORE
REMOVING COVERS
A
1022 -565 ISSUE 1.1
Covers
Terminals
There are 33 screw terminals provided for the system inputs and outputs. The two communication ports use
terminals 1 to 8 and 9 to 16 respectively and they may be configured by links to be either RS232 or RS485.
The remaining terminals are used for the 2 wire loop connections and other system functions.
There are no facilities for including any additional option cards within the Pakscan IIS enclosure. The Pakscan
IIS master station does not support dual redundant station configurations.

12 Publication S130E Issue 1.0 Pakscan IIS Technical Manual
This page is intentionally left blank

Pakscan IIS Technical Manual Issue 1.0 Publication S130E 13
3. STORAGE PROCEDURE
On receipt the hardware should be examined for signs of damage and to ensure that the expected equipment is
present.
If the unit is to be stored for a period of time then normal conditions for keeping electronic hardware must be
provided.
The ambient conditions should remain in the following bands at all times:
Temperature : 10 - 30 degrees Centigrade
Humidity : Not to exceed 80% R.H.
The equipment should not be stacked, though it may be stored in any orientation. The original packing should
be retained. DO NOT LOSE THE MANUALS.
If it is to be kept for a prolonged period then an electrical exercise test is recommended every 6 months, for 24
hours. The master station internal battery has a shelf life of 3 years.

14 Publication S130E Issue 1.0 Pakscan IIS Technical Manual
Power (ac)
Serial Port 1
Serial Port 2
Port A
OUT = Term'l 17
IN = Term'l 18
Port B
IN = Term'l 20
OUT = Term'l 21
Up to 32 actuators
per loop
Current loop
- up to 20 km
Fig. 5 - Outline of Pakscan System

Pakscan IIS Technical Manual Issue 1.0 Publication S130E 15
4. OVERVIEW of PAKSCAN
The Pakscan system is a data monitoring and control system which comprises a master station, in this case a
Pakscan IIS, servicing a current loop which can have up to 32 field units connected to it. The current loop
may be up to 20 kilometres long. Figure 5 shows an outline of the system.
In addition to controlling the loop, the master station also provides the external interface to the system. It
supports 2 serial ports for communications to host computers, as well as providing a local user interface.
Alternatively, one of the serial ports may be used to drive a printer to log alarms.
The loop cable is a single twisted pair, with screen is recommended, that forms a complete loop visiting each
field unit in turn and starting and finishing at the master station. This cable carries the 20 mA signal and is
designed to withstand any single fault, open circuit or ground, and still maintain communications with all the
field units.
4.1 Field Control Units
A range of field control units ('FCUs') is available to cater for specific application areas. These may be
summarised as follows:
Integral type field control units mounted within a Rotork actuator electrical housing.
Externally mounted field control unit. Various packages are available, including 'Pakbox', weather
proof box, or rack-mounting. The unit may be used for either actuator control applications, or for
general purpose applications such as pumps, blenders etc. Its complement of I/O is 8 digital inputs, 4
changeover relay outputs, 2 analogue inputs and 1 analogue output.
4.2 Control and Indication
The field units each report information to the master station which can be viewed on the integral LCD display,
or collected from the serial communication port of the master station for use on another display system. The
reported data is already organised and requires no configuration by the user, each field unit automatically
reports all its available data.
Commands to operate the output devices may be sent over the system, the initiation of the command can either
be from the integral keypad (under the correct access code) or from the serial data link. Once again the
organisation of these commands is already configured and the user only has to address the correct register to
implement the command.

16 Publication S130E Issue 1.0 Pakscan IIS Technical Manual
Fig. 6- Pakscan IIS main circuit board
LOOP B LOOP A
+-
+-
RV182 RV181
1
S2
1
S3 1
S1
LK4LK5
J7
J9
J8
J10
J5
J6
B
LK6
LK7
TB2
F2 F1
-+
BATT
PAKS CA N IIS M FU M ASTER STATION BD R O T O R K INSTRUM ENTS
SK13 SK12
SK11
SK10
TB1
SK1 LK3
LK6
LK7
LK4
LK5
S2
S1
S3
A
1022 - 565 ISSU E 1.1
E
N
L
(-)
(+)
J5
J6
J10
J8
J9
J7
ESD-
ESD+
NC
C
NO
COM
IMOK
HESOK
IMBOSS
HESBOSS
+24V
GND
BOUT
BIN
GND
AIN
AOUT
GND
COMB
RTSB
CTSB
RXB -
RXB+
TXB -
TXB+
GND
COMA
RTSA
CTSA
RXA -
RXA+
TXA -
TXA+
33
32
31
30
29
28
27
26
25
24
23
22
21
20
19
18
17
16
15
14
13
12
11
10
9
8
7
6
5
4
3
2
1

Pakscan IIS Technical Manual Issue 1.0 Publication S130E 17
5. INITIAL SETTING UP
Before applying any power to the master station you may wish to check that the internal settings of the
jumpers match your system requirements. These jumpers will have been factory set to the default positions, or
to user specified positions, prior to dispatch.
In addition to the internal jumpers there may be a need for you to fit external links to achieve satisfactory
operation of your installed unit. These links can be fitted prior to installation.
The main pcb cover carries a label giving details of all the connection jumper settings and also showing how
to install the field cabling. There are no jumper settings or links to be made on the display pcb on the door.
5.1 Jumper and Link Settings
The main circuit board contains a number of Jumpers and Links to set some parameters for the performance of
the unit. These are factory set and the unit will be fully operational. However there are links which you may
need to fit to match your particular application. There are no jumper links on the display board that require
customer adjustment.
The diagram Fig. 6 is a view of the main circuit board with the door open and on the left.
The function of the jumpers and links is listed in the table below, please note that some select the type of
integrated circuit used, and therefore may vary from one unit to another.
(no = not fitted, yes = fitted)
Jumper / Link . Function Default Action
J1 Dual Port Memory size select no not applicable
J2 EPROM select B position set EPROM size
J3 EPROM select A position set EPROM size
J4 RAM select B position set RAM size
J5 Port 1 mode A position select RS232
J6 Port 1 RTS A position select RTS
J7 Port 2 CTS A position select CTS
J8 Port 2 mode A position select RS232
J9 Port 2 RTS A position select RTS
J10 Port 1 CTS A position select CTS
J11 Memory Capacitor discharge no not discharged
J12 Watchdog reset disable no enable reset
J13 Plant power monitor no check main power supply
J14 Plant power external supply yes use main power supply
J15 Flash memory A position enable support
LK1 P+Q jumpers (physical address) no not applicable
LK2 Not fitted

18 Publication S130E Issue 1.0 Pakscan IIS Technical Manual
J2, J3 - EPROM Memory Size Select
The usual size is 27c2001 though other devices may be
fitted. These settings do not require adjustment after
leaving the factory.
J4 - RAM Select
The standard unit has a 1 Meg RAM chip fitted.
J5, J6 and J10, LK6 - Comms Port 1
These select the mode for Port 1 communications, either
RS232 or RS485. In addition if, when in RS232 mode,
there is a need for modem control lines the signals to
these can be enabled or disabled. The modem control line links (J6 and J10) should not be fitted if the port is
in RS485 mode. The default setting is for the port to be set for RS232 with modem control enabled.
J7, J8 and J9, LK7 - Comms Port 2
These select the mode for Port 2 communications, either
RS232 or RS485. In addition if, when in RS232 mode,
there is a need for modem control lines the signals to
these can be enabled or disabled. The modem control line links (J7 and J9) should not be fitted if the port is in
RS485 mode. The default setting is for the port to be set for RS232 with modem control enabled.
J11 - Memory backup capacitor discharge
This link provides the facility to completely discharge the RAM power supply capacitor. The RAM data is
supported by a large capacitor that is effective for several minutes in keeping the chip data valid whilst the
main battery is changed. If the contents of the RAM are to be eliminated and the system returned to its default
values then the battery can be removed and this link fitted to discharge the power source. Discharging
completely will take several hours.
The link is normally not fitted. Great care must be exercised if the link is to be fitted.
J12 - Disable automatic watchdog reset
When fitted this link disables the watchdog circuit from resetting the processor. It is not normally fitted as in
most cases it is desirable to restart the processor on a watchdog failure.
Jumper / Link . Function Default Action
LK3 Not used
LK4 Screen A to earth select yes link screen ‘A’ to earth
LK5 Screen B to earth select no screen ‘B’ not connected
LK6 Port 1 mode select yes select RS232
LK7 Port 2 mode select yes select RS232
EPROM Type J2 J3
27c512 no B position
27c1001 B position no
27c2001 B position A position
27c4001 A position A position
RAM Type J4
1 Meg B position
4 Meg A position
Port 1 LK6 J5 J6 (RTS) J10 (CTS)
RS232 yes A A A
RS485 no B no no
Port 2 LK7 J8 J9 (RTS) J7 (CTS)
RS232 yes A A A
RS485 no B no no

Pakscan IIS Technical Manual Issue 1.0 Publication S130E 19
J13 - Plant power monitor disable
This link should never be fitted to the master station. It determines the method of power monitoring of the
system.
J14 - Plant power external supply option
This link must always be fitted as the main circuits always use the primary on board power module fitted just
above the terminals.
J15 - Flash memory
Flash memory is not normally used in this unit. This link,
in conjunction with J2 can be used to provide support
for flash memory if it is fitted to the board.
LK1, LK2 and LK3
These links are not used in the Pakscan IIS system and should not be fitted.
LK4 and LK5 - Screen to earth connections
In order to comply with directive 89/336/EEC of the
European Community it is necessary to use a screened
cable for the 2 wire loop and to connect the master
station to earth through a suitable bonding conductor. The cable must have BOTH the screen connections
terminated at the master station, to terminals 19 and 22 as indicated. These connections are then decoupled to
earth through suitable capacitors fitted to the Pakscan IIS itself.
It is also desirable to bond the screen to a suitable ground to reduce the system susceptibility to noise. This
bonding can be achieved either by using the Pakscan IIS ground connection and fitting LK4, or by connecting
the screen to a suitable external earth. Even if an external earth connection is used it is still required to connect
the screen to the Pakscan IIS terminals in order that the cables from the unit are correctly decoupled.
Memory J2 J15
Flash C B
Standard see J2 settings no
Signal Earthing LK4 LK5
Using IIS yes no
External ground no no
20
21
22
Port B IN
Port B OUT
SAFETY EARTH
17
18
19
Port A OUT
Port A IN
Cable A
Cable B
LK4
LK5
Fig. 7: Screens to master station earth
20
21
22
Port B IN
Port B OUT
SAFETY EARTH
17
18
19
Port A OUT
Port A IN
Cable A
Cable B
LK4
LK5
Earth Bar
Fig. 8: Screens to earth bar

20 Publication S130E Issue 1.0 Pakscan IIS Technical Manual
5.2 Using S1 to S3 to set RS485 line options
In order to simplify the setting up of the RS485 highway to be either 2 or 4 wire and to provide line
termination 3 by 4 way DIP switches are provided inside the Pakscan IIS. S1 is used to select 2 or 4 wire
operation for both the comms ports and S2 and S3 connect the termination resistors.
In RS232 mode all these switches must be set ‘Open’ (").
S1 - Select 2 or 4 wire RS485
S2 - Select Line Termination for Port 1 S3 - Select Line Termination for Port 2
5.3 External Links - ESD (Emergency Shut-down)
Terminal 32 & 33 - ESD (Emergency Shutdown)
The Pakscan IIS may be configured for a global command to 'ESD' all the connected devices. One source of
the ESD command is connected as an input to these terminals.
When configured to do so, the system will issue continuous ESD commands to the Loop whenever these two
terminals are unconnected. A remote ESD contact, process normal closed, may be connected. If the contact
opens, then an ESD is issued.
If the ESD function via these terminals is not required then it may be removed from the configuration or, if it
remains an enabled option, a link MUST be fitted between these terminals.
5.4 Display Screen Contrast
On the rear of the door is a multi-turn potentiometer which is used to adjust the contrast of the LCD display.
Access to this potentiometer is provided through a small hole in the cover, adjusting clockwise increases the
contrast.
Port 1 S1-1 S1-2 S1-3 S1-4
RS232 Open Open X X
RS485 - 4 wire Open Open XX
RS485 - 2 wire Shut Shut XX
Port 2 S1-1 S1-2 S1-3 S1-4
RS232 X X Open Open
RS485 - 4 wire XXOpen Open
RS485 - 2 wire XXShut Shut
Port 2 S3-1 S3-2 S3-3 S3-4
RS232 X X Open Open
Terminate
RS485 - 4 wire XXOpen Open
Terminate
RS485 - 2 wire XXShut Shut
Port 1 S2-1 S2-2 S2-3 S2-4
RS232 Open Open Open Open
Terminate
RS485 - 2 wire Shut Shut Open Open
Terminate
RS485 - 4 wire Shut Shut Shut Shut
Table of contents
Other rotork Industrial Equipment manuals