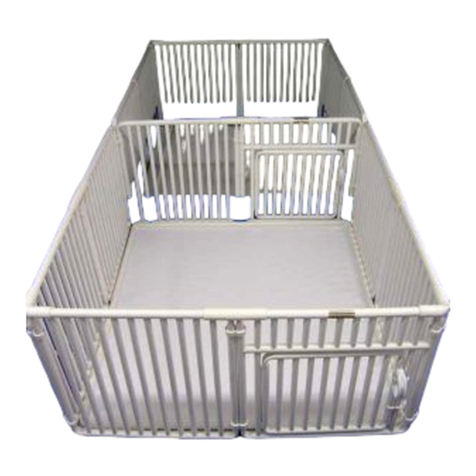
Roverpet WB3044DSF User manual
Other Roverpet Pet Care Product manuals
Roverpet
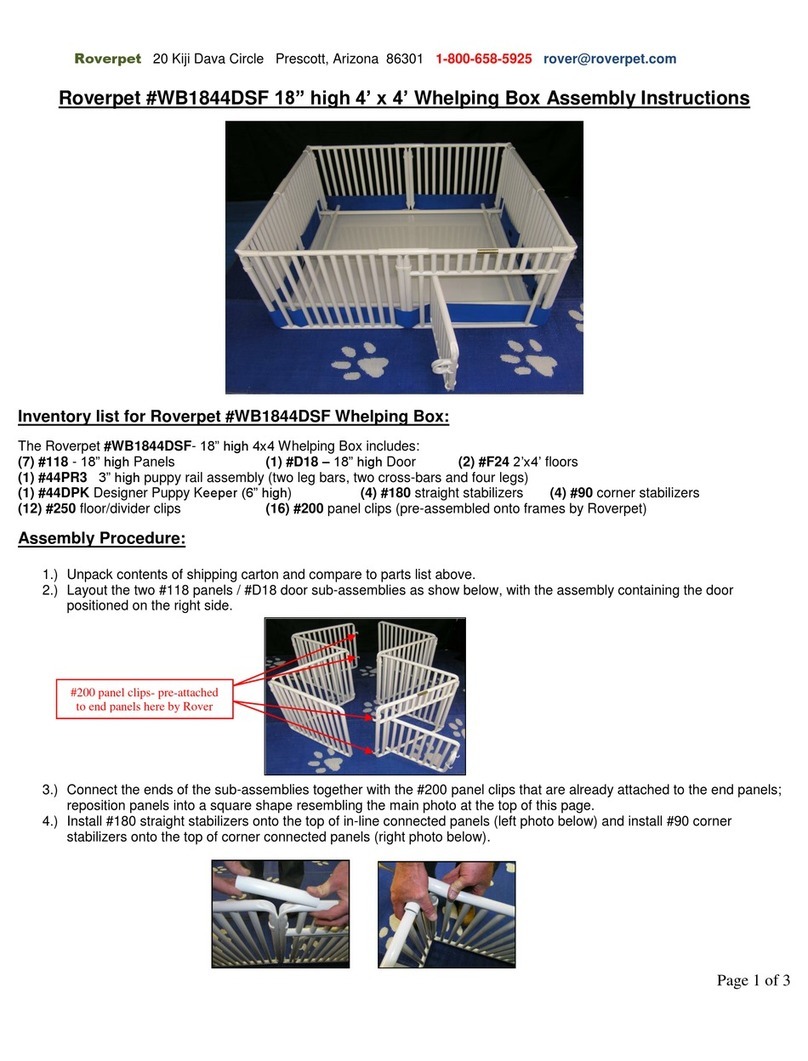
Roverpet WB1844DSF User manual
Roverpet
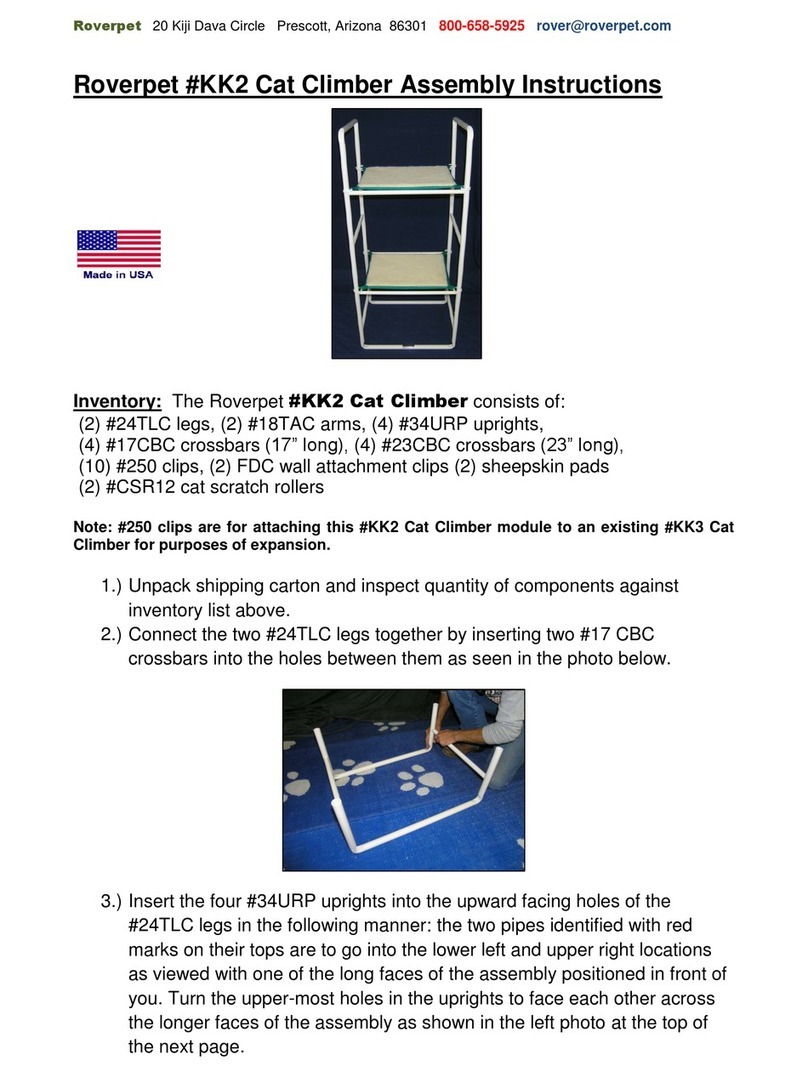
Roverpet KK2 User manual

Roverpet
Roverpet Kali-Ko Kathouses K666W User manual

Roverpet
Roverpet H3 Cat Bed User manual

Roverpet
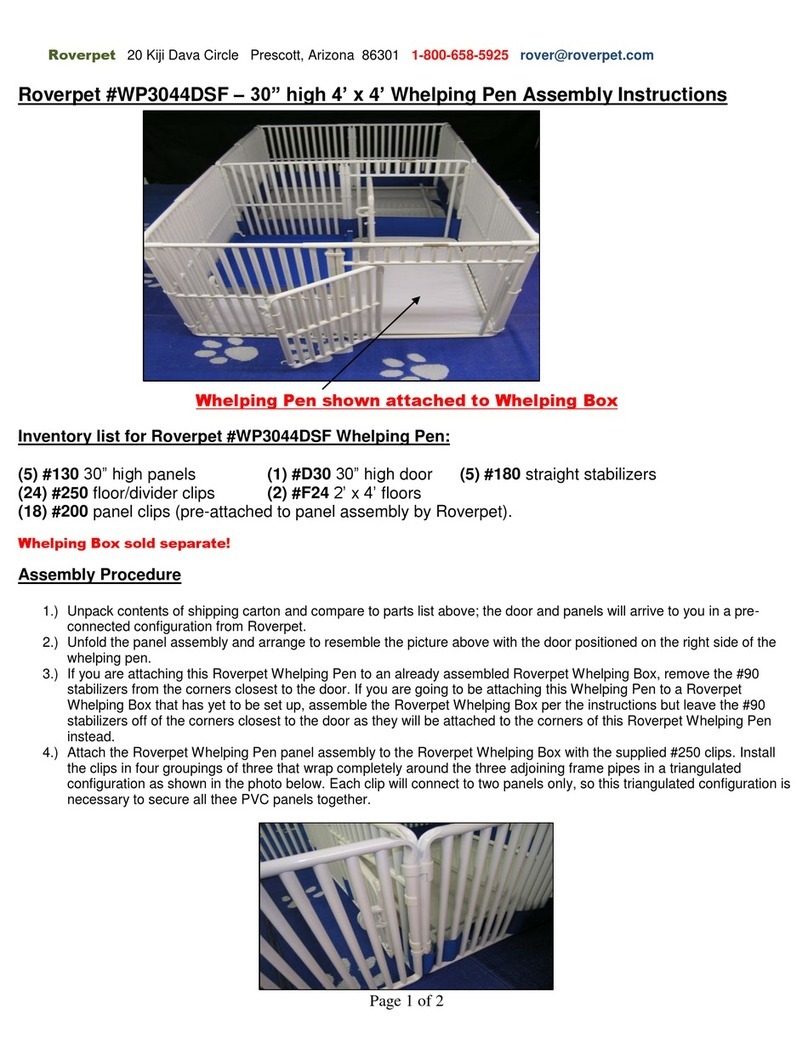
Roverpet 30DD8U User manual
Roverpet
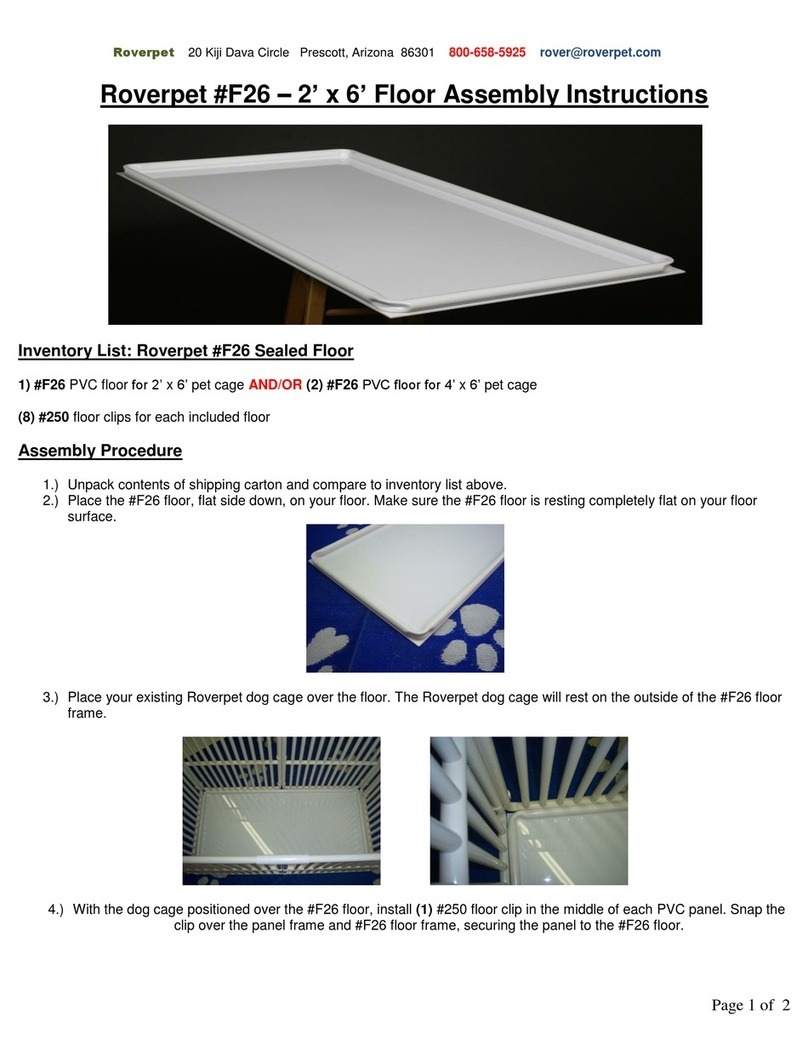
Roverpet WP3044DSF User manual
Roverpet
Roverpet F26 User manual
Roverpet
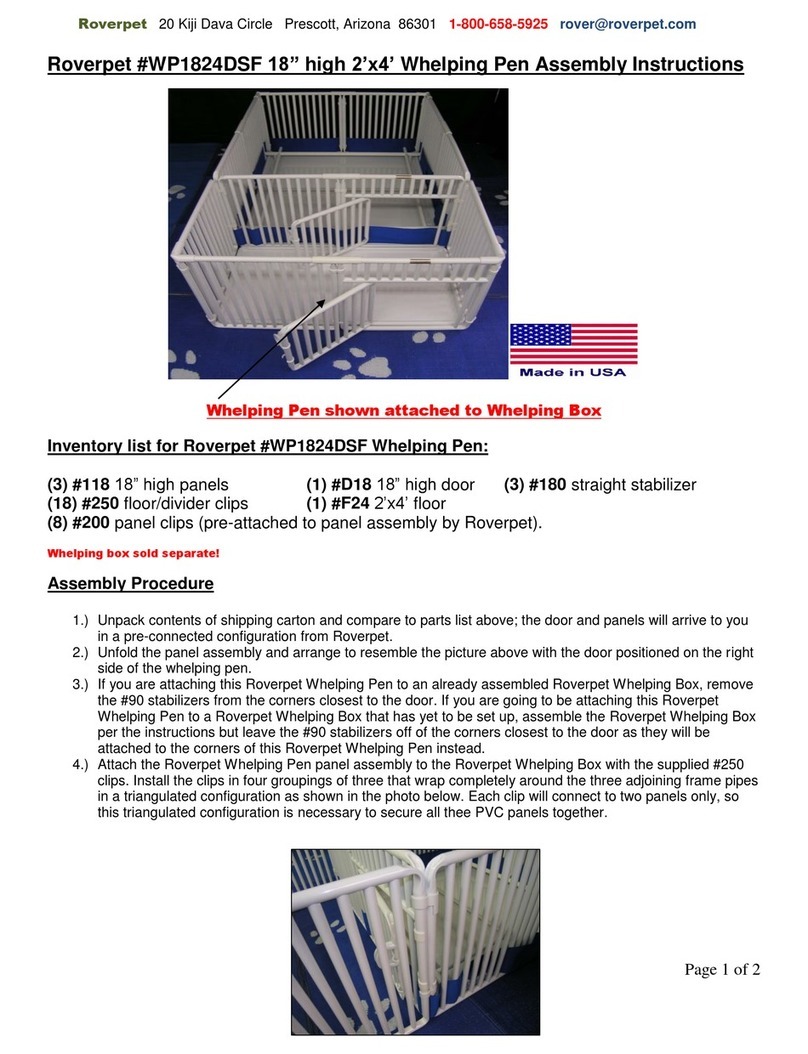
Roverpet WP1824DSF User manual
Roverpet
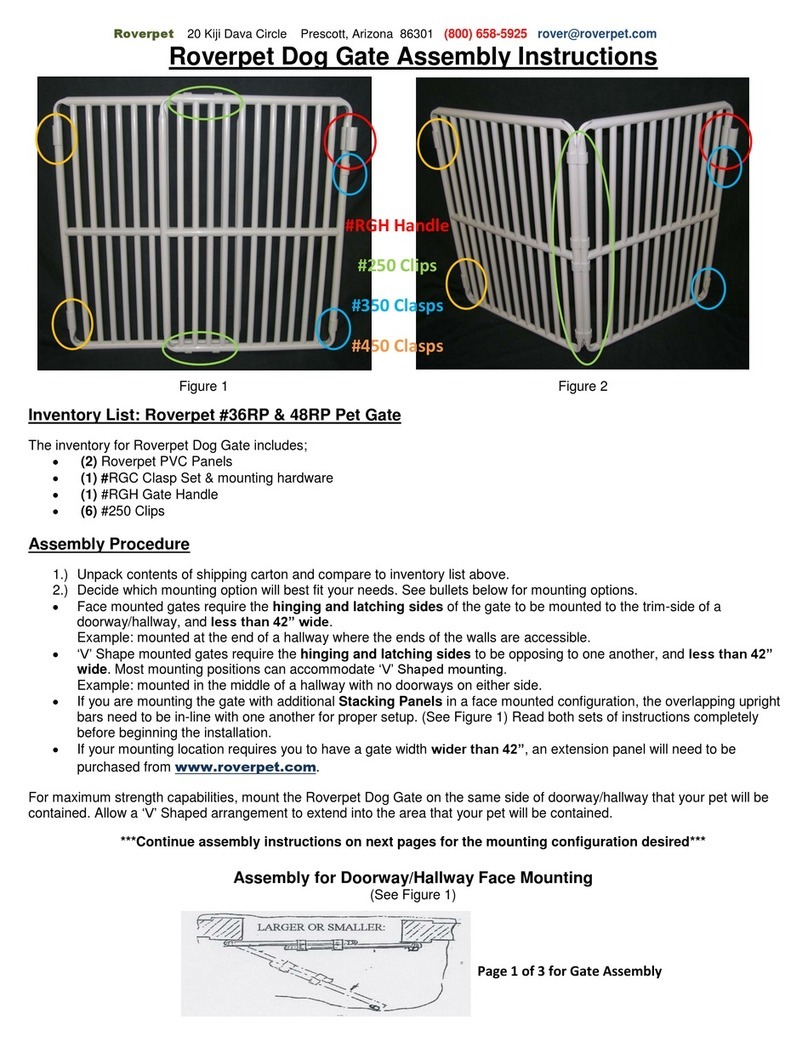
Roverpet 36RP User manual
Roverpet
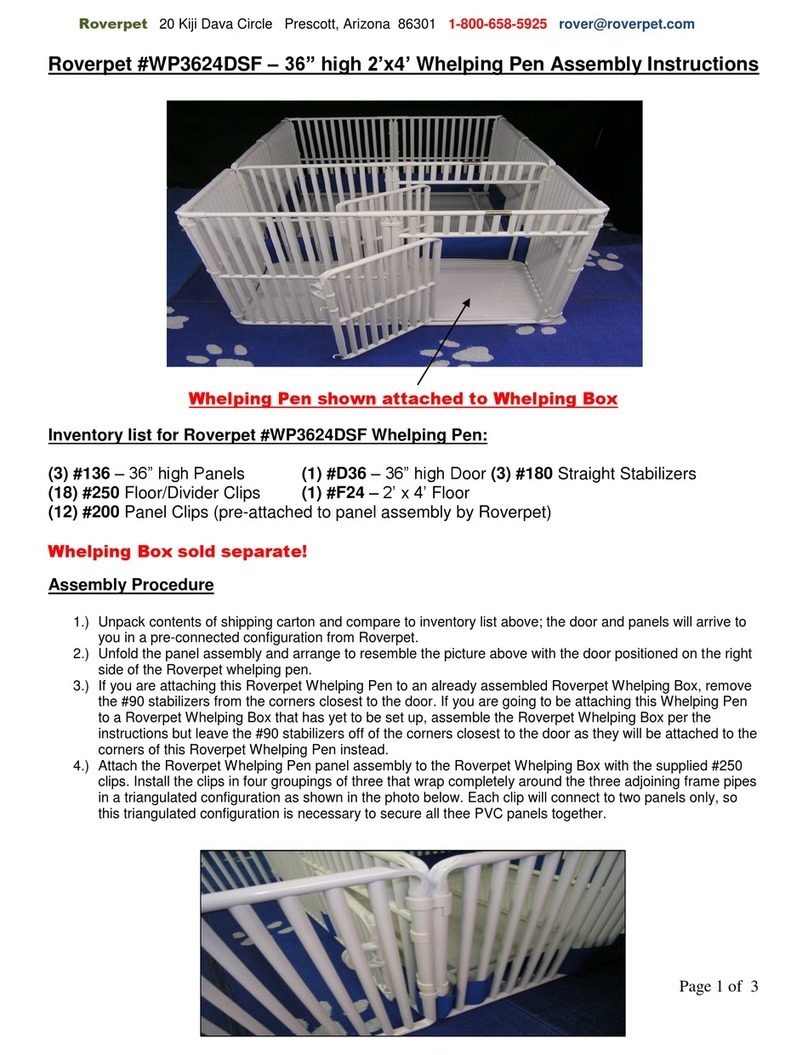
Roverpet WP3624DSF User manual
Roverpet
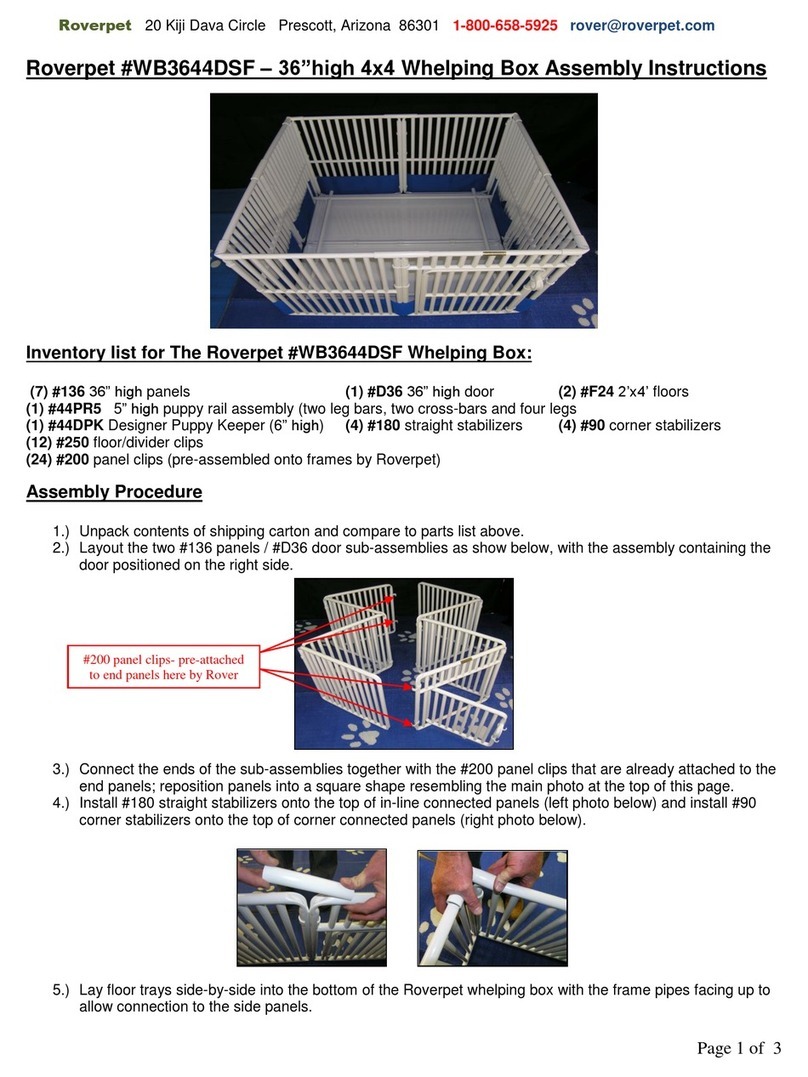
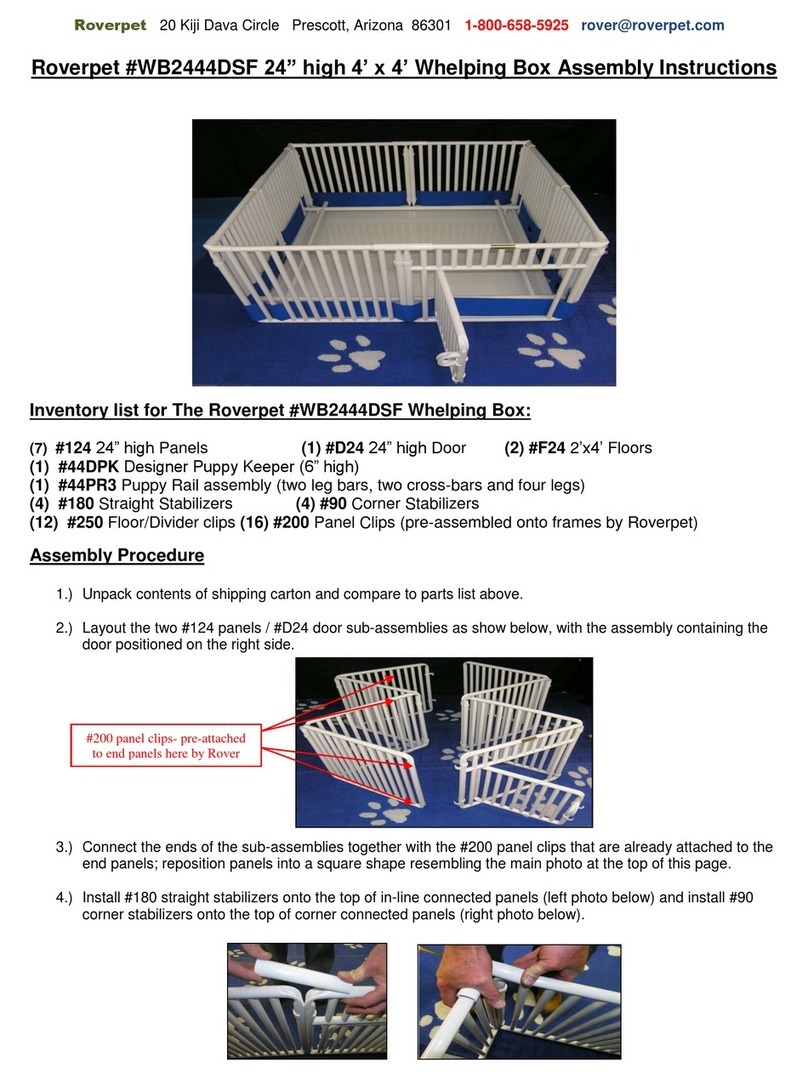
Roverpet WB3644DSF User manual
Roverpet
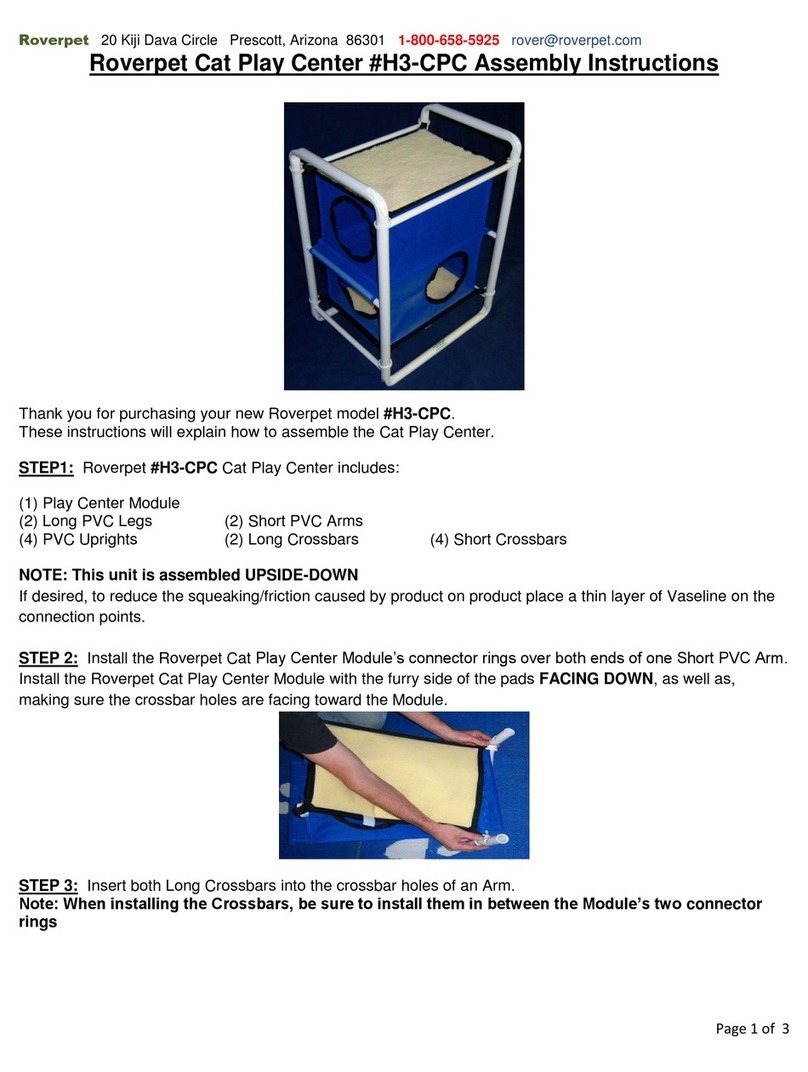
Roverpet WB2444DSF User manual
Roverpet
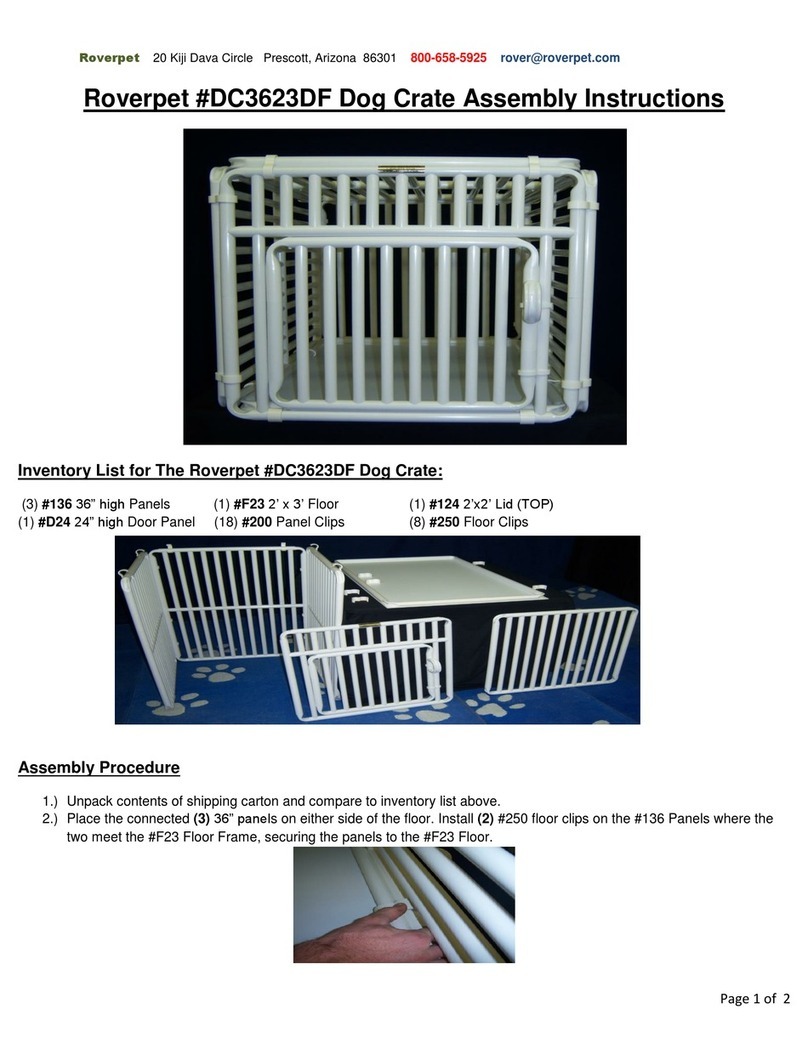
Roverpet H3-CPC User manual
Roverpet
Roverpet DC3623DF User manual

Roverpet
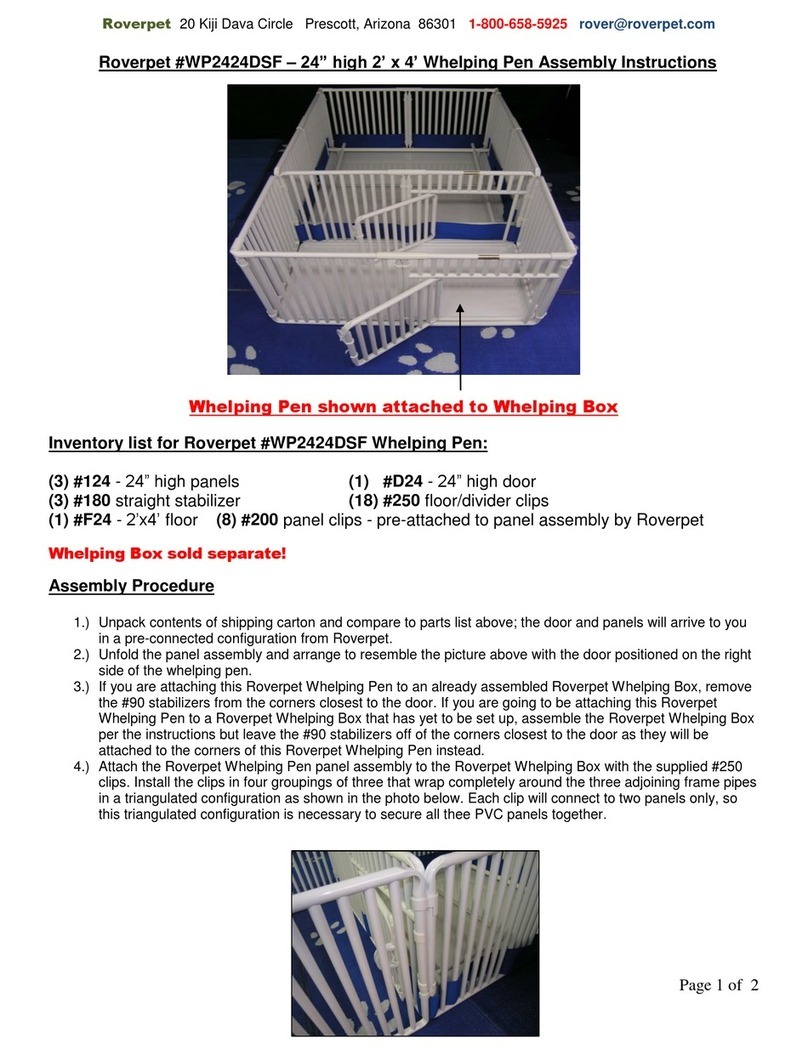
Roverpet F24 User manual
Roverpet
Roverpet WP2424DSF User manual

Roverpet
Roverpet 30DDPP User manual
Roverpet
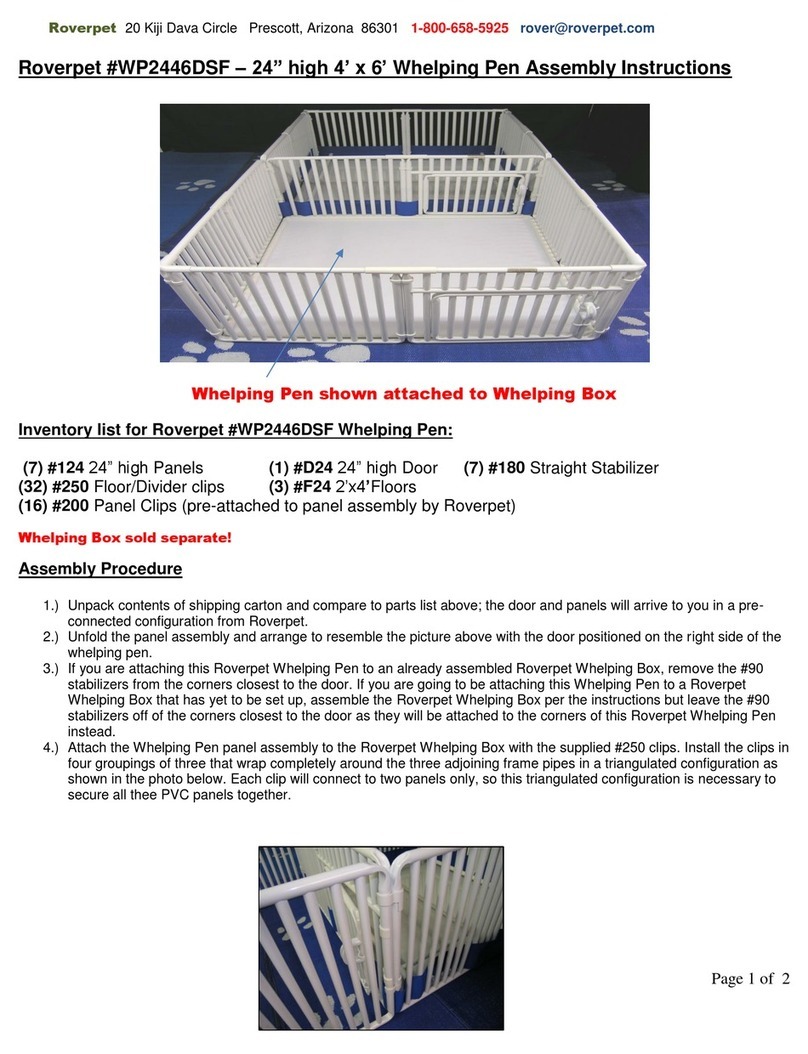
Roverpet WP2446DSF User manual
Roverpet
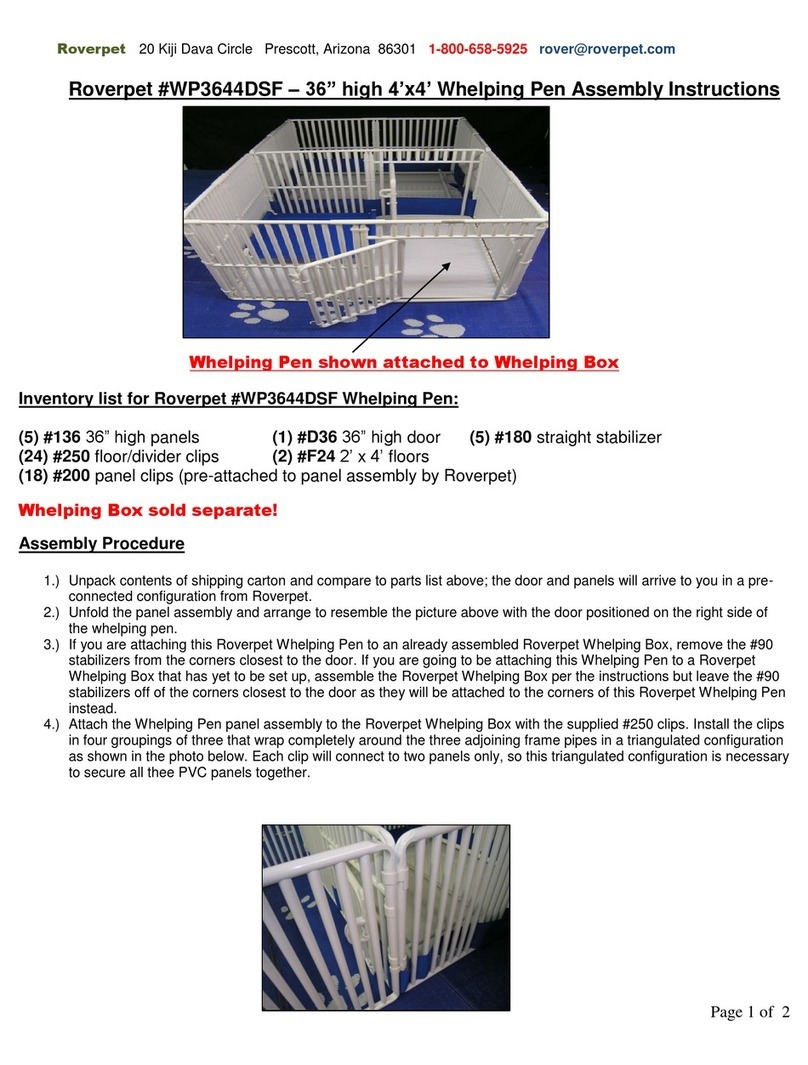
Roverpet WP3644DSF User manual
Roverpet
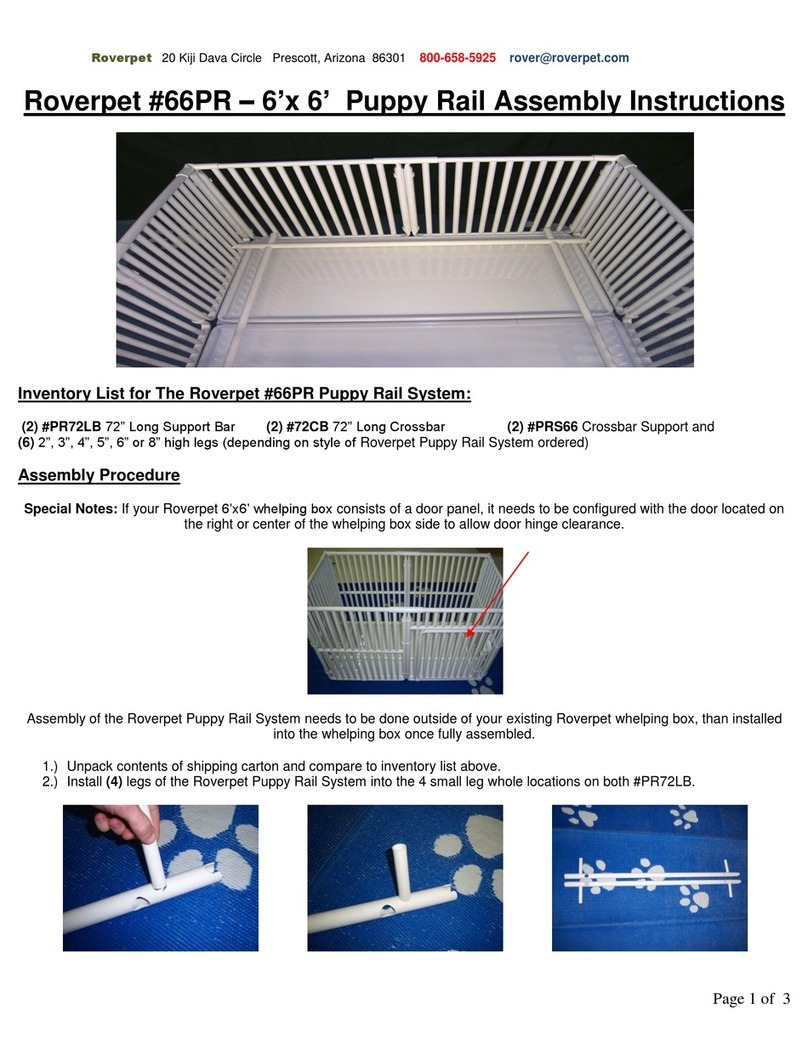
Roverpet 66PR User manual
Popular Pet Care Product manuals by other brands

CADOCA
CADOCA Deuba 106911 instructions

Dogtra
Dogtra RR Deluxe owner's manual

Carson
Carson CONVERTIBLE PET YARD 2200 owner's manual

Creative Cedar Designs
Creative Cedar Designs K-9 Kabin Assembly instruction

Petdwell
Petdwell ON2PETS Canopies Assembly instructions

UGO BASILE
UGO BASILE 7025 Series instruction manual
