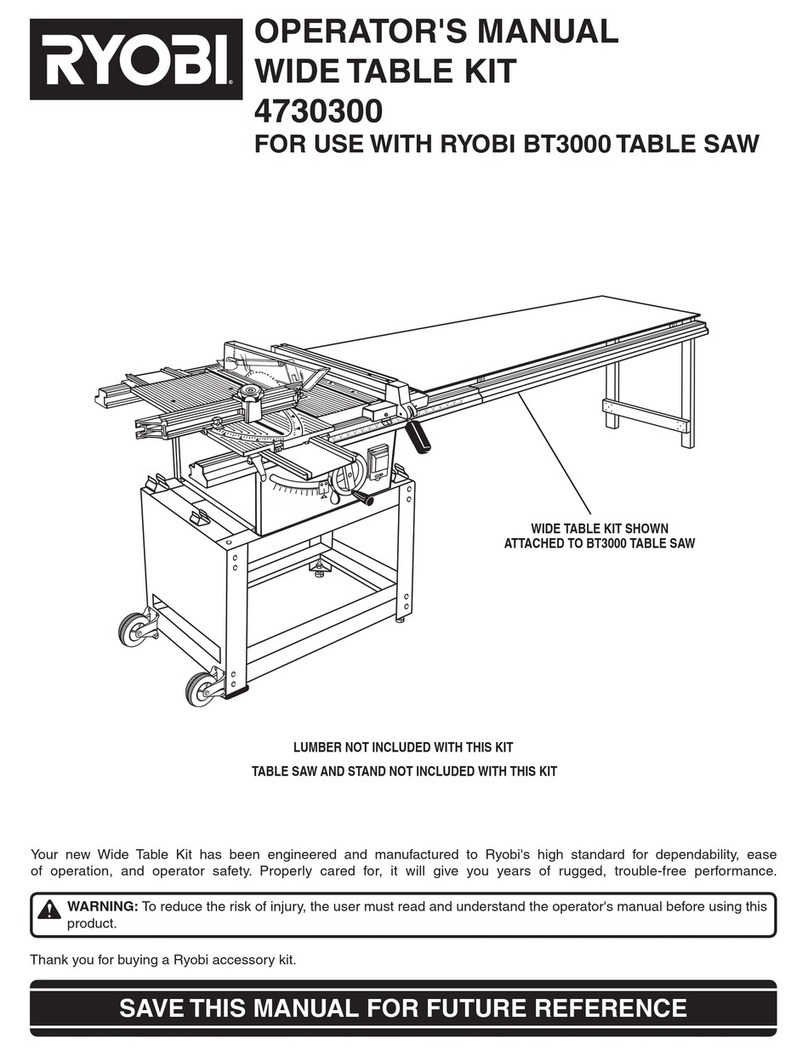
MANDRIN ROTATIF
MULTI-PRO / A90CM03
Conçu pour être utilisé avec les outils rotatifs PRT100, PCL480,
PBLRT01, TVM01, FVM51, RRT100, et RRT200 RYOBI.
PORTABROCAS ROTATORIO MULTI-
PRO /
A90CM03
Para usar con herramientas giratorias RYOBI PRT100, PCL480,
PBLRT01, TVM01, FVM51, RRT100, y RRT200.
AVERTISSEMENT!
Pour réduire les risques de blessures, l’utilisateur doit lire et veiller à bien
comprendre le manuel d’utilisation pour le outil rotatif ainsi que cette feuille
d’instruction. Toujours porter une protection oculaire munie d’écrans latéraux
certifiée conforme à la norme ANSI Z87.1. Assurez-vous de la compatibilité
et de l’ajustement avant d’utiliser cet accessoire. Ne pas utiliser cet acces-
soire si des pièces sont endommagées ou manquantes. Si vous n’êtes pas
à l’aise pour effectuer l’une ou l’autre des tâches décrites dans les présentes
instructions, confiez l’unité à un centre de réparations agréé.
AVERTISSEMENT :
Ne jamais installer, retirer ou régler une accessoire lorsque l’outil rotatif est
en fonction. Le fait de ne pas arrêter le moteur peut causer des blessures
graves. Ne jamais faire fonctionner l’outil rotatif sans avoir installé une tête
de l’accessoire ou un collier au préalable.
NOTE : Suivre toutes les directives et les avertissements du manuel d’utilisation
de votre outil rotatif.
Le mandrin rotatif multi-pro permet de serrer à la main ou de desserrer l’accessoire
dans les mâchoires à mandrin. Le mandrin est usiné à des tolérances de
précision pour convenir aux accessoires dotés de tiges mesurant 0,79 mm à
3,18 mm de diamètre.
INSTALLATION DU MANDRIN ROTATIF MULTI-PRO
Voir la figure 1 de l’autre côté.
Vérifier que l’interrupteur est en position d’arrêt (O) et débrancher l’outil
rotatif ou retirer le bloc-pile, le cas échéant.
Engager le blocage de la broche et retirer les accessoires et le collet à
changement rapide conformément à ce qui est indiqué dans le manuel
d’utilisation de l’outil rotatif.
Enfoncer et tenir le bouton de blocage de la broche vers l’avant et tourner
l’arbre avec une main jusqu’à ce que le bouton de verrouillage de la broche
engage l’arbre, empêchant ainsi toute rotation ultérieure.
Placer la mandrin rotatif multi-pro sur l’arbre et commencer à enfiler à la
main jusqu’à ressentir une résistance.
Utiliser la clé de 9,53 mm incluse avec votre outil rotatif sur l’extrémité filetée
inférieure du mandrin et tourner en sens horaire jusqu’à bien serrer.
NOTE : Au besoin, on peut utiliser une clé pour serrer le manchon. Placer la
clé sur la zone hexagonale du mandrin et tourner dans le sens des aiguilles
d’une montre pour le serrer.
Pour enlever le mandrin, enclencher le blocage de la broche. Placer la clé
de 9,53 mm incluse avec votre outil rotatif sur l’extrémité filetée inférieure du
mandrin et tourner en sens antihoraire pour desserrer. Continuer à tourner
en sens antihoraire pour retirer le mandrin de l’outil.
INSTALLATION/RETRAIT DES ACCESSOIRES
Voir le figure 2 de l’autre côté.
Vérifier que l’interrupteur est en position d’arrêt (O) et débrancher l’outil
rotatif ou retirer le bloc-pile, le cas échéant.
Choisir un accessoire adapté au mandrin rotatif multi-pro et à l’application
tentée.
Tout en appuyant sur le bouton de verrouillage de la broche, utiliser la main
pour desserrer la mandrin en tournant le manchon en sens antihoraire.
Insérer la tige de l’accessoire dans la mandrin jusqu’à ce qu’elle arrive au
bout, et ensuite, retirez de 1,59 mm (1/16 po) en prévision de l’expansion
quand l’accessoire se réchauffera.
Tourner le manchon du mandrin en sens horaire pour serrer.
Pour enlever l’accessoire, enclencher le blocage de la broche, desserrer
le mandrin et retirer l’accessoire.
NOTE : Il est normal que le mandrin se dévisse à mesure que l’outil se
desserre. Si nécessaire, revisser le mandrin.
¡ADVERTENCIA!
Para reducir el riesgo de sufrir lesiones, el usuario debe leer y entender el
manual del operador para su herramienta rotatoria y esta hoja de instruc-
ciones. Use siempre protección ocular con protecciones laterales con la
marca de cumplimiento de la norma Z87.1 del ANSI. Asegúrese de que la
compatibilidad y el ajuste sean correctos antes de usar este accesorio. No
use este accesorio si está dañado o si falta alguna pieza. Si no se siente
preparado para realizar alguna de las funciones que se describen en estas
instrucciones, lleve la unidad a un centro de servicio autorizado.
ADVERTENCIA:
Nunca instale, retire ni ajuste ningún accesorio mientras la herramienta
giratoria esté en funcionamien-to. Si no se detiene el motor, podría sufrir
lesiones personales graves. Nunca opere la herramienta giratoria sin un
cabezal de accesorio o el collar instalados.
NOTA: Siga todas las pautas y advertencias del manual del operador de su
herramienta giratoria.
La portabrocas rotatorio multi-pro le permite ajustar o soltar manualmente
el accesorio en la boca de la mordaza. La mordaza está mecanizada con
tolerancias de precisión para aceptar accesorios con vástagos de un diámetro
de 0,79 mm a 3,18 mm.
INSTALACIÓN DE LA PORTABROCAS ROTATORIO
MULTI-PRO
Vea la figura 1 en el otro lado.
Verifique que el interruptor esté en la posición de APAGADO (O) y desenchufe
la herramienta giratoria o retire la batería, si corresponde.
Enganche el bloqueo del husillo y retire los accesorios y el portabroca de
cambio rápido de acuerdo con el manual del operador de la herramienta
giratoria.
Oprima y mantenga el botón de bloqueo del husillo hacia delante y gire el
eje con la mano hasta que el seguro del husillo calce en el eje e impida que
siga girando.
Coloque el portabrocas rotatorio multi-pro en el husillo y comience a roscar
a mano hasta que haya resistencia.
Utilice la llave de 3,18 mm incluida con la herramienta giratoria en el extremo
inferior roscado de la mordaza y gírela hacia la derecha hasta que quede
segura.
NOTA: Si lo desea, puede aflojar o ajustar el casquillo con la llave del mordaza
de 9,5 mm (3/8 pulg.) incluida. Coloque la llave en el área hexagonal del
mordaza y gírela hacia la izquierda para aflojar o gírela hacia la derecha para
ajustar.
Para quitar la mordaza, active el bloqueo del husillo. Coloque la llave de
3,18 mm incluida con la herramienta giratoria en el extremo inferior roscado
de la mordaza y gire hacia la izquierda para aflojar. Continúe girando hacia
la derecha para quitar la mordaza de la herramienta.
INSTALACIÓN/DESMONTAJE DE LOS ACCESORIOS
Vea la figura 2 en el otro lado.
Verifique que el interruptor esté en la posición de APAGADO (O) y desenchufe
la herramienta giratoria o retire la batería, si corresponde.
Elija un accesorio que se ajuste al portabrocas rotatorio multi-pro y que sea
adecuado para la aplicación en cuestión.
Mientras presiona el seguro del husillo, afloje el portabrocas con la mano
girando el casquillo hacia la izquierda.
Introduzca el fuste del accesorio en el portabrocas hasta que llegue al fondo,
y luego extráigalo 1,59 mm (1/16 pulg.) para permitir la expansión cuando
se caliente el accesorio.
Gire el collar de la mordaza hacia la derecha para ajustar.
Para quitar el accesorio, active el bloqueo del husillo, afloje la mordaza y
retire el accesorio.
NOTA: Es normal que la mordaza se desenrosque de la herramienta a medida
que se afloja. Si es necesario, vuelva a roscarla.
Français Español
