manuals.online logo
Brands
  1. Home
  2. •
  3. Brands
  4. •
  5. Safco
  6. •
  7. Indoor Furnishing
  8. •
  9. Safco 1852 User manual

Safco 1852 User manual

1852-37: 1 of 4; Rev. 1; 05/03
K
M
K
P
L
J
C
F
A
R
T
UM
J
Q
U
N
O
T
DD
W
BB
X
I
V
AA
E
Back Panel 1 1852-01§
Left Side Panel 1 1852-03§
Right Side Panel 1 1852-04§
Left Cabinet Rail 1 1905-15
Right Cabinet Rail 1 1905-16
Top/Bottom Panel 2 1852-05§
1/2” Flat-head Screw 12 3695-28
Screw Post 14 HFFMFB
Cam 14 HFFMFC
Caster Bracket 4 1854-10
5/8” Machine Screw 8 1850-22
LETTER
CODE
A
B
C
D
E
F
G
H
I
J
K
DESCRIPTION QTY. PART NO. LETTER
CODE DESCRIPTION QTY. PART NO.
PARTS LIST
L
M
N
O
P
Q
R
S
T
U
V
LETTER
CODE DESCRIPTION QTY. PART NO.
W
X
Y
Z
AA
BB
CC
DD
EE
FF
GG
Kick Panel 1 1852-07§
Wood Dowel 4 H8MMDWL
Caster with Brake 2 8917-24
Caster without Brake 2 8917-25
Hinge (may be with Plate, Q) 4 8919-16
Hinge Mount Plate 4 8919-14
Left Door Panel 1 1852-08§
Right Door Panel 1 1852-09§
Handle 3 8962-31
1” Screw 4 1850-23
Shelf Peg 4 HSFBNZ
Adjustable Shelf 1 1852-06§
Left Drawer Rail 1 8962-17
Right Drawer Rail 1 8962-18
Drawer Side 2 1852-20
Drawer Screw 8 8962-27
Drawer Back 1 1852-13
Drawer Bottom 1 1852-22
Inner Drawer Front 1 1852-12
Outer Drawer Front 1 1852-11§
7/8”WasherHeadScrew 2 1910-23
1-1/2” Screw 2 8962-26
ASSEMBLEDUNIT
MODEL 1852
S
Z
B
D
Y
F
IEE
FF
G
GT
AA
Z
CC
GG
H
H
§Note: When corresponding about parts, be sure to state color:
Gray (GR), Mahogany (MH) or Medium Oak (MO).
TOOLS REQUIRED: Short Handled Phillips Screwdriver; Hammer or Mallet (Two People Recommended)
ASAS
ASAS
ASSEMBLSEMBL
SEMBLSEMBL
SEMBLYY
YY
Y
INSTRUCTIONSINSTRUCTIONS
INSTRUCTIONS
an LDI Company
1852
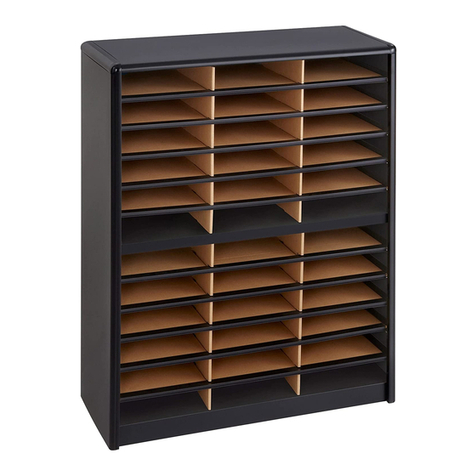
Deluxe Mobile Machine Stand
1852-37: 2 of 4; Rev. 1; 05/03
Work on a smooth and clean surface. Arrange the A Back Panel, B Left Side
Panel and C Right Side Panel with the holes facing up as shown. Insert six I
Cams into the Back Panel with the arrows pointing toward the nearest edges.
Place the F Top Panel above the Back Panel
with large holes up and insert I Cams
in the four large holes. Place the other
Top/Bottom Panel at the
2
Raise the A Back Panel so it is perpendicular to the B
Left Side Panel. Align the three Screw Posts at the back
edge of the Side Panel with the corresponding holes on
the Back Panel. With the arrows on the Cams pointing
toward the Screw Posts, guide the holes over the posts
and fasten by turning each of these cams CLOCKWISE as
far as they can turn.
IMPORTANT: a second person should help support the
back panel in its upright position (or prop upright with
appropriate materials).
3
B
A
J
BA
CK
HF
L
M
UNFINISHED
EDGES
F
E
I
bottom end of the Back
Panel with the large holes
upward and insert
I Cams in the four
large holes.
Screw seven H Screw
Posts into the small
holes at the upper end,
back edge and lower end
of both Side Panels.
Attach the D Left Cabinet
Rail to the B Left Side Panel (with the roller nearest the front edge) using
three G 1/2” Flat-head Screws each. Attach the E Right Cabinet Rail to
the C Right Side Panel (with the roller nearest the front edge) using three
G 1/2” Flat-head Screws each. Fasten two J Caster Brackets to the holes
near the bottom end (unfinished edge; (with plastic inserts) of each side
panel using two K 5/8” Machine Screws each.
FRONT
EDGE
D
G
G
Insert two M Wood Dowels into the
both ends of the L Kick Panel.
Properly identify the four types of rails used!
The Cabinet Rails D , E have C-shaped cross-sections;
rollers are at the FRONT, and the Left Cabinet Rail is
stamped “CL” near the roller, while the Right Cabinet Rail
is stamped “CR”.
The Drawer Rails X , Y have L-shaped cross-sections;
rollers are at the BACK, and they are stamped “DR” for
Right and “DL” for Left.
USE THIS HOLE FOR
FRONT SCREW
QQ
QQ
Q
D
QQ
QQ
Q
X
QQ
QQ
Q
E
QQ
QQ
Q
Y
1
1
2
3
4
1852-37: 3 of 4; Rev. 1; 05/03
FRONT
O
Push the two N Casters with
Brakes into the sockets of the
Caster Brackets at the front of
the unit. Push the two O Casters
without Brakes into the Caster
Brackets near the back side of
the unit.
5
S RIGHT DOOR PANEL
NOT SHOWN
LEFT
SIDE
PANEL
Use a rubber hammer or mallet to tap the P Hinges into the
recesses on the R Left Door Panel. Use the pre-installed
screws to fasten the Q Hinge Mount Plates into the pre-drilled
holes on the Left Side Panel. If the Hinge and Mount came in
separate pieces, bend the arms of the Hinges and insert the
slots of the arms over the Hinge Mount Plate set screws. Adjust
door position and tighten the set screws. Turn
the unit onto its right side, and repeat with the
S Right Door Panel.
6
ARM
SLOT
SET
SCREW
TIGHTEN
SET
SCREW
N
P
Q
FRONT
(FINISHED
EDGES)
Position the F Top/Bottom Panels
over the B Left Side Panel with the
cams toward the bottom end, and
finished edge facing out. With the
arrows on the Cams pointing toward
the Posts, insert the holes
over the Posts and fasten
the posts to the cams by
turning the cams CLOCKWISE
until they stop.
Insert one dowelled end of
the L Kick Panel into the
Left Side Panel in the holes
nearest the front, bottom
end of the side panel.
Lift the C Right Side Panel
over the assembly. Align the
Screw Posts with the
corresponding holes on
the Back Panel, and both
Top/Bottom Panels (also
guide the Wood Dowels
on the Kick Panel into the
holes in the side panel), then
fasten the posts to the cams by
turning the cams CLOCKWISE
until they stop.
4
BOTTOM
END
CAMS
F
A
With two people, carefully stand the unit
upright. Fasten one T Handle to the
outer side of the Left Door Panel using
two U Long Screws. Fasten the other
Door Handle to the outer side of the
Right Door Panel with two more Long
Screws.
If necessary, center the Door Panels by
adjusting the set screws on the Door
Hinges as needed.
7
U
T
B
C
L
P
Q
R
P
1852-37: 4 of 4; Rev. 1; 05/03
Install the drawer: lift the back rollers on the Drawer
Rails over the front rollers on the Cabinet Rails, tilt
the drawer enough to start the drawer moving, and
lower the drawer to push it all the way into place.
With the special AA Drawer Screws, fasten one of
the Z Drawer Sides to the BB Drawer Back and the
DD Inner Drawer Front, making sure all grooves face
the drawer center. Carefully slide the CC Drawer
Bottom into the grooves.
8
Now fasten the other Z Drawer Side, with four AA
Drawer Screws.
9
Attach the EE Outer Drawer Front to the drawer by
inserting FF 7/8” Washer Screws through the inner
Drawer Front and into the Outer Drawer Front (use
the OUTER set of holes). Next, attach the T Handle
to the drawer by inserting two GG 1-1/2” Screws
through the inner Drawer Front, the Outer Drawer
Front and into the Handle (use the INNER set of
holes). Tighten securely. Attach the X Left Drawer
Rail and the Y Right Drawer Rail to the drawer
sides with the rollers toward the back, using three
G 1/2” Flat-head Screws each.
10
11
GROOVES
BB
DD
CC HOLES
NO
HOLES
ROLLER
AA
Z
Z
AA
FF
GG
EE
G
Y
T
X
Insert two V Shelf Pegs into the small interior
holes on the left and right side panels, all on the
same level (See inset). Tilt the W Adjustable
Shelf and insert it between the doors. Position the
shelf onto the Shelf Pegs.
12
W
inset
V

Other manuals for 1852

1

Other Safco Indoor Furnishing manuals

Safco 8945 Scoot User manual

Safco

Safco 8945 Scoot User manual

Safco Task Master 5144 User manual

Safco

Safco Task Master 5144 User manual

Safco 8962 User manual

Safco

Safco 8962 User manual

Safco Simple Storage 5507 User manual

Safco

Safco Simple Storage 5507 User manual

Safco 3965 User manual

Safco

Safco 3965 User manual

Safco 1927 User manual

Safco

Safco 1927 User manual

Safco 9401 User manual

Safco

Safco 9401 User manual

Safco Defy 1981 User manual

Safco

Safco Defy 1981 User manual

Safco 8121 User manual

Safco

Safco 8121 User manual

Safco 6604 User manual

Safco

Safco 6604 User manual

Safco Diaz 4194 User manual

Safco

Safco Diaz 4194 User manual

Safco 1902 User manual

Safco

Safco 1902 User manual

Safco Mini-Scoot 5371 User manual

Safco

Safco Mini-Scoot 5371 User manual

Safco Ambition Push Button Seating 3460 User manual

Safco

Safco Ambition Push Button Seating 3460 User manual

Safco Vue 3397 User manual

Safco

Safco Vue 3397 User manual

Safco 1853 User manual

Safco

Safco 1853 User manual

Safco 3966 User manual

Safco

Safco 3966 User manual

Safco 5220 User manual

Safco

Safco 5220 User manual

Safco Forge 7971 Series User manual

Safco

Safco Forge 7971 Series User manual

Safco 4214 User manual

Safco

Safco 4214 User manual

Safco 9728 User manual

Safco

Safco 9728 User manual

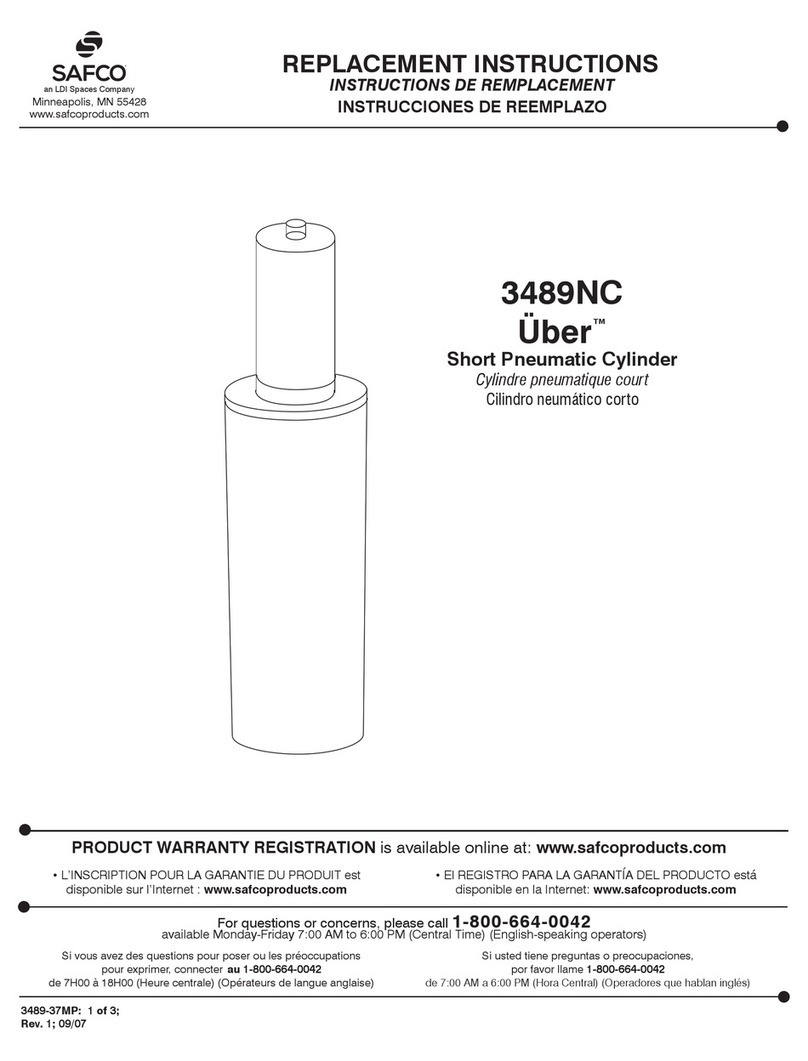
Safco Uber 3489NC Guide

Safco

Safco Uber 3489NC Guide

Safco 3043 User manual

Safco

Safco 3043 User manual

Safco 5276 User manual

Safco

Safco 5276 User manual

Popular Indoor Furnishing manuals by other brands

Fortress Building Products Al 13 HOME PURE VIEW installation instructions

Fortress Building Products

Fortress Building Products Al 13 HOME PURE VIEW installation instructions

Radius BOOKSBAUM II manual

Radius

Radius BOOKSBAUM II manual

Jula 666-022 User instructions

Jula

Jula 666-022 User instructions

Costway JV10835 manual

Costway

Costway JV10835 manual

Mooreco 91784 Assembly instructions

Mooreco

Mooreco 91784 Assembly instructions

AKANTE MOOREA CT275 Assembly instructions

AKANTE

AKANTE MOOREA CT275 Assembly instructions

Costco M8114 quick start guide

Costco

Costco M8114 quick start guide

Bestar 99700-1152 manual

Bestar

Bestar 99700-1152 manual

REA Kira 120 Assembly instructions

REA

REA Kira 120 Assembly instructions

Musterring EVOLUTION manual

Musterring

Musterring EVOLUTION manual

modway MOD-6205 Accessories assembly instructions

modway

modway MOD-6205 Accessories assembly instructions

Coaster 102722GRY Assembly instructions

Coaster

Coaster 102722GRY Assembly instructions

Seville Classics WEB571 manual

Seville Classics

Seville Classics WEB571 manual

Costway 54681379 user manual

Costway

Costway 54681379 user manual

Next CLEAR 658132 manual

Next

Next CLEAR 658132 manual

Crate&Barrel Cole manual

Crate&Barrel

Crate&Barrel Cole manual

Eureka Ergonomic ERK-GTG-I55 quick start guide

Eureka Ergonomic

Eureka Ergonomic ERK-GTG-I55 quick start guide

Case Dulwich 100084607 Assembly instructions

Case

Case Dulwich 100084607 Assembly instructions

manuals.online logo
manuals.online logoBrands
  • About & Mission
  • Contact us
  • Privacy Policy
  • Terms and Conditions

Copyright 2025 Manuals.Online. All Rights Reserved.