manuals.online logo
Brands
  1. Home
  2. •
  3. Brands
  4. •
  5. Sanyo
  6. •
  7. VCR System
  8. •
  9. Sanyo VHR-390 User manual

Sanyo VHR-390 User manual

Other Sanyo VCR System manuals

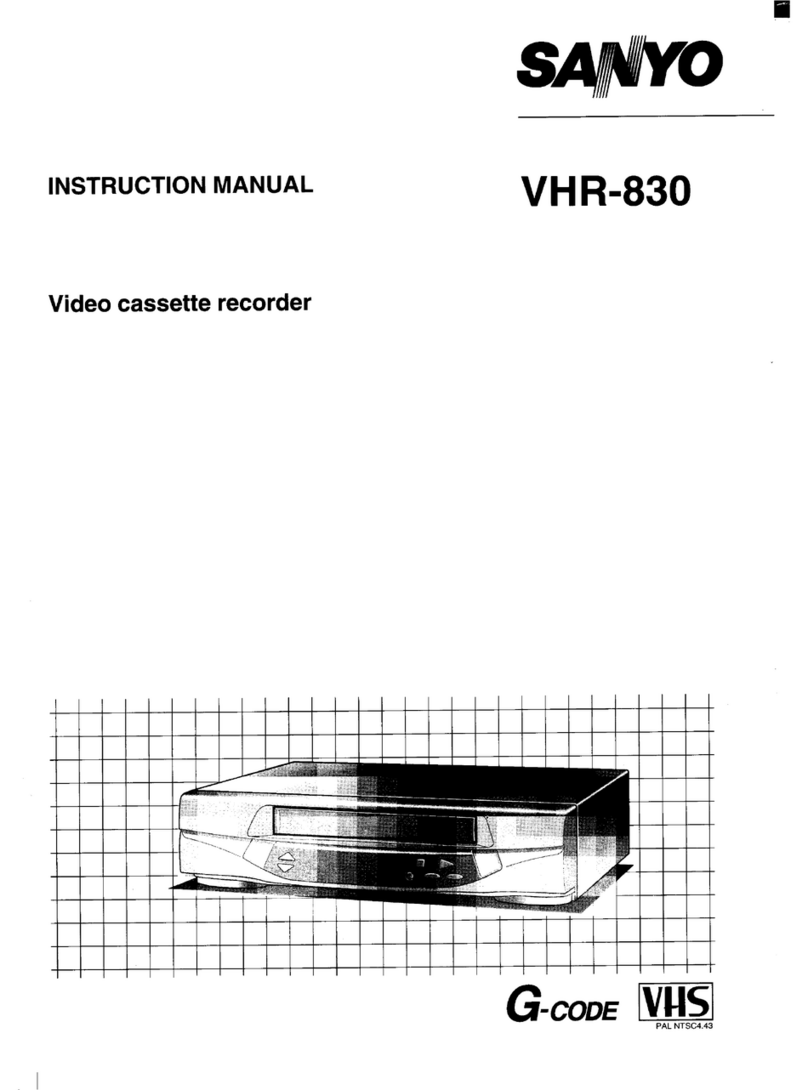
Sanyo VHR-830 User manual

Sanyo

Sanyo VHR-830 User manual

Sanyo TSL-4024P User manual

Sanyo

Sanyo TSL-4024P User manual

Sanyo VHR-279E User manual

Sanyo

Sanyo VHR-279E User manual

Sanyo SRT-2400DC User manual

Sanyo

Sanyo SRT-2400DC User manual

Sanyo SRT-4040 Manual

Sanyo

Sanyo SRT-4040 Manual

Sanyo VHR-M341 User manual

Sanyo

Sanyo VHR-M341 User manual

Sanyo SRT-612DC User manual

Sanyo

Sanyo SRT-612DC User manual

Sanyo VHR-450 User manual

Sanyo

Sanyo VHR-450 User manual

Sanyo VHR-330 User manual

Sanyo

Sanyo VHR-330 User manual

Sanyo SRC-800A User manual

Sanyo

Sanyo SRC-800A User manual

Sanyo DTL-4800 User manual

Sanyo

Sanyo DTL-4800 User manual

Sanyo SRT-2400 User manual

Sanyo

Sanyo SRT-2400 User manual

Sanyo VHR-630 User manual

Sanyo

Sanyo VHR-630 User manual

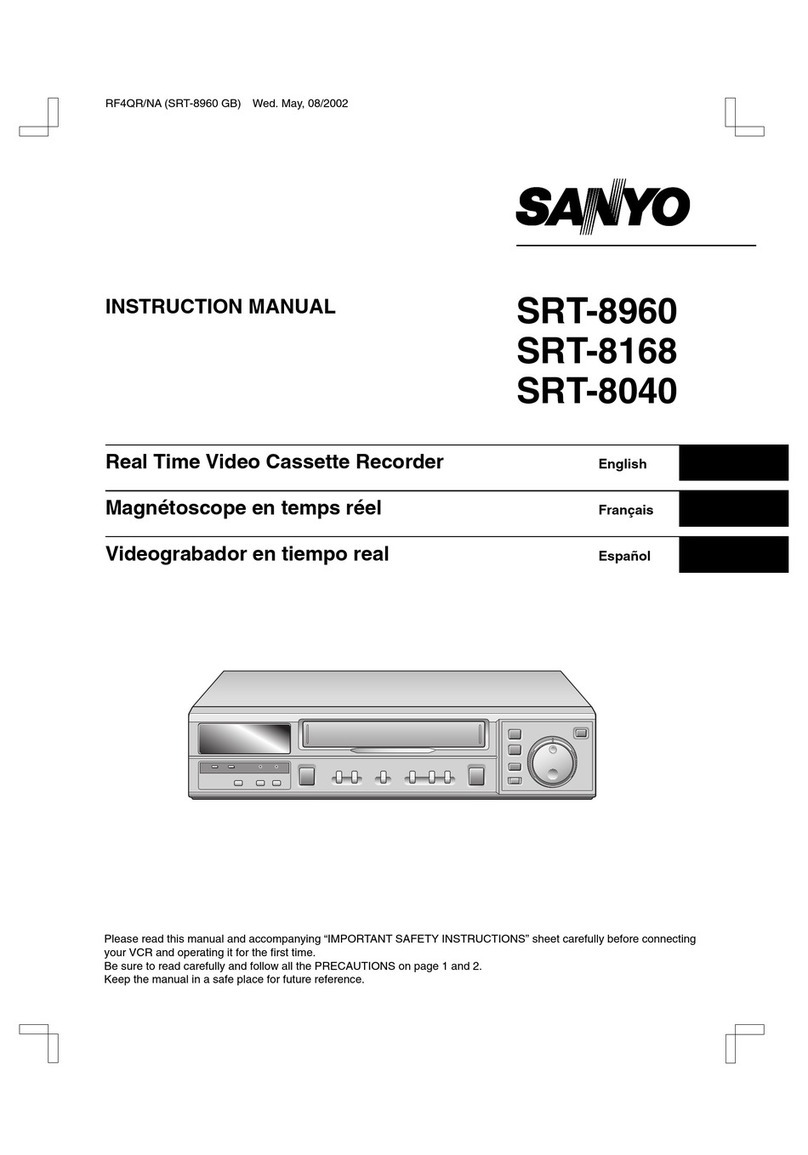
Sanyo SRT-8040 User manual

Sanyo

Sanyo SRT-8040 User manual

Sanyo VHR-790 User manual

Sanyo

Sanyo VHR-790 User manual

Sanyo VHR-590 User manual

Sanyo

Sanyo VHR-590 User manual

Sanyo VHR-H803E User manual

Sanyo

Sanyo VHR-H803E User manual

Sanyo VHR-H601 User manual

Sanyo

Sanyo VHR-H601 User manual

Sanyo VHR-890 User manual

Sanyo

Sanyo VHR-890 User manual

Sanyo VHR-495E User manual

Sanyo

Sanyo VHR-495E User manual

Sanyo P90 Manual

Sanyo

Sanyo P90 Manual

Sanyo VHR-510 User manual

Sanyo

Sanyo VHR-510 User manual

Sanyo SRT-6000 User manual

Sanyo

Sanyo SRT-6000 User manual

Sanyo VHR-690 User manual

Sanyo

Sanyo VHR-690 User manual

Popular VCR System manuals by other brands

RCA VR678HF user guide

RCA

RCA VR678HF user guide

Zenith VRL4270HF Operating guide & warranty

Zenith

Zenith VRL4270HF Operating guide & warranty

Akai VS-606EA Operator's manual

Akai

Akai VS-606EA Operator's manual

Panasonic NV-SJ412EE operating instructions

Panasonic

Panasonic NV-SJ412EE operating instructions

FUNAI 27C-450 Service manual

FUNAI

FUNAI 27C-450 Service manual

Sony SLV-X37 operating instructions

Sony

Sony SLV-X37 operating instructions

JVC SR-VS20U - Dual Format S-vhs/minidv Recorder instructions

JVC

JVC SR-VS20U - Dual Format S-vhs/minidv Recorder instructions

Grundig GV 7400 EURO Service manual

Grundig

Grundig GV 7400 EURO Service manual

Zenith VCM321 Installation and operating guide

Zenith

Zenith VCM321 Installation and operating guide

JVC HR-A43U, HR-A63U instructions

JVC

JVC HR-A43U, HR-A63U instructions

Aiwa VX-S135U operating instructions

Aiwa

Aiwa VX-S135U operating instructions

RCA VR725HF user guide

RCA

RCA VR725HF user guide

JVC 0703-AH-PJ-BJ instruction manual

JVC

JVC 0703-AH-PJ-BJ instruction manual

TruTech ZV450TT8 owner's manual

TruTech

TruTech ZV450TT8 owner's manual

JVC HR-DVS1EK instructions

JVC

JVC HR-DVS1EK instructions

Sensory Science DDV2120 user guide

Sensory Science

Sensory Science DDV2120 user guide

JVC HR-VP78U instructions

JVC

JVC HR-VP78U instructions

RCA VR611HF user guide

RCA

RCA VR611HF user guide

manuals.online logo
manuals.online logoBrands
  • About & Mission
  • Contact us
  • Privacy Policy
  • Terms and Conditions

Copyright 2025 Manuals.Online. All Rights Reserved.

INSTRUCTION MANUAL VHR-390
Video cassette recorder
Wii5j
PAL
.
i
PRECAUTIONS
❑This VCR is based on aVHS-PAL signal system. Only
video cassettes bearing the ~symbol can be used.
❑Video cassette recorders bearing the HQ mark incorporate
VHS high picture quality technology. Note that there is
interchangeability with former VHS video cassette
recorders.
Safety precautions
IDANGER: This VCR contains live parts. Do not remove I
\the cabinet. I
I!
t
WARNING: TO PREVENT FIRE OR SHOCK HAZARD, DO
NOT EXPOSE THIS PRODUCT TO RAIN OR MOISTURE. I
IOperating precautions
❑
❑
El
❑
❑
•1
❑
❑
❑
The unauthorized recording of television programmed, video
tapes, films and other such material may infringe upon
copyright or the rights of third patties.
Be sure to use this VCR only in atemperature range of 5°C
to 40”C and at less than 80% humidity.
Do not place anything, except VHS video cassette tapes, in
the unit.
Do not allow rain, steam, dew, saltwater, sand, oily smoke,
metal objects, etc. to get into the unit.
Place the VCR on aflat, stable, level surface. Never subject
it to violent shaking or any other shock or impact.
Do not expose the unit to high temperatures. Excessive
heat (heat sources such as heaters, ovens, closed car on
hot days, etc.) may damage the unit.
Do not stack anything on top of your VCR, or block the air
vents, to prevent damaging or overheating.
Do not use the unit under the following conditions:
●in locations with high humidity
●in presence of excessive dirl or dust
●in areas subject to strong vibrations
●near strong magnetic fields (e.g. transmitting antennas,
motors, fluorescent lights, etc.)
If the unit does not or)erate mo~erly, switch it off, refer to
the “TROUBLESHOOTING” o; co;sult adealer or a
service center.
The POWER button of this VCR is asecondary circuit, and
does not disconnect the unit from the AC power source, even if
the VCR is in stand-by, as long as the power cord is connected
to an AC electrical outlet.
Note: Stand-by is the condition in which only the time is
ICaution concerning condensation I
Be careful of condensation
Condensation is the moisture that forms on the outside of a
glass when you fill it with cold water. Condensation can also
form inside aVCR when it is suddenly moved from acold
place to awarm, humid one, or when aheater has been turned
on to quickly heat the room.
Particular care must be taken with your VCR because water
particles that form on the video head drum, which is the main
VCR mechanism, can cause the video tape to stick to the
drum. This prevents proper tape travel and may damage both
tape and mechanism.
Follow the procedures below the first time you use the
VCR, and whenever you use it in places which are subject
to condensation:
OConnect the aerial cable and make all other necessary
connections.
@Plug the power cord into awall socket.
OTum on the VCR power to warm it up and speed up the
drying of any water particles that may have formed on the
video head drum.
ODo not insert avideo cassette.
It takes about 1-1/2 to 2hours to completely eliminate
condensation. Wait at least this long before using the
VCR.
Power on display
1
CONTENTS
PRECAUTIONS ..................................................................................................................................... 1
ii
CONNECTIONS ..................................................................................................................................3
Aerial/RF connection .....................................................................................................................................3
AV connection ..............................................................................................................................................3
Hi-Fi audio connection ..................................................................................................................................3
Remote control batteries insertion ...............................................................................................................3
ON-SCREEN
PLAYBACK
IMMEDIATE
CHANGING OR CORRECTING THE SEITINGS ...................................................................................7
CONTROL
Menus and basic operation ...........................................................................................................................8
CASSEllE LOADING AND UNLOADING ............................................................................................9
PLAYBACK......................................................................................................................................... 9
Tracking adjustment .....................................................................................................................................9
SPECIAL PLAYBACK........................................................................................................................10
Forward search, Reverse search, Still picture, Frame advance, Slow motion .............................................10
COUNTER MEMORY ........................................................................................................................10
RECORDING
RECORDING TELEVISION BROADCASTS ........................................................................................11
Recording duration .....................................................................................................................................l 1
Quick Start Recording (QSR) timer ............................................................................................................l 1
Other recording possibilities .......................................................................................................................l 1
TIMER RECORDING
G-CODE TIMER RECORDING PROGRAMMING ...............................................................................
ON-SCREEN TIMER RECORDING PROGRAMMING ........................................................................:;
Notes on timer recording setting ................................................................................................................l3
EDITING TIMER RECORDINGS SElllNGS ......................................................................................14
Displaying alist of timer recordings and revising timer recording settings ................................................l4
Erasing aprogrammed timer recording ......................................................................................................l4
TAPE SEARCH FUNCTION
INDEX SEARCH FUNCTION .............................................................................................................15
Index scan search, Index search.................................................................................................................l 5
HiFi RECORDING AND PLAYBACK
RECORDING AND PLAYBACK SYSTEMS SElllNG .........................................................................16
Hi-Fi STEREO/BILINGUAL PROGRAMMED SOUND SELECTION .................... ................................16
NICAM PROGRAMMED ...................................................................................................................17
FM SIMULCAST RECORDING .........................................................................................................17
Hi-Fi AUDIO ONLY RECORDING AND PLAYBACK...........................................................................18
COPYING ATAPE ............................................................................................................................19
BUllONS AND DISPLAYS ...............................................................................................................20
TROUBLESHOOTING .......................................................................................................................21
SPECIFICATIONS .............................................................................................................................22
REPAIRS ......................................................................................................................................... 22
2
CONNECTIONS
IAerial/RF connection
OUnplug the aerial cable from your TV receiver and
reconnect it to the terminal marked ANT IN on the VCR.
@Connect the aerial output cable supplied as an accessory
with the VCR to the ANT OUT terminal on the VCR.
oConnect the other end of this aerial output cable to the TV
receiver.
OPlug the power cord into the VCR power socket before
using the unit. Insert the plug straight and firmly.
OInsert the plug of the power cord into the wall socket.
Both video and audio (monaural) signals are fed to the TV
receiver and can be viewed by setting the TV receiver to your
preset video channel. (See page 4.)
IAV connection
If your TV receiver has avideo/audio input terminals, the
following AV connections are also possible. The AV cable is
sold separately.
.Connect the AUDIOMDEO OUT terminals on the VCR to
the video/audio terminals on the TV receiver.
●Both video and audio signals are fed to the TV receiver.
●The advantage of this connection is ahigher quality of
picture and sound during playback.
●If you play back atape, set to the TV receiver to the AV
mode.
Note: To switch the’TV input mode, refer to the instruction
manual of the TV. 220-2 AC
D
Hi-Fi audio connection I
●To listen to the sound from the VCR over an audio system,
connect the AUDIO OUT IJR terminals to the input
terminals on the audio system.
The connecting cable is sold separately.
220-240V AC
m~~~
&; q
l-.-.IE ‘ ‘““:’:”;
Remote control batteries insertion
OOpen the lid.
@insert 2“AA (IEC R6)” 1.5 volts batteries according to the
@and 0signs.
@Replace the lid.
Notes:
●
●
●
●
Operate the remote control unit within arange of approx.
30” from the front of the VCR.
Operate the unit within approx. 6m(20 ft) from the front of
the VCR.
The battery life under normal operating conditions is about
six months. If the batteries become weak, the operating
distance will decrease; when this occurs, replace both
batteries.
If the remote control unit is not to be used for along period
of time, remove the batteries.
..
3
ii
VCR PRESETTING
U7’
After all connections have been made, insert
the remote control batteries then follow steps 1
0to 4to preset the VCR.
The 4presetting steps will be displayed in
sequence on your TV screen. The settings are
enterad with the remote control.
●[fyou are not presetting the VCR for the first time, please
refer to page 7.
ITurn on the VCR and the TV. I
v
When steps 1to 4have been completed, you are
ready to use the VCR.
Turn on the VCR and the TV. I
v
Press the TV/VCR button to display “VCR” on
the VCR digital display.
v
The following setting is only necessary when no AV connection
to the TV was made.
If the VCR has been connected to the TV using the “AV
connection” described in “CONNECTIONS”, simply set the
TV to the AV mode and the welcome screen will appear on
your screen.
When using the “RF connection” described in
“CONNECTIONS, the signals from the VCR are converted to
aradio frequency (RF) for viewing on an ordinary TV receiver.
~Set the TV receiver to channel 2or 3. (Choose the channel
that is not used for broadcasting in your area.)
Ol%en set the video channel select switch, on the rear of the
VCR, to the “CH 2“ or “CH 3“ position, corresponding to
the channel selected on the TV receiver.
@Adjust the channel tuning control on the TV (or fine tuning
control) so that the welcome screen is clear.
When using the VCR, set the TV receiver to this channel 2or 3.
This is your video channel.
To view atape playback or to watch aTV broadcast tuned on
the VCR tuner, set the TV to the video channel.
When the video channel has been preset, press the OK
button on the remote control.
iile
I.
wELCOMETO
USER FRIENDLY
ON-SCREEN
P
L:,~
~’””;
!,,,.............,,.......,::<.....;;
,Y ....i
:. ...:,. .. . . .. . . . ..’.?
~,.;; ; ; .,,,...... .....;; ~,.:j ;
,,, , ,. .,,./ . .....
Ciis ‘“:‘;/,: -:
CimrrQ /’:’:::””!”::””(;’::;,,...:,:\
.,,.
~:::;’<:;
:... ....... .. . ........ ........../
......
4
VCR PRESETTING
The language of the on-screen menus can be selected
between the 10 available languages (English, French, Italian,
Spanish, German, Dutch, Swedish, Finish, Danish,
Portuguese). When the VCR is used for the first time or if the
power has been disconnected for more than 1hour, the
selected language is English.
Im
I%w
FRANCAIS
ITALIANO
ESPAflOL
DEUTSCH
SET: AT< )
NED ERLANOS
SVENSKA
SUOMI
DANSK
PORTUGUES
END :~
By pressing on the remote control (A, T, <or ➤)cursor
buttons select the desired language, then press the OK button.
Using the remote control numeric buttons, enter the date (day,
month, year) and time (hours, minutes).
Example: To set December 10, 1994, 16:15, enter in
sequence, 10-12-94-16-15.
F
TIME
10.12.94 16:15
TIME SHIFT:A_
SET: O-9 OEL:< ENO:~ I
If you entered awrong number, press the (<)cursor button to
erase it then enter the correct number.
When the date and time have been entered, press the OK
button.
Note: Seconds will start counting from “00 as the OK button
is pressed.
The tuning mode can be selected between “AUTO” or
“MANUAL” from the displayed tuning menu.
This VCR has abuilt-in tuner capable of memorizing up to 44
television channels.
With using this mode, the channels available in your area will
be automatically preset, starting from channel position number
“n
1.
With “AUTO” selected, press the OK button.
ktMANUAL
SET:<) NEXT:m
●
●
●
The AUTO TUNING MEMORY (ATM) function will start
tuning the available channels st&ing’ from the one with
the lowest frequency and presetting them in order
starting from channel position number”1”.
During the auto tuning operation, the tuning indicators
(1111**..*- )show the approximate channel search
location.
After an available channel has been found and preset,
the channel position number in the top left corner of the
screen will increase by one.
ATM
AUTO TUNING MEMORY
111111111............................
When all available channels have been preset, the function will
stop and the channel preset to position number”1” will be
tuned on your TV screen.
The skip function will be set for the remaining channel position
numbers (where no channels have been preset).
Note: AUTO TUNING MEMORY (ATM) is not possible if the
VCR is set to AV input mode.
ii
This mode can be used to modify the settings entered by the
“AUTO mode, or to manually preset the channels to particular
channel position numbers.
The skip and fine tuning functions can be accessed from this
mode.
Using the (>) cursor button, select “MANUAL” then press the
OK button.
Using the (A or 7) cursor button, select the desired function,
then enter the settings using the (<or ➤)cursor button and
the OK button.
,+ ON
[1] Skip function —
[2] Tuning control .............................
[3] Fine tuning <~~!~--< ~“+ NEXT:m I
I[1] Skip function I
Example: If only channel position numbers 1to 10 have been
preset, set the skip function for channel position numbers 11 to
44, so that only the preset channel position numbers will
appear when pressing the channel (+ or-) button.
To set the skip function, select the channel position number to
skip, then press the (A or V) cursor button to select the
“SKIP” line, and press the (>) cursor button to select “ON”.
Press the OK button.
P
K!HF’-wml
CHANNEL 1111110111................
FINE -/+
SET:A-4~ NEXT:~
I[2] Tuning control I
Example: To preset UHF channel “23” to channel position
.
OThe cha~~~l position number preset is displayed in the top
left corner of the TV screen.
The first channel position number displayed is “01”.
The channel position number can be changed by pressing
the numeric buttons on the remote control.
@Using the ~or A) cursor button select the “CHANNEL”
line, making sure to leave “OFF selected for the “SKIP
line,
k
p,,:,Y, ....W........
SET:--4~ NEXT:~
@)Press the(F) cursor buttonandthechannelwiththenext
—higher frequency is searched and tuned.
Press the (<)cursor button and the channel with the next
lower frequency is searched and tuned.
●During the tuning operations, the tuning indicators
(1111.........)show the approximate channel search
location. The number of indicators increases as the
channel number increases.
●When achannel is found, the search stops and the
broadcast from that channel appears.
Press the (<or ➤)cursor button until the broadcast from the
desired channel (ex~ channel 23) appears on the TV screen.
@Press the OK button.
Channel 23 has now been preset to channel position number
“1“.
At that time, the channel position number in the top left corner
of the screen will change to “02”.
Repeat steps oand Oto preset another channel to that
channel position number, or press anumeric button on the
remote control to select adifferent channel position number to
preset.
I[3] Fine tuning I
When the tuning of achannel is not optimum, it can be
improved by manual fine tuning.
Using the (7) cursor button select the “FINE” line, then press
the (<or ➤)cursor button to obtain the best possible picture
and sound.
When pressing the (<or ➤)cursor button, “-’” or “+” will be
selected.
When ebest tuning is obtained, press the OK button.
kON
CHANNEL OInlnonann................
-/+
SET: A-4 ~NEXT:m
When all channel position numbers have been preset,
press the MENWTV button.
6
CHANGING OR CORRECTING THE SETTINGS
Note: If the digital display displays”-:- -“, the time, date
(and recording programmed) should be reset.
Press the MENU/lV button, the main menu is displayed.
Press the (<or ➤)cursor button to select the desired menu
(TIMER, INDEX or MODE) then follow the steps below to
modify or correct asetting.
The input procedure is the same as for VCR PRESEITING
starting on page 4.
Note: The welcome screen is only displayed when the VCR is
connected for the first time or if the power to the VCR
has failed or has been disconnected for more than 1
hour.
Normally, once it has been set, the video channel does not
need to be changed.
If you change your TV receivers, or for any other reason, the
video channel can be set by playing back atape on the VCR
and adjusting the tuning on the TV receiver as described (see
page 4).
OPress the MENWTV button.
@c~TIMER” is selected.
oPress the OK button.
@Using the (V) cursor button, select “CLOCK SET”.
@Preee the OK button.
For time ehifting (TIME SHIIT) adjustment (Summer/
Standard time), simply press the (A or 7) cursor
button.
OPress the MENWTV button.
@Using the (-) cursor button, select “MODE’.
@Press the OK button.
@Using the (7) cursor button, select “LANGUAGE.
@Press the OK button.
OPress the MENIJTV button.
@Using the (>) cursor button, select “MODE.
~Press the OK button.
@“TUNING” is selected.
@Press the OK button.
7
ii
ON-SCREEN CONTROL
IMenus and basic operation I
The VCR can easily be programmed by using the menus
displayed on-screen.
The menus are controlled from the remote cmtrol.
To display the main menu, press the MENWTV button. The
buttons that can be used with each menu are displayed at the
bottom of the screen.
If you memorize the basic operations, each setting can easily
be made by following the steps of the concerned menu.
Notes:
●Make surethat the TV is set to the preset video channel or
to AV mode, otherwise the menu will not appear on the
screen.
●If awrong sub-menu has been selected, press the
MENWTV button twice to return to the main menu, and start
again.
●TO cancel amenu halfway through, press the MENU/TV
button once to return to the normal TV broadcast screen.
Basic operations
~Press the MENWTV button.
@Using the cursor buttons, select the desired sub-menu.
oPress the OK button.
OThe selected sub-menu will appear:
●repeat steps@ and ~to select another sub-menu.
●and/or use the numeric buttons to enter the desired
settings, such as date, time, etc.
wAs ageneral rule, follow the instructions at the bottom
of the screen.
When using an on-screen menu, if the menu is difficult to
read due to the broadcast in the background, press the
DISPLAY button to obtain ablue background. Press this
button again to return to normal TV broadcasts background
menus.
...............
fMENU~’”~
oMEi#9i
....................
--ill--F ~
*
Main menu~ #j
.*
............----------------------
@i4#ijs:.ig3j
..
luooE I
TUNING
IANGUAGE
SYSTEM
f?r
TINNG LANGUAGE
<4
w
8
CASSETTE LOADING AND UNLOADING
ILoading I
When avideo cassette is inserted, it will be loaded
automatically and the cassette-in (-) indicator will illuminate.
Auto power on
The power is automatically switched on as a cassette is
inserted while the VCR is in the stand-by condition.
Unloading I
Power off eject
Thevideo cassette will be ejected when the 4EJECT button is
pressed, even when the VCR is in stand-by condition.
CAUTION: Do not put your hand or other objects in the
cassette loading slot because of the risk of injury or an
accident.
Be sure to keep small children away from the VCR.
PLAYBACK
Erasure-prevention tab
If the erasure-prevention tab on the back of the video cassette
is removed, the cassette cannot be recorded on.
This tab is designed to prevent the accidental erasure of
recorded material.
Note: The tab should be snapped off at its base, and removed
completely.
To record onto the same cassette again, place two layers of
adhesive tape over the space where the tab was, so as to
cover the space completely.
~Q
,,.
0
,,:,;,:,fi,
.,.:,,::,.,,
?
““’”~’~g$
Erasure-prevention
tab
Insert the video cassette.
Press the PLAYb button.
Auto piay
l%eVCR will play back atape automatically when avideo
cassette is inserted whose erasure-prevention tab has been
removed.
To stop the playback, press the ■STOP button.
.To rewind the tape, press the 44REW button.
.To advance (fast-forward) the tape, press the FF~ button.
Auto eject
When avideo cassette without an erasure-prevention tab is
played to the end of the tape, the tape will be automatically
rewound and then the cassette will be ejected.
ITracking adjustment I
~Auto-tracking adjustment
If the playback picture is disturbed by noise interference press
the ATR button, adjustment to the optimum point will occur
automatically.
@Manuai tracking adjustment
if the playback picture still shows interference, manually adjust
it with the (+, -) buttons, to minimize the noise.
If you wi6h to return the tracking adjustment to its original
“cantreposition”after having changed it, press both
CHANNEL (-and +) buttons on the VCR simultaneously.
Note: The tracking cannot be adjusted while an on-screen
menu is displayed.
Noise interference (-) ~Cehtre~(+)
9