Satel APS-724 User manual

APS-724
Power supply
Firmware version 1.00 aps-724_en 10/19
SATEL sp. z o.o. • ul. Budowlanych 66 • 80-298 Gdańsk • POLAND
tel. +48 58 320 94 00
www.satel.eu

IMPORTANT
The device should be installed by qualified personnel.
Prior to installation, please read carefully this manual.
Changes, modifications or repairs not authorized by the manufacturer shall void your rights
under the warranty.
SATEL aims to continually improve the quality of its products, which may result in changes in
their technical specifications and software. Current information about the changes being
introduced is available on our website.
Please visit us at:
http://www.satel.eu
The declaration of conformity may be consulted at www.satel.eu/ce
The following symbols may be used in this manual:
- note,
- caution.

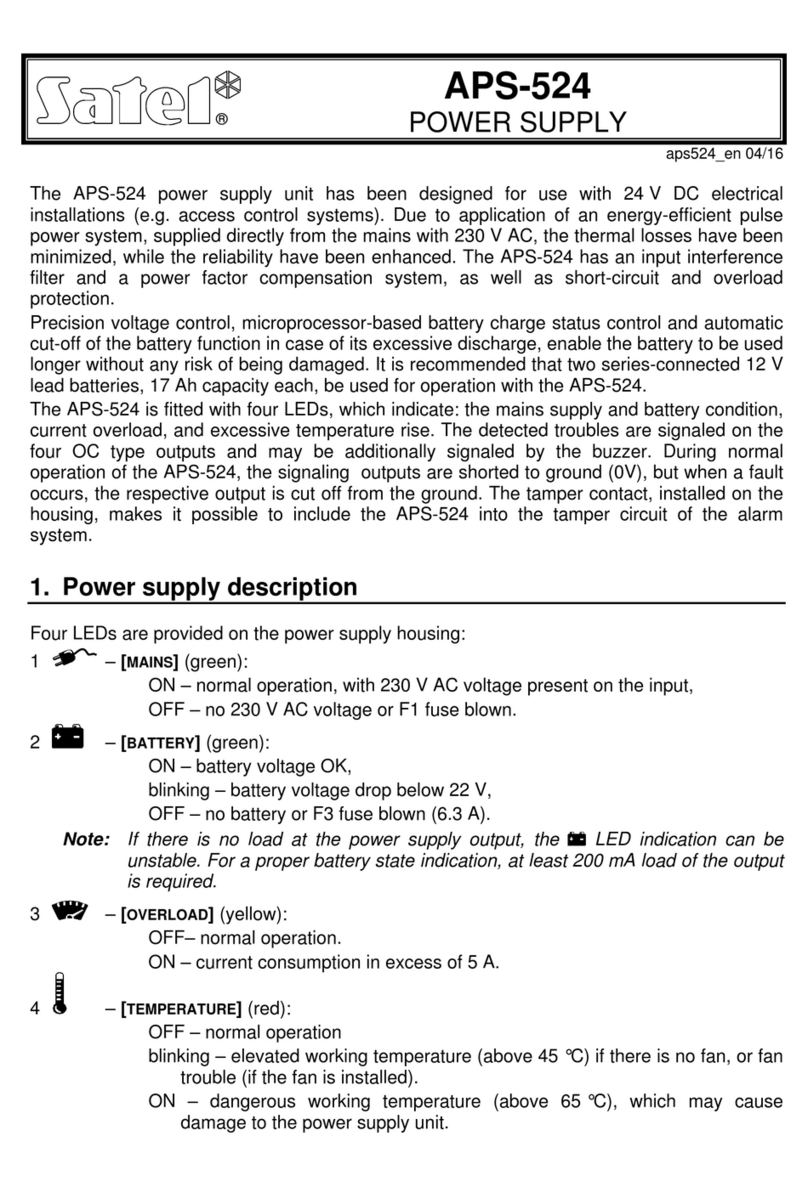
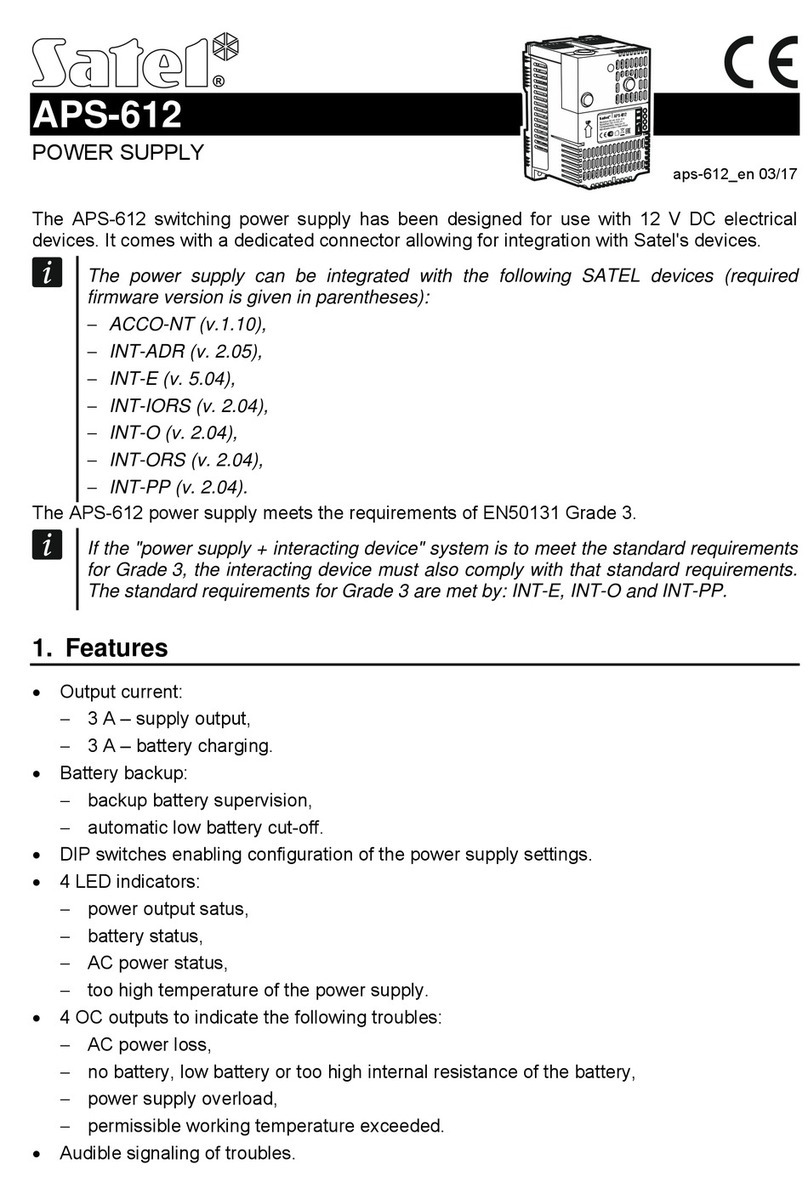
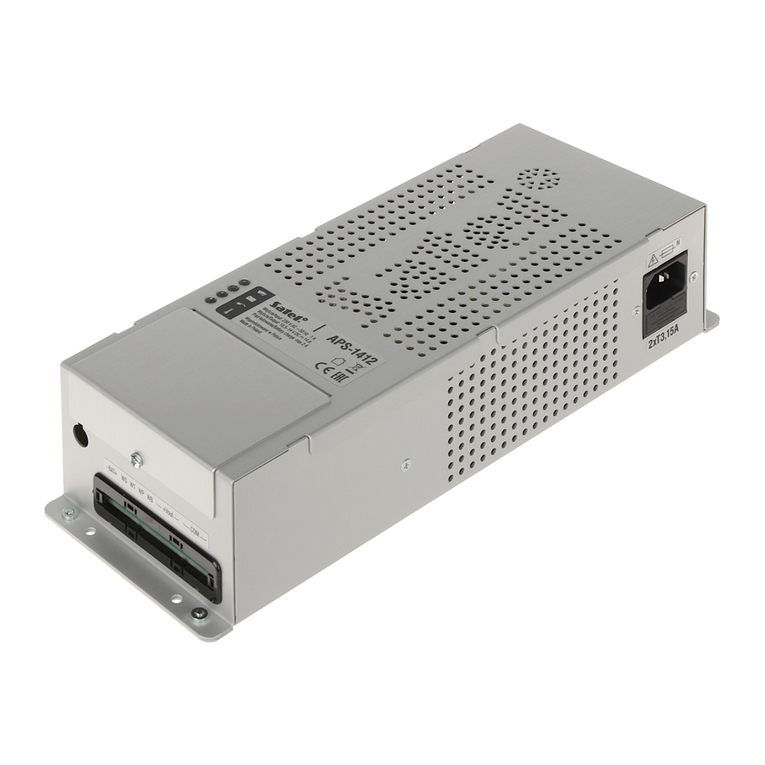
The APS-724 switch mode power supply is designed for devices requiring 24 VDC nominal
voltage.
1. Features
High efficiency.
Nominal output voltage (according to IEC 38): 24 VDC.
Output voltage stabilization.
Battery status supervision and low battery disconnect system.
Ability to work without a battery connected.
Output current:
operation with battery: 6 A,
operation without battery: 7 A.
Battery charging current: 1 A.
DIP switches enabling configuration of the power supply settings.
4 LEDs indicating:
– power output status,
– battery status,
– AC power status,
– power supply over-temperature.
4 OC type outputs indicating the following troubles:
– no AC power,
– no battery, low battery or too high internal resistance of the battery,
– power supply overload,
– exceeded permissible operating temperature.
Audible signaling of trouble.
Input interference filter.
Short-circuit protection fuses for AC supply circuit (2 x T3.15A).
Short-circuit protection fuse for battery charging circuit (MINI 7,5 A).
Electronic short-circuit and overload protection of the power output.

2 APS-724 SATEL
2. Power supply description
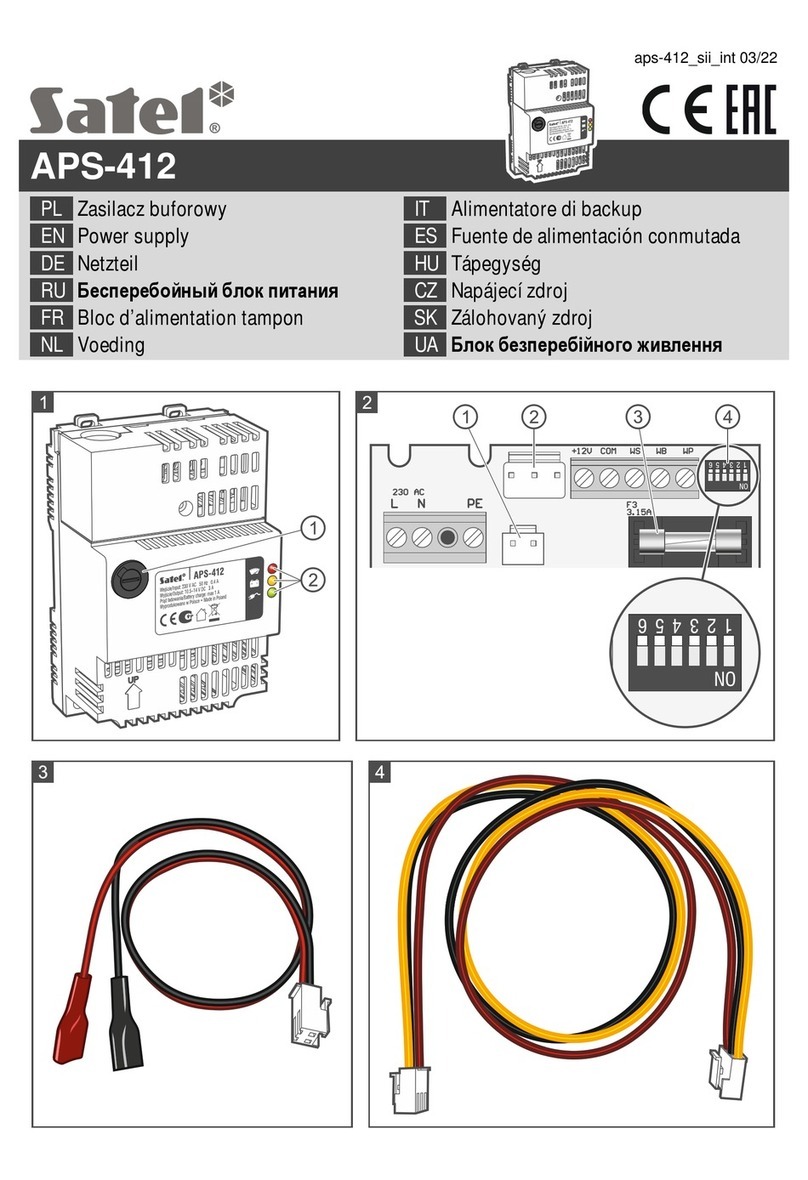
terminals cover.
LEDs indicating the power supply status:
– red LED – power output status:
OFF – normal operation, current consumption up to 6 A,
flashing – overload, current consumption exceeds 6 A.
– yellow LED – battery status if the mode of operation with battery is enabled:
OFF – no battery or blown fuse of the battery charging circuit,
ON – battery OK,
flashing – low battery (battery voltage below 23 V or battery internal resistance
too high).
– green LED – AC power status:
ON – AC power OK,
flashing – no AC power or blown fuses of the AC circuit (battery operation).
– blue LED – flashing when the operating temperature exceeds 75°C (prolonged
high temperature may cause harm to the power supply).
If all LEDs are off when the 230 VAC power is connected, it means that the power
supply has been put into emergency mode as a result of shorting the power output to
ground – see section “Installation”.
230 VAC power connector (cable included).
cover for AC circuit slow-blow fuses (opening shown in Fig. 2). Bipolar protection: T3.15A
fuse in the phase circuit and T3.15A fuse in the neutral circuit.
terminals (see “Description of terminals”).

SATEL APS-724 3
2.1 Electronics board
Fig. 3 shows the part of the power supply electronics board that is visible after removal of the
cover (see Fig. 1).
DIP-switches (see “Configuring the power supply”).
MINI 7,5 A car fuse – battery charging circuit protection.
Description of terminals
- BAT + – battery connection terminals.
WS – OC type output signaling 230 VAC power loss.
WT –OC type output signaling the exceeding of the permissible temperature.
WP – OC type output signaling the exceeding of the permissible load current (above
6 A).
WB – OC type output signaling no battery, low battery voltage (below 23 V) or too
high internal battery resistance.
+Vout – +24 VDC power output.
COM – common ground.
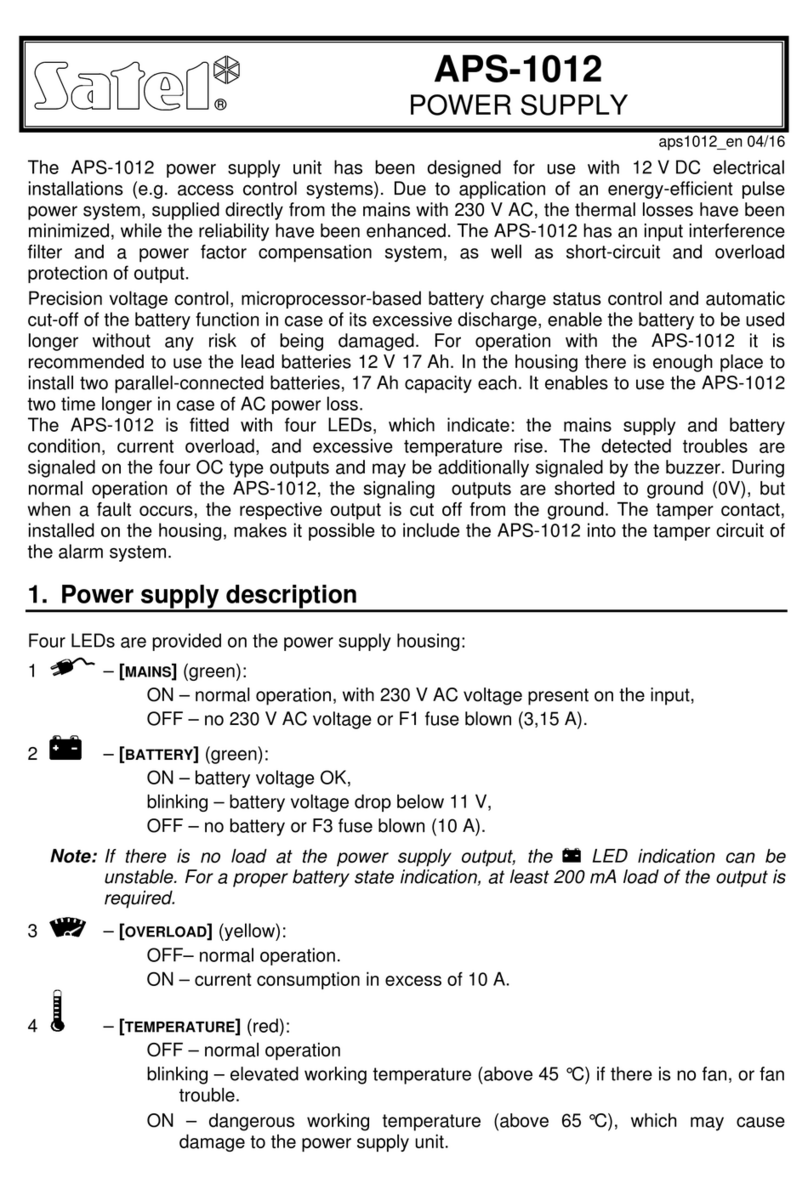
In the normal state, the OC type outputs are shorted to ground (0 V), but when a trouble
occurs, the output is disconnected from ground.

4 APS-724 SATEL
2.2 Configuring the power supply
You can configure the power supply working parameters by using the DIP switches 1, 2, 4
and 5 (see Table 1). By factory default, all switches are set to OFF position.
Switch number Description
1
audible signaling of trouble
Enables (ON) / disables (OFF) the audible signaling of trouble
(short beep every 3 seconds).
2
operation with battery
Enables (ON) / disables (OFF) the mode of operation with
battery. When the mode of operation with battery is enabled, the
power supply is testing the battery state.
4
5
AC power failure reporting delay
Defines the time that must elapse after AC power loss before the
WS output turns on. The delay you can set according to Table 2.
Table 1.
If a battery is connected to the power supply, it is recommended that you enable the
mode of operation with battery. Thus, the backup supply operation will be supervised.
Delay time
Switch number 3 s 60 s 600 s 1800 s
4 OFF ON OFF ON
5 OFF OFF ON ON
Table 2.
The switches 3 and 6 must be set to OFF position (Fig. 4).

SATEL APS-724 5
3. Installation
Disconnect power before making any electrical connections.
Making connections with the power on may lead to blowout of the battery circuit
fuse or cause the power supply unit to enter emergency mode. To deactivate the
emergency mode, disconnect the 230 VAC power supply and reconnect it after
about 30 seconds.
The power supply should be connected to the 230 VAC mains supply. Before you connect
the power supply to AC power, familiarize yourself with the electrical installation of the facility.
Make sure that the circuit you choose for powering will be always alive. This circuit should be
protected by a suitable safety device.
As the backup power supply source, use a sealed lead-acid battery or other battery with
similar charging characteristics. The battery capacity must be selected to match the system
current consumption.
After the battery voltage drops to 21 V, the battery will be disconnected to protect it against
deep discharge and damage.
Do not use batteries other than the recommended ones.
Do not connect a battery with less than 17 Ah capacity to the power supply.
The used batteries must not be discarded, but should be disposed of in
accordance with the existing rules for environment protection.
The sum of currents consumed by the devices to be supplied via the APS-724 power supply
may not exceed:
6 A if a battery is connected to the power supply,
7 A if no battery is connected to the power supply.
1. Remove the screw securing the cover of power supply terminals (Fig. 5).
2. Remove the cover of power supply terminals (Fig. 6).
3. Use the DIP switches to configure the power supply (see “Configuring the power supply”).
4. Connect devices to the power supply outputs (terminals +Vout and COM).
Remember that the cables connecting the + Vout power outputs to the devices
should be evenly loaded with current.

6 APS-724 SATEL
5. To the trouble signaling outputs, you can, for example, connect LEDs, relays, or connect
them to the inputs of control panel or other device which is to supervise the power supply
operation.
6. Connect the battery to the - BAT + terminals.
If the +Vout power supply outputs are loaded with 7 A current, it is
recommended that you use a minimum 2 mm2cross-section wires for battery
connection. The wires should be as short as possible.
7. Replace the cover of power supply terminals.
8. Replace and tighten the screw to secure the power supply terminals cover.
9. Connect the power cable to the power supply socket (Fig. 7).
10.Insert the power cable plug into the 230 VAC socket. The power supply will signal the
presence of voltage with 1 beep, and the LED will go on.
4. Specification
Power supply type (according to EN50131) ............................................................................ A
Supply voltage .............................................................................................................230 VAC
Power Factor Correction (PF) ....................................................................................up to 0.98
Efficiency....................................................................................................................up to 94%
Nominal output voltage (according to IEC 38)............................................................... 24 VDC
Actual output voltage .................................................................................................... 27 VDC
Output current
operation without battery connected............................................................................ 7 A
operation with battery connected................................................................................. 6 A
Battery charging current....................................................................................................... 1 A
Battery failure voltage threshold............................................................................... 23 V ±10%
Battery cut-off voltage .............................................................................................. 21 V ±10%
OC type outputs (WS, WB, WP, WT) ............................................................... 50 mA / 24 VDC
Environmental class.................................................................................................................II
Operating temperature range...............................................................................-10°C...+55°C
Enclosure dimensions ................................................................................. 101 x 68 x 291 mm
Weight............................................................................................................................ 1.34 kg
Table of contents
Other Satel Power Supply manuals