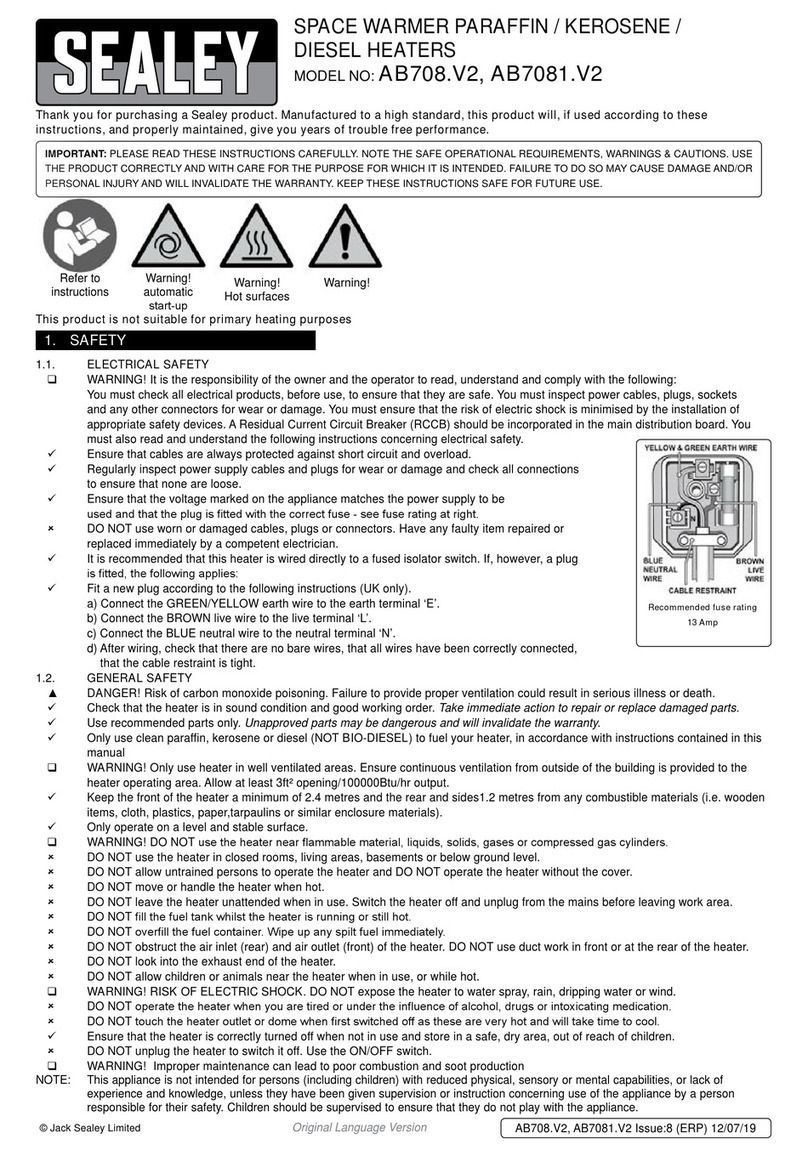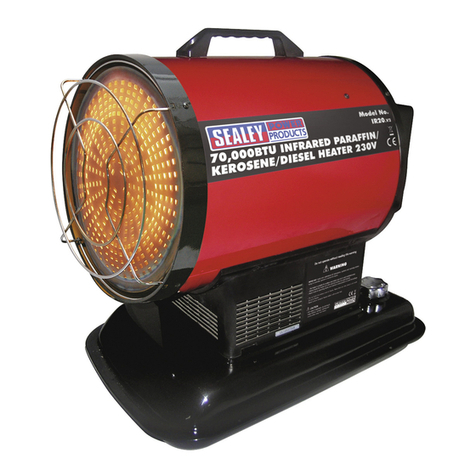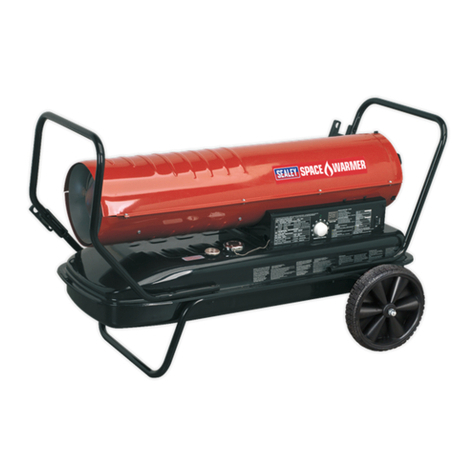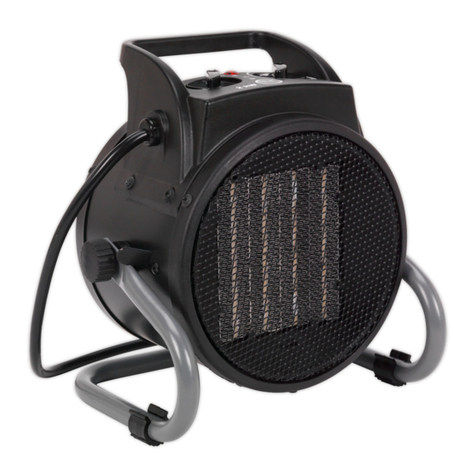
INSTRUCTIONS FOR:
ELECTRICAL CERAMIC HEATER
Model: CH2400
Thank you for purchasing a Sealey product. Manufactured to a high standard this product will, if used according to these instructions
and properly maintained, give you years of trouble free performance.
CH2400 - 0009 - (1) - 210900
1. SAFETY INSTRUCTIONS
IMPORTANT
PLEASE READ THESE INSTRUCTIONS CAREFULLY. NOTE THE SAFE OPERATIONAL REQUIREMENTS, WARNINGS AND CAUTIONS.
USE THIS PRODUCT CORRECTLY AND WITH CARE FOR THE PURPOSE FOR WHICH IT IS INTENDED. FAILURE TO DO SO MAY CAUSE
DAMAGE OR PERSONAL INJURY, AND WILL INVALIDATE THE WARRANTY. PLEASE KEEP INSTRUCTIONS SAFE FOR FUTURE USE.
1.2 GENERAL SAFETY
3Disconnect the heater from the mains power before handling or cleaning.
3Maintain the heater in good order and clean condition for best and safest performance. Use authorised agent for servicing.
3Replace or repair damaged parts. Use authorised parts. Non authorised parts may be dangerous and will invalidate the warranty.
3Locate heater in an adequate area for its function, keep the immediate area in front of the heater clean and free from unrelated materials.
3Only use the heater standing on its feet in the upright position.
p
p
p
WARNING! DO NOT use the heater with controllers, timers, room thermostates or other devices which could automatically switch heat on.
7DO NOT allow the heater to get wet as this may cause an electric shock, and will damage the heater.
7DO NOT let power lead hang over an edge (i.e. table), or touch a hot surface or run under a carpet etc.
7DO NOT cover heater when in use, and do not obstruct the air inlet and outlet grills (i.e. clothing, curtain, furniture, bedding etc).
7DO NOT use in bathroom, shower room, or in any wet or damp environments or where there is high condensation.
7DO NOT insert or allow objects to enter grills of heater as this may cause an electric shock, fire or damage to heater.
7DO NOT use the heater out of doors. This heater is designed for indoor use only.
7DO NOT use heater if the power cord, plug or the heater is damaged, or if the heater is not working correctly, or if the heater has been
dropped or has become wet.
7DO NOT use the heater where there are flammable liquids, solids or gases such as petrol, solvents, aerosols etc, or where heat sensitive
materials may be stored.
7DO NOT place the heater near items that may be damaged by heat. Maintain a minimum of 1m distance between heater and other items.
7DO NOT touch the heater in use. When turned off only move or carry the heater by its handle.
7DO NOT allow children or animals to approach or touch the heater.
7DO NOT use the heater for any purpose other than for which it is designed.
3Allow the unit to cool before storage. When not in use, disconnect from the mains and store in a safe, cool, dry, child proof area.
1.1. ELECTRICAL SAFETY. p
p
p
WARNING! It is the users responsibility to read, understand and comply with the following:
You must check all electrical equipment and appliances to ensure they are safe before using. You must inspect power supply leads, plugs and all
electrical connections for wear and damage. You must ensure the risk of electric shock is minimised by the installation of appropriate safety
devices. An RCCB (Residual Current Circuit Breaker) should be incorporated in the main distribution board. We also recommend that an RCD
(Residual Current Device) is used with all electrical products. It is particularly important to use an RCD together with portable products that are
plugged into an electrical supply not protected by an RCCB. If in doubt consult a professional electrician. You may obtain a Residual Current
Device by contacting your Sealey dealer. You must also read and understand the following instructions concerning electrical safety.
1.1.1. The Electricity At Work Act 1989 requires all portable electrical appliances, if used on a business premises, to be tested by
a qualified Electrician at least once a year by using a Portable Appliance Tester (PAT).
1.1.2. The Health & Safety at Work Act 1974 makes owners of electrical appliances responsible for the safe condition of the appliance,
and the safety of the appliance operator. If in doubt about electrical safety, contact a qualified electrician.
1.1.3. Ensure the insulation on all cables and the product itself is safe before connecting to the mains power
supply. See 1.1.1. & 1.1.2. above and use a Portable Appliance Tester (PAT).
1.1.4. Ensure that cables are always protected against short circuit and overload.
1.1.5. Regularly inspect power supply, leads, plugs and all electrical connections for wear and damage,
especially power connections, to ensure that none are loose.
1.1.6. Important: Ensure the voltage marked on the product is the same as the electrical power supply
to be used, and check that plugs are fitted with the correct capacity fuse. A 13Amp plug may require
a fuse smaller than 13Amps for certain products (subject to 1.1.10. below) see fuse rating at right.
1.1.7. DO NOT pull or carry the powered appliance by its power supply lead.
1.1.8. DO NOT pull power plugs from sockets by the power cable.
1.1.9. DO NOT use worn or damage leads, plugs or connections. Immediately replace or have repaired by
a qualified Electrician. A U.K. 3 pin plug with ASTA/BS approval is fitted. In case of damage, cut off
and fit a new plug according to the following instructions (discard old plug safely).
(UK only - see diagram at right). Ensure the unit is correctly earthed via a three-pin plug.
a) Connect the GREEN/YELLOW earth wire to the earth terminal E.
b) Connect the BROWN live wire to live terminal L.
c) Connect the BLUE neutral wire to the neutral terminal N.
After wiring, check there are no bare wires, that all wires have been correctly connected and that the wire restraint is tight.
Double insulated products are often fitted with live (BROWN) and neutral (BLUE) wires only. Double insulated products are always marked with
this symbol . To re-wire, connect the brown & blue wires as indicated above. DO NOT connect the brown or blue to the earth terminal.
1.1.10. Cable extension reels. When a cable extension reel is used it should be fully unwound before connection. A cable reel with an RCD
fitted is recommended since any product which is plugged into the cable reel will be protected. The section of the cable on the cable
reel is important. We recommend that at least 1.5mm2section cable but to be absolutely sure that the capacity of the cable reel is
suitable for this product and for others that may be used in the other output sockets, we recommend the use of 2.5mm2section cable.
Blue
Neutral
wire
Yellow & Green
Earth wire
wire
restraint
FUSE RATING
THIS PRODUCT MUST BE FITTED
WITH A:
13 Amp FUSE
Brown
Live
wire


