manuals.online logo
Brands
  1. Home
  2. •
  3. Brands
  4. •
  5. Sealey
  6. •
  7. Indoor Furnishing
  8. •
  9. Sealey SL1D User manual

Sealey SL1D User manual

INSTRUCTIONS FOR:
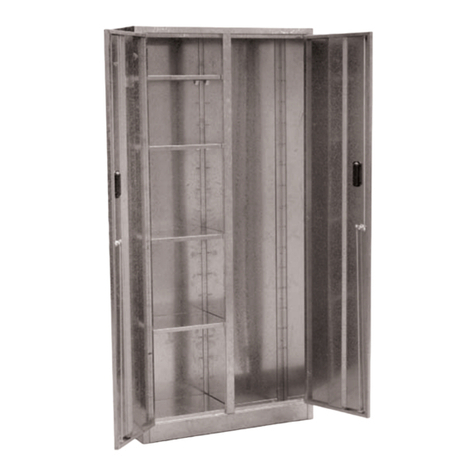
LOCKERS - 1 DOOR, 2 DOOR, 4 DOOR
MODEL No's:SL1D, SL2D, SL4D
Thank you for purchasing a Sealey product. Manufactured to a high standard this product will, if used according to these instructions and
properly maintained, give you years of trouble free performance.
1. SAFETY INSTRUCTIONS
IMPORTANT: PLEASE READ THESE INSTRUCTIONS CAREFULLY. NOTE THE SAFE OPERATIONAL REQUIREMENTS, WARNINGS & CAUTIONS.
USE THE PRODUCT CORRECTLY AND WITH CARE FOR THE PURPOSE FOR WHICH IT IS INTENDED. FAILURE TO DO SO MAY CAUSE
DAMAGE AND/OR PERSONAL INJURY AND WILL INVALIDATE THE WARRANTY. PLEASE KEEP INSTRUCTIONS SAFE FOR FUTURE USE.
2. INTRODUCTION
1.1. GENERAL SAFETY
WARNING! Ensure Health & Safety, local authority, and
general workshop practice regulations are adhered to when
using these lockers.
Locate locker in a suitable work area.
Keep the work area clean, uncluttered and ensure there is
adequate lighting.
WARNING! Use locker on level and solid ground, preferably
concrete.
Keep the locker clean and tidy in accordance with good
workshop practice.
Keep children and unauthorised persons away from the work area.
DO NOT use the locker for any purpose other than that for
which it is designed.
DO NOT use the locker outdoors.
DO NOT get the locker wet or use in damp or wet locations or
areas where there is condensation.
DO NOT clean the locker with any solvents which may damage
the surfaces or the protective coating.
2.1. Introduction:
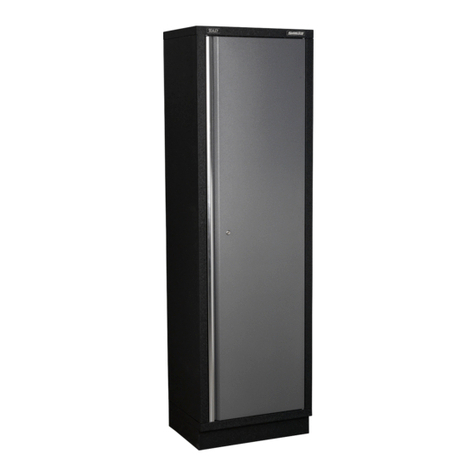
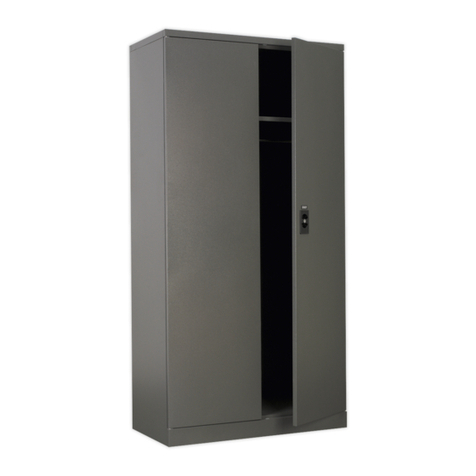
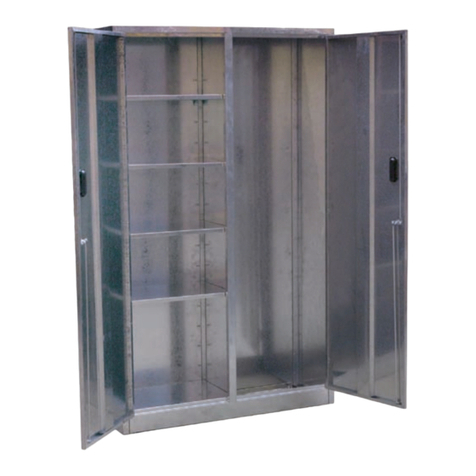
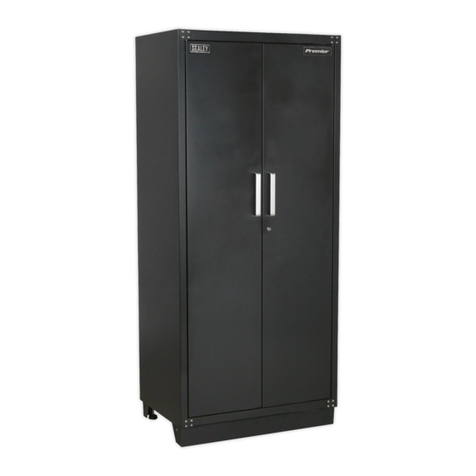
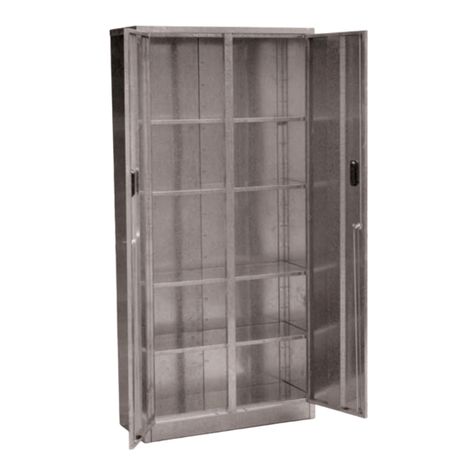
A range of lockers suitable for a variety of commercial
 applications.Singleandtwodoormodelsttedwithahanging
bar, single door model also has single shelf. Doors on all models
 areventilatedandttedwithcylinderlocks,2setsofkeys
 suppliedperlock.Suppliedatpacked.
2.2. Dimensions:
Width: 380mm, Depth: 450mm, Height: 1850mm.
Original Language Version SL1D,SL2D,SL4DIssue:1-18/02/10
3. ASSEMBLY
3.1. Lay out the back panel and the two side panels (fig.1). The side
 panelshaveacut-outatthefront(fig.2).Fitthelefthandside
panel to the back panel, secure using the bottom and two
middle screws only.
fig.1
fig.2
3.2. Fit the right hand side panel to the back panel, using the three
lower screws only to secure (fig.3).
3.3. Carefully stand the unit up, ensuring that the panels are not
twisted.
fig.3
NOTE: It is our policy to continually improve products and as such we reserve the right to alter data, specifications and component parts without prior notice.
IMPORTANT: No liability is accepted for incorrect use of this product.
WARRANTY: Guaranteeis12monthsfrompurchasedate,proofofwhichwillberequiredforanyclaim.
INFORMATION:Foracopyofourlatestcatalogueandpromotionscalluson01284757525andleaveyourfullnameandaddress,includingpostcode.
01284 757500
01284 703534
sales@sealey.co.uk
Sole UK Distributor, Sealey Group,
Kempson Way, Suffolk Business
Park, Bury St. Edmunds, Suffolk,
IP327AR
www.sealey.co.uk
Web
email
Original Language Version SL1D,SL2D,SL4DIssue:1-18/02/10
3.7. Place the bottom shelf into the locker with the two cut outs
facing towards the door (fig.6), push it down into place.
3.8. Carefully tip locker over backwards and lower to the floor.
Secure the bottom shelf to the back panel using two screws
 (fig.7).Standlockerup.
fig.4
fig.5
fig.7
fig.8
fig.9
3.4. Fit the door frame panel into the unit from the inside locating the
frame with the side panels at the top and bottom.
3.5. Fit the locker top from the inside with the two holes at the back
lined up with the two holes in the back panel.
3.6. Bend the tabs in at the front of the top, making sure that they
locate into the locking holes in the door frame (figs.4 & 5).
3.11. Insert a lock into hole in each door and position correctly.
Secure with nut. Position the lever at the correct angle and
secure with screw and washer (fig.10).
3.9. SL1D: Place shelf (different design) onto locating brackets.
 SL2DandSL4D:Allshelvesarethesamedesignasthebottom
 shelfwithtwocut-outsthatfacetowardsthedoor.Locateeach
one and push down into place.
If required, drill holes and fix shelves in position with a retaining
screw (fig.8).
3.10.Placehangingbar(s)inposition,SL1DandSL2Donly(fig.9).
fig.6
fig.10

This manual suits for next models

2

Other Sealey Indoor Furnishing manuals

Sealey APICCOMBO5 User manual

Sealey

Sealey APICCOMBO5 User manual

Sealey AP6350 User manual

Sealey

Sealey AP6350 User manual

Sealey SC05 User manual

Sealey

Sealey SC05 User manual

Sealey SC03 User manual

Sealey

Sealey SC03 User manual

Sealey GSC86335SP User manual

Sealey

Sealey GSC86335SP User manual

Sealey APICCOMBOF4 User manual

Sealey

Sealey APICCOMBOF4 User manual

Sealey APMS85 User manual

Sealey

Sealey APMS85 User manual

Sealey AP980MTHV User manual

Sealey

Sealey AP980MTHV User manual

Sealey AP3503TB.V2 User manual

Sealey

Sealey AP3503TB.V2 User manual

Sealey APMS05 User manual

Sealey

Sealey APMS05 User manual

Sealey GSC86335 User manual

Sealey

Sealey GSC86335 User manual

Sealey APMS55 User manual

Sealey

Sealey APMS55 User manual

Sealey SL1D.V2 User manual

Sealey

Sealey SL1D.V2 User manual

Sealey PTB39003.V2 User manual

Sealey

Sealey PTB39003.V2 User manual

Sealey MK80 User manual

Sealey

Sealey MK80 User manual

Sealey SC02 User manual

Sealey

Sealey SC02 User manual

Sealey APICCOMBOH2 User manual

Sealey

Sealey APICCOMBOH2 User manual

Sealey AP04DFC User manual

Sealey

Sealey AP04DFC User manual

Sealey APMS82 User manual

Sealey

Sealey APMS82 User manual

Sealey APMS51 User manual

Sealey

Sealey APMS51 User manual

Sealey APMSV01 User manual

Sealey

Sealey APMSV01 User manual

Sealey SL1D.V2 User manual

Sealey

Sealey SL1D.V2 User manual

Sealey SCR10.V2 User manual

Sealey

Sealey SCR10.V2 User manual

Sealey AP6150 User manual

Sealey

Sealey AP6150 User manual

Popular Indoor Furnishing manuals by other brands

Accuride ST8201 manual

Accuride

Accuride ST8201 manual

BSF BABY INC. Sleigh Assembly instructions

BSF BABY INC.

BSF BABY INC. Sleigh Assembly instructions

Great Little Trading L4772 Assembly

Great Little Trading

Great Little Trading L4772 Assembly

FMD Furniture BORA 1 109-001 Assembly instructions

FMD Furniture

FMD Furniture BORA 1 109-001 Assembly instructions

Trasman Graham MSPACE 5035 Assembly manual

Trasman

Trasman Graham MSPACE 5035 Assembly manual

HOMCOM 713-094V90 Assembly & instruction manual

HOMCOM

HOMCOM 713-094V90 Assembly & instruction manual

Crivit 271666 Instructions for use

Crivit

Crivit 271666 Instructions for use

Acme Furniture 38255 Assembly instructions

Acme Furniture

Acme Furniture 38255 Assembly instructions

Everlasting Comfort Arm Rest Pads user manual

Everlasting Comfort

Everlasting Comfort Arm Rest Pads user manual

FMD Furniture JOHANNA 3 Assembly instructions

FMD Furniture

FMD Furniture JOHANNA 3 Assembly instructions

PHI VILLA THD-PV-321 Use and care guide

PHI VILLA

PHI VILLA THD-PV-321 Use and care guide

Rapidline RC5-O GW Assembly instructions

Rapidline

Rapidline RC5-O GW Assembly instructions

moovin BR 57 Assembly instructions

moovin

moovin BR 57 Assembly instructions

Furniture of America CM4265DK-E Assembly instructions

Furniture of America

Furniture of America CM4265DK-E Assembly instructions

California Closets Martha Stewart Cabinet with Mesh Door installation manual

California Closets

California Closets Martha Stewart Cabinet with Mesh Door installation manual

Naterial IDAHO 2023R09P01-0591 instruction manual

Naterial

Naterial IDAHO 2023R09P01-0591 instruction manual

FourStarGroup 11225130V manual

FourStarGroup

FourStarGroup 11225130V manual

Crate&Barrel Arch quick start guide

Crate&Barrel

Crate&Barrel Arch quick start guide

manuals.online logo
manuals.online logoBrands
  • About & Mission
  • Contact us
  • Privacy Policy
  • Terms and Conditions

Copyright 2025 Manuals.Online. All Rights Reserved.