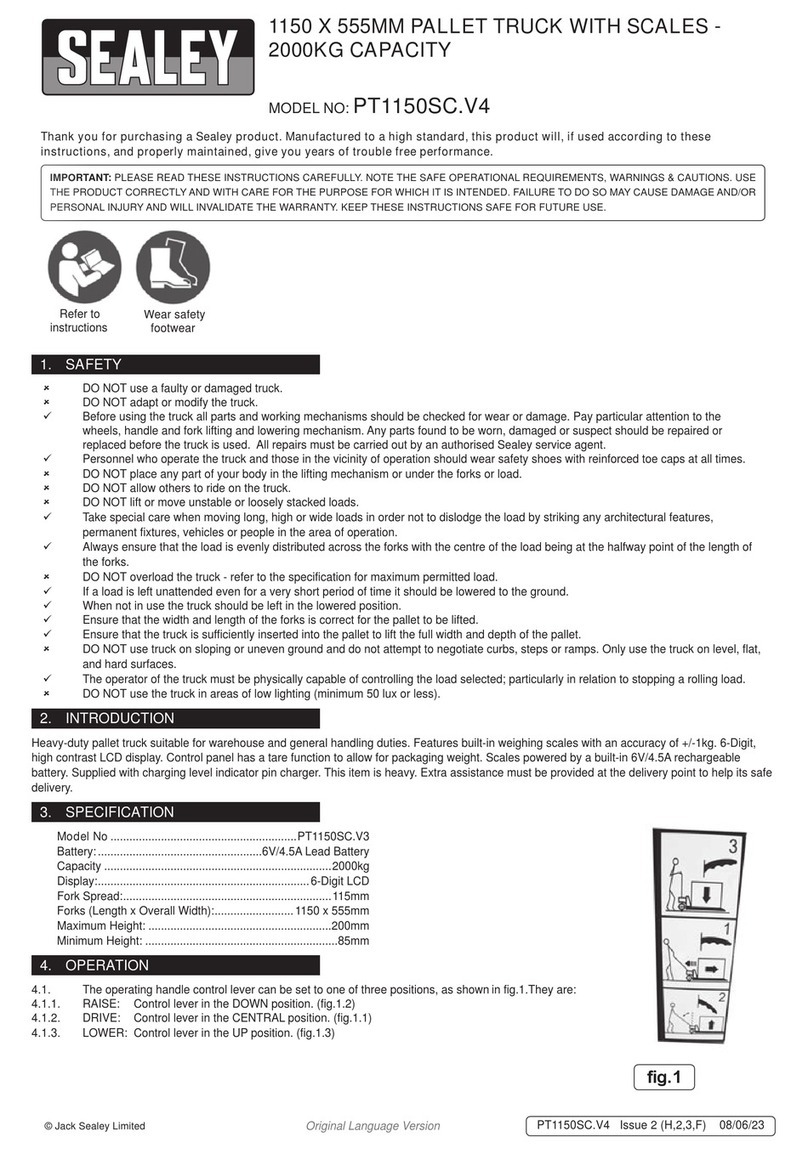
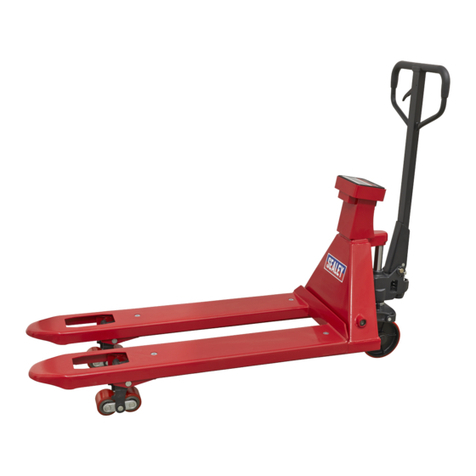
Sealey PT1150LD User manual

Thank you for purchasing a Sealey product. Manufactured to a high standard this product will, if used according to these instructions and properly maintained, give
you years of trouble free performance.
1. SAFETY INSTRUCTIONS
IMPORTANT: PLEASE READ THESE INSTRUCTIONS CAREFULLY. NOTE THE SAFE OPERATIONAL REQUIREMENTS, WARNINGS & CAUTIONS.
USE THE PRODUCT CORRECTLY AND WITH CARE FOR THE PURPOSE FOR WHICH IT IS INTENDED. FAILURE TO DO SO MAY CAUSE
DAMAGE AND/OR PERSONAL INJURY AND WILL INVALIDATE THE WARRANTY. PLEASE KEEP INSTRUCTIONS SAFE FOR FUTURE USE.
2. INTRODUCTION & SPECIFICATION
Do not use a faulty or damaged truck.
Do not adapt or modify the truck.
Before using the truck all parts and working mechanisms should be checked for wear or damage. Pay particular attention to the wheels,
handle and fork lifting and lowering mechanism. Any parts found to be worn, damaged or suspect should be repaired or replaced before the truck is used.
All repairs must be carried out by an authorised Sealey service agent.
Personnel who operate the truck and those in the vicinity of operation should wear safety shoes with reinforced toe caps at all times.
Never place any part of your body in the lifting mechanism or under the forks or load.
Do not allow others to ride on the truck.
Do not lift or move unstable or loosely stacked loads.
Take special care when moving long, high or wide loads in order not to dislodge the load by striking any architectural features, permanent
fixtures, vehicles or people in the area of operation.
Always ensure that the load is evenly distributed across the forks with the centre of the load being at the halfway point of the length of the forks.
Do not overload the truck - refer to the specification for maximum permitted load.
If a load is left unattended even for a very short period of time it should be lowered to the ground.
When not in use the truck should be left in the lowered position.
Ensure that the width and length of the forks is correct for the pallet to be lifted.
Ensure that the truck is sufficiently inserted into the pallet to lift the full width of the pallet.
Do not use truck on sloping or uneven ground and do not attempt to negotiate curbs, steps or ramps. Use the truck on level, flat, hard
surfaces.
The operator of the truck must be physically capable of controlling the load selected; particularly in relation to stopping a rolling load.
Do not use the truck in areas of low lighting (minimum 50 lux or less).
2.1 Introduction.
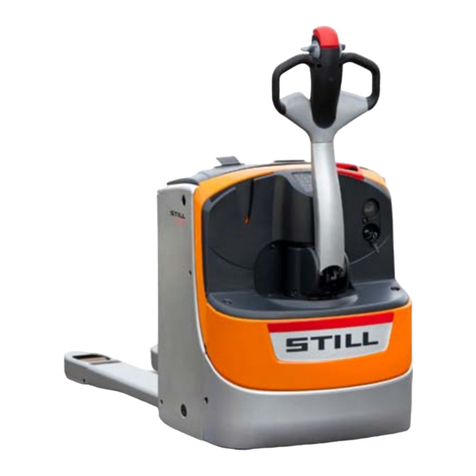
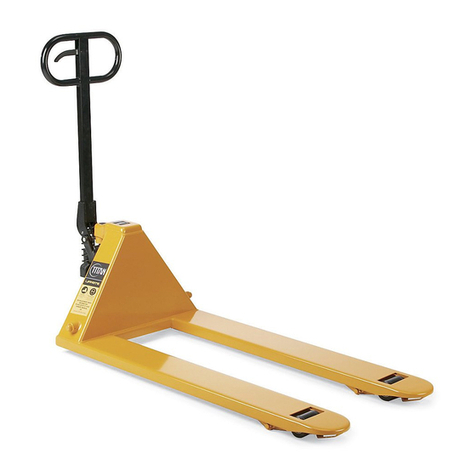
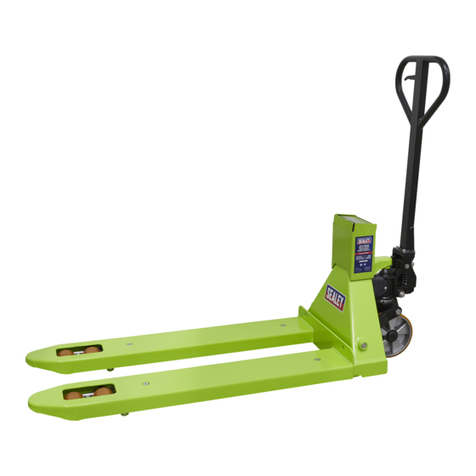
The PT1150LD pallet truck is a heavy duty-truck suitable for warehouse and general
handling duties. The polyurethane, non-marking wheels have sealed-for-life bearings all
round. The hydraulic unit has a chromed ram and piston for resistance to corrosion. The
truck also has twin loading rollers.
2.2 Specification.
Model No . . . . . . . . . . . . . . . . . . . . . . . . . . . . . . . . . . . . . . . . . . . . . . . . . . . . . . .PT1150LD
Capacity . . . . . . . . . . . . . . . . . . . . . . . . . . . . . . .. . . . . . . . . . . . . . . . . . . . . . . . . . . .1680kg
Minimum height . . . . . . . . . . . . . . . . . . . . . . . . . . . . . . . . . . . . . . . . . . . . . . . . . . . . . .75mm
Maximum height . . . . . . . . . . . . . . . . . . . . . . . .. . . . . . . . . . . . . . . . . . . . . . . . . . . . .190mm
Fork length . . . . . . . . . . . . . . . . . . . . . . . . . . . . . . . . . . . . . . . . . . . . . . . . . . . . . . . 1150mm
Fork spread . . . . . . . . . . . . . . . . . . . . . . . . . . . . . . . . . . . . . . . . . . . . . . . . . . . . . . . 220mm
Individual fork width . . .. . . . . . . . . . . . . . . . . . . . . . . . . . . . . . . . . . . . . . . . . . . . . . .150mm
Load rollers . . . . . . . . . . . . . . . . . . . . . . . . . . . . . . . . . . . . . . . . . .Ø73x55mm Polyurethane
Steering wheel . . . . . . . . . . . . . . . . . . . . . . . .. . . . . . . . . . . . . . . . . .Ø180x50 Polyurethane
3. OPERATING HANDLE ATTACHMENT
IMPORTANT: The numbers in Fig. 1 are designated by
oval brackets. The numbers in Fig. 2 are designated by
square brackets.
3.1 Remove the three bolts (1) from the handle bracket [1].
3.2 Locate the handle (2) on the bracket [1].
3.3 Pass the chain (3) and the adjusting bolt (4) through
the hole in the centre of the handle bracket (2) and
shaft [2].
3.4 Insert the three bolts (1) through the handle base
into the bracket [1]. Tighten them securely.
3.5 Raise the lever [3] and insert the adjusting bolt (4)
into the front slot, keeping the adjusting nut (5) on
the underside of the lever [3].
Fig. 1.
Fig. 2.
INSTRUCTIONS FOR:
1680KG PALLET TRUCK
MODEL No: PT1150LD
Original Language Version PT1150LD Issue: 2 - 04/11/09
Fig. 3
4.1 The operating handle control lever (1) can be set to one of three positions, as shown in Fig. 3.
Positions are:
4.1.1 RAISE: Control lever in the DOWN position.
4.1.2 DRIVE: Control level in the CENTRAL position.
4.1.3 LOWER: Control lever in the UP position.
4.2 If the above positions have been altered, they can be restored by carrying out the following
adjustments.
IMPORTANT: The numbers in Fig. 4 are designated by oval brackets. The number in Fig. 5
is designated by square brackets.
4.2.1 If the forks rise whilst pumping in the DRIVE position, turn the adjusting nut (2) on the adjusting
bolt (3) or the adjusting screw [1] clockwise, until the pumping action does not raise the forks
and the DRIVE position functions normally.
4.2.2 If the forks lower whilst pumping in the DRIVE position, turn the adjusting nut (2) or the adjusting
screw [1] counterclockwise, until the pumping action does not lower the forks.
4.2.3 If the forks do not lower when the control lever is in the LOWER position, turn the adjusting nut
(2) or the adjusting screw [1] clockwise, until raising the control lever lowers the forks.
NOTE: Check the DRIVE position again by repeating paragraphs 4.2.1 and 4.2.2 to ensure that the
adjusting nut (2) and the adjusting screw [1] are still in the correct position.
4.2.4 If the forks do not rise when pumping in the RAISE position, turn the adjusting nut (2) or the
screw [1] counterclockwise until the forks rise whilst pumping in this position.
NOTE: Check the LOWER and DRIVE positions again from paragraphs 4.2.1 to 4.2.3 to ensure that the
LOWER and DRIVE positions are functioning correctly.
4. CONTROL ADJUSTMENT
5. OPERATION
5.1 Operating the Pallet Truck
WARNING! An operator must be fully conversant with the safety instructions at Section 1.
5.1.1 Prior to operating the pallet truck, check the wheels, the operating handle and the fork unit to
ensure they are fit for purpose.
5.1.2 Move the truck with the operating handle control lever in the DRIVE position, as this makes the
operating handle easier to move and also depressurises the hydraulic pump. DO NOT overload
the pallet truck.
NOTE: The stated capacity of the truck assumes an evenly distributed load with the centre of the load
located half way along the length of the forks.
5.1.3 Ensure that the goods being transported are placed on the middle of the pallet truck forks.
Refer to Fig. 6.
Fig. 6
Fig. 4
Fig. 5
6. MAINTENANCE
6.1 Daily Maintenance Check
6.1.1 Check the state of the wheels and the axles since thread, rags and other foreign objects can jam
the wheels making safe, effective operation difficult.
6.1.2 On completion of each task, unload the forks and return them to the lowest position.
6.2 Oil Check
6.2.1 Check the oil level at six monthly intervals. Sealey hydraulic jack oil is used with the pallet truck.
The viscosity of the oil should be 30cSt at 40°C. The amount used in the pallet truck is
approximately 0.3 litres.
6.3 Lubrication
6.3.1 Use motor oil or grease to lubricate all moveable parts.
6.4 Purging Air from the Hydraulics
6.4.1 Air can get into the hydraulic oil through transportation, or the pump becoming misaligned. As a
result, the forks will not elevate.
6.4.2 The air can be purged by setting the operating handle control lever, (1) in Fig. 4, to the LOWER
position and pumping the operating handle up and down for a few seconds.
6.4.3 When the pallet truck is not in use, lower the forks and park the truck where it will not be a
hazard.
Original Language Version PT1150LD Issue: 2 - 04/11/09
Problem Cause Remedy
The forks cannot be raised to
their maximum height.
There is insufficient oil in the reservoir. Replenish the oil to the correct level.
The forks cannot be raised. No hydraulic oil or impurities or air in the oil.
The adjusting nut (2) in Fig. 4 is too high.
Keep pumping valve open.
Replenish or change the oil.
Reset the adjusting nut (2) or bolt (3) in Fig 4.
Purge the air from the hydraulic system.
The forks cannot be lowered. The pump piston or the pump is deformed.
Forks kept in the raised position resulting in the rod
jamming. The adjusting nut or screw incorrectly positioned.
Replace the piston rod.
Keep forks in the lowest position when not in use.
Adjust the nut (2) Fig. 4 or the screw [1] Fig. 5.
The forks lower without the
release valve operating.
Impurities, or air, has got into the release valve oil.
Parts of the hydraulic system have been damaged.
Adjusting nut (2) or screw [1] incorrectly positioned.
Replace the oil and/or purge the air from valve.
Inspect and replace the damaged parts.
Adjust the nut (2) Fig. 4 or screw [1] Fig. 5.
Leaks Sealing parts worn or damaged.
Parts damaged or ground down with use.
Replace the leaking seals.
Repl ace damaged parts.
7. TROUBLE SHOOTING
NOTE: It is our policy to continually improve products and as such we reserve the right to alter data, specifications and component parts without prior notice.
IMPORTANT: No liability is accepted for incorrect use of this product.
WARRANTY: Guarantee is 12 months from purchase date, proof of which will be required for any claim.
INFORMATION: For a copy of our latest catalogue and promotions call us on 01284 757525 and leave your full name and address, including postcode.
01284 757500
01284 703534
sales@sealey.co.uk
Sole UK Distributor, Sealey Group,
Kempson Way, Suffolk Business Park,
Bury St. Edmunds, Suffolk,
IP32 7AR
www.sealey.co.uk
Web
email
Original Language Version PT1150LD Issue: 2 - 04/11/09

No. PART No. DESCRIPTION
1 PT1150LD.601 PULL ROD
2 PT1150LD.602 CHAIN
3 PT1150LD.603 PIN
4 PT1150LD.604 ADJUSTING BOLT
5 PT1150LD.605 LOCKING NUT
6 PT1150LD.606 SCREW
8 PT1150LD.608 HANDLE
9 PT1150LD.609 SCREW
10 PT1150LD.610 PIN
11 PT1150LD.611 CAP
12 PT1150LD.612 CONTROL HANDLE
Parts List for the Operating Handle
Issue: 1
Date: 13/06/06
PT1150LD - 1 - 130606
PARTS LIST FOR:
1680KG PALLET TRUCK
Model: PT1150LD
1 OF 3
01284 757500
01284 703534
sales@sealey.co.uk
Sole UK Distributor
Sealey Group,
Bury St. Edmunds, Suffolk.
www.sealey.co.uk
email
Web

No. PART No. DESCRIPTION
13 PT1150LD.D101 PUMP PISTON ROD
14 PT1150LD.D102 WASHER
15 PT1150LD.D103 SPRING
16 PT1150LD.D104 DUST RING
17 PT1150LD.D105 Y-SEAL
18 PT1150LD.D106 SCREW
19 PT1150LD.D107 O-RING
20 PT1150LD.D108 SPRING
21 PT1150LD.D109 PUMP VALVE SPINDLE
22 PT1150LD.D110 PUMP VALVE SEAT
23 PT1150LD.D111 O-RING
24 PT1150LD.D112 STEEL BALL
25 PT1150LD.D113 PUMP BASE
26 PT1150LD.D115 ROLL PIN
27 PT1150LD.D116 STEERING WHEEL
28 PT1150LD.D117 STEERING WHEEL SHAFT
29 PT1150LD.D118 THRUST PLATE
30 PT1150LD.D120 RETAINING RING
31 PT1150LD.D121 BEARING COVER
32 PT1150LD.D122 BEARING
33 PT1150LD.D123 ROLL PIN
34 PT1150LD.D124 DUST COVER
35 PT1150LD.D125 LOCKING RING
36 PT1150LD.D126 WASHER
37 PT1150LD.D127 BEARING
38 PT1150LD.D129 SPRING
39 PT1150LD.D130 STRIKE PIN
40 PT1150LD.D131 O-RING
Issue: 1
Date: 13/06/06
PT1150LD - 1 - 130606
PARTS LIST FOR:
1680KG PALLET TRUCK
Model: PT1150LD
No. PART No. DESCRIPTION
41 PT1150LD.D132 LEVER
42 PT1150LD.D133 ADJUSTING SCREW
43 PT1150LD.D134 NUT
44 PT1150LD.D135 O-RING
45 PT1150LD.D136 AXLE SLEEVE
46 PT1150LD.D137 ADJUSTING BOLT
47 PT1150LD.D139 SAFETY VALVE SPINDLE
48 PT1150LD.D140 SPRING
49 PT1150LD.D141 O-RING
50 PT1150LD.D142 SCREW
51 PT1150LD.D143 O-RING
52 PT1150LD.D144 Y-SEAL
53 PT1150LD.D145 ROLL PIN
54 PT1150LD.D146 STEEL BALL
55 PT1150LD.D147 PISTON ROD
56 PT1150LD.D148 DUST RING
57 PT1150LD.D149 SCREW
58 PT1150LD.D150 SHAFT
59 PT1150LD.D151 BRACKET
60 PT1150LD.D152 PRESSURE ROLLER
61 PT1150LD.D153 SHAFT
62 PT1150LD.D154 ROLL PIN
63 PT1150LD.D155 ROLL PIN
64 PT1150LD.D156 BUSHING
65 PT1150LD.D157 SEAL WASHER
66 PT1150LD.D158 BUSHING
67 PT1150LD.D159 SLEEVE
68 PT1150LD.D160 SCREW
Parts List for the Hydraulic Pump
2 OF 3
01284 757500
01284 703534
sales@sealey.co.uk
Sole UK Distributor
Sealey Group,
Bury St. Edmunds, Suffolk.
www.sealey.co.uk
email
Web

No. PART No. DESCRIPTION
69 PT1150LD.D201 SCREW
70 PT1150LD.D202 OIL - HOLDER
71 PT1150LD.D203 ROCK-ARM
72 PT1150LD.D204 PIN
73 PT1150LD.D205 RETAINING RING
74 PT1150LD.D206 JOINT
75 PT1150LD.D207 SHAFT
76 PT1150LD.D208 PUSHING ROD
77 PT1150LD.D209 NUT
78 PT1150LD.D210 PIN
79 PT1150LD.D211 SHAFT
80 PT1150LD.D212 SHAFT
81 PT1150LD.D213 PIN
82 PT1150LD.D214 SHAFT
83 PT1150LD.D215 FRAME FOR ROLLER
84 PT1150LD.D216 PIN
85 PT1150LD.D217 SLEEVE FOR ROLLER
86 PT1150LD.D218 FORK FRAME
87 PT1150LD.D219 WASHER
88 PT1150LD.D220 BEARING
89 PT1150LD.D221 LOAD ROLLER
90 PT1150LD.D222 LINKING PLATE
92 PT1150LD.D224 BUSHING
93 PT1150LD.D225 BUSHING
96 PT1150LD.D232 WASHER
97 PT1150LD.D233 BOLT
98 PT1150LD.D234 LOCKING NUT
PARTS LIST FOR:
1680KG PALLET TRUCK
Model: PT1150LD
Issue No: 1
Date: 13/06/06
PT1150LD - 1 - 130606
Parts List for the Fork Frame
3 OF 3
01284 757500
01284 703534
sales@sealey.co.uk
Sole UK Distributor
Sealey Group,
Bury St. Edmunds, Suffolk.
www.sealey.co.uk
email
Web
Table of contents
Other Sealey Truck manuals

Sealey
Sealey CST801 User manual

Sealey
Sealey MS0651 User manual

Sealey
Sealey PT1150SC.V4 User manual

Sealey
Sealey DH01.V2 User manual

Sealey
Sealey PT1150SC.V2 User manual

Sealey
Sealey PT2500 User manual

Sealey
Sealey CST806 User manual

Sealey
Sealey CST989.V3 User manual

Sealey
Sealey PT2200 User manual

Sealey
Sealey HPT1000 User manual

Sealey
Sealey CST991.V2 User manual

Sealey
Sealey Power Products HPT150 User manual

Sealey
Sealey CST997.V2 User manual

Sealey
Sealey Premier CST990HD User manual

Sealey
Sealey PT2200.V2 User manual

Sealey
Sealey PT1150SC.V2 User manual

Sealey
Sealey CST800.V2 User manual

Sealey
Sealey CST997.V2 User manual

Sealey
Sealey CST980.V2 User manual

Sealey
Sealey PT1150SC.V3 User manual