manuals.online logo
Brands
  1. Home
  2. •
  3. Brands
  4. •
  5. Sealey
  6. •
  7. Truck
  8. •
  9. Sealey PT1150 User manual

Sealey PT1150 User manual

INSTRUCTIONS FOR:
PALLET TRUCKS
MODEL No: PT1150, PT1220
Thank you for purchasing a Sealey product. Manufactured to a high standard this product will, if used according to these instructions
and properly maintained, give you years of trouble free performance.
1. SAFETY INSTRUCTIONS
IMPORTANT: PLEASE READ THESE INSTRUCTIONS CAREFULLY. NOTE THE SAFE OPERATIONAL REQUIREMENTS, WARNINGS & CAUTIONS.
USE THE PRODUCT CORRECTLY AND WITH CARE FOR THE PURPOSE FORWHICH ITIS INTENDED. FAILURE TO DO SO MAY CAUSE
DAMAGE AND/OR PERSONAL INJURY AND WILL INVALIDATE THE WARRANTY. PLEASE KEEP INSTRUCTIONS SAFE FORFUTURE USE.
2. INTRODUCTION & SPECIFICATION
Do not use a faulty or damaged truck.
Before using the truck all parts and working mechanisms should be checked for wear or damage. Pay particular attention to the
wheels, handle and fork lifting and lowering mechanism. Any parts found to be worn, damaged or suspect should be repaired or
replaced before the truck is used.
All repairs must be carried out by an authorised Sealey service agent.
Personnel who operate the truck and those in the vicinity of operation should wear safety shoes with reinforced toe caps at all times.
Never place any part of your body in the lifting mechanism or under the forks or load.
Do not allow others to ride on the truck.
Do not lift or move unstable or loosely stacked loads.
Take special care when moving long, high or wide loads in order not to dislodge the load by striking any architectural features,
permanent fixtures, vehicles or people in the area of operation.
Always ensure that the load is evenly distributed across the forks with the centre of the load being at the halfway point of the length
of the forks.
Do not overload the truck - refer to the specification for maximum permitted load.
If a load is left unattended even for a very short period of time it should be lowered to the ground.
When not in use the truck should be left in the lowered position.
Ensure that the width and length of the forks is correct for the pallet to be lifted.
Ensure that the truck is sufficiently inserted into the pallet to lift the full
width of the pallet.
Use the truck on level, flat, hard surfaces.
Do not use truck on sloping or uneven ground and do not
attempt to negotiate curbs, steps or ramps.
The operator of the truck must be physically capable of
controlling the load selected; particularly in relation to
stopping a rolling load.
3. ASSEMBLY
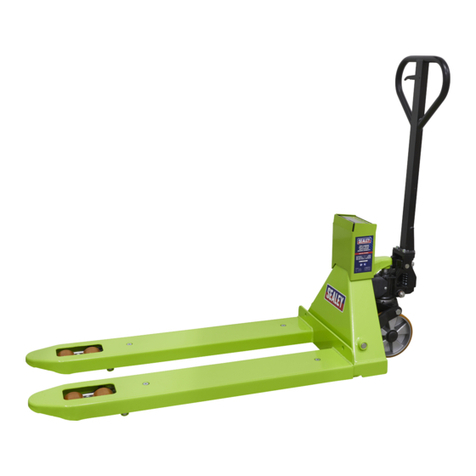
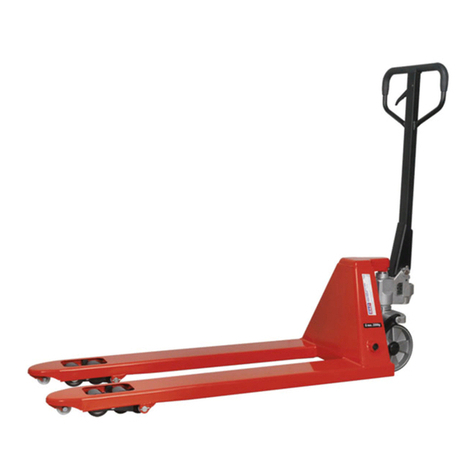
Introduction. The PT1150 and PT1220 pallet trucks feature heavy gauge steel construction and drop forged control arms providing strength
and durability. The quality hydraulic system can be easily stripped for maintenance and features hand or foot operated lowering with speed
control valve for a controlled descent. Polyurethane wheels allow smooth rolling even when fully laden and fork end rollers permit easy access
over pallet struts.
Specification. Model No. ................PT1150 Model No...................PT1220
Capacity ...................2000kg Capacity ....................2000kg
Total Lift Height (H2) ........ 193mm Total Lift Height (H2).......... 193mm
Lowered fork height (H1) ...... 85mm Lowered fork height (H1) ....... 85mm
Fork width................. 160mm Fork width .................. 160mm
Fork length (L) .............1150mm Fork length (L) ............. 1220mm
Width over forks (W) ........ 550mm Width over forks (W).......... 685mm
Fork wheel diameter.......... 80mm Fork wheel diameter........... 80mm
Truck Weight .................78kg Truck Weight...................92kg
3.1 Assembling the handle to the truck. (see fig.2)
3.2 Remove the nuts, bolts and washers from the end of the handle shaft noting their positions.
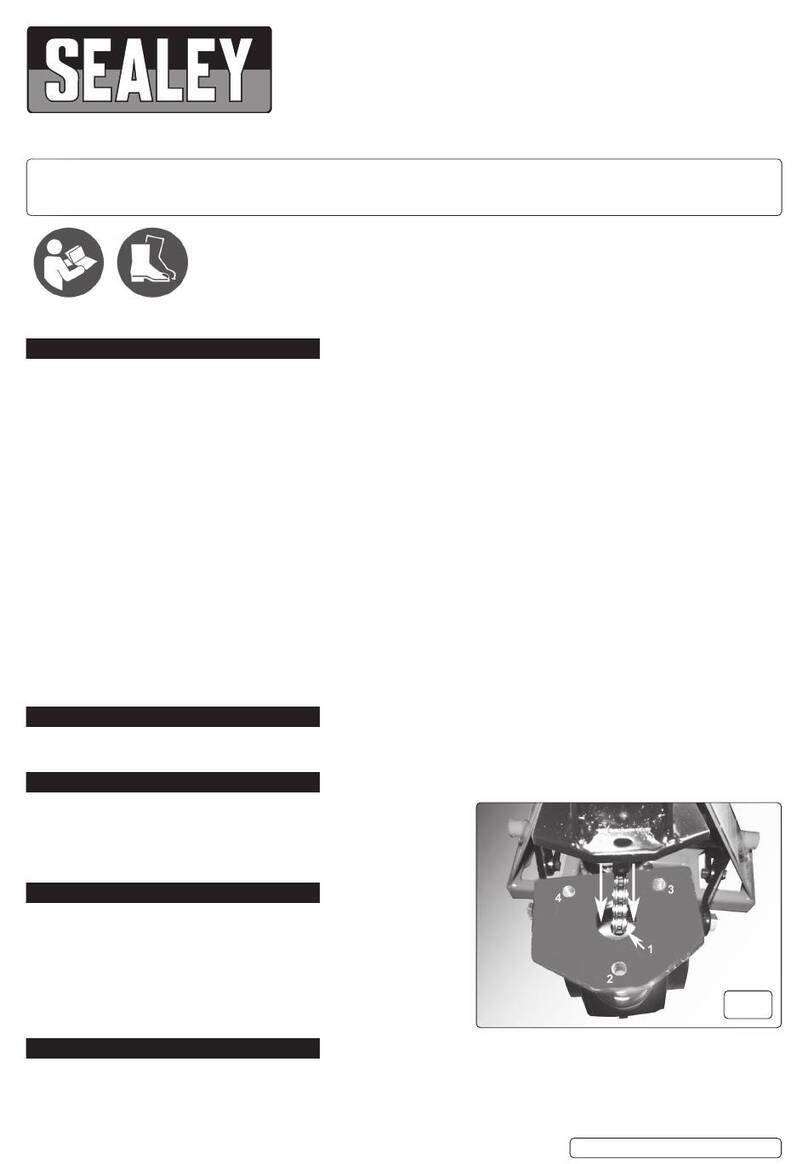
3.3 Hold the handle shaft (A) above the socket located on the pump assembly and allow the chain protruding from the end of the shaft to
pass through the socket and through the hole in the centre of the axle immediately below the socket. Continue to lower the shaft until
it sits into the socket. The operating lever within the handle loop should be to the right hand side and the lever operating label should
be facing you as you stand in the operating position. (see fig.3)
3.4 Insert the two short bolts (C) into the holes in the front face of the socket so that they engage into the two threaded holes at the very
bottom of the shaft. Make them finger tight.
3.5 Insert the two long bolts into the back face of the socket so that they engage into the other two threaded holes in the handle shaft.
Continue to rotate the bolts until they protrude through the holes in the front of the socket.
3.6 Now tighten all four bolts.
3.7 Finally thread the remaining nuts and washers onto the two protruding bolts to act as locknuts (B) . Do not over tighten them.
3.8 At the end of the operating chain is a threaded rod with a nut on the end. Raise the foot pedal located between the spring and the
pump and slide the rod into the slot at the end of the pedal and then release the pedal. For adjustments see next section.
fig
1
Original Language Version PT1150, PT1220 Issue: 2 - 03/11/09
4. OPERATING THE TRUCK
5. ADJUSTMENTS
6. MAINTENANCE
7. TROUBLE SHOOTING
fig 2
4.1 Before using the truck you must read and understand the safety instructions in Section 1.
The truck should only be operated by those persons who have been trained in its use.
4.2 The operator must be physically capable of pushing or pulling the load and must also be
capable of stopping a rolling load.
4.3 Before lifting any load the operator should check that the pallet is the correct width and length
for the truck and that the pallet itself is not damaged.
4.4 The operator should ensure that the load on the pallet is safe to move. If the load appears to
be loosely stacked, unevenly distributed, too high or too wide it should be repacked safely
before moving. Also check that the weight of the load is within the capacity of the truck
4.5 Lowering the truck. ( See fig.3 - L) Before inserting the truck into the pallet ensure that the truck
forks are in their lowest position by pulling the operating lever into the upper position and holding it
there until the truck has settled down to the lowest level.
4.6 Neutral position. ( See fig.3 - N ) The lever can now be released and will return to its neutral, middle position.
4.7 Push the truck into the pallet ensuring that it is fully inserted. If the pallet is shorter than the forks the load should be placed at the
centre point of the length of the forks.
4.8 Lifting a load. ( See fig.3 -R) To lift the load push the operating lever to its lowest position where it will latch. Pump the handle up
and down to lift the load from the floor. When the forks reach their maximum height the lifting action will stop even if you continue to
pump the handle.
4.9 Before you move off return the operating lever to its neutral position.
4.10 Due care should be taken when manouvering a load to ensure that no collision takes place with any objects or people.
4.11 The faster the truck is moved the more difficult it will be to stop it. Therefore proceed at a slow and even pace.
4.12 Bring the truck to a stop where required and lower the load to the floor by pulling the operating lever to its highest position and holding
it there until the load has settled to the floor. Alternatively the load can be lowered by pressing the foot pedal. ( See fig.2 - F)
4.13 It is not recommended that the load is lowered whilst the truck is still moving as a sudden stop may dislodge the load causing damage
to property and/or people.
4.13 When the truck is not in use, lower the forks and park the truck where it will not be a hazard.
fig 3
5.1 The operating lever mechanism is adjusted in the factory but should the adjustment be lost or the
mechanism not perform as it should it may be necessary to re-adjust to restore correct operation.
5.2 The primary adjustment should be made with the lever in the neutral position.( See fig.3 - N) Once
adjustment has been carried out and there is no movement it will be necessary to test the
performance of the truck with the lever in the other two positions.
5.3 Fine adjustment is done using the nut on the threaded rod at the end of the operating chain.
( See fig.2 - E ). To access this nut hold down the foot pedal and slide the rod out of the slot in the
end of the pedal. Rotate the nut in the desired direction and re-insert the rod into the slot. If this
adjustment is too fine use the main adjusting screw and locknut below the foot pedal. ( see G in
fig.2. )
5.3 Testing NEUTRAL.If moving the handle up and down in the neutral position causes the forks to rise
turn the adjuster clockwise until the pumping action produces no movement of the forks.
5.4 If moving the handle up and down in the neutral position causes the forks to descend turn the
adjuster anticlockwise until the pumping action has no effect on the raised forks.
5.5 Testing RAISE. Now put the lever into the lower position ( See fig.3 - R) to test the raising action. If the
forks do not elevate when pumping turn the adjuster anticlockwise until a raising action is achieved.
5.6 Testing LOWER. If the forks do not descend when the lever is held in the upper position turn the adjuster
clockwise until the forks descend.
6.1 The oil level should be checked every six months. The system contains 0.4lt of hydraulic oil which should conform to ISO VG32. The
viscosity should be 32cSt at 40°C. (See oil level / filler screw ‘D’ in fig.2)
6.2 To purge air from the system hold the operating lever in the lowering position until the truck has descended to its lowest level then
pump the handle up and down 8 to 10 times.
6.3 Apply a long life grease to all bearings and shafts once a month.
The Problem The Cause The Solution
The forks do not reach maximum height. Hydraulic oil level too low. Top up the oil.
The forks do not raise. No hydraulic oil.
The oil is contaminated.
The lifting/lowering mechanism needs adjustment.
Air in the hydraulic system.
Fill with hydraulic oil.
Change the oil.
Follow procedure in Section 5.
Purge the air as described in Section 6.
The forks will not descend. The lifting/lowering mechanism needs adjustment.
Truck stored in raised position allowing exposed piston rod to corrode and jam.
Piston rod or pump body deformed as a result of overloading or unbalanced load.
Adjust as described in Section 5.
Lubricate rod regularly and store truck in lowered position.
Replace piston rod or pump body.
Leaks Seals worn, damaged or cracked Replace seals.
The forks descend and cannot be
maintained in the raised position. The lifting/lowering mechanism needs adjustment.
Release valve not fully closed due to impurities in oil.
Air in the hydraulic system.
Seals worn,damaged or cracked.
Parts of hydraulic system cracked or worn.
Adjust as described in Section 5.
Change the oil.
Purge the air as described in Section 6.
Replace seals.
Inspect and replace.
NOTE: It is our policy to continually improve products and as such we reserve the right to alter data, specifications and component parts without prior notice.
IMPORTANT: No liability is accepted for incorrect use of this product.
WARRANTY: Guarantee is 12 months from purchase date, proof of which will be required for any claim.
INFORMATION: For a copy of our latest catalogue and promotions call us on 01284 757525 and leave your full name and address, including postcode.
01284 757500
01284 703534
sales@sealey.co.uk
Sole UK Distributor, Sealey Group,
Kempson Way, Suffolk Business Park,
Bury St. Edmunds, Suffolk,
IP32 7AR
www.sealey.co.uk
Web
email
Original Language Version PT1150, PT1220 Issue: 2 - 03/11/09
This manual suits for next models

1

Other Sealey Truck manuals

Sealey CST800.V2 User manual

Sealey

Sealey CST800.V2 User manual

Sealey PT1170H.V2 User manual

Sealey

Sealey PT1170H.V2 User manual

Sealey CST801.V2 User manual

Sealey

Sealey CST801.V2 User manual

Sealey CST806 User manual

Sealey

Sealey CST806 User manual

Sealey CST989.V3 User manual

Sealey

Sealey CST989.V3 User manual

Sealey CST806 User manual

Sealey

Sealey CST806 User manual

Sealey PT1150SC.V3 User manual

Sealey

Sealey PT1150SC.V3 User manual

Sealey CST801 User manual

Sealey

Sealey CST801 User manual

Sealey HPT750 User manual

Sealey

Sealey HPT750 User manual

Sealey Power Products HPT1000 User manual

Sealey

Sealey Power Products HPT1000 User manual

Sealey CST980.V2 User manual

Sealey

Sealey CST980.V2 User manual

Sealey PT1150LD User manual

Sealey

Sealey PT1150LD User manual

Sealey PT1150SC.V2 User manual

Sealey

Sealey PT1150SC.V2 User manual

Sealey CST999.V2 User manual

Sealey

Sealey CST999.V2 User manual

Sealey Premier CST990HD User manual

Sealey

Sealey Premier CST990HD User manual

Sealey CST997.V2 User manual

Sealey

Sealey CST997.V2 User manual

Sealey Power Products HPT150 User manual

Sealey

Sealey Power Products HPT150 User manual

Sealey PT1150SC.V4 User manual

Sealey

Sealey PT1150SC.V4 User manual

Sealey PT2200 User manual

Sealey

Sealey PT2200 User manual

Sealey Premier CST989HD User manual

Sealey

Sealey Premier CST989HD User manual

Sealey PT2200.V2 User manual

Sealey

Sealey PT2200.V2 User manual

Sealey PT1150SC.V2 User manual

Sealey

Sealey PT1150SC.V2 User manual

Sealey CST983.V2 User manual

Sealey

Sealey CST983.V2 User manual

Sealey CST985.V3 User manual

Sealey

Sealey CST985.V3 User manual

Popular Truck manuals by other brands

Jungheinrich EJB 16 operating instructions

Jungheinrich

Jungheinrich EJB 16 operating instructions

Sterling Trucks 360 2006 manual

Sterling Trucks

Sterling Trucks 360 2006 manual

Magliner C5 Assembly instructions

Magliner

Magliner C5 Assembly instructions

Komatsu HM400-1 manual

Komatsu

Komatsu HM400-1 manual

Iveco WAY RANGE quick start guide

Iveco

Iveco WAY RANGE quick start guide

Fisher-Price RC Truck 72824 instructions

Fisher-Price

Fisher-Price RC Truck 72824 instructions

SANO UNIKAR instruction manual

SANO

SANO UNIKAR instruction manual

Motrec G-320 Operator and  maintenance manual

Motrec

Motrec G-320 Operator and maintenance manual

Volvo A60H manual

Volvo

Volvo A60H manual

Kenworth T410 Driver's handbook

Kenworth

Kenworth T410 Driver's handbook

freightliner BUSINESS CLASS M2 Workshop manual

freightliner

freightliner BUSINESS CLASS M2 Workshop manual

Chevrolet 1981 Light Duty Truck Service manual

Chevrolet

Chevrolet 1981 Light Duty Truck Service manual

Komatsu Galeo HD465-7E0 brochure

Komatsu

Komatsu Galeo HD465-7E0 brochure

Reely Firestar operating instructions

Reely

Reely Firestar operating instructions

Volvo VN Operator's manual

Volvo

Volvo VN Operator's manual

Manitou MT 733 EASY 75D ST5 S1 Operator's manual

Manitou

Manitou MT 733 EASY 75D ST5 S1 Operator's manual

Volvo VHD Operator's manual

Volvo

Volvo VHD Operator's manual

Navistar CV 2019 Series Integration guide
Navistar

Navistar CV 2019 Series Integration guide

manuals.online logo
manuals.online logoBrands
  • About & Mission
  • Contact us
  • Privacy Policy
  • Terms and Conditions

Copyright 2025 Manuals.Online. All Rights Reserved.