Sealey PC310.V2 User manual

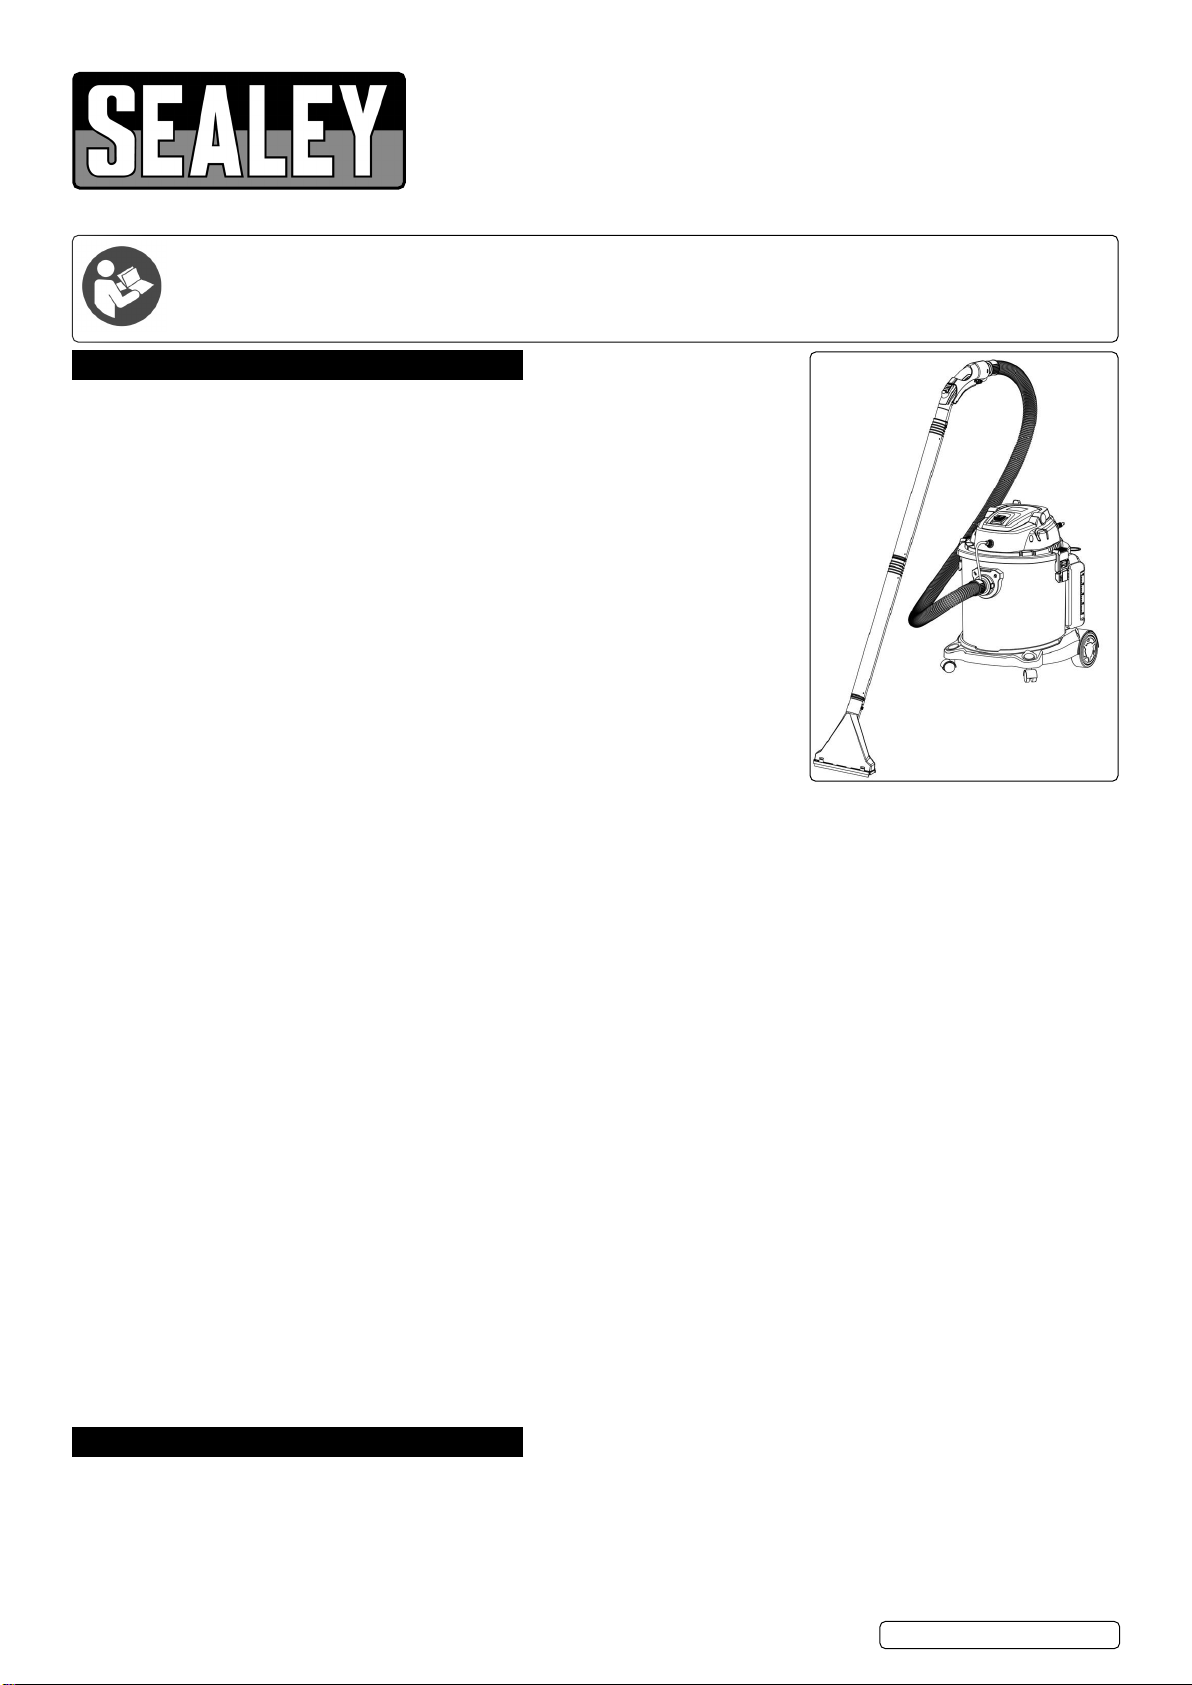
20L WET & DRY VALETING MACHINE WITH
ACCESSORIES 1400W
MODEL NO: PC310.V2
Thank you for purchasing a Sealey product. Manufactured to a high standard, this product will, if used according to these instructions,
and properly maintained, give you years of trouble free performance.
IMPORTANT: PLEASE READ THESE INSTRUCTIONS CAREFULLY. NOTE THE SAFE OPERATIONAL REQUIREMENTS,
WARNINGS & CAUTIONS. USE THE PRODUCT CORRECTLY AND WITH CARE FOR THE PURPOSE FOR WHICH IT
IS INTENDED. FAILURE TO DO SO MAY CAUSE DAMAGE AND/OR PERSONAL INJURYAND WILL INVALIDATE THE
WARRANTY. KEEP THESE INSTRUCTIONS SAFE FOR FUTURE USE.
1. SAFETY
1.1. ELECTRICAL SAFETY
WARNING! It is the user’s responsibility to check the following:
9Check all electrical equipment and appliances to ensure that they are safe before using.
Inspect power supply leads, plugs and all electrical connections for wear and damage. Sealey
recommend that an RCD (Residual Current Device) is used with all electrical products.
Electrical safety information. It is important that the following information is read and
understood:
9Ensure that the insulation on all cables and on the appliance is safe before connecting it
to the power supply.
9Regularly inspect power supply cables and plugs for wear or damage and check all
connections to ensure that they are secure.
Important: Ensure that the voltage rating on the appliance suits the power supply to be used
and that the plug is tted with the correct fuse.
8DO NOT pull or carry the appliance by the power cable.
8DO NOT pull the plug from the socket by the cable.
8DO NOT use worn or damaged cables, plugs or connectors. Ensure that any faulty item is
repaired or is replaced immediately by a qualied electrician.
If the cable or plug is damaged during use, switch o the electricity supply and remove
from use.
Ensure that repairs are carried out by a qualied electrician.
1.2. GENERAL SAFETY
9Children from age 8 years and above, persons with reduced physical, sensory, or mental capabilities those with lack of experience and
knowledge can use the appliance, if they have been given supervision or instruction concerning use of the appliance in a safe way to
understand the hazards involved.
9Children shall NOT play with the appliance
9Cleaning and user maintenance on the appliance shall not be made by children without supervision.
9The plug must be removed from the socket-outlet before cleaning or maintaining the appliance.
9Disconnect the appliance from its power source during service and when replacing parts and, if that the removal of the plug is foreseen,
it shall be clearly indicated that the removal of the plug has to be such that an operator can check from any of the points to which he
has access that the plug remains removed.
9Before operation, please check if the local power supply is the same as it’s rated in the specication.
9If the supply cord is damaged, it must be replaced by the manufacturer, its service agent or similarly qualied persons in order to avoid a hazard.
9Remember to turn o the appliance and remove the plug every time after use or when being repaired.
9Keep machine away from strong sunlight and high temperatures in case plastic is damaged.
8DO NOT use this machine as a pump.
8DO NOT pull the appliance by the hose.
8DO NOT stand on the hose or appliance.
8DO NOT immerse the head unit in water or wash with water in case that water goes into the electronic parts and causes personal injury.
8DO NOT use this appliance in any combustible and explosive places in case the motor sparks and causes a re.
8DO NOT jam the air inlet as this may cause temperature rises and damage to the motor.
8DO NOT use the appliance to collect combustible and explosive materials such as petrol, oils etc.
8DO NOT use the appliance to collect sharp objects like pins and screws as this may damage internal components.
8DO NOT use for ash, hot embers etc.
8DO NOT use the appliance to collect powders that can easily block the ventilation holes and damage the motor.
8DO NOT overturn the machine in case water goes into the motor and damages the motor.
8DO NOT use a cleaning agent or detergent containing solvent.
8DO NOT collect combustible and explosive objects such as glowing cigarettes, gasoline, etc.
8DO NOT collect objects which can easily attach on the lter such as calcareousness powder, gesso and graphite powder because those will
block the ventilation damage motor.
2. INTRODUCTION
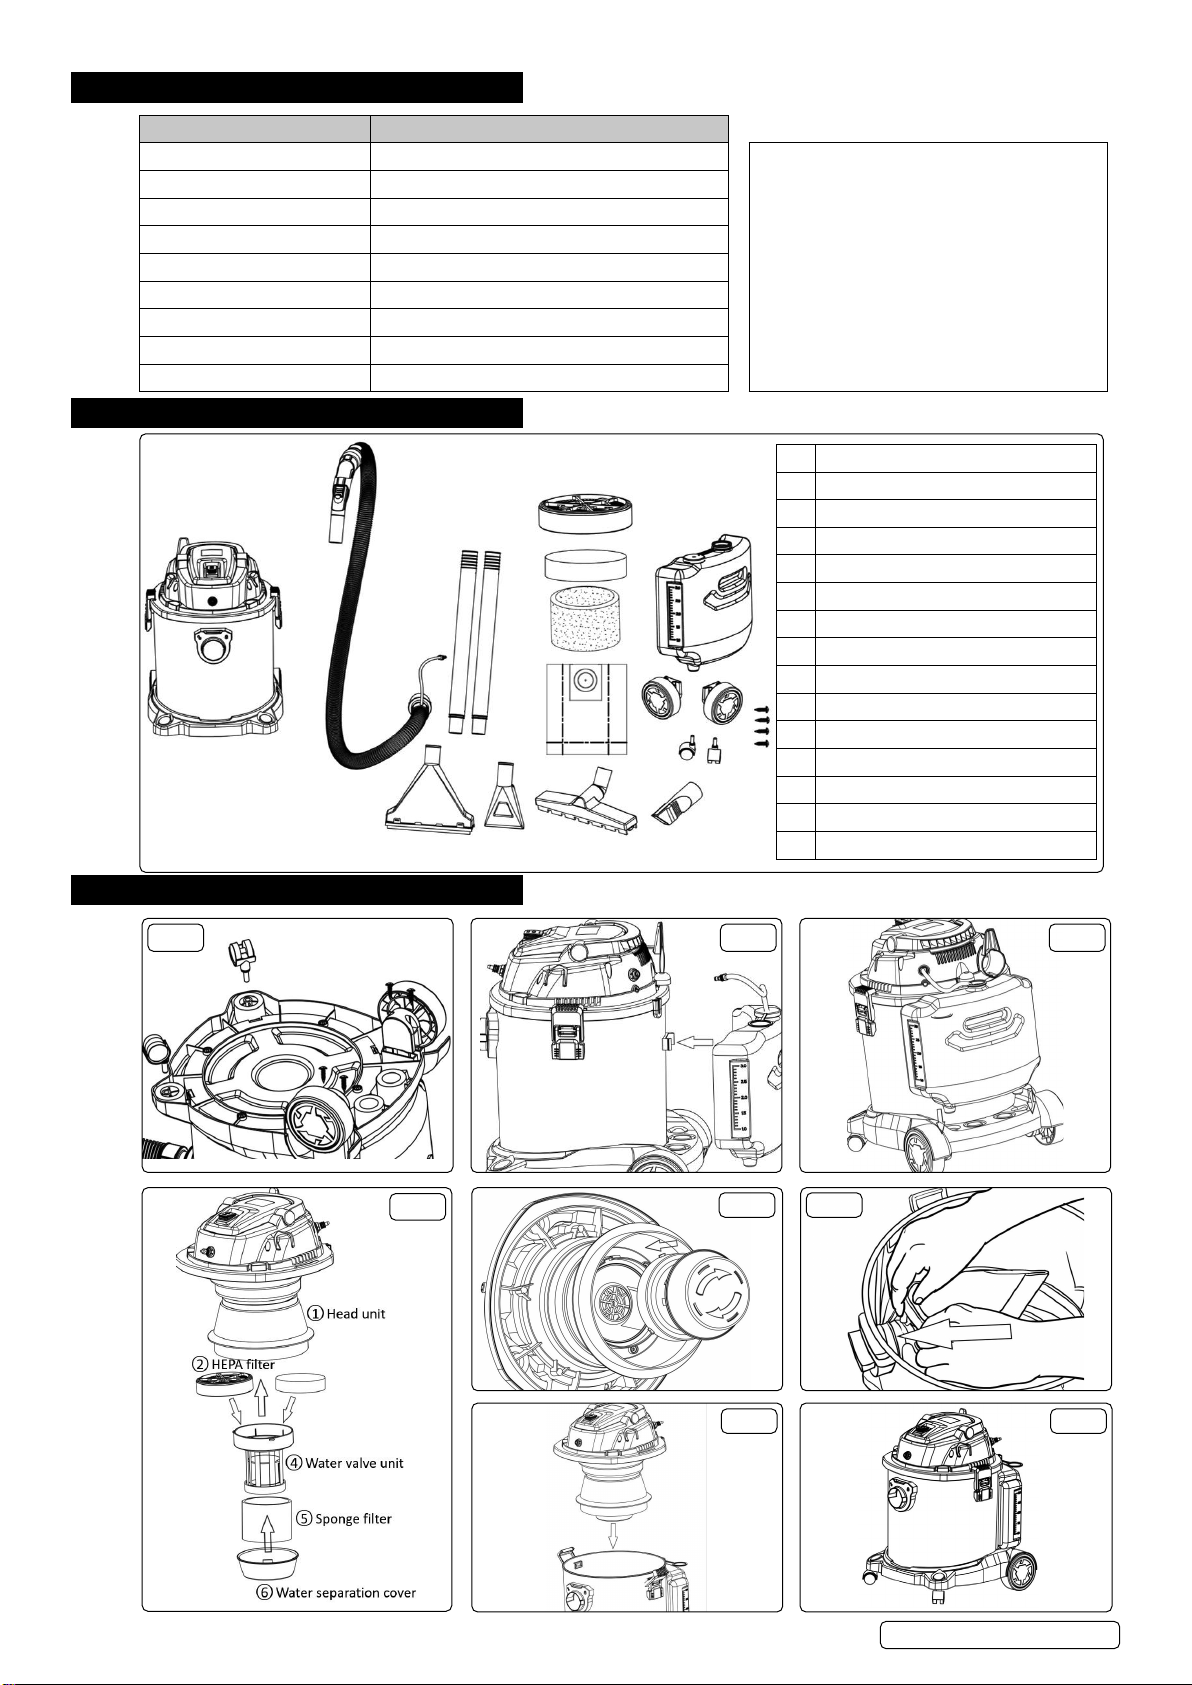
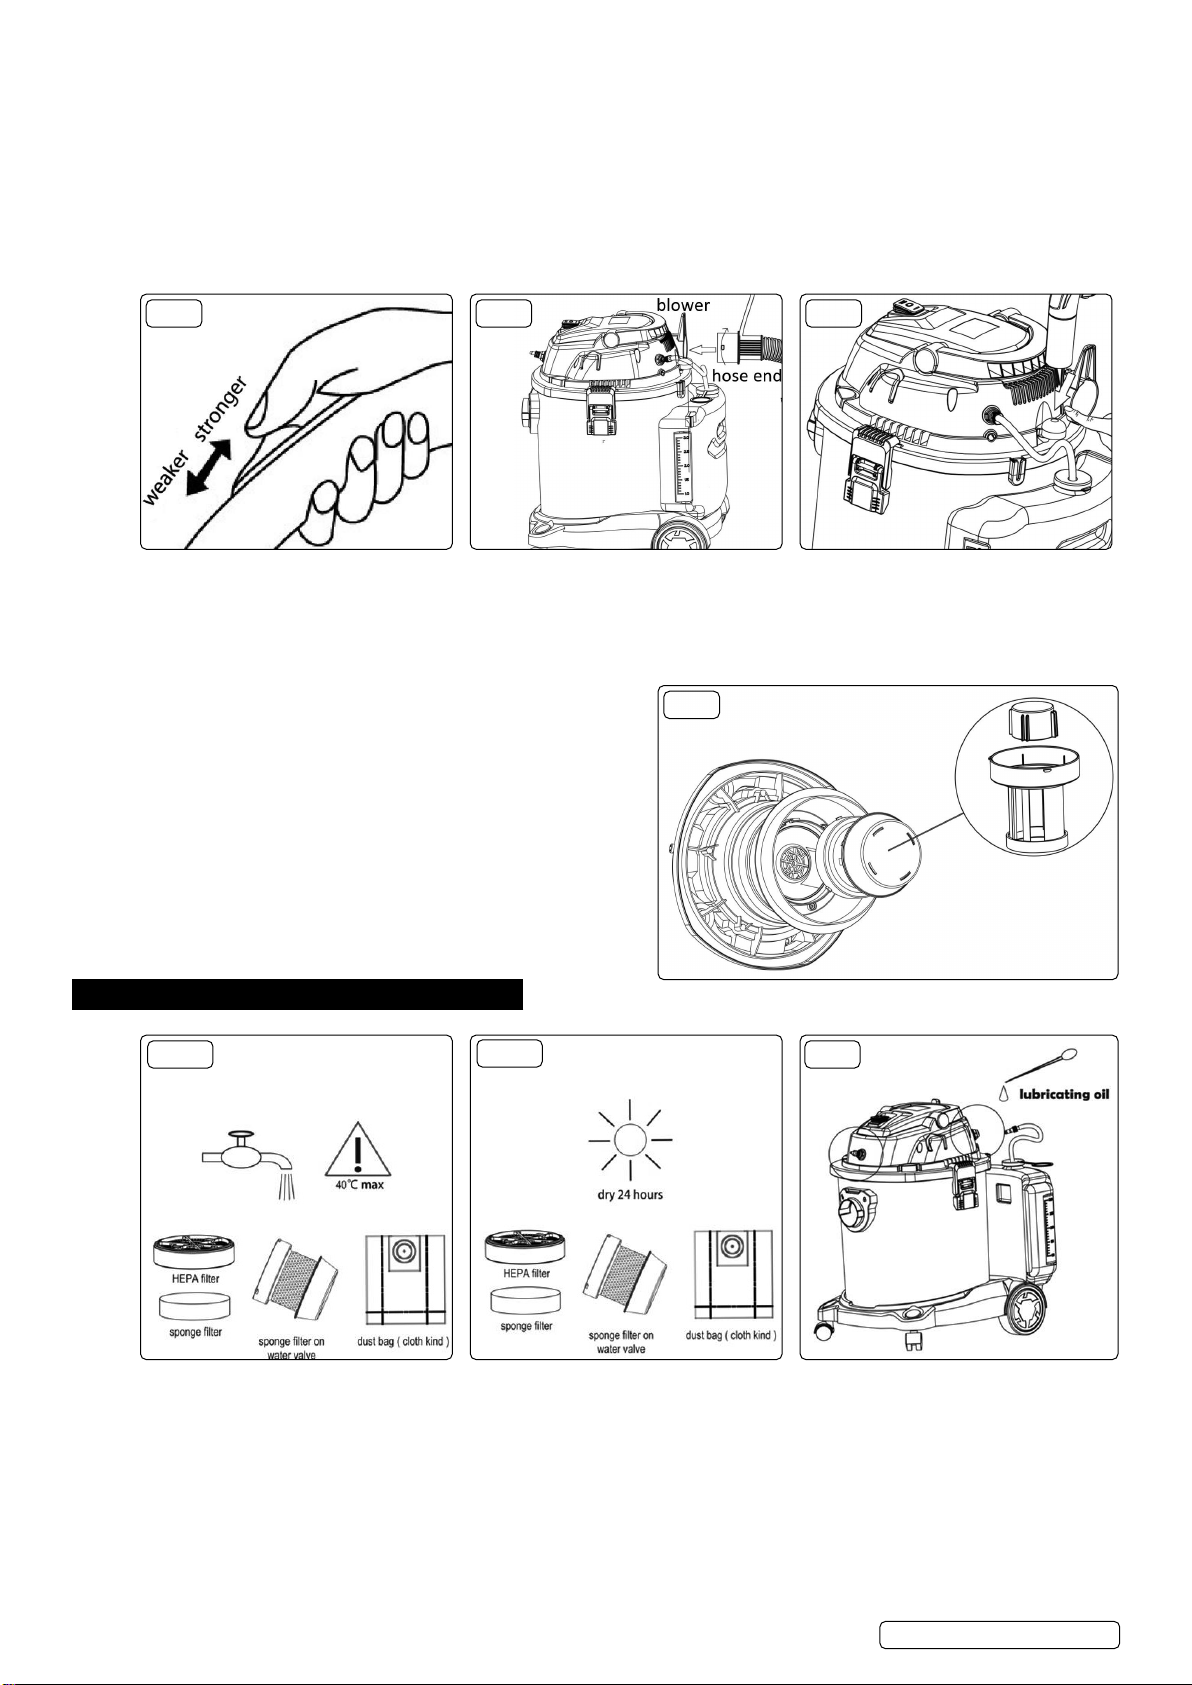
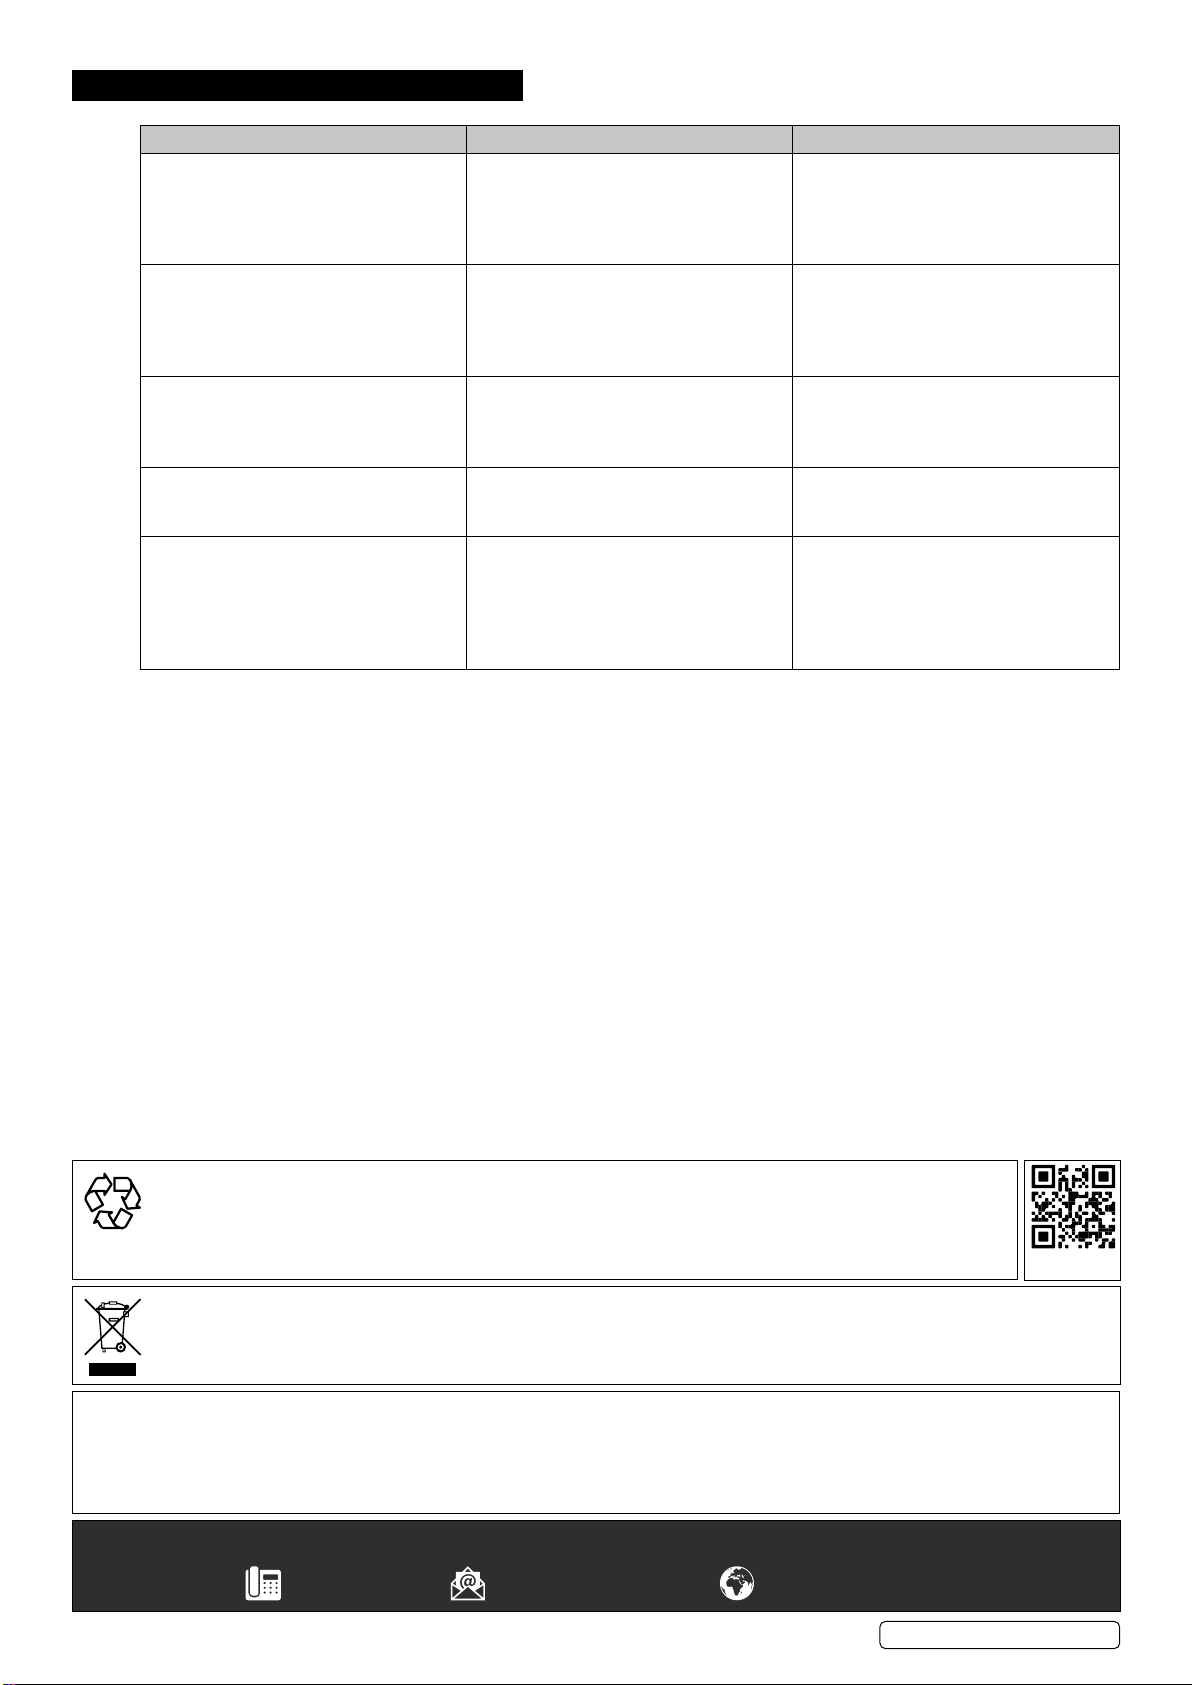
Cleans carpets, car interiors, fabrics and upholstery. Constructed from high-impact plastic which is dent resistant and rustproof. Supplied
with carpet lance, handheld lance, full wet and dry vacuum accessory kit, including aluminium rigid extension tube, cartridge filter and
foam filter. Powerful pump forces cleaning fluid into fabric/carpet and 1400W suction power leaves surface virtually dry after one pass.
Features safety shut-off for wet operation. Large capacity drum with external detergent tank for easy filling. Fitted with two fixed wheels
and two castors. Cable storage hook, accessories and extension tube holders on head, plus additional accessory storage slots on base.
PC310.V2 Issue 1 06/12/23
Original Language Version
© Jack Sealey Limited

3. SPECIFICATION
MODEL NO: PC310 .V2
Drum Size: 20L RECOMMENDED DETERGENT:
Carpet/Upholstery Detergent 2.5L
• (Single) VMR9225
Carpet/Upholstery Detergent 5L
• (Pack of 4) VMR925
• (Single) VMR925S
Carpet/Upholstery Detergent 25L
• (Single) VMR92250
Drum Type: Plastic
Filter Type: PET Type Cartridge
Fuse Rating: 3A
Motor Power: 1400W
Optional Accessories: PC200PB5 - Optional Dust Bags (Pack of 5)
Power Supply Cable Length: 4.5m
Replacement Parts: PC310CF - Cartridge Filter
Supply: 230V
4. CONTENTS
1 Tank unit (head, Tank, base)
2 Flexible hose + detergent spray gun
32pcs connection tubes
4 HEPA lter (optional)
5 Sponge lter (optional)
6 Sponge lter
7 Dust bag (for dry use)
8 Washing brush (for carpet)
9 Washing brush (for sofa)
10 Wet & dry oor brush
11 2 in 1 crevice nozzle
12 Detergent tank
13 2pcs rear wheels
14 2pcs front wheels
15 4pcs screws (for rear wheels)
5. ASSEMBLY
13
4
5
6
7
89
2
10 11
12
13
14
15
FIG.1 FIG.2a FIG.2b
FIG.4 FIG.5
FIG.3
FIG.6a FIG.6b
PC310.V2 Issue 1 06/12/23
Original Language Version
© Jack Sealey Limited

5.1. BASE & WHEELS (FIG.1)
Press the 2pcs front wheels into the base position, and screw the 2pcs rear wheels.
5.2. DETERGENT TANK (FIG.2)
Fit the detergent tank on the base, with the humps into the slots. Press the detergent tank onto the stainless steel one, and buckle it.
5.3. FILTERS (FIG.3, 4, 5 & 6)
Fit the HEPA lter according to g.3. Insert the water valve unit into the head unit, and turn it clockwise to lock (g.4). Before cleaning
dry dust, lock the dust bag onto the suction port on the tank (g.5). Secure the head unit onto the tank (g.6).
5.4. HOSE, TUBE, BRUSH & DETERGENT PIPE (FIG.7A & 7B)
Check the tightness of the following parts, in case of suction and water leakage.
5.5. DETERGENT (FIG.8)
Fill the detergent tank with detergent; the max volume is 3L.
Thick detergent should be diluted or the pipe may block.
6. OPERATION
6.1. SWITCH (FIG.9)
The switch has three options:
(I) - Turns the unit ON. (O) - Turns the unit OFF. - Operates the detergent pump and spray gun.
FIG.7a FIG.7b
FIG.8
FIG.9 FIG.10 FIG.11
PC310.V2 Issue 1 06/12/23
Original Language Version
© Jack Sealey Limited

WET OPERATION
6.2. CARPET & SOFA WASHING (FIG.10)
Choose the corresponding brush for cleaning. Ensure there is enough detergent in the tank for best performance. Remove the dust
bag. Ensure large particles of dust are removed before washing. Press the button of the detergent spray gun to spray detergent.
NOTE: on the rst use, hold for 10 seconds to allow the detergent time to pump out. Move the brush evenly and slowly across the
carpet or sofa. Release the button on the backstroke to allow for vacuuming of waste water.
6.3. FLOOR CLEANING (FIG.11)
Use the wet & dry oor brush for cleaning oor, dust, rubbish, spillage, etc.
FIG.12 FIG.13 FIG.14
6.4. AIRFLOW ADJUSTMENT (FIG.12)
Press the button on the detergent spray gun to adjust the suction.
6.5. BLOWING FUNCTION (FIG.13)
Insert the end of the plastic hose into the blower, and twist it clockwise to lock. Switch on the vacuum cleaner to start the blower.
6.6. FILTER-CLEANING FUNCTION (FIG.14)
If using to clean thick dust, such as that in a garden, workshop or
newly decorated room, the lters will get clogged easily. In this case,
press the lter-cleaning button on the back of the unit several times.
Suction power should improve afterwards.
6.7. PROTECTIVE DEVICE - WATER VALVE (FIG.15)
The protective valve begins to work when the tank is full of dirty water.
The appliance will make a noise that indicates the motor is running at
a higher speed. When this occurs, turn o the appliance and empty the
water.
7. MAINTENANCE
FIG.16a
Washing
FIG.16b
Drying
FIG.17
7.1. CLEANING (FIG.16A & 16B)
After heavy use, or when the barrel is full of dust and dirty water, please follow the procedure below:
7.1.1. Unfasten the clips and remove the head unit.
7.1.2. Take o the lter bag, pour out and clean up the dust and dirty water in tank, and wipe the tank dry.
7.1.3. Wash and clean the lters, including HEPA lter and sponge lters. Filters should be dried before the next use.
NOTE: Filters should be changed regularly to ensure optimal performance.
7.1.4. Reinstall all the accessories and units as per the assembly instructions above.
7.2. LUBRICATING OIL (FIG.17)
Moderate lubricating oil should be added to the sealing locks and pipe jacks for smooth operation.
FIG.15
PC310.V2 Issue 1 06/12/23
Original Language Version
© Jack Sealey Limited

Sealey Group, Kempson Way, Suffolk Business Park, Bury St Edmunds, Suffolk. IP32 7AR
01284 757500 sales@sealey.co.uk www.sealey.co.uk
ENVIRONMENT PROTECTION
Recycle unwanted materials instead of disposing of them as waste. All tools, accessories and packaging should be
sorted, taken to a recycling centre and disposed of in a manner which is compatible with the environment. When
the product becomes completely unserviceable and requires disposal, drain any uids (if applicable) into approved
containers and dispose of the product and uids according to local regulations. REGISTER YOUR
PURCHASE HERE
Note: It is our policy to continually improve products and as such we reserve the right to alter data, specifications and component parts without prior
notice. Please note that other versions of this product are available. If you require documentation for alternative versions, please email or call
our technical team on technical@sealey.co.uk or 01284 757505.
Important: No Liability is accepted for incorrect use of this product.
Warranty: Guarantee is 12 months from purchase date, proof of which is required for any claim.
WEEE REGULATIONS
Dispose of this product at the end of its working life in compliance with the EU Directive on Waste Electrical and Electronic
Equipment (WEEE). When the product is no longer required, it must be disposed of in an environmentally protective way. Contact
your local solid waste authority for recycling information.
PC310.V2 Issue 1 06/12/23
Original Language Version
© Jack Sealey Limited
8. TROUBLESHOOTING
SYMPTOM POSSIBLE CAUSE SOLUTION
Dust/ liquid / detergent leaks from the
hose / tubes / pipes 1. Accessories are not installed correctly.
2. The rubber seal ring of detergent pipe
has broken or fallen o.
1. Follow the assembly instructions and
check the tightness of accessory joints.
2. Contact your stockist for repair/
replacement, or re-tighten the seal ring.
Weak suction 1. The lters, tubes, hose or suction port
is blocked.
2. The head unit is not connected
correctly.
1. Clean up the lters and the accessories,
or make use of the lter-cleaning function.
2. Reset the head unit and buckle it on the
tank as per the assembly instructions.
Abnormal noise when operating 1. Dirty water tank is full.
2. The vacuum has been turned over.
1. Empty the dirty water from the tank.
2. Ensure the vacuum is upright when
operating.
Unit begins to smoke Overheated, overloaded or damaged
motor. Switch o and unplug from power supply.
DO NOT continue to use. Contact your
stockist for repair/replacement.
Dirty water or foam is blowing out from the
blower or the head. 1.Filters are not installed correctly.
2. Filters should be replaced.
3. Too much foam in the tank.
1. Check the installation of lters.
2. Replace the lters with new ones.
3. Use low-foaming detergent. Clean up
the dirty water and foam in the tank.
Table of contents
Other Sealey Vacuum Cleaner manuals

Sealey
Sealey PC195SD User manual

Sealey
Sealey CPV72 User manual

Sealey
Sealey PC320.V2 User manual

Sealey
Sealey Power Products DFS55 User manual

Sealey
Sealey DFS35M User manual

Sealey
Sealey PC150A User manual

Sealey
Sealey VMA92.V2 User manual

Sealey
Sealey SA316.V2 User manual

Sealey
Sealey PC102 User manual

Sealey
Sealey PC200SD110V.V2 User manual

Sealey
Sealey SM47.V3 User manual

Sealey
Sealey PC195SD.V2 User manual

Sealey
Sealey POWER PRODUCTS PC200.V2 User manual

Sealey
Sealey PC460.V2 User manual

Sealey
Sealey CP20VCV User manual

Sealey
Sealey PC300 User manual

Sealey
Sealey GV180WM User manual

Sealey
Sealey Power Products PC80 User manual

Sealey
Sealey CPV144 User manual

Sealey
Sealey CP20VWDV User manual