2
P R E PA RING TO WORK
SETTING TE M P ERATURE PRESSURE AND TIME
I N U S E
Connect the press to a suitable mains elec tricity supplyand ensure th at
the work area is clear of obstructions.
When the press is sw itched on, the main display will read - In Pwhile
the unit initialises and per forms some internal checks. The - In Pdis-
play will, after some seconds have elapsed, change to the number - 4 0 0
while the units internal checks continued. The unit will then display
the current actual platen temperature in degrees centigrade / Celsius
on the main display, and the target or most recently set temperature
on the green auxiliary display for example - 1 6 5 You can now use the
blue set button to access on e of two input mo des. These modes are - SP
which is concern ed with the temperature related functionof the press
and the second mode of operation is - S T which is concerned with time
setting. Time and temperature can be adjusted using the up and down
arrow keys which are coloured orange and are located next to th e blue
set button on the control console. The blue button can bepressed re -
peatedly to cycle between the two modes above and the operational
mode which displays the current platen temperature as measured in
degrees centigrade / Celsius for example – 1 4 0 . The - In Pvalue must be
setup to 2 0 .
Successful operation is a combination of time, pressure and tempera-
ture. Consult the data sheet for your transfer material and experiment
to get the result you’re looking for.
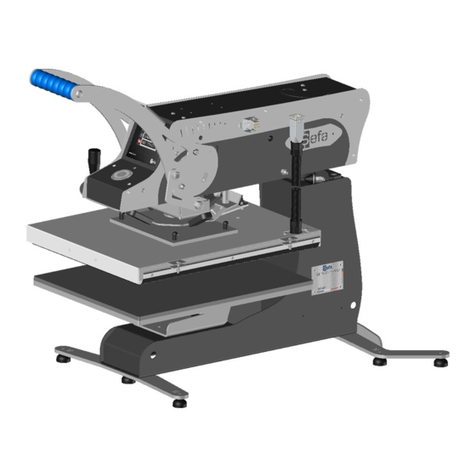
1.Lift the press handle and place the item you want to print upon the
rubber mat with the transfer medium, colour side down and correctly
positioned upon the item. Pressure is a matter of some experimentation
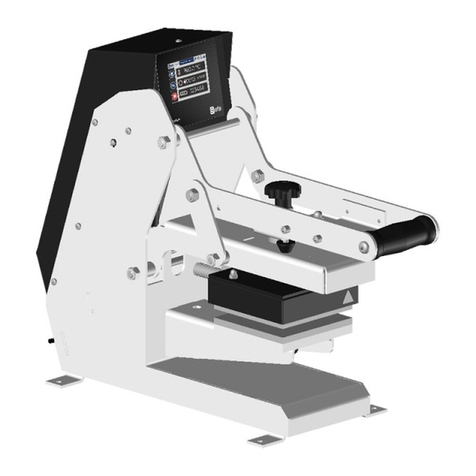
using the press bolt identified in the illustration below. Timing is again
a mater of experimentation using the unit’s timer. An audiblealarm
rings when the set time is elapsed and the cycle starts automatically
when the handle is lowered.
2 . Af ter the required time is elapsed, left the handle and remove th e
printed item.
