© 2019 Safe Fleet | All rights reserved | Part #: 700-1123 R4
p. 17
TH8 Installation and Conguration Guide
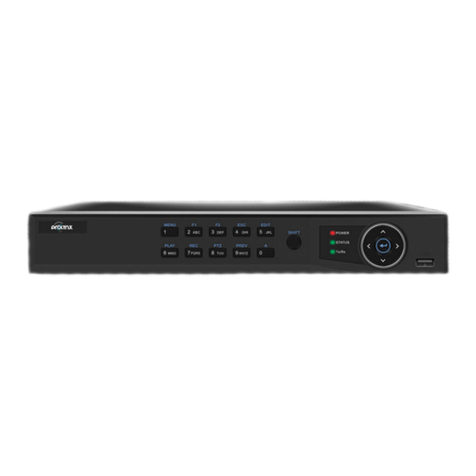
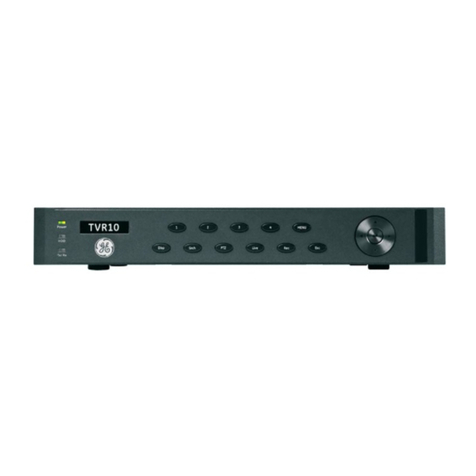
1. Power up the DVR using the vehicle ignition.
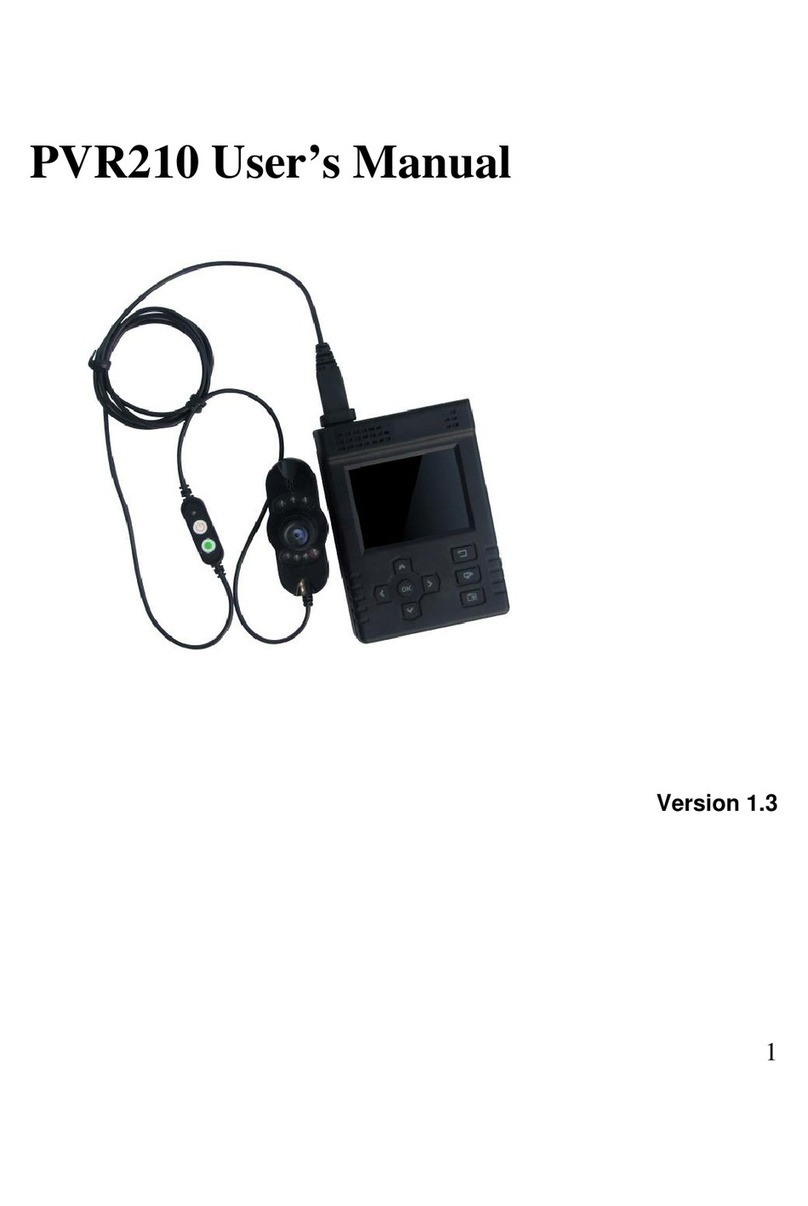
2. Connect the portable video monitor and USB
mouse.
3. Insert a USB storage device containing a
conguration le into the USB port on the DVR.
4. From the On-Screen Display, right-click anywhere
in Live view to display the Main Menu.
5. Select Conguration System
Program Update.
6. Use the Load Conguration menu to select the
desired le.
.
7. From the Include Network pull-down menu,
select whether or not to overwrite DVR network
settings:
• No keeps existing DVR network settings
• Yes overwrites DVR network settings with
conguration from the le.
8. Click Load, then select Yes in the conrmation
dialog to proceed.
9. Click Back in the Program Update and System
Settings tabs to return to the Conguration
Menu.
10. Remove the USB memory device.
11. Conrm that the new conguration settings have
been applied.
To copy conguration to a DVR from a USB storage device:
Open the Conguration menu and verify all Time/Date settings.
Also be sure to update vehicle-specic conguration, including:
• Title/Display Main Title - generally contains the bus #/vehicle ID where the DVR is installed
• Network conguration ()
• Alarm/Signal G Sensor calibration ()
For more information, see "Setting up the DVR" on page 33.
IMPORTANT: Time/Date and Vehicle-specic Conguration
NOTE: Include Network Setting
If you have questions about
whether to overwrite DVR network
settings, please contact Technical
Support.


