manuals.online logo
Brands
  1. Home
  2. •
  3. Brands
  4. •
  5. Sharp
  6. •
  7. Cash Register
  8. •
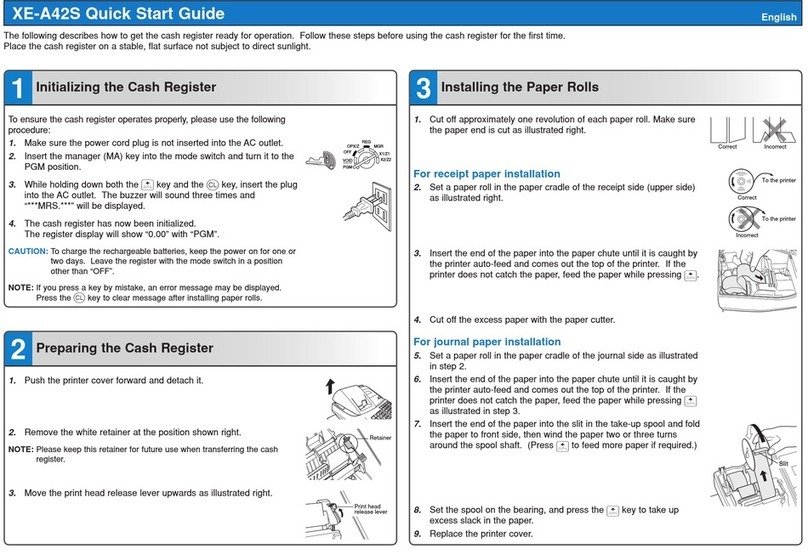
  9. Sharp XE-A212 Installation guide

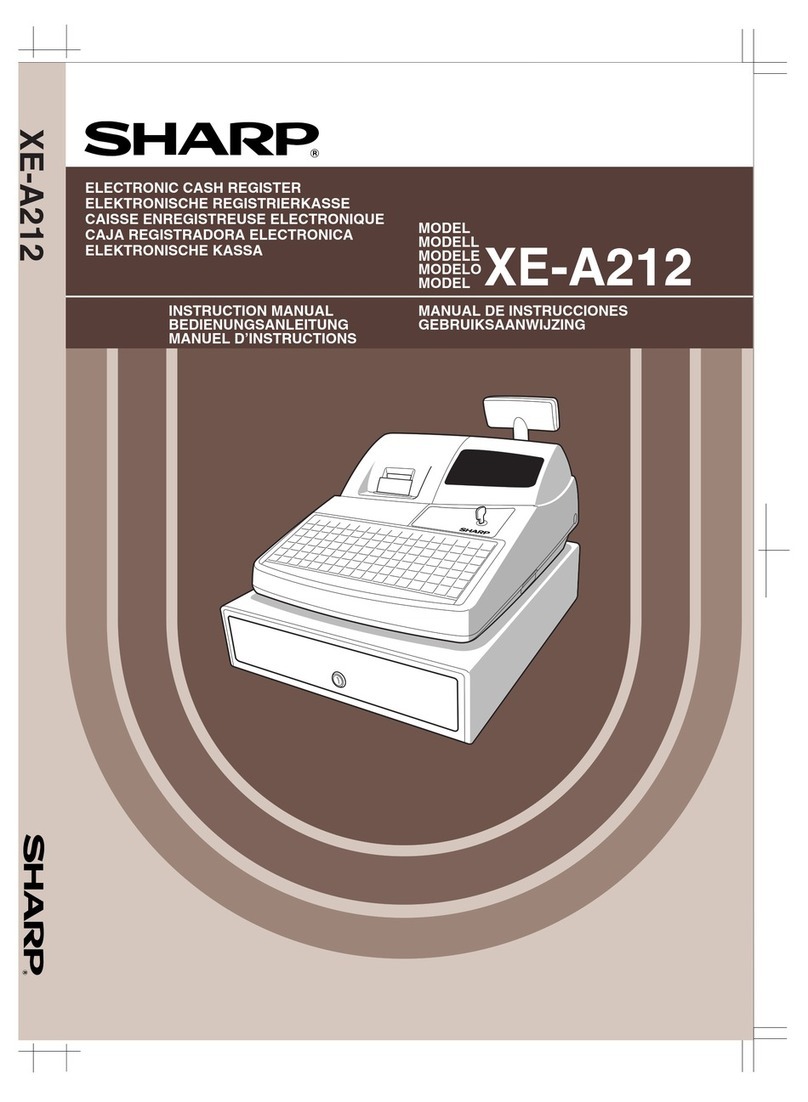
Sharp XE-A212 Installation guide

Other manuals for XE-A212

4

Other Sharp Cash Register manuals

Sharp XE-A147-BK Instruction Manual

Sharp

Sharp XE-A147-BK Instruction Manual

Sharp ER-A247 User manual

Sharp

Sharp ER-A247 User manual

Sharp XE-A404 User manual

Sharp

Sharp XE-A404 User manual

Sharp ER-A220 User manual

Sharp

Sharp ER-A220 User manual

Sharp XE-A201 User manual

Sharp

Sharp XE-A201 User manual

Sharp ER-1910 User manual

Sharp

Sharp ER-1910 User manual

Sharp ER-A247 Mounting instructions

Sharp

Sharp ER-A247 Mounting instructions

Sharp XE-A101 User manual

Sharp

Sharp XE-A101 User manual

Sharp XE-A403 User manual

Sharp

Sharp XE-A403 User manual

Sharp XE-A203 - Cash Register Thermal Printing Graphic Logo... User manual

Sharp

Sharp XE-A203 - Cash Register Thermal Printing Graphic Logo... User manual

Sharp ER-A310 User manual

Sharp

Sharp ER-A310 User manual

Sharp XE-A207W Operating and maintenance manual

Sharp

Sharp XE-A207W Operating and maintenance manual

Sharp ER-A520 Product guide

Sharp

Sharp ER-A520 Product guide

Sharp UP-3301 User manual

Sharp

Sharp UP-3301 User manual

Sharp XE-A201 User manual

Sharp

Sharp XE-A201 User manual

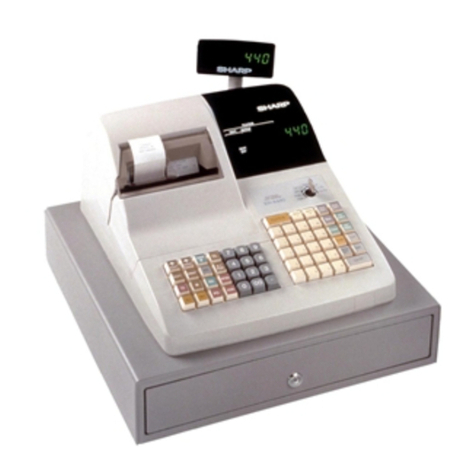
Sharp ER-A440S User manual

Sharp

Sharp ER-A440S User manual

Sharp XEA102 - Cash Register User manual

Sharp

Sharp XEA102 - Cash Register User manual

Sharp XE-A137-WH Operation Quick manual

Sharp

Sharp XE-A137-WH Operation Quick manual

Sharp ER-A410 User manual

Sharp

Sharp ER-A410 User manual

Sharp XE-A42S Parts list manual

Sharp

Sharp XE-A42S Parts list manual

Sharp XE-A212 User manual

Sharp

Sharp XE-A212 User manual
Sharp UP-820N User manual

Sharp

Sharp UP-820N User manual

Sharp XE-A404 User manual

Sharp

Sharp XE-A404 User manual
Sharp XE-A207 User manual

Sharp

Sharp XE-A207 User manual

Popular Cash Register manuals by other brands

Royal 480nt operating manual

Royal

Royal 480nt operating manual

Olivetti ECR 8200 S user guide

Olivetti

Olivetti ECR 8200 S user guide

TEC TEC FS-3600 owner's manual

TEC

TEC TEC FS-3600 owner's manual

Integrated System Laboratory ISL 4006 user manual

Integrated System Laboratory

Integrated System Laboratory ISL 4006 user manual

Sam4s ER-380 Operation and program manual

Sam4s

Sam4s ER-380 Operation and program manual

Samsung ER 5215 Operator's manual

Samsung

Samsung ER 5215 Operator's manual

Toast Toast Quick setup guide

Toast

Toast Toast Quick setup guide

QUORION CR 1200 user manual

QUORION

QUORION CR 1200 user manual

Olivetti ECR 7700 LD eco Plus user guide

Olivetti

Olivetti ECR 7700 LD eco Plus user guide

TEC TEC MA-1060 owner's manual

TEC

TEC TEC MA-1060 owner's manual

American Changer CLASSIC Series Operation manual

American Changer

American Changer CLASSIC Series Operation manual

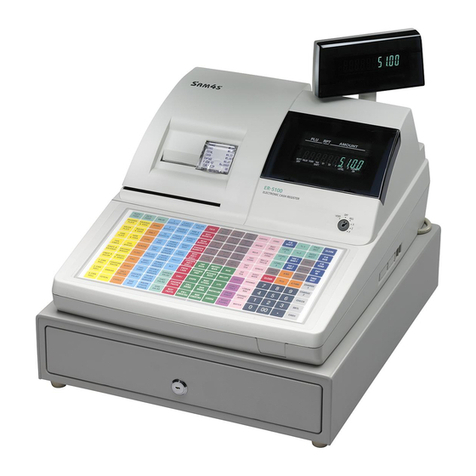
Sam4s ER-5100? SERIES Service manual

Sam4s

Sam4s ER-5100? SERIES Service manual

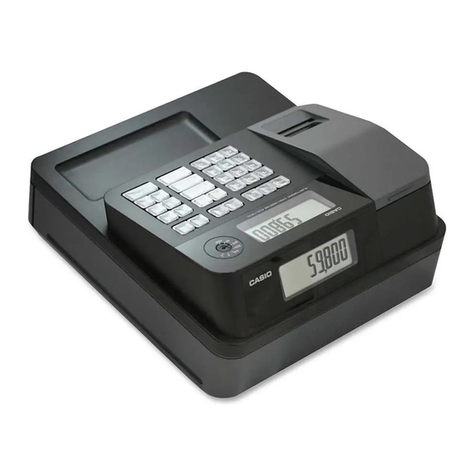
Casio PCR-T273 user manual

Casio

Casio PCR-T273 user manual

Casio QT-7300 Series user manual

Casio

Casio QT-7300 Series user manual

GALEB GP-100 user manual

GALEB

GALEB GP-100 user manual

Optimas OP-680 manual

Optimas

Optimas OP-680 manual

TEC MA-600 Series owner's manual

TEC

TEC MA-600 Series owner's manual

Sam4s ER-180 Operation manual

Sam4s

Sam4s ER-180 Operation manual

manuals.online logo
manuals.online logoBrands
  • About & Mission
  • Contact us
  • Privacy Policy
  • Terms and Conditions

Copyright 2025 Manuals.Online. All Rights Reserved.

XE-A212 Frequently Asked Questions Page 1 of 21
XEA212Frequently asked questions.
XE-A212 Frequently Asked Questions Page 2 of 21
How do I prepare my XEA212 for set-up?
Take the XEA212 out of its box, remove the packing materials. Place the XEA212 on
a flat stable surface, close to a power outlet. Also insure it will not be exposed to
direct sunlight, and is away from water (taps, sinks, etc).
How do I clear the XEA212 to ready it for programming?
It is very important that you “initialise” the XEA212 correctly once you have
removed it from the box, and are ready to start programming. If you do not
“initialise” the XEA212, it might not work correctly.
1. Insert the MA key into the mode switch and turn it to the REG position.
2. Insert the plug of the power cord into a power outlet.
This must be done without the batteries installed. If you have installed
batteries; be sure to remove them before you start this procedure.
After about 10 seconds the buzzer will then sound three times. If the buzzer
does not sound three times, please try again.
The cash register has now been “initialised”. If there were any data from a previous
programming attempt they would have been cleared. The display should now show:
NO BATTERY.
XE-A212 Frequently Asked Questions Page 3 of 21
How to install the batteries, and why should I do so?
The XEA212 uses 3 x AA size batteries to hold its preset, and sales data in memory
when it is switched off. If you do not install 3 x AA size batteries; the XEA212 will
be cleared of all preset, and sales data when it is turned off.
1. Lift the printer cover up and forward, and detach it. Be careful of the paper
cutter to avoid cutting yourself.
2. Open the battery compartment cover next to the paper roll cradle.
3. Install 3 alkaline AA size batteries. When the batteries are properly installed
the “No Battery” message on the display will disappear.
4. Close the battery compartment cover.
A set of new alkaline batteries once installed will keep the memory for up to one year
without power. Please see the question on how to replace the batteries for details on
when and how to replace the batteries. If the unit is not used for some months, you
might not get any warning when you turn the XEA212 on that the batteries have
failed. In this instance the XEA212 will initialise itself.
XE-A212 Frequently Asked Questions Page 4 of 21
What sort of paper roll do I use, and how do I install it?
The XEA212 uses a thermally sensitised paper roll which is: 57mm wide. Its
maximum diameter should be no more than 80mm.
1. Remove the print cover, be careful not to cut yourself on the paper cutter.
2. Lift up the green print roller release lever to unlock and open the print roller
arm.
3. Set a thermally sensitive paper roll in the paper roll cradle as shown in the
diagram below:
XE-A212 Frequently Asked Questions Page 5 of 21
4. Feed the end of the paper along with the paper position guides as shown in the
diagram below.
5. While holding down the paper, slowly close the print roller arm, and push
down the arm until you hear a click. This means the arm is locked back in
place. The paper will feed automatically
6. Cut off the excess paper using the edge of the inner cover, and replace the
external printer cover. Press the key to make sure the paper end comes out
of the printer cover and clean paper appears.
If the paper end does not come out. Open the printer cover, and pass the paper
end between the paper cutter and the paper guide of the printer cover, and
replace the cover.
7. If you intend to use the print out as a journal: Insert the paper end into the slot
in the spool. Press the key to feed more paper if required.
Wind the paper two or three turns around the spool shaft. Set the spool on the
bearing and press the key to take up any slack in the paper. Replace the
printer cover.
XE-A212 Frequently Asked Questions Page 6 of 21
How do I set the time and date?
1. Set the mode key to the PGM position.
2. Enter the time as a four digit number. Use the 24 hour format. For example
2:30pm would be entered as 1 4 3 0
3. Press the #key
4. Enter the date as an eight digits using the day-month-year format. For example
5. 7th of December 2010 would be entered as 0 7 1 2 2 0 1 0
6. Press the #key
How do I set a 10% GST rate?
1. Set the mode key to the PGM position
2. Enter: ST 9 1 1 0 ST TL
XE-A212 Frequently Asked Questions Page 7 of 21
How do I set a Department as taxable or not taxable?
1. Set the mode key to the PGM position
Department keys are the keys labeled 1 to 6 above the numeric key pad
2. To make a department taxable, enter:
-1--0-0 -8--1-DEPT KEY TL
For example to make department 1 taxable enter:
-1--0-0 -8--1-- 1 -DEPT 1 KEY TL
For example to make department 1 non-taxable enter:
-8--1-- DEPT 1 KEY -TL
XE-A212 Frequently Asked Questions Page 8 of 21
How do I set the letters GST to print on the receipt?
1. Set the mode key to the PGM position
2. Enter: ST 3 _●_8 __G S _T ST TL
You can enter characters with the QWERTY
key sheet overlay.
How do I set the $ symbol to print on receipts?
1. Set the mode key to the PGM position
2. Enter:
ST 8 5 _●_SPACE SPACE SPACE _$_ST TL
Use the QWERY keyboard overlay as shown above. Enter the 3 spaces and the $
symbol.
XE-A212 Frequently Asked Questions Page 9 of 21
How do I give a department a descriptive name?
1. Set the mode key to the PGM position
Department keys are labeled 1 to 6 above the numeric key pad.
2.
Enter: ST -1-_●_DEPT KEY enter characters
You can now enter up to 16 characters with the QWERTY keyboard overlay.
3. Press the ST to confirm your selection.
4. Press the TL key to save your selection.
XE-A212 Frequently Asked Questions Page 10 of 21
How do I program the PLUs? (Price Look Ups)
The XEA212 is set at Master Reset (Factory Default) to have 210 PLUs. These
PLUs are assigned to 3 keyboard levels. PLUs 1 to 70 are on level one. PLUs 71
to 140 are on level two, and PLUs 141 to 210 are on level three. PLUs are used to
“look up”, a description and price for often sold items.
Please follow the steps below to program a PLU
1. Set the mode key to the PGM position
2. Press a PLU key (1 to 70). These are the numbered keys to the right of the
numeric key pad). If the PLU is on level 2, press the L2 key before the PLU
key. If it is on level 3 press the L3 key before the PLU key
3. For example press _1_ to right of the TL key to select PLU 1.
4. Press the _00_key.
5. Type in you PLU’s description, up to 16 characters. Use the QWERTY key
sheet overlay.
6. Press ST to confirm the description.
7. Use the numeric key pad to enter the PLU’s price in cents. For example
$14.00 is entered as 1400
8. Press ST to confirm the price.