Notes on Cell Phone Use
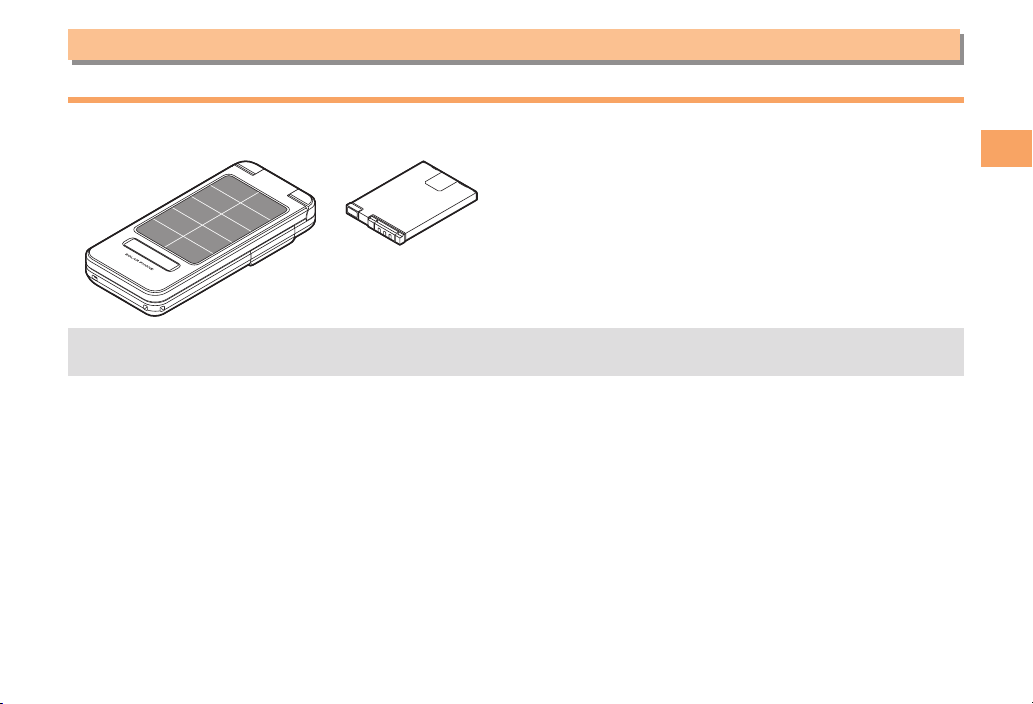
Solar Charging Capability
The SH007 has an embedded solar panel that can
use sunlight to charge the battery pack. Unlike solar
calculators, the SH007 solar panel obtains energy from
sunlight only. Artificial light cannot be used to charge the
battery pack.
The solar charging is not available in extreme hot or
cold, or when the remaining battery level is over 80%.
The performance of solar charging will vary depending
on factors such as the environment (season, weather,
region, direction and height of the sun, etc.), the signal
strength where you are using the SH007, and your
settings.
For optimum performance, keep the solar panel
perpendicular to the sun’s rays. In addition, charging
is not possible if sunlight passes through an object
that filters sunlight (such as sunscreen glass) before
reaching the solar panel.
Do not leave your SH007 as a solar charger in a car
with all the windows and doors closed. In such a
place, the temperature is likely to rise to an extremely
high level as a result of the sunlight, which may cause
the SH007 to overheat, ignite, deform, or malfunction.
Never use a light-concentrator (such as a mirror or
magnifying lens) on your SH007’s solar panel. Doing
so may overheat the SH007 and result in a fire or
malfunction. Using a high-heat generating lamp (such
as a halogen lamp or an infrared heat lamp) should
also be avoided.
•
•
•
•
•
For your safety, the SH007 adopts an overheat
detection system that plays a warning tone and
displays an indicator on the screen. If the SH007
indicates that it is overheating, follow the on-screen
instructions and be careful to not burn yourself.
If overheating persists, the SH007 will turn off
automatically.
Disaster Message Board Service
When a large scale disaster occurs, you can register
your safety information from EZweb. The registered
information can be referred from anywhere in Japan from
EZweb or Internet.
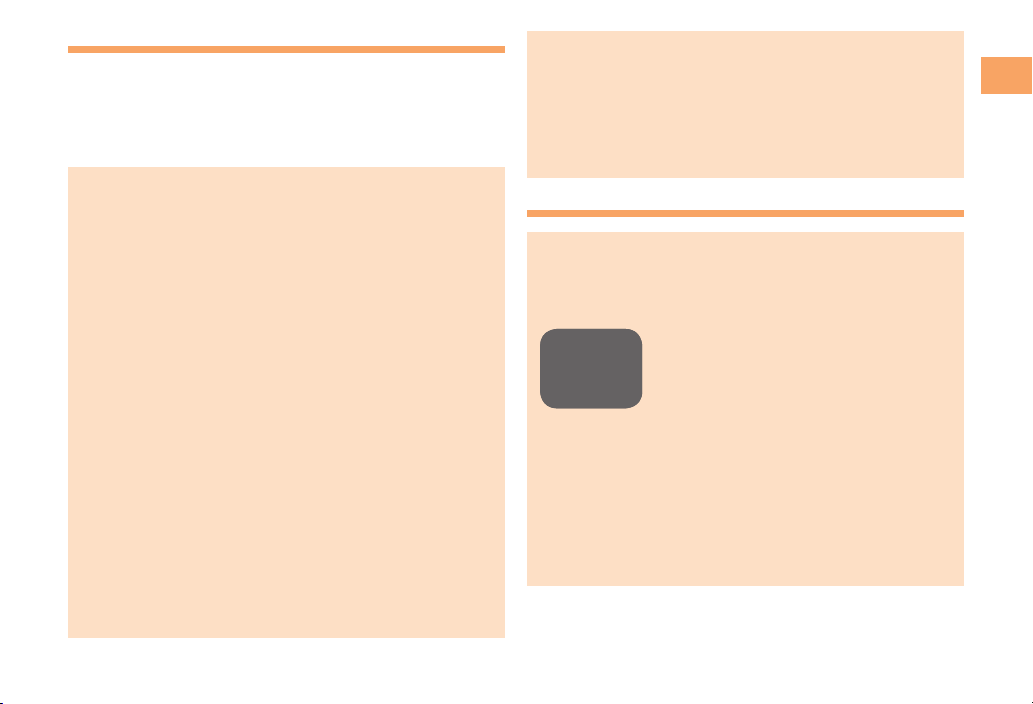
When a large scale disaster occurs,
from an au phone, you can register
your safety information (i.e. your
condition and comments) to the 災害
用伝言板 (Disaster Message Board)
created on the EZweb.
After registration of your safety
information, e-mail is sent to your family
or acquaintances you have previously
designated to notify that your safety
information has been uploaded to
the 災害用伝言板 (Disaster Message
Board).
•
•
•
Registering
safety
information
Registering
safety
information