Sharp FO-155 User manual

—
SHARR
INSTALLATION -----------------------------1-1
INITIALSETTINGS ------------------------2-1
BASICOPERATIONS ---------------------3-1
ANSWERINGMACHINEHOOK-UP ---4-I
SPECIALFUNCTIONS --------------------5-1
OPTIONALSE~lNGS --------------------6-1
PRINTINGOUT REPORTSAND LISTS7-1
MAINTENANCE -----------------------------8-1
TROUBLESHOOTING ---------------------9-I
SPECIFICATIONS
QUICKREFERENCEGUIDE
INDEX

WARNING —AUSTEL Regulationsstate that no unauthorisedchanges
or modifications to this equipment are permitted.
Note: Complies with the AUSTEL standards TS 002-1990 regarding
Emission of Electromagnetic Interference.
These limits are designed to provide reasonable protection against
interference in an installation. This equipment generates, uses and
can radiate radio frequency energy and. if not installed and used in
accordance with the instructions, may cause interference. However,
there is no guarantee that interference will not occur in aparticular
installation, If this equipment does cause interference to radio or
television reception, which can be determined by turning the equip-
ment off and on, the user is encouraged to try to correct the interfer-
ence by one or more of the following measures:
—Reorient or relocate the receivingantenna.
—Increase the separation betweenthe equipment and the receiver.
—Connectthe equipment intoanoutlet ona circuitdifferentfromthat
to which the receiver is connected.
—Consult the dealer or an experienced radio/W technicianfor help.
IFOR YOUR RECORDS
Pleaserecordthe modelnumberandserialnumberbelow,foreasyreference,
incaseof lossor theft. These numbersare locatedonthe rearsideofthe unit.
Spaceis also provided for other relevantinformation.
Model Number
SerialNumber
DateofPurchase
PlaceofPurchase

Congratulationsonyour purchase of the FO-I 55/355, andthank youfor choosing
Sha~!
The FO-155/355 facsimile transceiver is G3 compatible,which meansit is able to
communicatewith almost every facsimile machine in usetoday. In addition to the
basicoperations of sending and receiving documents,it providesavariety of
special features designed to increase the ease and effectivenessof your
communications.
This manual gives you easy-to-follow instructionsfor installingand usingthe
FO-I 55/355. The Table of Contents will show you where instructionsfor using each
feature are located. Whilst you may not needto read every section in detail at first,
we recommendyou at least review them briefly.
Ifyou haveany questions or problemswhich cannot be solvedby readingthis
manual, please contact your Sharp dealer,
Important:
●Thisfacsimile machine is not designedfor use on a line which has call waiting,
call forwarding, and some other special services offered byyour telephone
company. If you attempt to use the fax machinein conjunctionwith any of these
sewices, you may experience errors during transmissionand reception of
facsimile messages.
●Thisfax machine is not compatible with digital telephonesystems. No other fax
machinesmay be connected to the same line.
●Foryour safety, if any ofyour equipmentis not operatingpropedy or should any
physical damage occur to the equipment whereinternal parts may become
exposed, the equipment should be immediately disconnectedfrom thephone
line and then the power lines and returned to aSHARPauthorised Service
Centre for inspection, repair, or disposal,
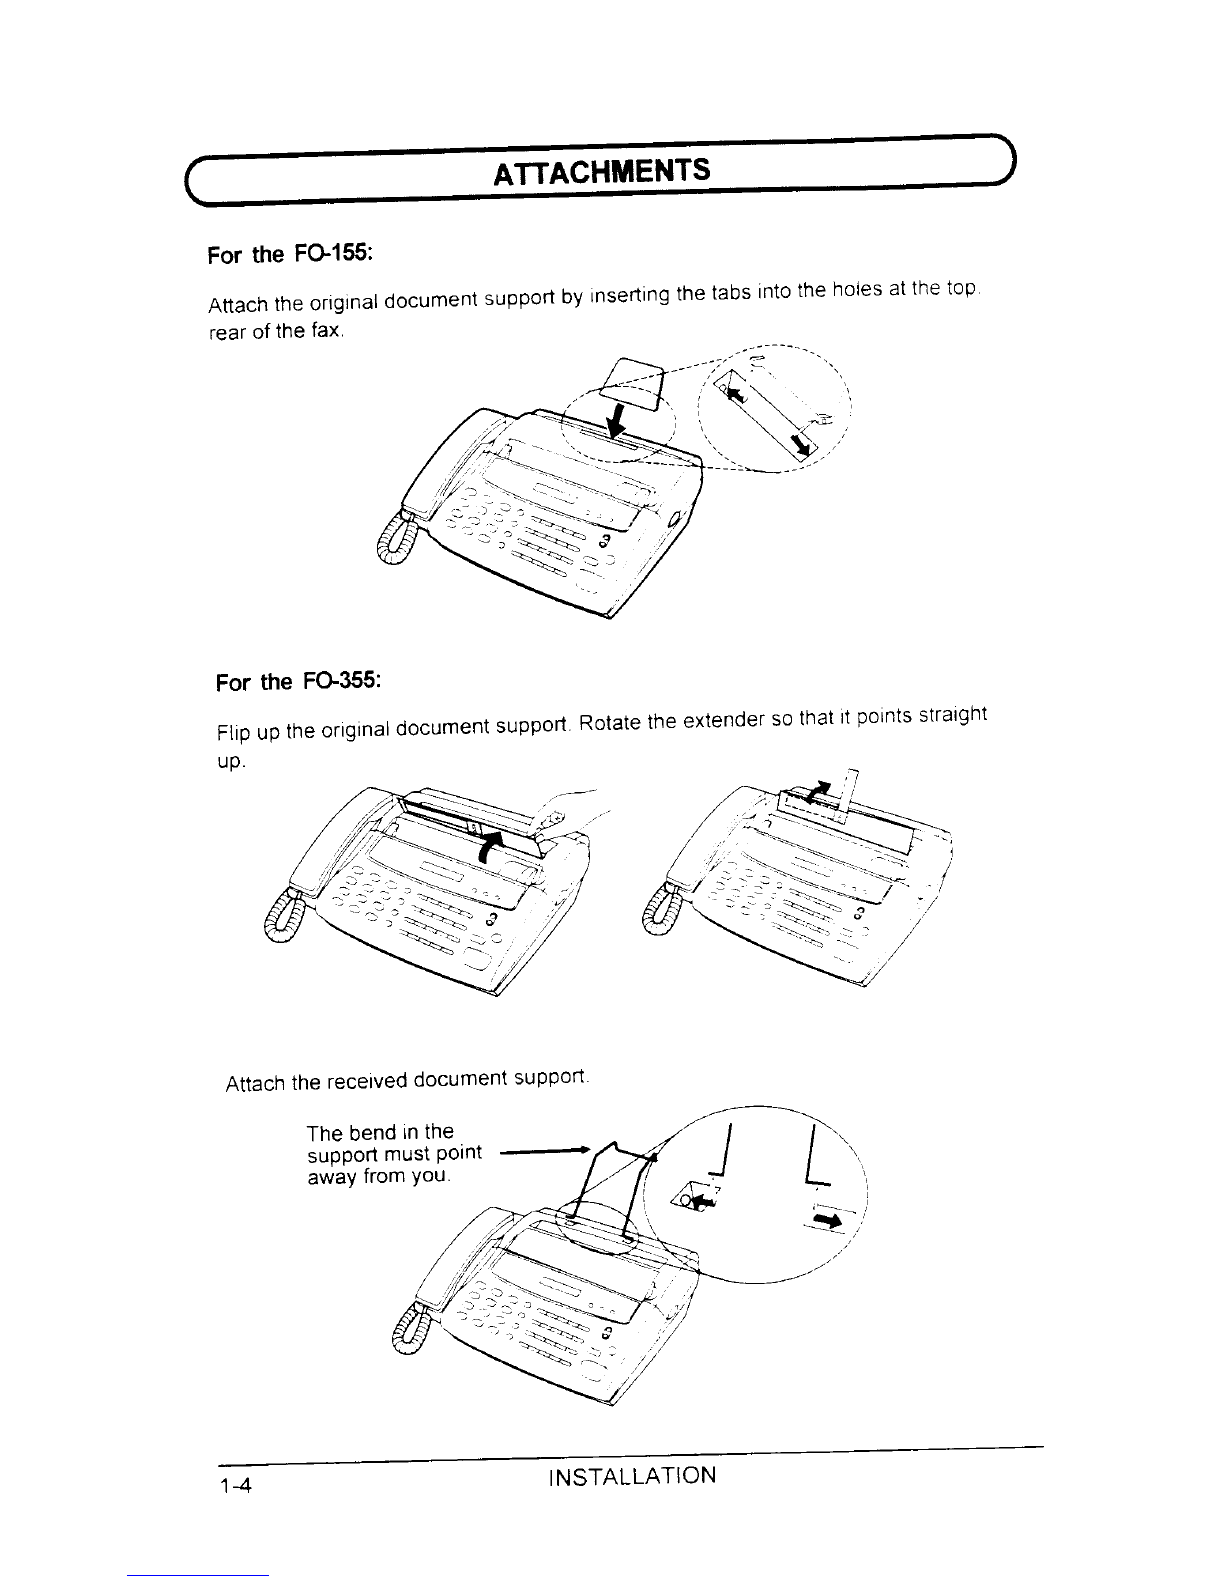
Note: Wth the exception of sections which are indicatedas applyingonly to the
FO-355, the illustrations in this manual show the FO-155.
INTRODUCTION

INTRODUCTION
+Important safety information
●Never install telephone wiring during alightningstorm.
●Never installtelephonejacks in wet locationsunlessthejack isspecificallydesigned
for wet locations.
.Nevertouch uninsulatedtelephonewires or terminals unlessthe telephoneline has
been disconnected at the network interface.
●Use caution when installing or modifiing telephone lines
sAvoid usingatelephone(otherthanacordlesstype)duringanelectricalstorm.There
may be a remote risk of electric shockfrom lightning.
.Do not use atelephone in the vicinity of agas leak
.Do not install or usethe machine nearwater, or when you are wet. Takecare notto
spill any liquids on the machine.
+Your fax machine and the telephonesystem
The Austel Registration Numberand Ringer EquivalenceNumber (REN)for this
equipment are shown on the label on the backof the machine.The telephone
company may require these numbers.
The sum of all Ringer EquivalenceNumberson yourtelephone line should be three
or less in order to assure proper servicefrom the telephonecompany.
ii INTRODUCTION

1INSTALLATION
Check List 1-1
Connections 1-2
Attachments 1-4
Loading the Fax Paper 1-5
2INITIAL SETTINGS
ALook at the Operation Panel 2-1
Entering Your Name and Fax Number 2-2
Entering Letters for Names 2-3
Setting the Date and Time 2-5
Volume Adjustment 2-6
Set-up Guide for Receiving Calls 2-7
Distinctive Ringing 2-8
Storing Numbers for Automatic Dialling 2-1o
3BASIC OPERATIONS
Sending Documents 3-1
Receiving Documents 3-1o
Making Copies 3-13
Making Telephone Calls 3-14
4ANSWERING MACHINE CONNECTION
Preparations 4-1
Using the Connection 4-2
Optional A.M. Connection Settings 4-5
5SPECIAL FUNCTIONS
Anti Junk Fax 5-1
Polling (FO-355 only) 5-2
Timer Operations (FO-355 only) 5-5
6OPTIONAL SEITINGS
7PRINTING OUT REPORTS AND LISTS
8MAINTENANCE
Ill

TABLE OF CONTENTS
9TROUBLESHOOTING
Problems and Solutions 9-1
Messages and Signals 94
Clearing Paper Jams 9-5
SPECIFICATIONS
QUICK REFERENCE GUIDE
INDEX
iv

( “ CHECK LIST )
After unpackingyour fax, make sureyouhaveallthe itemsshownbelow.Ifanyare
missing, contact your dealer or retailer. Rapid key labels
~@
Original document
support (FO-155 only)
b, ~
BDocumentcarrier
Receiveddocument
support (FO-355 only)
v
,/ &o
,~
Operation
manual
Warranty card
+In addition to the above items, you should have an F080TP adaptor (fax line)
This is suppliedseparately by your dealer.
Points to keep in mind whensetiing up
+Keepthe fax away from air conditioners, heaters, direct sunlight,and dust
+Provide easy accessto the front, back, and sides of the fax. In particular. keep
the area in front of the fax clear, or the original document mayjam as it comes
out after scanning.
+If the fax is movedfrom acold to awarm place, it is possiblethat condensation
mayform on the reading glass, preventing proper scanningof documentsfor
transmission. To removethe condensation,turn on the power andwait
approximately2hours before using the fax.
+If your area experiencesahigh incidence of lightning or power surges,we
recommendthat you install surge protectors for the power and telephonelines.
Surge protectorscan be purchasedat most telephone specialty stores.
INSTALLATION 1-1

CONNECTIONS
$.:” COnneC~~~~~~n~~~~,~~~~~~h~handset
~\ [., (and the fax as shown.
ad
●The ends of the handsetleadare iden-
Q“- tical, so they will go into either socket.
.. ‘1. Placethe handseton the handsetrest.
‘,.. .’ ,.>\.“
,. <. Use the handsetto make ordinary phone
,, calls, or to transmit and receivedocuments
manually.
Installthe fax machine nearan easily ac-
cessible power point 230-240V, 50Hz
Plug the power lead into a230-240V.
o
50 Hz. grounded (3-prong)AC outlet.
,
am ●The fax does not haveapoweronloff
‘a switch, so the power is turned on and
3off by simply pluggingor unplugging
the power lead.
●Caution: \Nhendisconnectingthe FO-
155or FO-355, unplugthe telephone
line cord before unpluggingthe power
cord.
Insertthe small modular plugwhich termi-
For <~ nates the F080TP adaptor line cord into
Australia =., the socket on the back of the fax marked
“TEL. LINE”. Plugthe F080TP adaptor
into the telephone socketon the wall.
L
For NewZealand
Be sure to plug the line cord into the
TEL.LINEsocketonthefax.Donot
plugit intotheTEL.SET socket.
Note: If your area experiences ahigh incidence of lightning orpower surges we
recommend that you install surge protectors for the power and telephone
lines. Surgeprotectors can bepurchased at most telephonespecialtystores
1-2 INSTALLATION

CONNECTIONS
If desired, you can connect either an answering machine or an extensiontelephone
to your fax.
+Connecting an answering machine to the fax will allow you to receive both voice
and fax messageson the same line while you are out. For details on usingthis
feature, see Chapter 4.
●You can connect an extension phoneto the fax to make and receivecalls like
any other extension phoneon your line. For details on receiving faxes from an
extension phone, see “Receiving Documents” in Chapter 3.
Insert one end of the answering machine
or extension phone line either intothe
socket on the back side of the F080TP
adaptor, or into the socket marked“TEL.
SET” on the fax (first removethe seal
\from the socket).
mm)
>! !
,,
or Important: If you are connecting
an answering machine, make
sure the line plug is inserted into
the answering machine’s
telephone line socket, not Its
telephonesocket.
Important:ln NewZealand, not
all standardtelephones and
answeringmachineswill respond
to incoming ringing when
connectedto the extension
socket of the equipment.
Moving your fax and reconnecting
Should it be necessafy to moveyour fax to anew location,first disconnectthe
telephone line cord before disconnectingthe power lead. When reconnecting it is
necessa~ to connect the power lead before connectingthe telephone line cord.
INSTALLATION 1-3

A~ACHMENTs
For the FO-155:
Attach the original document suppofl by insediflg the tabs intothe holes at the top
rear of the fax. -------
For the FO-355:
Flip up the original document suppofl. Rotatethe extenderso that It points straight
Attach the receiveddocument suppofl.
The bend in the
&
~\.\
support must point ~IL \,,
away from yOU. ‘!
.
,-< ‘
:+.:,,/,
‘-. .<,/,
,/
-’:-:p:;:&:.= .; ‘;+,’
j~y;,:, ,/
‘L
.<’, ,.
.- /“
1-4 INSTALLATION

LOADINGTHEFAXPAPER
Your fax prints by aprocesscalledthermal printing. The print head applies heat to
special paperwhich is chemicallytreated to change colourwhen heatedto acertain
level, and this creates the printedtext or image.
Followthe steps belowto load the sample 15 mroll of fax paper provided
1Graspthe finger hold on the right sideof
the paper compartment cover, and pull
up to open It.
Removethe packing paperfrom the pa-
per compartment.
●Caution! If you are replacingthe pa-
per, do nottouch the metal strip inthe
compartment. It may be hot if adocu-
ment hasjust been printed.
2Unwrap the roll of fax paperand insert it
in the compartment.
●Important: The roll must be placedso
that the leading edge of the paper
feeds from over the top of the roll.
(The paper is only coated on one side
for printing. Ifthe roll is placedupside
down, the paper will come out blankaf-
ter printing.)
3FO-155: Passthe leading edge of the
paper overthe roller and through the out-
let in the paper compartmentcover. Re-
move any slack.
QF-: Passthe leadingedge of the
~; p,7 paperthrough the slit betweenthe metal
paper guide and the protruding ribs, and
,/ ,N+< d
,/ pull it out from the other side of the pa-
,.=, per compartmentcover. Removeany
‘Y slack.
INSTALLATION 1-5

LOADING THE FAX PAPER
4~ F0166: Closethe cover andthen press
@
4/,,,
”,
,/ . ‘-”-4 mthe START kev.Ashort lengthof the fax
,,/<T: ‘‘y
v: ..,:>j ‘“’
,Z.aa-,
=.-3:2+’; ,,y
-*.:,. ,// L
+’ paperwill feed‘out.Graspthe paper by
the edge and pull upwardto tear it off.
FM: Closethe cover.Ashort length
of the fax paperwill feed out and be cut
off. (If this doesn’t happen,repeatthe
loading procedure.)
Note: TheFO-355 has abuilt-in anti-curl mechanism that will help to reducepaper
curlingproblems. Theanti-curtmechanism will be more effectiveat the be-
ginning of the paper roll and less effective toward the end.
To assure along life for your fax and obtain the best reproductionquality we
recommendthat you usethe following Sharp fax (thermal) paperwhich is available
from your dealer:
FWPR6 THERMAL PAPER (60 mroll)
+The use of any other paper may result in poor copy quality and excessive
build-upof residue on the head. This is due to the different thermal reactive
characteristicsof each manufacturer’s paper.
When the paper runs out, OUT OF PAPERwill appear in the display. Receptionand
copyingwill no longer be possible. To replace the paper,first take outthe old roll,
then loadthe new roll as described above.
Do not unpackthe paper until you are readyto use it. It may becomediscolored if:
+It is stored at high humidity or hightemperature.
+It is exposedto direct sunlight.
+It comes in mntact with glue, thinner, or afreshly copied blueprint.
+It is scratched, causing heat due to friction.
14 INSTALLATION

Beforeyou can begin using your fax, there are some settingswhich must be made
usingthe keys on the operation panel. First take amomentto familiarize yourself
with the operation panel, and then make the settings as describedon the following
pages.
Reception mode key FUNCTIONkey
Press this keyto select Pressthis keyto select
the mode of reception. various specialfunctions.
Liquid crystal display
\ II
RESOLUTIONkey
This displays various Pressthis keyto adjustthe
messagesduring operation resolutionand contrast before
and programming. \sendingor copyingadocument
VOLUME keys
Pressthese keysto adjust
the volume of the handset
when the handsetis Iifted,or
the volume of the speaker
when the SPEAKER key has
beenpressed,or the volume
\of the ringer at all othertimes
Number keys /
// /
I\
Usethese keys to dial Rapid Keys STOP key
numbers,and enter Press one of these Pressthis keyto stop
numbersand letters keys to dial afax or operationsbefore
during number/name voice number they are completed.
storing procedures, automatically. (Note
HOLDISEARCH key that you must attach START key
Pressthis keyto search the Rapid Key labels.) Pressthis keyto send
or receiveadocument.
for an automatic dialling SpEAKER key
number, or, during aPressthis keyto dial a
phoneconversation, COPY key
numberwithout picking
press it to put the other up the handset, Pressthis keyto make
party on hold. acopyof adocument.
INITIAL SE~l NGS 2-1

(ENTERINGYOURNAMEANDFAXNUMBER )
To have your name and faxitelephone number (calledthe “Sender’s name” and
“Sender’s number”) printed at the top of eve~ pageyou transmit, programthem by
pressingthe panel keys as shown below.
+If you enter an incorrect number or letter, pressthe HOLD keyto movethe
cursor backto the mistake, then enter the correct numberor letter. (To movethe
cursor fomard, press the SPEAKER key.)
1‘“0°”mPressthe keys shownat left. “ENTRY
MODE”will appearin the display.
2mm Pressthe “#’ key2times. “OWN NUM-
BER SET” will appearin the display.
3START
o
Pressthe START key
o
(Example)
Enteryour fax number(max. of 20 dig-
its) by pressingthe numberkeys, (To in-
sert aspace betweendigits, pressthe
“#’ key.To inseri a“+”, pressthe “*”
key.)
5START
o@
Pressthe START key.
Enteryour name by pressingthe appro-
priate number keysas shown on the fol-
lowing page. Presseach key repeatedly
until the desired letter appears in the dis-
~Ap am play. (Max.of 24 characters.)
@
am (Example: “SHARP”)
Pressthe START keyand then the
STOP key.
2-2 INITIAL SETTINGS

ENTERINGL~ERS FORNAMES
Namesare programmedby pressing the number keys. YOUWIIInotice that letters
are marked above each of the number keys “2” through “9” Toenter aletter (or
number), pressthe appropriate key one or moretimes until the ietter appearsInthe
display (the numberwill appear first, followed by the letters in the order marked
above the key). The keys used for entering letters and editing are shown below
Letters and numbers
To enter aletter or number, press
Space the appropriate key repeatedly until
Press this key the desired number/letter appears
twice to enter ain the display (the number appears
space. first, then the letters in the order
Ishown above the key).
Delete
press :hls keyto deletethe
letter highlightedby!he curser
(if the cursor ISto the right of
the last letter entered, Itwill
backspaceanddelete [he last
letter).
Shift
Pressthis keyonce to change
case (pressIt againto change
back)
‘Cursor left
Pressthis keyto move!he
cursor to the left.
I‘Cursor right
Symbols Pressthis keyto movethe
Press either key repeatedlyuntil the cursor to the right.
desired symbol appears (see the
symbol list on the following page).
●Toenter twoletters in succession which require using the samekey,press the
SPEAKER key once after entering the first letter. then enter the secondletter
.Tochangeone individual letter to another, move the cursor to that letter and
enter the desired/etter. Thenew /etter wi//simp/yrep/ace the o/done
INITIAL SE~lNGS 2-3

ENTERING LE~ERS FOR NAMES
Symbol list
To enter asymbol from the list below, pressthe “#” key or the “*” key repeatedlyuntil
the desired symbol appears.
#+ +*
. / ! “# $ %&‘()*+,-: ; <=>?@[$ 1 A–‘{I}+ +‘
Example
The following is an example of entering the name“ABC Co.#1”
+The cursor in the display is indicated below by arectangle:
12
I
24 INITIAL SE~lNGS

SEITING THEDATEANDTIME
The date and time appear in the display and reports, and are printedat the top of
every pageyou transmit. Setthe date and time by pressingthe keyson the
operation panel as shown below.
+To correct amistake, press the SPEED DIAL key to movethe cursor backto
the mistake, and then enter the correct number.
1Pressthe keys shownat left. “ENTRY
‘“ooN mMODE” will appear in the display,
2mm Press the keys shownat left. “DATE &
TIME SET” will appearin the display.
3START
o0Pressthe START key
4~~ Enter a2-digit numberfor the day (“01”
to “31”).
(Example: the 5th)
5Enter a2-digit numberfor the month
@@ (“01” for January, “02” for February,“12”
(Example: January)for December,etc.).
G~ ~ (Example: 1996) Enterthe last 2digits of the year.
7@@@@ Enter a2-digit numberfor the hour (“00”
to “23”) and a 2-digit numberfor the min-
(Example: 9:25) ute “00” to “59”).
Press the START key and then the
8aG STOP key.
INITIAL SE~lNGS 2-5

(VOLUMEADJUSTMENT
You can adjust the volume of the speaker, handset, and ringer usingthe UP and
DOWN keys on the operation panel.
Speaker
The speaker has 3volume settings: HIGH, MIDDLE,and LOW,To adjust the
volume of the speaker, first press the SPEAKER key, and then pressthe UP or
DOWN key to change the volume to the desiredsetting. Pressthe SPEAKER key
again to turn the speaker off.
Ringer
The ringer has 4volume settings: HIGH, MIDDLE. LOW, and OFF. To adjust the
volume of the ringer, press the UP or DOWN keyto cnangethe volume to the
desired setting (make sure the SPEAKER has not been pressedand the handset
is not lifted). The fax will ring at the newvolume level eachtime you changethe
setting. If you select OFF, press the START keyto confirm the setting.
Silent ring fax recognition system
You can also set your fax machine to receivefaxes silenty, but ring to alert you to
voice call. To do so, set the ringervolume to OFF, andturn Option Setting 8 on (this
procedure is described in Chapter 6), When avoice call comes in. aspecial ringer
on the fax machine will ring. Note that extensiontelephoneswill not ring.
2-6 INITIAL SE~lNGS

SET-UPGUIDEFORRECEIVINGCALLS
Your fax has avariety of ways in which it can receiveincomingcalls. Set your fax
as described below to best suit your situation.
You have aseparate telephone line for your fax, and will only use it to sendand
receive fax messages.
Set the fax’s reception mode to FAX as describedin “ReceivingDocuments” in
Chapter 3. You will probably also want to reset Option Setting 2(the numberof
rings the fax waits before automatically answeringacall) to 2to 4rings as de-
scribed in Chapter 6.
You subscribe to adistinctive ringing service from your telephonecompany
which allows you to use several different devices,each with its own phone
number and ringing pattern, on one line.
Select aringing pattern for your fax as described in the following section, “Distinc-
tive Ringing”. You will also need to set your fax’s receptionmodeto FAXas de-
scribed in “Receiving Documents” in Chapter 3.
You will be making and receivingvoice calls as well as fax messageson the line
connected to your fax.
Read “Receiving ~ocuments” in Chapter 3 and decidewhether you want to set
your fax’s reception mode to FAX or TEL. For informationon makingphonecalls,
read “Making Telephone Calls” in Chapter 3.
You have connected an answering machineto your fax to receiveboth voice
calls and fax messageson the same line while you are out,
Read Chapter 4, “Answering MachineConnection”.
INITIAL SETTINGS 2-7

DISTINCTIVERINGING
If you subscribeto adistinctive ringing setvice from your telephone company,you
will needto reset Option Setting 15to turn on the Distinctive Ringingfunction. When
this is done, your fax machinewill signalvoice calls by the normal ringing pattern.
and fax transmissions by aspecial ringing pattern. Inthe case of afax transmission.
your fax machinewill automaticallyanswer the call after 2rings and receivethe fax.
To reset Option Setting 15,see Chapter 6.
Factory set to “NO”. If set to “YES” both Australian and NewZealand Distinctive
Ring is supported,
Important:
●
●
TheDistinctive Ringing function can only be usedif you subscribe to adistinctive
ringing service from your telephone company.Do not set Option Setting 15to ON
if you are on a normal line, as the fax machine will not operateproperfy.
If you turn on Distinctive Ringing, do not turn onAutomatic Fax/Phone
Changeover(Option Setiing 8). If you do, the fax machine will not operate
propefiy.
2-8 INITIAL SE~lNGS
Other manuals for FO-155
1
This manual suits for next models
1
Table of contents
Other Sharp Fax Machine manuals

Sharp
Sharp UX-S10 User manual

Sharp
Sharp FO-1460 User manual

Sharp
Sharp FO-475 User manual

Sharp
Sharp FO-A660 User manual

Sharp
Sharp UX-B20 User manual

Sharp
Sharp UX-108 User manual

Sharp
Sharp FO-A650 User manual

Sharp
Sharp FO-780 User manual

Sharp
Sharp FO-B1600 User manual

Sharp
Sharp FO-2950M - B/W Laser - All-in-One User manual

Sharp
Sharp UX-P410 User manual

Sharp
Sharp FO-5700U User manual

Sharp
Sharp FO-5900 User manual

Sharp
Sharp FO-775L User manual

Sharp
Sharp UX-40 User manual

Sharp
Sharp UX-68 User manual

Sharp
Sharp UX- Printer, User manual

Sharp
Sharp FO-B1600 User manual

Sharp
Sharp FO-DC635U User manual

Sharp
Sharp FO-2100 User manual