1
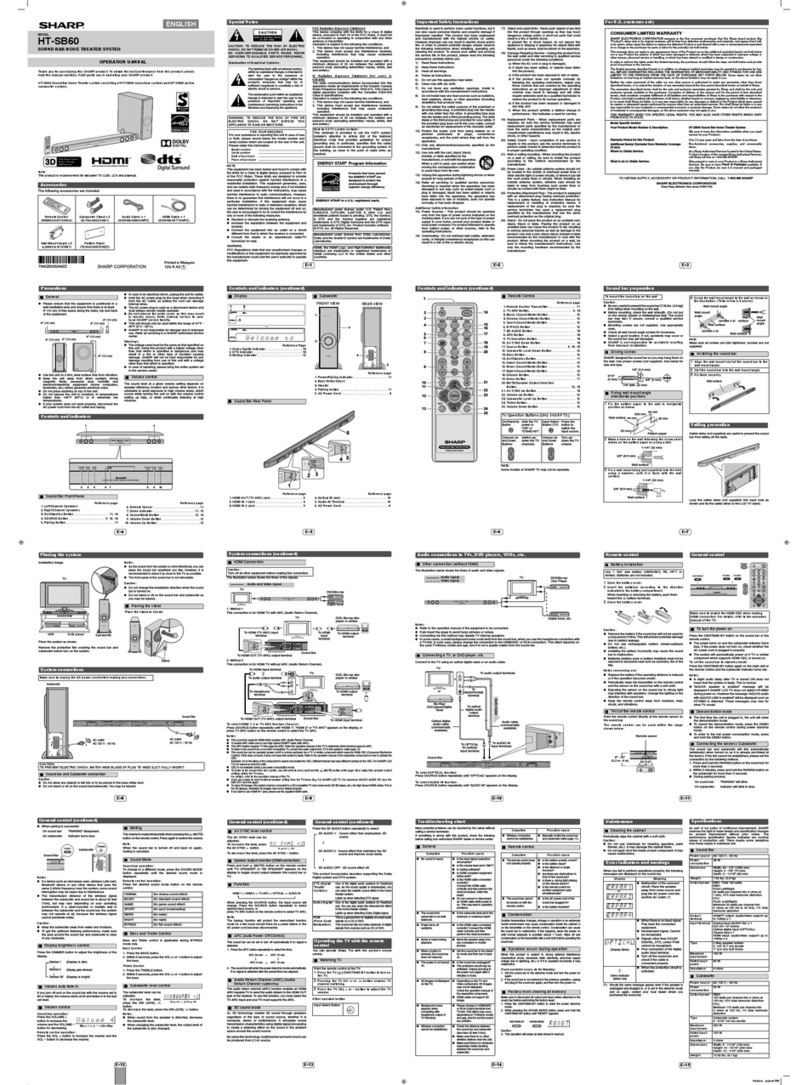
Accessories
TINSEA148AWZZ
06G R AS 1
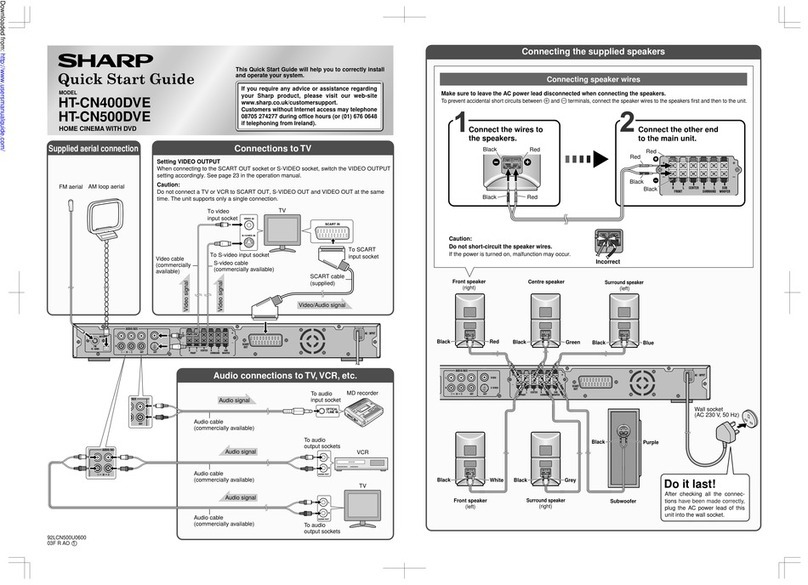
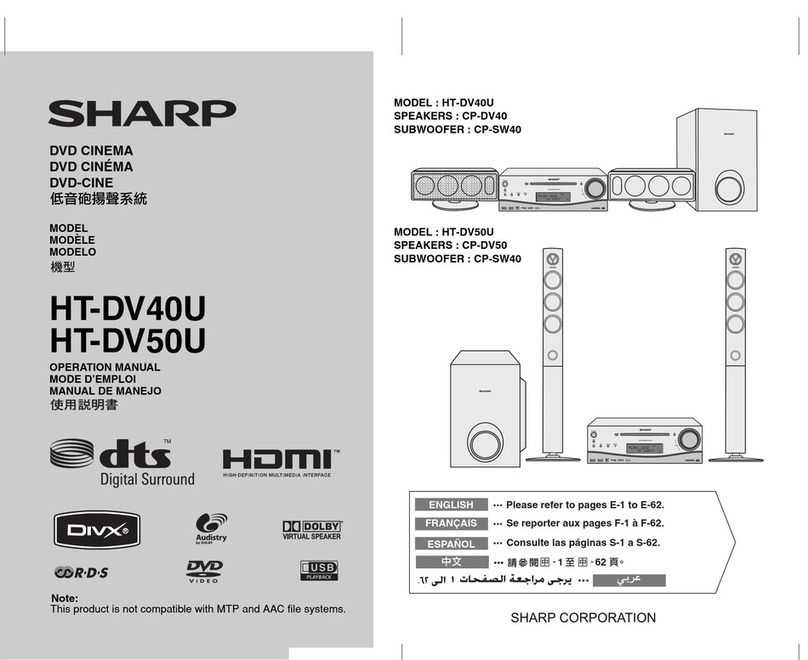
MODEL
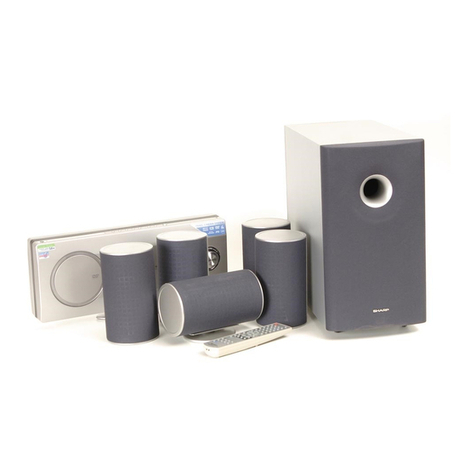
AN-PR1000H
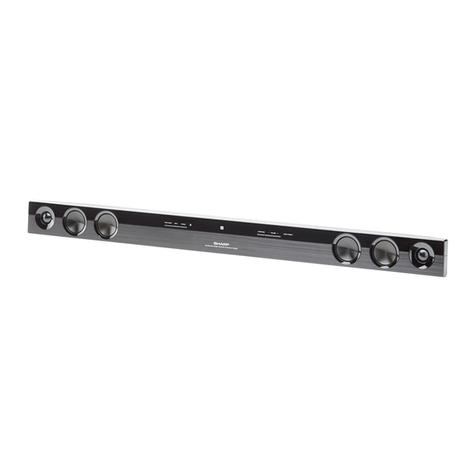
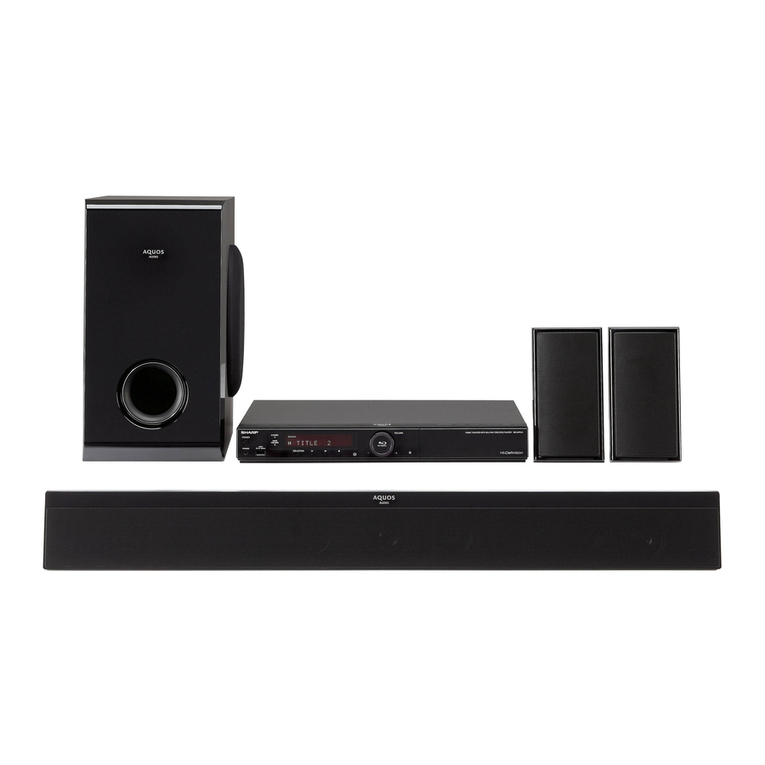
HOME CINEMA SYSTEM
This quick Start Guide will help you to correctly install and operate your system.
1xrevocssal
g
p
oT
Metal frame screws
(M6 x 20 mm) x 4
Support wire screws
(M6 x 30 mm) x 2
Support wire screws
(M6 x 12 mm) x 2
1xema
rfl
ateM em
arfl
a
te
M
8x
s
noihsuc
1xfl
ehsssalG
5
xsp
i
lc
eriW2xse
r
i
w
y
te
fa
S
4
x
s
re
hsaW
1xl
or
tn
oc
e
t
om
eR
1xdaelrewopCA
1xlaireaMF
yr
e
t
t
a
b
ezis
"
AAA"
6
1-P
H
,
30
R
,
4
-
MU(
2
x
)r
a
li
misro
AC power lead x 1
( for users in Australia only )
Batteries not included
for users in Australia
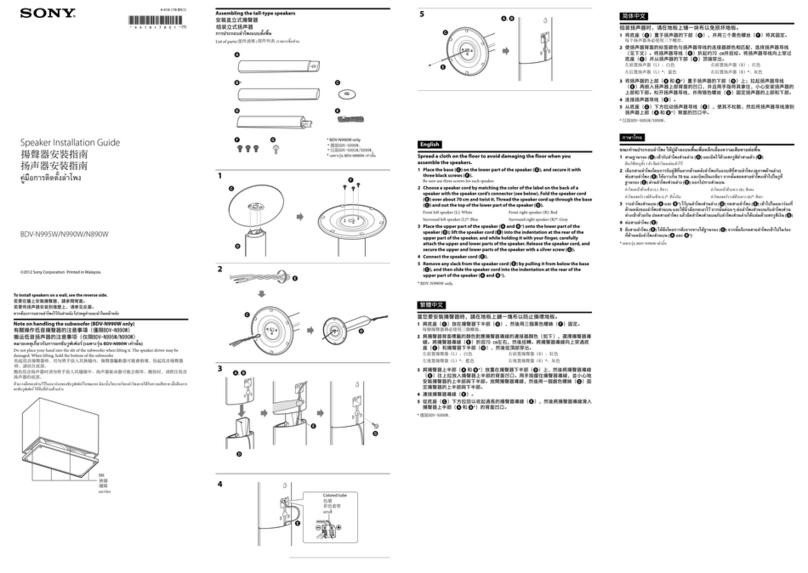
1. Pull up both speakers outwards. 2. Pre-fasten the screw to the speaker box.
3. Follow below steps to fix the metal frame.
Insert the metal frame in a slant position and
secure it onto the screws.
Pull up the other side of the metal frame to
position and tighten all screws.
4.Turn the unit. Stick the metal frame cushion onto the metal
frame and place the glass shelf on top of it.
Notes:
It is advisable for the top glass cover to be carried by 2 persons.
Top glass with sticker on its surface, must face upwards.
Metal frame must not be removed to ensure safety.
.
Protection
sheet
Top glass cover cushion
Metal frame cushion
Glass shelf
Top glass coverSticker up side
Sticker up side
2
Installing the main unit and the subwoofer
After checking all the connections have been made correctly, connect
the AC power lead to the AC power input socket, then to the wall socket.
Speaker wire
Speaker terminal
Wall socket
(AC 220 V - 240 V,
50 Hz)
(for users in
Australia only)
Press the ON/STAND-BY button.
If the power does not turn on, check whether the power lead is plugged in properly.
To set the unit to stand-by mode:
Press the ON/STAND-BY button again.
Note:
After the unit enters the power stand-by mode, wait a few seconds to turn on again.
3
Subwoofer connection
4
Connecting the AC power lead
5
To turn the power on
AN_PR100H QG (B5 JAPAN) 8/25/06, 11:23 AM1
