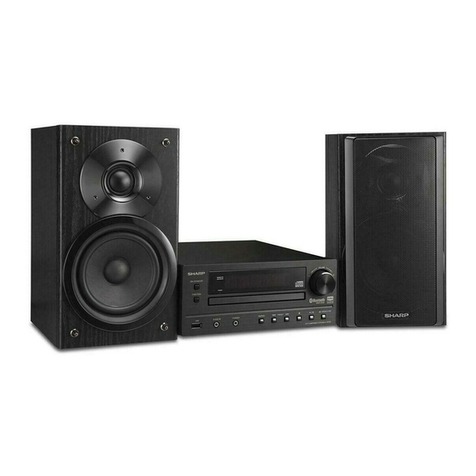
CD-MD3000H/CD-MD3000W
– 10 –
To confirm the time display:
[When the stand-by mode]
Press the DISPLAY button on the remote control.
The time display will appear for about 3 seconds.
[When the power is on]
Press the MENU button.
The time display will appear for about 10 seconds.
Note:
“CLOCK” will appear or time will flash at the push of the DISPLAY button when theAC
power supply is restored after a power failure or after unplugging the unit.
Reset the clock as follows.
To reset the clock:
[When time will flash]
1. Press the ON/STAND-BY button.
2. Press the MENU button.
3. Press the ENTER button.
4. Perform “Setting the Clock” from step 5.
[When “CLOCK” will appear]
Perform “Setting the Clock” from the beginning.
To change the 24-hour or 12-hour display:
1. Clear all the programmed contents.
[Refer to “If trouble occurs (reset)” on page 57 for details.]
2. Preform “Setting the clock” from the beginning.
Setting the Clock
In this example, the clock is set for the 24-hour (0:00) display.
1
Press the ON/STAND-BY button to turn the power on.
2
Press the MENU button.
3
Turn the jog dial to select “CLOCK” and within 10 seconds, press
the ENTER button.
4
Turn the jog dial to select the 24-hour or 12-hour display and
within 2 minutes, press the ENTER button.
5
Turn the jog dial to adjust the hour and within 2 minutes, press
the ENTER button.
●
When the 12-hour display is selected, “AM” will change automatically to “PM”.
6
Turn the jog dial to adjust the minutes and within 2 minutes, press
the ENTER button.
●
The hour will not advance even if minutes advance from “59” to “00”.
●
The clock starts from “0” second. (Seconds are not displayed.)
The time display will disappear after a few seconds.
“0:00” →The 24-hour display will appear. (0:00 - 23:59)
“AM 12:00”→
The12-hour display willappear.(AM12:00 - PM11:59)
“AM 0:00” →
The12-hour display willappear. (AM 0:00-PM 11:59)
What is a MiniDisc?
The disc is stored in a cartridge. You can handle it easily without worrying about dust,
fingerprints, etc. However, dust entering the opening of the cartridge, dirt on the car-
tridge, warping, etc. may cause malfunctions. Please note the following.
■
To prevent recorded MiniDiscs from being
erased accidentally
Slide the accidental erase prevention tab, located on the side of the MiniDisc, in the
direction indicated by the arrow.
●The MiniDisc will then be protected against accidental erasure.
To add a recording to such a MiniDisc, slide the accidental erase prevention tab back
to its original position.
■
Helpful tip when attaching a label
WhenattachingalabeltoaMiniDisccartridge,besuretonotethefollowing.Ifthelabel
is not attached properly, the MiniDisc may jam inside the unit and it may not be pos-
sible to remove it.
●Ifthelabelpeelsoffor partially lifts away,replace it with a new one.
●Do not put a new label on top of an existing one.
●Attach the label only in the specified location.
■
Types of discs
There are two types of discs: playback-only and recordable types.
●Playback-only MiniDisc:
This type of MiniDisc is used for commercially available
prerecorded music. This is the same kind of optical disc
as CDs. Playback is performed using an optical pickup.
(Recording and editing are not possible.)
●Recordable MiniDisc:
Thisis a “rawdisc”on which recordingcanbe performed.
A magneto optical disc is used. Recordings are made
using a laser and magnetic field. Repeated recording is
possible.
MiniDisc System Limitations
Even if the maximum record-
ing time of a MiniDisc has not
been reached, “TOC FULL”
may be displayed.
Even if the maximum record-
ing time of a MiniDisc has not
been reached, “DISC FULL”
may be displayed.
Even if several short tracks
are erased, the remaining re-
cordingtime may not show an
increase.
Two tracks may not be com-
bined in editing.
The total of the recorded time
and time remaining on a disc
may not add up to the maxi-
mumpossiblerecording time.
If recorded tracks are fast re-
versed or fast forwarded, the
sound may skip.
IntheMDsystem,thedelimiterof the recording area
ona MiniDisc is programmedin a TOC.If partial eras-
ing,recording and editing arerepeatedseveral times,
TOC information will fill up, even though the number
of tracks has not reached the limit (255 tracks), and
further recording will be impossible. (If you use the
all erase function, this MiniDisc can be used from
the beginning.)
If there is any flaw on the MiniDisc, that part is auto-
matically excluded from the space available for re-
cording. Therefore, the recording time becomes
shorter.
When the remaining recording time of a disc is dis-
played, short tracks less than 12 seconds long may
not be included in the total.
For MiniDiscs on which repeated recording and ed-
itingoperations were performed, the COMBINEfunc-
tion may not work.
A track recorded from a CD (digital recording) and a
trackrecordedfroma radio or other equipment (ana-
logue recording) cannot be combined.
Acluster(about2seconds)isnormally the minimum
unit of recording. So, even if a track is less than 2
seconds long, it will use about 2 seconds of space
onthedisc.Therefore, the time actually available for
recording may be less than the remaining time dis-
played.
If there are scratches on discs, those sections will
beautomatically avoided (no recording will beplaced
in those sections). Therefore, the recording time will
be reduced.
A MiniDisc which has been recorded or edited re-
peatedlymay skip during fast reverse orfastforward.
Recordable Recording
prevented
A Shutter will be used on
only one side (back).
Shutters will be used on
both sides.


