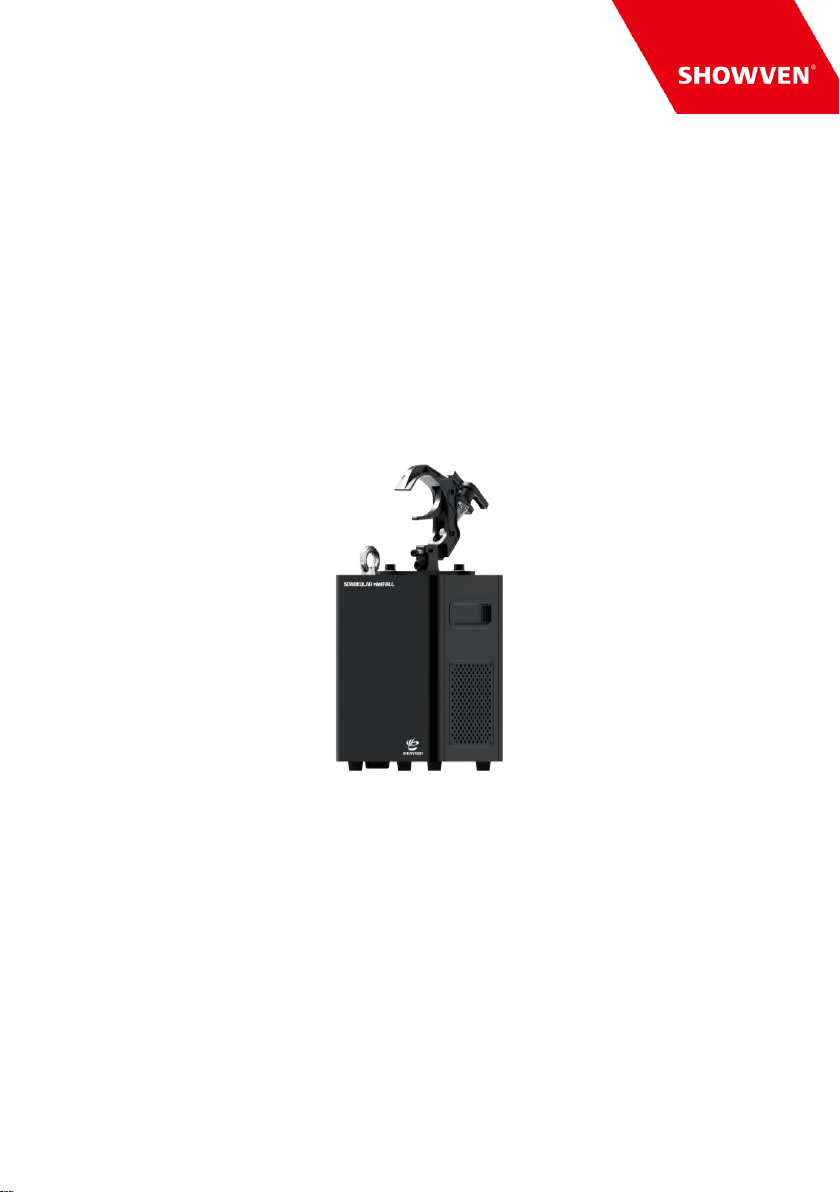
Showven SPARKULAR miniFALL BT14 User manual


Other manuals for SPARKULAR miniFALL BT14
1
Other Showven Dj Equipment manuals

Showven
Showven Circle Flamer X-F1800 User manual

Showven
Showven uFlamer User manual

Showven
Showven Sparkular mini BT06 User manual

Showven
Showven SPARKULAR PRO User manual

Showven
Showven SPARKULAR PRO BT71 User manual

Showven
Showven Circle Flamer X-F1800 User manual

Showven
Showven uFlamer Volcano User manual

Showven
Showven uFlamer X20 User manual

Showven
Showven Sparkular User manual

Showven
Showven Circle Flamer X-F1800 User manual

Showven
Showven SPARKULAR SPIN User manual

Showven
Showven uFlamer X1800 User manual

Showven
Showven SPARKULAR TRIPLE BT51 User manual

Showven
Showven uFlamer Gasboom User manual

Showven
Showven uFlamer PF10 User manual

Showven
Showven SPARKULAR JET User manual

Showven
Showven SONICBOOM PLUS SMOKEJET User manual

Showven
Showven SPARKULAR SPIN BT81 User manual

Showven
Showven SPARKULAR II User manual

Showven
Showven SONICBOOM PLUS SMOKEJET User manual


