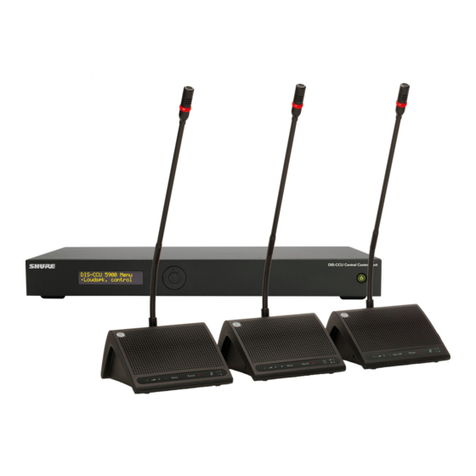
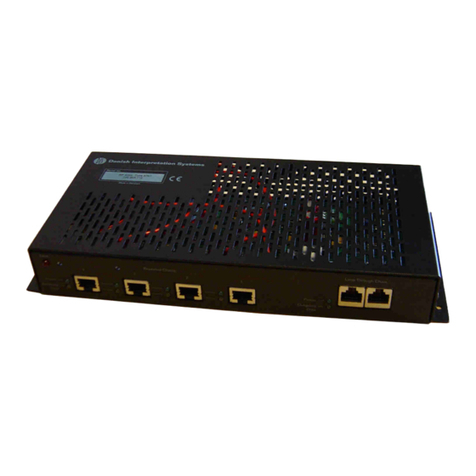
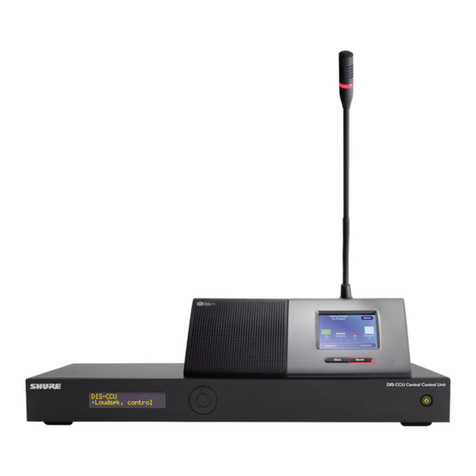
Shure Microflex Complete User manual

MXC
Microflex
®
Complete
Update & Feature License
User guide for the Shure Microflex Complete Conference System
Version: MXC-FUU guide RevC.docx

Shure Incorporated
Table of Contents
1
Introduction
3
2Buttons and windows in the FUU 3
3Firmware update of MXC 4
3.1 Before you start 4
3.2 General guidelines 4
3.3 Compatibility 4
3.4 Locked units 4
3.5 MXC Firmware Update Utility (FUU) 4
3.6 Connecting the FUU – Firmware
Update Utility 5
3.7 Checking the ‘Error Status’ window 6
3.8 System update 7
3.9 How to update or downgrade single
units 8
4Changing of start image in MXC640 9
4.1 Upload a start image 9
4.2 Delete a start image 11
5License key 11
6DCS-LAN communication 12
6.1 Checking communication errors using
‘Error Status’ window 12
6.2 In case of errors in the communication
12
6.3 Advanced test 13

3
Shure Incorporated
1
Introduction
This manual describes the procedure for updating/downgrading the firmware in the various units in the MXC/DCS 6000 system.
The manual does also describe how to upload a MXC/DCS 6000 Feature License into the CCU Central Units.
For upload of language files and start-up bitmap in DC 6990 Conference Units please refer to the manual ‘User Manual DC 6990
Languages’.
2Buttons and windows in the FUU
CCU window
The windows shows ’Type’, ’Serial
number’ & ’Firmware version’ of the
CCU.
Status window
This window shows the status and
give messages to the user
Update System
Press this buttons to update the
firmware in all units in the system
‘Command line’ button
Press this Icon to get a window
for sending commands to the
CCU
‘Present Units’ window
All units present in the system are
shown in this window
‘Selected Units’ window
Unit, which are selected for
upgrading are shown in this window
Update status button
Press this buttons to update the
status of the units connected
’Set Feature Id button’
Press this button change the
Feature setting for the selected
units
’Update Units button’
Press this button to update the
units present in the ’Selected
Units window’
Select unit buttons
Select one or more units in the
’Present Units’ window and press
the ’Select Units(s) button’ to add
’Selected Units’ window or select by
type
’Remove buttons’
Press those buttons to either
remove a selected unit or to remove
all units from the ’Selected Units’
window

4
Shure Incorporated
3Firmware update of MXC
The following equipment is needed:
•A PC with an LAN port
•A Ethernet LAN cable
•The MXC Firmware Update Utility (FUU)
•The Firmware Library
Check that all communication in the system is stable before performing updates.
IMPORTANT: NEVER REMOVE POWER FROM A SYSTEM PERFORMING AN UPDATE.
Errors in the update procedure may render the units unusable, so do not update a system just before a critical meeting if you have no
spare equipment.
If for some reason the update fails for one or more units but power has not been removed it is usually possible to do the update again
and units that did not correctly update the first time will continue where they stopped the second time around.
Shure.com has information about compatibility and updateability. If you are in doubt please consult Shure Conferencing Support by e-
mail: conferencingsupport@shure.dk
If a unit displays the message “Locked” in the LCD display, then the firmware version in the unit is not compatible with the firmware in
the Central Unit and the firmware in the unit has to be updated/downgraded.
The MXC Firmware Update Utility’ (FUU) is included in the firmware releases.
IMPORTANT: Always use the version of the FUU which is included in the firmware release.

5
Shure Incorporated
1.
Unzip the zip file containing the Firmware
Update Library folder and a FUU folder to the
desktop or another convenient location on the
PC.
2.
Connect the PC to the CCU using a LAN cable
and switch on power.
3.
Browse to the folder
‘MXC_Firmware_Update_Utility_xxx’
And open the folder
4.
Start MXC Firmware Update Utility (FUU)
double-clicking the icon.
5.
The FUU starts.
The FUU application will automatically find the
folders with the firmware releases and the
language files.
6.
Select to use Ethernet connection.
Check the Ethernet settings by selecting
‘Ethernet connection to CCU’.
Type the CCU IP address in IP address field.
Use IP port 3142.
7.
The FUU will now show all units in the system
as well as information about the CCU.

6
Shure Incorporated
8.
Before any update is performed the ‘Error
Status’ has to be checked.
The error in the communication from the units
to the CCU can be checked clicking ‘View/View
Error status Window’
Basically this window shall show no errors in
the system. However in large systems, there
might be generated some errors during start-up.
The error counter can be reset by clicking
‘Reset error counters in CU’. If a counter is
counting up, it is a clear indication, that there
are communication errors.
IMPORTANT: DON’T DO ANY UPDATE IF
THERE ARE ERRORS IN THE
COMMUNICATION.
If units are to be checked click the ‘Switch to
Operation Mode’ and then perform an AIB,
Automatic In-bus test.
The result must be ‘OK’ for all units.
If errors are present or for more test options,
please refer to the section ‘DCS-LAN
Communication’.

7
Shure Incorporated
9.
Select the Firmware Release in the ‘Selected
Release Id’ drop-down list and press ‘Update
System’.
10.
A’ System Update Status’ window will appear
and show the progress of the firmware update.
The update utility will update on unit type at a
time, so if the system consist om many different
unit types, the update of the whole system can
take a considerable time (up to 2 hours).
Example of update time:
MXC620: app. 10 minutes
MXC640: app 30 minutes

8
Shure Incorporated
If one or more specific units have to be downgraded for service purpose or for adding some units to an old installation the FUU has to
be changed to show the advanced layout. Please notice that this option is only recommended for experienced users.
11.
Update or downgrade of one of more units of the
same type can be performed by selecting the
individual units or unit types and pressing
‘Update Units’.
12.
Select the Release ID for the required update in
the drop-down list and press ‘Ok’.
The units will now be updated/downgraded.

9
Shure Incorporated
4Changing of start image in MXC640
The start image on the MXC640 can be changed individually on all MXC640 units to customize the look of the units.
13.
Change the FUU to the Advanced FUU
Layout in Setup -> Advanced FUU
Layout.
Extra buttons appears in the FUU.
Select the MXC640(s) on the unit list
that needs to have a new start image
uploaded by using the ‘Select unit type’
or ‘Select unit’ button.
Press ‘MXC640 Start Image’.
14.
A ‘MXC640 Start Image’ window opens
up.
Select Image Type
Select the browse button ‘…’ to select
the start image.

10
Shure Incorporated
15.
A file browser window opens up.
Browse for the image to upload, select
it and press ‘Open’.
Please notice the image format must be
.png with a resolution of 480x272
pixels. If the selected image does not
have the specified resolution an error
message is shown:
16.
The selected image is now displayed in
the ‘MXC640 Start Image’ window.
Select ‘Send Image to units’ to upload
the start image to the selected MXC640
units.
17.
The FUU starts uploading the image.
When FUU is done uploading the
image, an ‘Update complete’ message
is displayed and the ‘System Update
Status’ window can be closed.

11
Shure Incorporated
18.
Deleting a picture is following the same
procedure as uploading a picture,
however ‘Delete image from MXC640
units’ has to be selected.
5License key
The DIS-CCU Central Unit will as standard have basic functionality. By obtaining a license, the functionality can be expanded to include
further functionality like:
•More Conference Units
•More Interpreter Channels
The file with the License key is delivered as a zipped file from your local Shure Partner.
Upload License File using the Browser. Please refer to the ‘MXC User Guide’.
Alternatively the license can be uploaded by selecting the ‘License/Import new CCU License key’ in the License dropdown menu in the
FUU.

12
Shure Incorporated
6DCS-LAN communication
Errors in the communication from/to the units to the CCU can be checked clicking ‘View/View Error status Window’.
Basically this window shall show no errors in the system. However in large systems, there might be generated some errors during start-
up. The error counters can be reset by clicking ‘Reset error counters in CU’.
After resetting the counters, no error must be present. If a counter is counting up, it is a clear indication, that there are communication
errors.
IMPORTANT: DON’T DO ANY UPGRADE IF THERE ARE ERRORS IN THE COMMUNICATION.
If units are to be checked click the ‘Switch to Operation Mode’ and then perform am AIB, Automatic In-bus test.
The result must be ‘OK’ for all units.
If errors are present, fault-finding must be done. The error can be one or more of the following:
1. Defective cable
2. One plug on the cable not inserted all the way into the socket in the unit.
3. Contaminated plug/socket
4. Defective auto termination in the last unit (only 6000 units)
5. Defective CCU
6. Defective unit.
Try narrowing the list by systematic fault finding
Check the communication during the fault-finding in the ‘View Error status Window’

13
Shure Incorporated
When clicking ‘View/View Communication Window’ a window showing all communication to the CCU opens.
The following list summarizes some useful commands in case communication problems with the cables occur:
Command
Description
aib
Automatic In Bus Test
avr
Automatic Version Request
dve
Display CCU Version
erc
Errors on CCU
List errors received. After the list of error counts
has been printed. If the command name is folowed
by a ‘!’ the counters are reset.
erd
Error Received In Detail
Checking error received on the CCU
eu
Errors on Unit
lic
License Info
ou
Overflows On Unit
reset
Reset
ru
Reset Unit - soft/hard
seatnames
List Seat Names
seats
List Seat definitions
sm0
Disable monitoring
sm1
Normal monitoring speed
ucc
Display Units With Chip card
uco
Display Units Connected
Table of contents
Other Shure Conference System manuals

Shure
Shure INTELLIMIX P300 Original instructions

Shure
Shure MICROFLEX SERIES User manual

Shure
Shure DCS 6000 User manual

Shure
Shure INTELLIMIX P300 User manual

Shure
Shure Microflex Complete MXC Series User manual

Shure
Shure MU 6040D User manual

Shure
Shure MXA902 User manual

Shure
Shure DM 6680 P User manual

Shure
Shure SZ 6104 User manual

Shure
Shure MU 6042D User manual

Shure
Shure AO 6004 User manual

Shure
Shure MXCW User manual

Shure
Shure CU 6110 User manual
Shure
Shure STEM HUB User manual

Shure
Shure IntelliMix Room User manual

Shure
Shure DDS 5900 User manual

Shure
Shure IS 6132 User manual

Shure
Shure FC 6021 User manual

Shure
Shure Microflex Complete Wireless MXCW User manual

Shure
Shure CS 6340 F User manual