8Last update: 01.08.2013
GENIUS Operating instructions
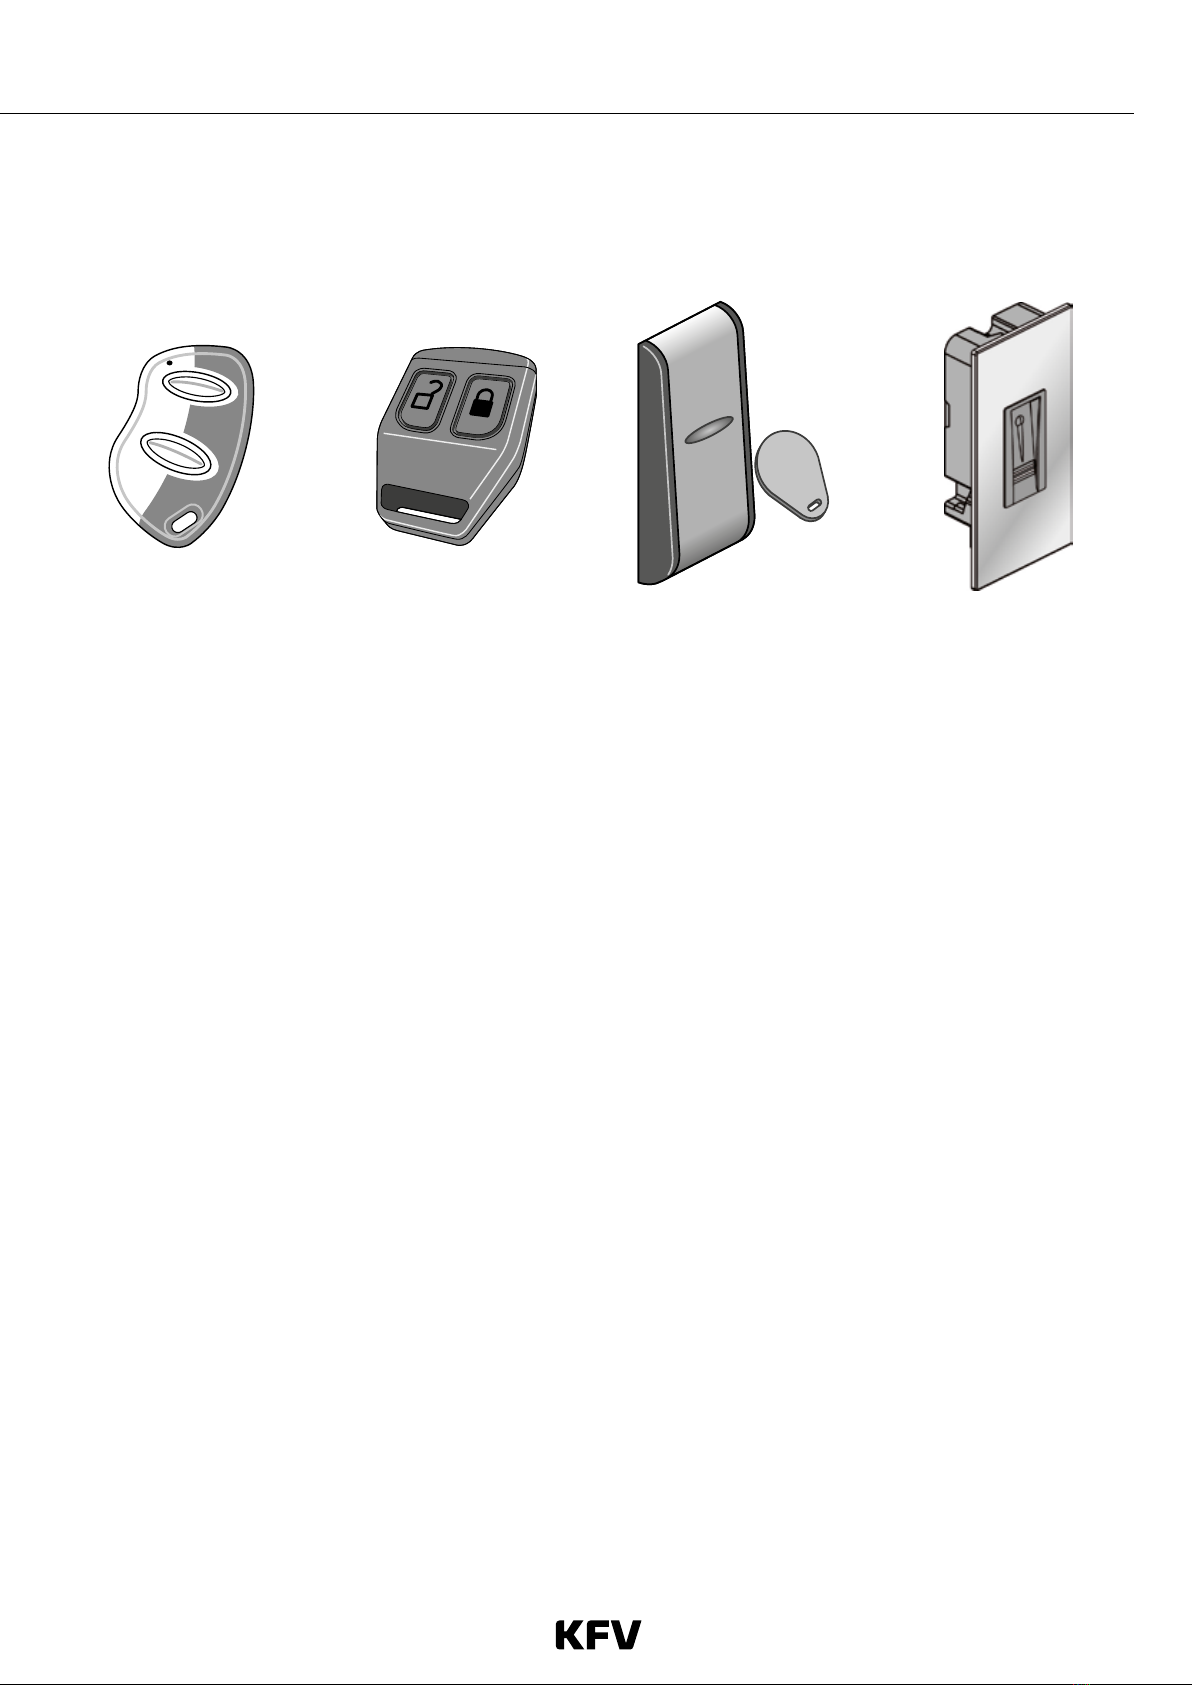
Infra-red access keys
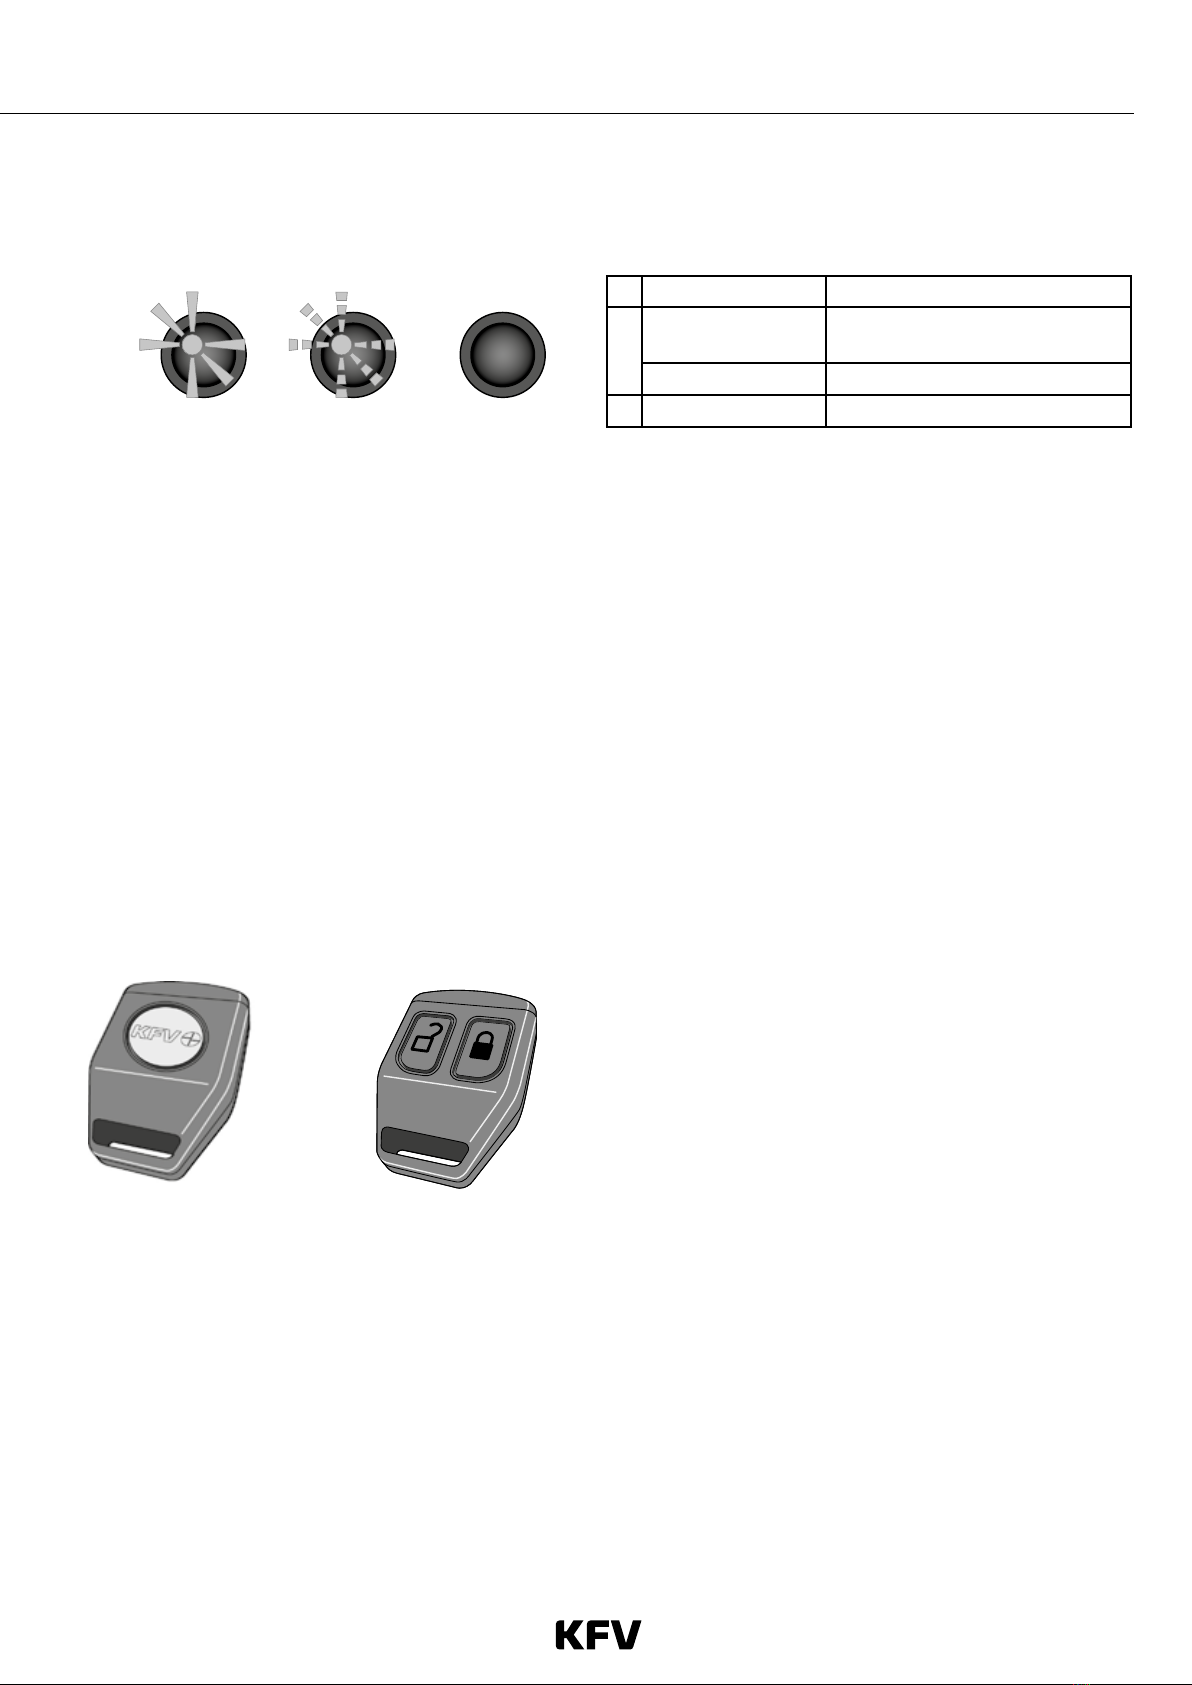
In the infra-red eye there LED which indicates whether the door is locked or open.
123
1 Solid light Door is open
2Flashing Opening/closing, or
fault (double speed)
Pulsing External system is on
3 Off Door is locked
Fig. 2 Determining whether the door is locked or unlocked
Infra-red master key
The infra-red master key is needed for programming in
and deleting infra-red access keys. Before it can be
used for programming in infra-red access keys, it must
firstly be programmed in itself.
• Only one infra-red master key is permissible per
GENIUS door lock. However, any number of GENI-
US door locks can be assigned to a single infra-red
master key.
• The infra-red master key cannot be used to open the
door; it is for programming only.
Fig. 3: Infra-red master key
Important
• For security reasons, if you lose the infra-red master key you should switch off the operating voltage on the GENIUS
door lock until you have obtained a new infra-red master key from a specialist dealer and programmed it into the
system.
• It is not possible to obtain information about opening sequences triggered by the integrated infra-red access control
system, as the GENIUS door lock does not store this information.
• For security reasons, all infra-red access keys must be programmed in individually.
• The infra-red master key should always be kept under lock and key in order to prevent misuse.
Using infra-red access keys
For correct signal transmission, the infra-red access key
should be positioned between approx. 2 and 7 m from the
infra-red eye. The quality of the signal depends on the char-
ge level of the batteries and the amount of sunlight. If the
infra-red eye is exposed to strong sunlight, the key should be
operated closer to the eye.
The "lock" button on the infra-red access key can also opti-
onally be used to switch an external system (e.g. an alarm
system) on and off.
Locking the door and switching the external sys-
tem on
› Press the "lock" button. This locks the door.
› Press the "lock" button again. This switches on
the external system. The LED in the infra-red eye will
flash in the form of pulses.
Unlocking/opening the door and switching the
external system off
› Press the "open" button. If the external system was on,
this will switch it off.
› Press the "open" button again. This will unlock the door.
The LED in the infra-red eye will light up.
Infra-red eye
Fig. 4: Infra-red access key