Siemens Mobile CFX 65 Setup guide

Company Confidential
Copyright 2004© Siemens AG
Service Repair Documentation
Level 0-2 CFX65 V1.0
Service Repair Documentation
Level 0-2 CFX 65
Release Date Department Notes to change
1.0 25.11.2004 ICM MP CCQ GRM T New document
-1-

Company Confidential
Copyright 2004© Siemens AG
Service Repair Documentation
Level 0-2 CFX65 V1.0
Introduction
This service repair documentation is intended to carry out repairs on Siemens repair level 0-2. The
described failures shall be repaired in Siemens authorized local workshops only.
All repairs have to be carried out in an ESD protected environment and with ESD
protected equipment/ tools. For all activities the international ESD regulations have to be
considered.
Assembling/ disassembling has to be done according to the latest CFX65 Level 2 repair
documentation. It has to be ensured that each repaired mobile phone is checked according to the
latest released General Test Instruction document (both documents are available in the Technical
Support section of the C-market).
If you have any questions regarding the repair procedures or technical questions do not hesitate to
contact our technical support team in Kamp-Lintfort, Germany.
Tel.: +49 2842 95 4666
Fax: +49 2842 95 4302
-2-

Company Confidential
Copyright 2004© Siemens AG
Service Repair Documentation
Level 0-2 CFX65 V1.0
Table of content
1. GENERAL INFORMATION.............................................................................................................. 4
2. TEST EQUIPMENT.......................................................................................................................... 8
3. WATER INDICATOR…………………………………………………………………… … 9
4. REPAIR DEFINITION.................................................................................................................. 100
5. LEVEL 0 TROUBLE SHOOTING GUIDE.................................................................................... 122
6. LEVEL 1 TROUBLE SHOOTING GUIDE.................................................................................... 155
7. LEVEL 2 TROUBLE SHOOTING GUIDE...................................................................................... 21
8. DISASSEMBLY.............................................................................................................................. 23
9. REASSEMBLY............................................................................................................................... 29
10. EXPLODE DRAWING................................................................................................................... 31
11. TEST MODE................................................................................................................................ 332
-3-
Company Confidential
Copyright 2004© Siemens AG
Service Repair Documentation
Level 0-2 CFX65 V1.0
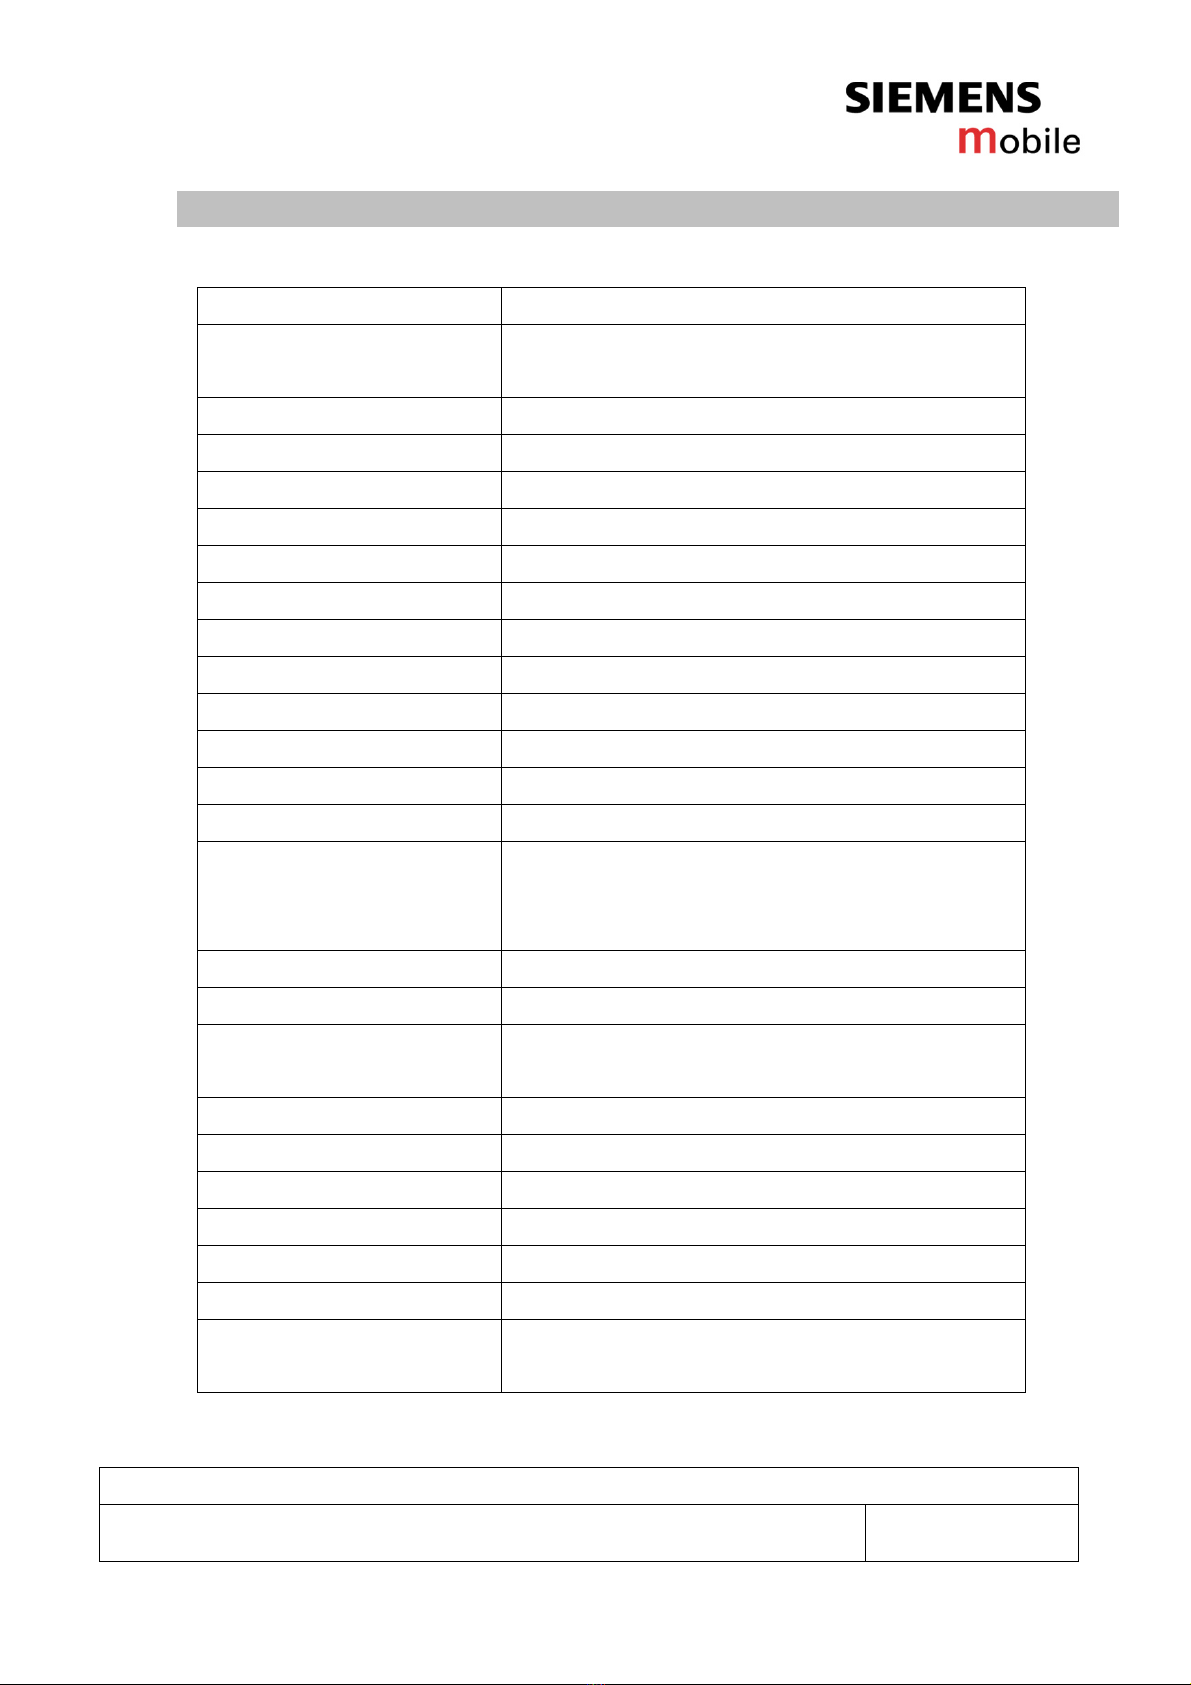
1. General information
1.1 Mobile features
ITEM Specification
Frequency bands: Dual Band EGSM 900(33dBm:class 4)/
1800(30dBm:class 1)
Screen: Main:128x160 pixels; Sub:96x64 pixels
Battery: Lithium lon , 3.7V 600mAh
Weight 88 g
Size 97x48x23 mm
Talk time 200~300 minutes
Standby time 200~410 hours
Color 65K 1.8” CSTN / 96x64 Mono MSTN
Antenna Integrated dual band antenna
Ring tones 40 polyphonic
Game Java game
EMS/MMS support
Languages English/ Latin/ Chinese/ German
Charging time Maximum charge time for an empty battery
(0-5% capacity) is 3.0 hours for standard -
and travel charger.
SIM card 3V
Hinge Opening angle is 150 degrees
Temperature ranges -10oC to +55oC for operation
-40oC to +85oC for storage
SAR 1.0 w/kg
ESD 15kV
GPRS Class 10
WAP WAP 2.0
IrDA 115.2 kbits/sec
Memory 4M for download
Camera VGA CMOS type/ digital zoom/ self timer
External flash light support
-4-
Company Confidential
Copyright 2004© Siemens AG
Service Repair Documentation
Level 0-2 CFX65 V1.0
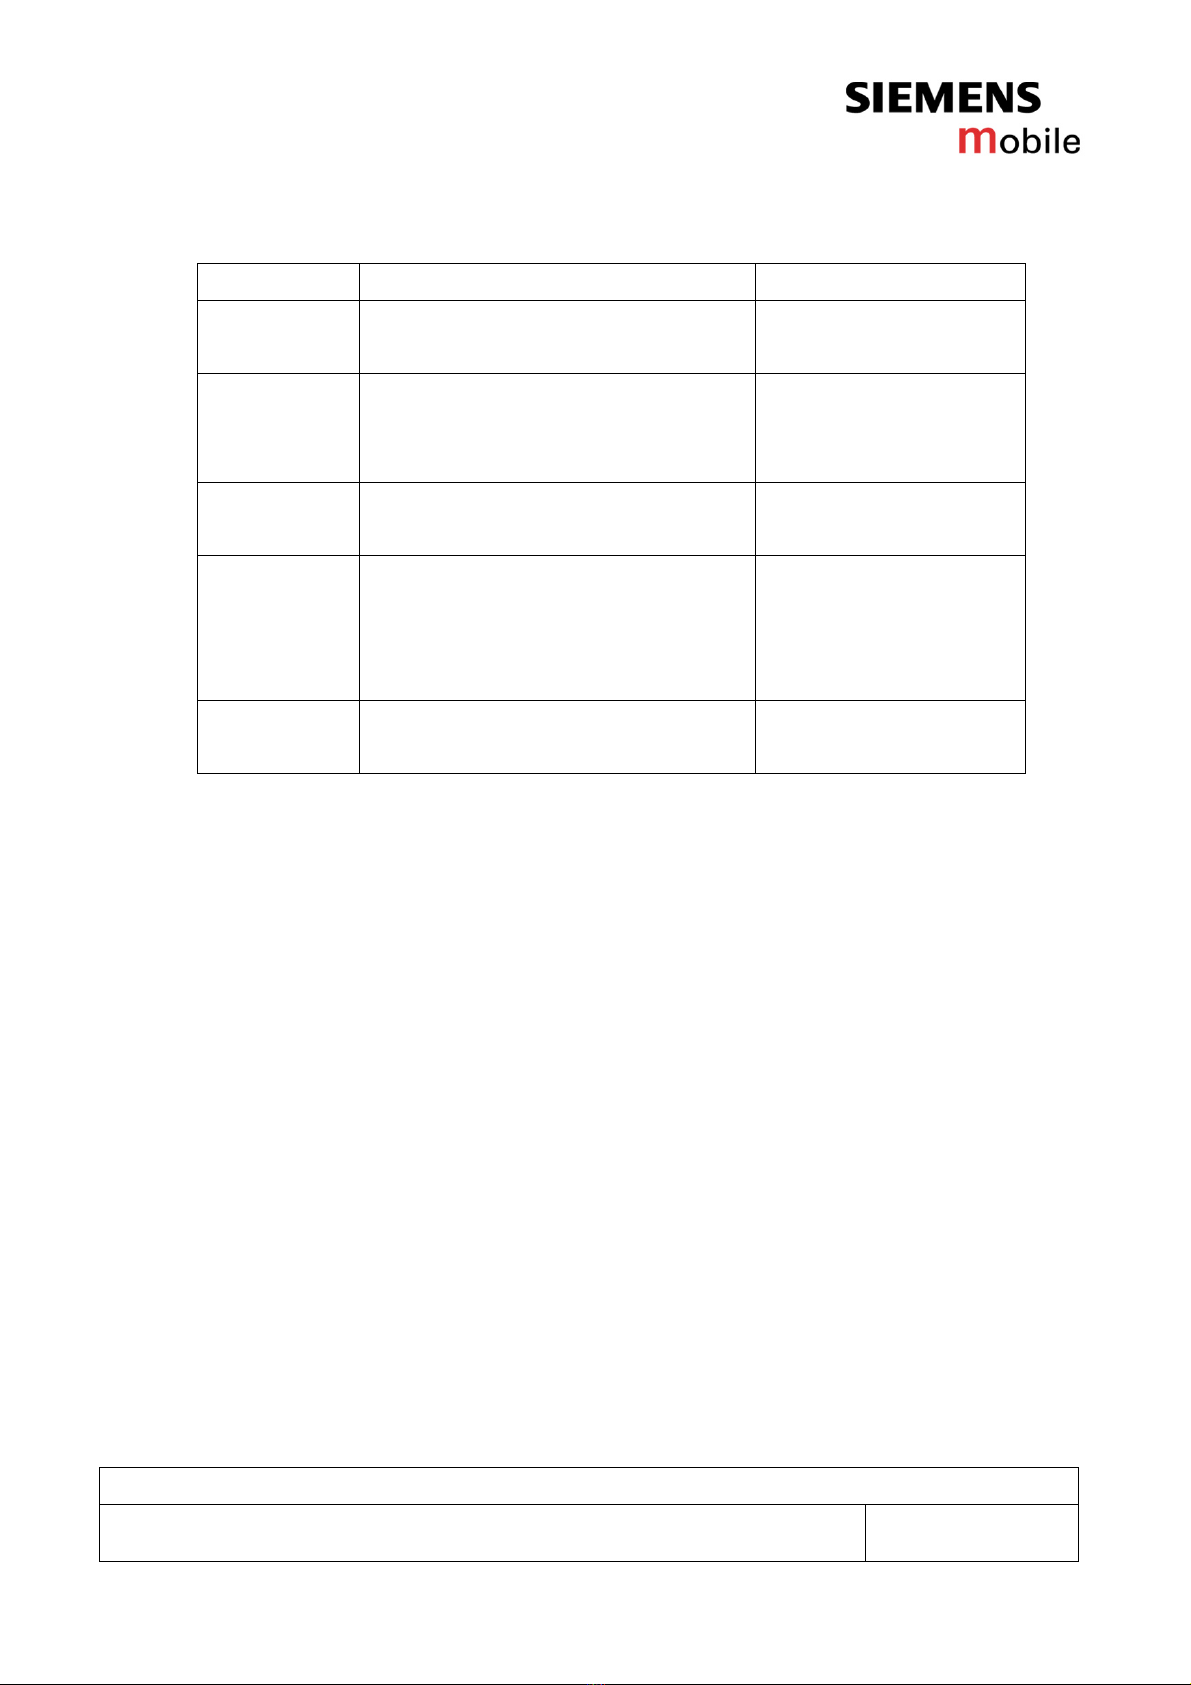
1.2 Accessories
Basic Li-ION Battery (600mAh) EBA-630
Travel Charger (100~240V) ETC-500 (Euro)
ETC-510 (UK)
Basic Car
Pack Allows hands-free talking and
simultaneous charging of
CFX65
HKB500
Car
Charger Charger for the cigarette lighter
socket EEC-500
Car Kit
Portable Handsfree kit with integrated
loudspeaker and microphone
and auto-answer feature.
Includes charging of CFX 65
HKP-500
Headset
PTT It includes a PTT button in the
microphone to handle calls HHS-510
-5-
Other manuals for CFX 65
1
Table of contents
Other Siemens Mobile Cell Phone manuals

Siemens Mobile
Siemens Mobile SK65 User manual

Siemens Mobile
Siemens Mobile SF65 Setup guide

Siemens Mobile
Siemens Mobile A65 User manual

Siemens Mobile
Siemens Mobile CFX 65 Setup guide

Siemens Mobile
Siemens Mobile CX65 User manual

Siemens Mobile
Siemens Mobile C65 User manual

Siemens Mobile
Siemens Mobile SF65 Setup guide


