Step 1 A: Standard mounting Find the stud. Place the mounting bracket no more than ” above the outlet and use
it as a guide to mark the location of the top center hole. Then, drill a /” pilot hole.
Mount the bracket using the top hole and the lag screws (with the hinges facing
upward and with the flat side of the bracket against the wall). DO NOT tighten all the
way. Level the bracket.
Drill a /” pilot hole for the center-bottom hole. Secure with lag screws. Tighten the
top and bottom screws using a /” socket wrench. DO NOT overtighten or lag
screws can be broken.
For concrete cinder block walls, install appropriate anchors. If using an existing
outlet, ensure that the power cord will reach to the outlet.
Mount in compliance with all National Electrical Code® (NEC) and local jurisdiction
requirements.
For Siemens post-installation, see the post instruction manual at
usa.siemens.com/versichargecommercial, under the Installation section.
Step 1 B: Alternate mounting – wallboard installation NOTE: Anchor rating: five anchors must be rated as lbs anchors rated for /” dry
wall.
The VersiCharge can be mounted using five # x -½ LG Phillips head with five #
wall anchors.
Locate the mounting bracket not more than ” above a V outlet. If hardwiring,
the wiring will come through the bottom of the charger. Level the mounting bracket
and drill four holes, one in each corner of the bracket. Place the anchors into the
wallboard until they are flush with the wall.
Place the mounting bracket over the holes (with the hinges facing upward and with
the flat side of the bracket against the wall) with the anchors and screw the
mounting to the wall. Add a fifth hole for mounting the holster once the unit is
mounted on the wall. Place the holster on the wall and mark the correct position for
the hole.
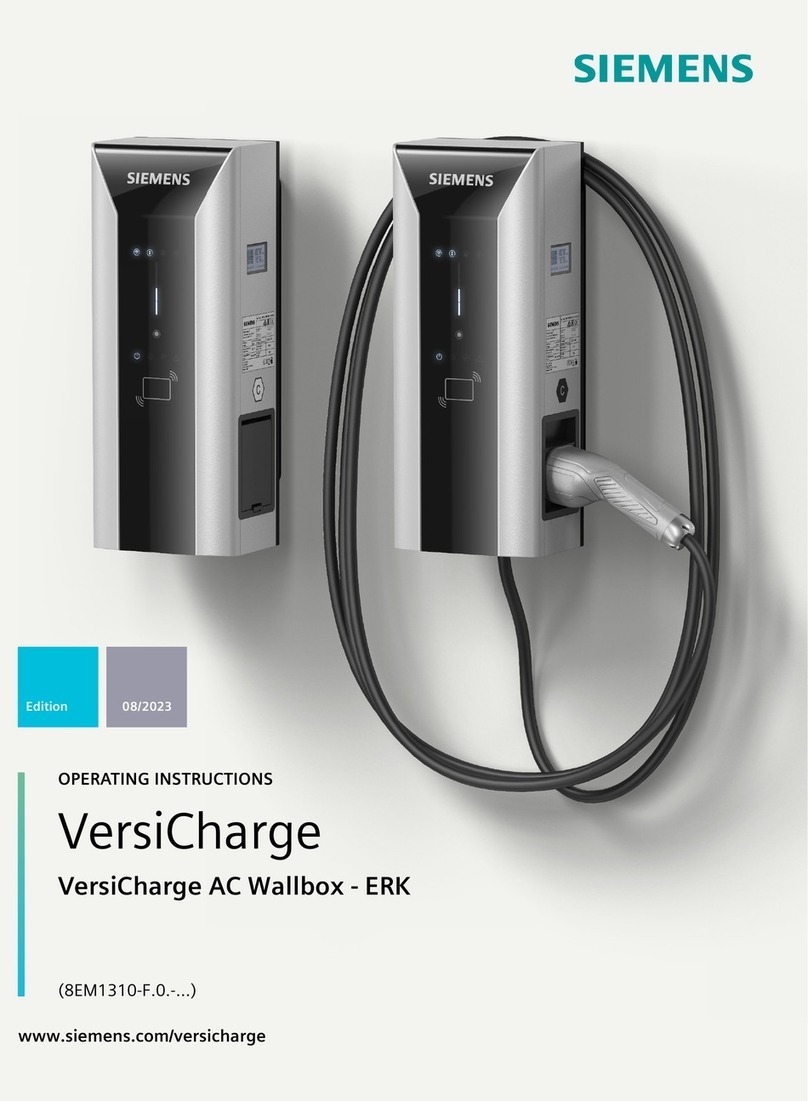
Step 2: Install/mount charger NOTE: For installation, the mounting bracket hinges will be pointing to the ceiling,
and the flat side of the bracket will be against the wall.
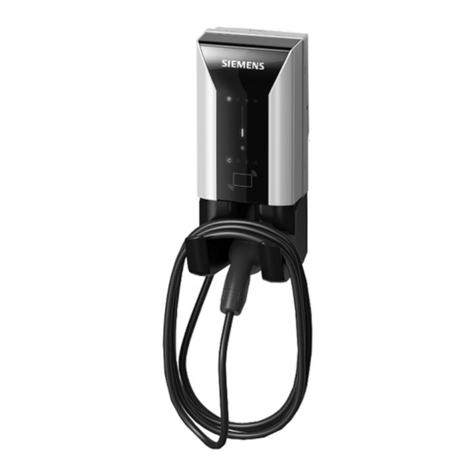
Slide the VersiCharge onto the hinges. Rotate to the right until the unit clicks and is
closed. Secure the enclosure with the tamper-resistant screw and supplied Allen
wrench.
Plug the VersiCharge into the V outlet.
If hardwiring the unit, see the Hardwire Installation in Step .
Step 3: Set amp switch The VersiCharge comes set to the maximum of the model purchased (for example, a
A model will come with the amp adjustment switch set to , and a A unit amp
adjustment switch will be set to ).
Verify the required amp adjustment switch setting based on the branch circuit
protection (see the full installation manual for diagram, available at the link below).
www.usa.siemens.com/versichargeinstall
DANGER Hazardous voltage. Will cause death or serious injury.
Turn off power before working on this equipment. This indicates a
situation where the present voltage could cause injury or death.
Extreme caution is required when servicing or installing the
equipment referenced.
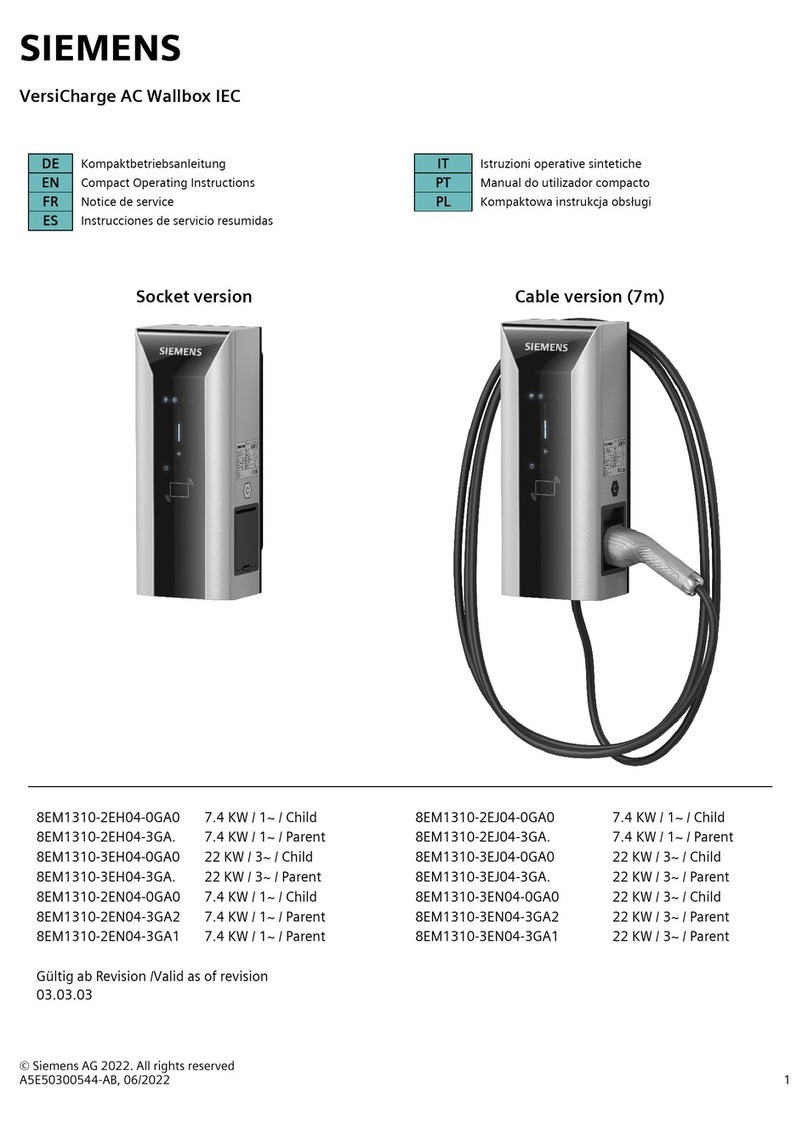
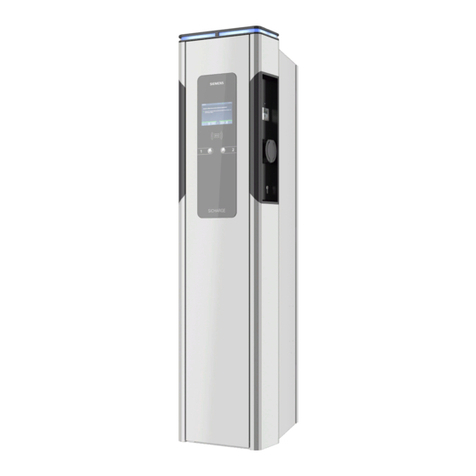
VersiCharge™ AC Electric vehicle charging station
