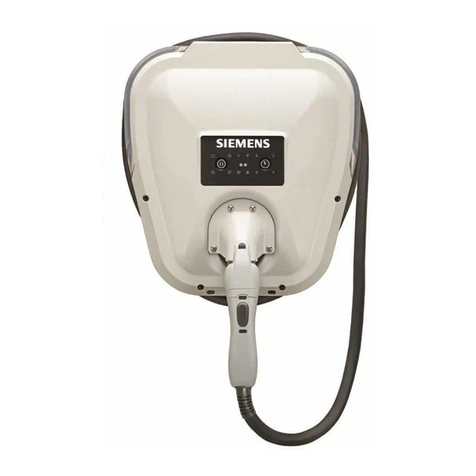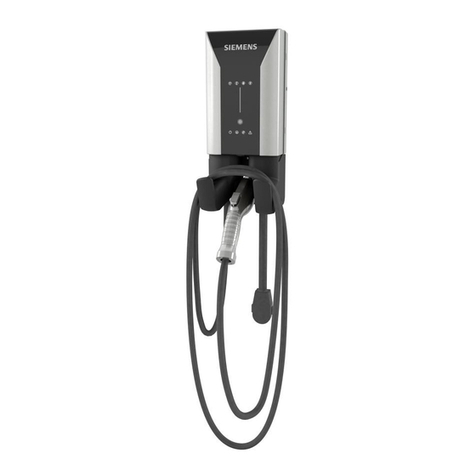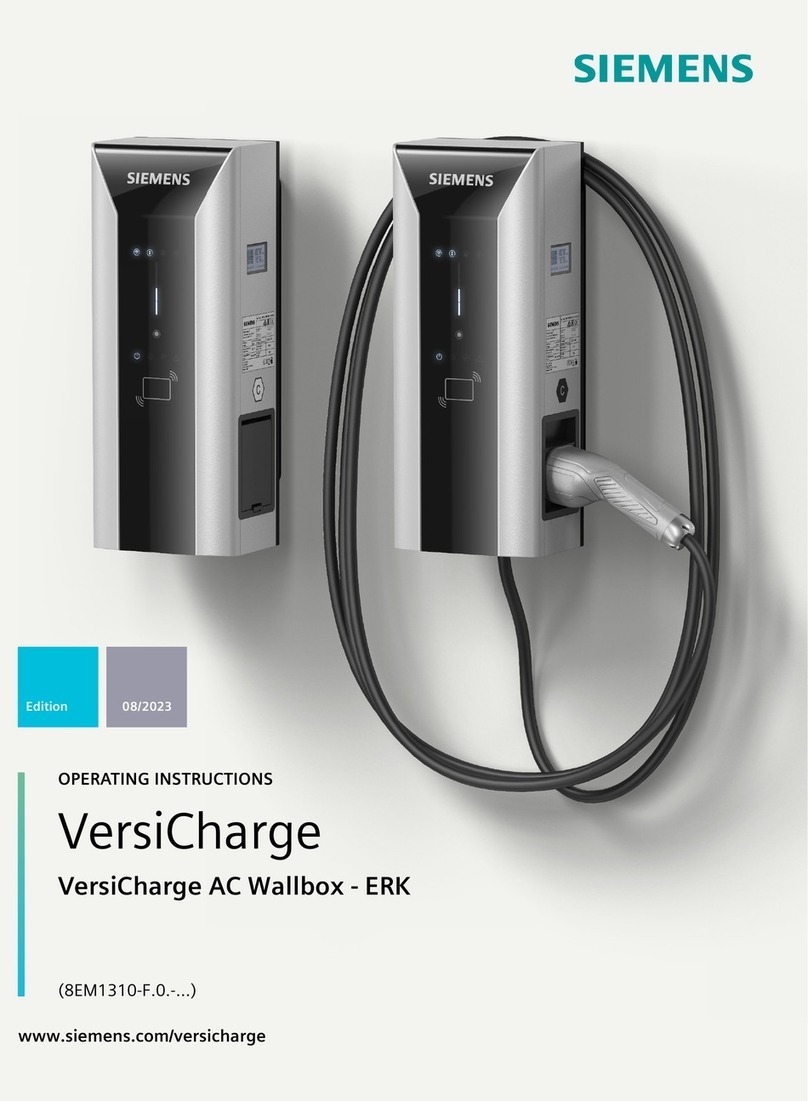
Turn power on; the green Power Available light should illuminate.
If it does not, verify that the outlet or wire is putting out 240 or
208 VAC.
With the Power Available light on, plug the EVSE into the car.
If you have any fault lights, please consult Installation and
Operations Manual.
WARNING! Do not force the connector into the receiver
on the vehicle. If the connection between the receiver and
connector shows any resistance, inspect the pins in each, and if
damage is found, call a qualified service person.
1
9
5
7
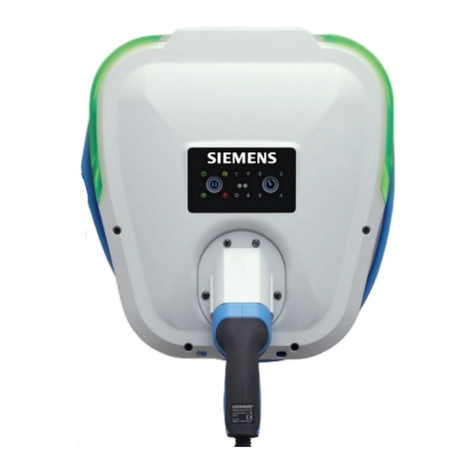
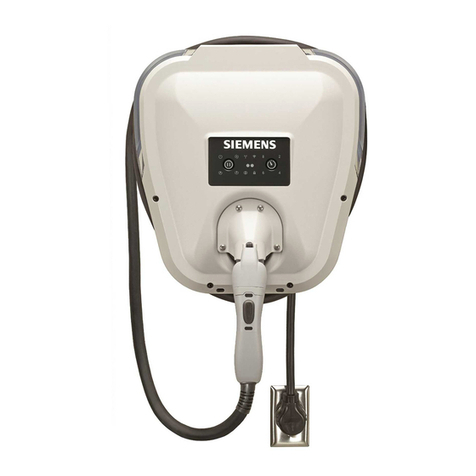
1. Power
2. Pause
3. Charging
4. Zigbee
5. Infrared Service Portal
6. Wi-Fi Status
Technical support: 1-800-333-7421
Visit our website: usa.siemens.com/versicharge
DANGER Hazardous Voltage
Will cause death, serious injury or
substantial property damage.
Turn off power supplying
equipment before working inside.
1Run Wire (If a 240V receptacle is already
installed in the desired installation location
with a dedicated 40 A circuit, please skip to
step 3)
A dedicated 40 amp, 2 pole
circuit breaker is required.
Ensure there is empty space
in the load center and that
the electrical system has
sufficient capacity for a
continuous 30 A load.
Wire conductors (copper only) per all
NEC and local jurisdiction
requirement. Snake wiring through
walls or run conduit on exposed
surfaces. Be sure to tighten down
wire in circuit breakers per
manufacturer’s recommendation.
NOTE: Please consider your
planned installation location for the mounting bracket when
choosing the location to which you will run the wire.
WARNING! When
installed outdoors, due
to the risk of moisture,
cord and plug installations
require a NEMA outdoor
rated receptacle and
enclosure. Installing
outdoors without properly
rated outdoor receptacles
and enclosures will violate
listings and void the device warranty. Outdoor cord-and-plug
installations must be bottom fed only.
2Wire Outlet
(Skip this step if hardwiring the unit)
Snake wiring through wall or run conduit on exposed surfaces.
3Wire the VersiCharge once it is mounted.
(Skip if using receptacle)
5Mount VersiCharge
7Check System
6Screw down charging station
Wi-Fi enabled VersiCharge SG™ | Quick Start Guide Quick Start Guide | Wi-Fi enabled VersiCharge SG™
7. Time Delay
8. Ready
9. Fault
10. Remote Control
11. Remote Control Lock
12. Time Delay Duration (2/4/6/8 hrs.)
2 3 46
810 11 12
Be sure to register your
VersiCharge SG™ at
emobility.siemens.cloud/register
Mounting your VersiCharge
4Select location and add mounting bracket
(match bracket location with orientation of
the ground hole as shown below)
Locate a stud within the wall that can handle the 14+ lb load of
the VersiCharge. For concrete or other walls, install appropriate
anchors. If using receptacle, ensure that power cord will reach to
the outlet.
Using a 7/16” socket, attach mounting bracket to wall in
compliance with all NEC and local jurisdiction requirements,
using the 2 lag screws provided.
DANGER Hazardous Voltage
Will cause death, serious injury or
substantial property damage.
Turn off power supplying
equipment before working inside.
Professional Electricians ONLY
For Professional Electricians ONLY.
Any electrical wiring required to
install this device shall conform to
applicable codes and standards
(ANSI/NFPA 70). A qualified
electrician is recommended to
perform these tasks.
DANGER Explosion Hazard
This equipment has arcing or
sparking parts that should not be
exposed to flammable vapors. This
equipment should be installed
at least 18 inches above floor or
ground level. Use extreme caution
and follow instructions carefully.
