6
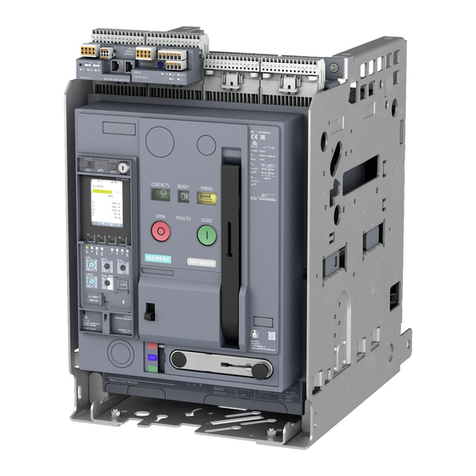
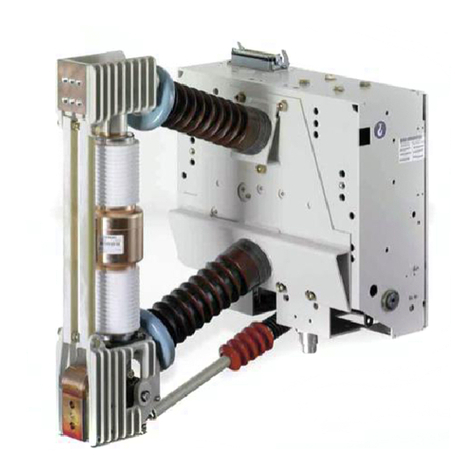
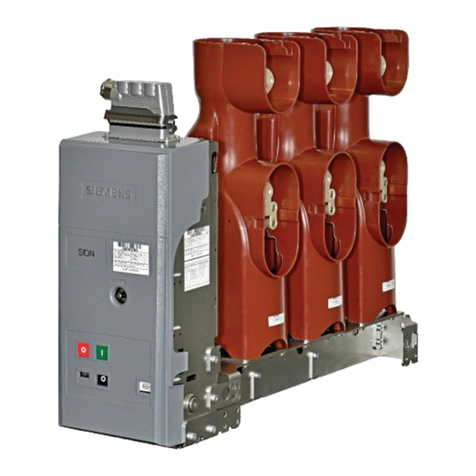
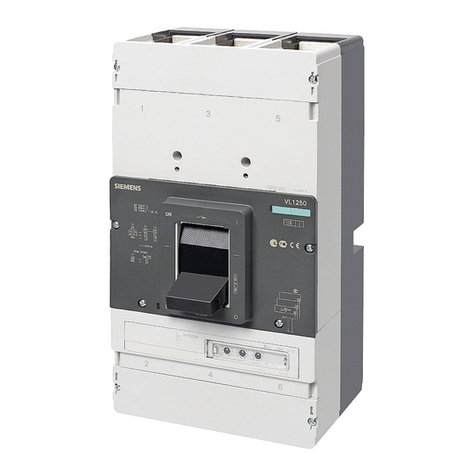
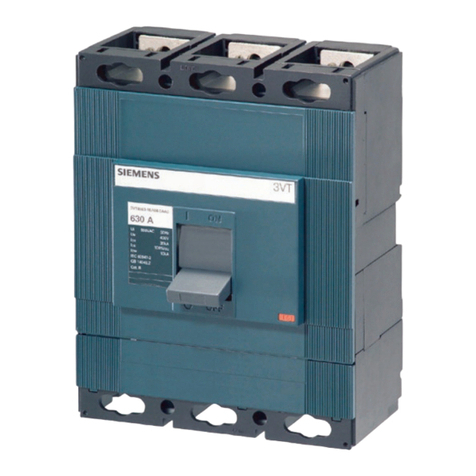
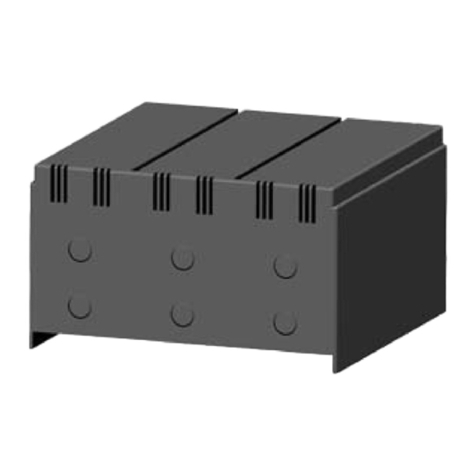
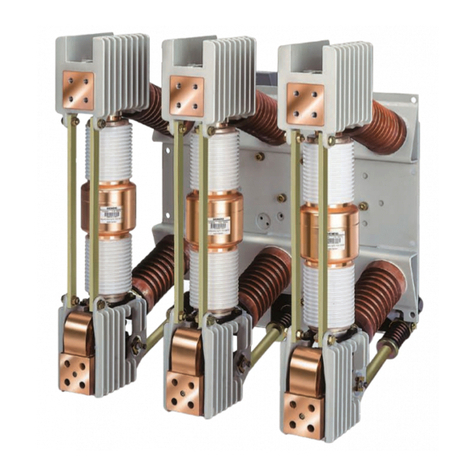
Figure 1: Type 3AH35-MA 27.6 kV
25 kA vacuum circuit breaker
magnetic-actuator operator module
Installation checks
and functional tests
Introduction
This section provides a description of the
inspections, checks and tests to be performed
on the circuit breaker magnetic-actuator
module only.
The inspections and checks in this section are
to be performed with the circuit breaker
disconnected and isolated from primary
(high-voltage) power sources.
Inspections, checks and tests
without control power
De-energizing control power
To de-energize control power in the outdoor
circuit breaker, open the control power
disconnect device in the relay and control
compartment.
The control power disconnect device is
normally a fused knife switch. Opening the
knife switch de-energizes control power to
the circuit breaker operating mechanism. In
some outdoor circuit breakers, a molded-case
circuit breaker or pullout-type fuse holder
may be used in lieu of the fused knife switch.
Opening the fused knife switch, or molded-
case circuit breaker, or removing the pullout-
type fuse holder accomplishes the desired
result: control power is disconnected.
If any maintenance is to be performed,
discharge the capacitors.
Fast discharge of capacitors
After control power has been removed,
discharge stored energy from the capacitors
(refer to Figure 2: Operator controls and
discharging capacitors on page 7).
1. Press red Open pushbutton (54.0).
2. Remove the mechanism housing cover
sheet (60.1).
3. The green LED on the power supply
(104.0 in Figure 2: Operator controls and
discharging capacitors on page 7) should
not be illuminated. If the green LED is on,
open the control power disconnect device
in the relay and control compartment.
4. Discharge the capacitors (106.2) by
unplugging the connector (105.2) from
the controller board (105.0). Do not
unplug connector (106.3) from the
capacitor boards, or damage to the
capacitor board or the controller board
may occur. The red LED (106.4) on each
of the capacitor boards (106.1) indicates
the state of charge of the capacitors
(106.2). When the capacitors (106.2) are
in fast-discharge mode (by unplugging
connector (105.2)), the red LEDs are
flashing. This indicates a hazardous
voltage. When the LEDs stop flashing, the
capacitors (106.2) are discharged to a low
voltage.
NOTICE
Capacitor discharge plug (105.2)
Disconnect control power prior to removing or
replacing the capacitor discharge plug. Refer to
Figure 2 on page 7.
To discharge capacitors:
Disconnect control power to the circuit breaker
by opening the disconnect device (device 08 in
the typical schematic in Figure 14 on page 24)
located in the control compartment.
After control power is off, disconnect the
capacitor discharge plug (105.2) from the
controller board (105.0) to discharge capacitors.
To reconnect capacitors:
Disconnect control power to the circuit breaker
by opening the disconnect (device 08 in the
typical schematic in Figure 14 on page 24)
located in the control compartment.
Insert the capacitor discharge plug (105.2) (with
six pins) into the left-hand receptacle on the
controller board (105.0). Ensure that the plug is
properly seated and the plug position is level
with the power supply connection plug (105.5)
that is located to the right of the capacitor
discharge plug.
After the capacitor discharge plug is firmly
seated, reconnect control power to the circuit
breaker (device 08 in the typical schematic in
Figure 14 on page 24).
