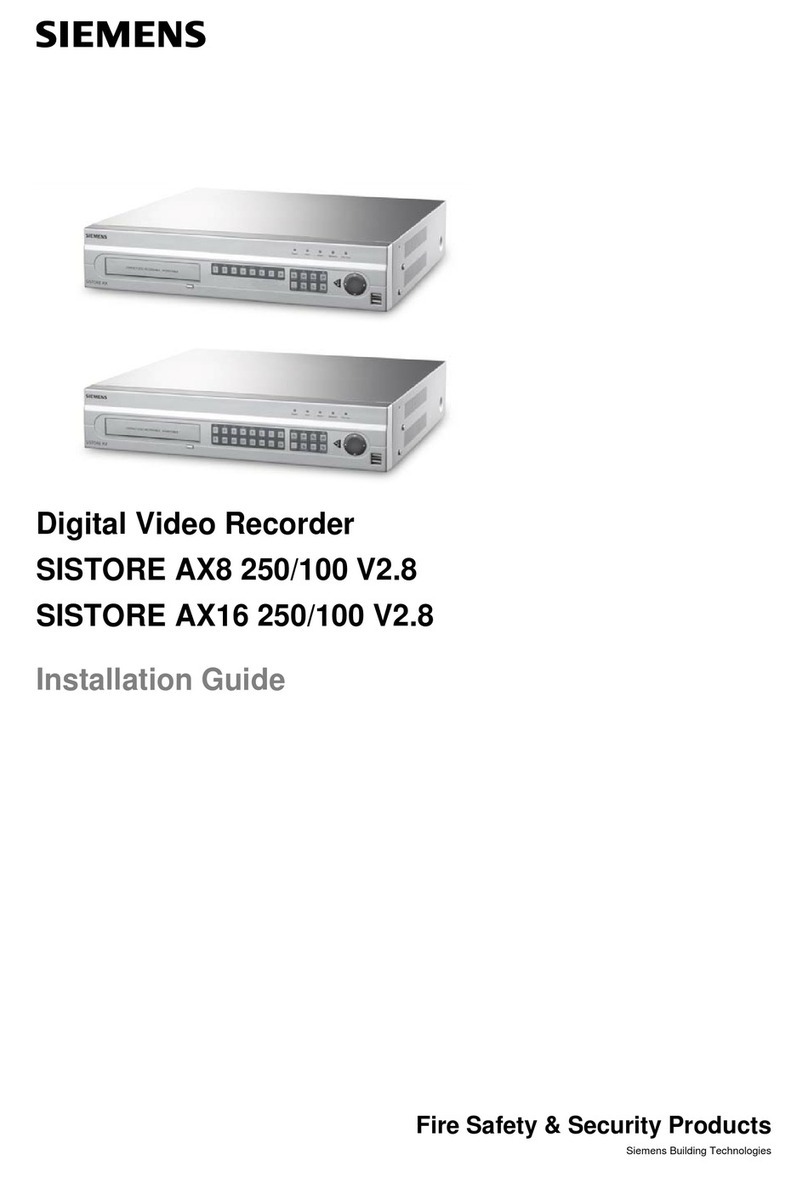
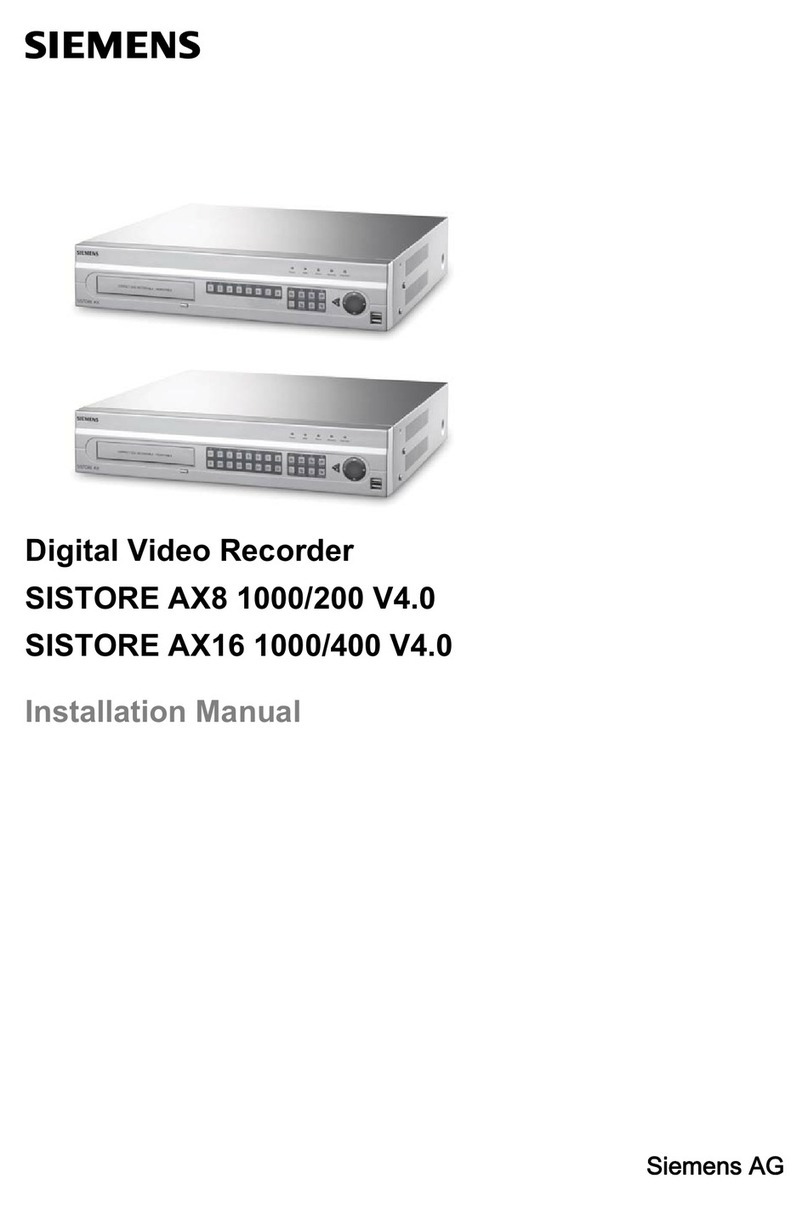
Siemens SISTORE AX8 500/200 V3.6 User manual

Building Technologies
Fire Safety & Security Products
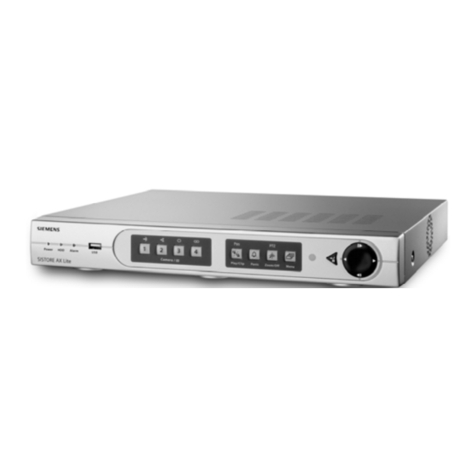
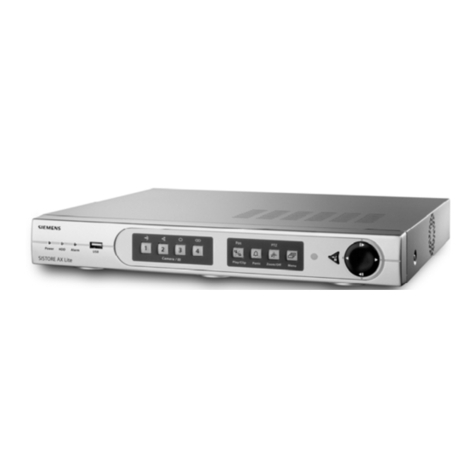
Digital Video Recorder
SISTORE AX8 500/200 V3.6
SISTORE AX16 500/200 V3.6
Installation Instruction

Liefermöglichkeiten und technische Änderungen vorbehalten.
Data and design subject to change without notice. / Supply subject to availability.
© 2008 Copyright by
Siemens Building Technologies
Wir behalten uns alle Rechte an diesem Dokument und an dem in ihm dargestellten Gegenstand vor. Der Empfänger erkennt diese Rechte
an und wird dieses Dokument nicht ohne unsere vorgängige schriftliche Ermächtigung ganz oder teilweise Dritten zugänglich machen oder
außerhalb des Zweckes verwenden, zu dem es ihm übergeben worden ist.
We reserve all rights in this document and in the subject thereof. By acceptance of the document the recipient acknowledges these rights
and undertakes not to publish the document nor the subject thereof in full or in part, nor to make them available to any third party without our
prior express written authorization, nor to use it for any purpose other than for which it was delivered to him.
This manual covers the 8- and 16-channel digital video recorders. The DVRs are identical except for the number of cameras and alarms that
can be connected and the number of cameras that can be displayed. For simplicity, the illustrations and descriptions in this quick reference
refer to the 16-camera model.

3
Siemens Building Technologies EN
Fire Safety & Security Products 12.2008
Contents
1Safety .......................................................................................................5
1.1 Target readers...........................................................................................5
1.2 Work safety information............................................................................5
1.2.1 Transport...................................................................................................5
1.2.2 Installation.................................................................................................6
1.2.3 Service and maintenance .........................................................................6
1.3 Meaning of the written warning notices ....................................................7
1.4 Meaning of the hazard symbols................................................................7
2Directives and standards .......................................................................7
3Technical data.........................................................................................8
4Details for ordering.................................................................................9
5Scope of delivery ....................................................................................9
6Installation.............................................................................................10
7Operation ...............................................................................................11
7.1 Turning on the power..............................................................................11
7.2 Playback commands...............................................................................11
7.3 Front panel buttons and LEDs................................................................12
7.4 System setup ..........................................................................................13
8Disposal.................................................................................................13

4
Siemens Building Technologies EN
Fire Safety & Security Products 12.2008

Safety
5
Siemens Building Technologies EN
Fire Safety & Security Products 12.2008
1 Safety
1.1 Target readers
The instructions in this document are designed for the following target readers:
Target readers Qualification Activity Condition of the
product
Operational startup
personnel Technical training for
building or electrical
installations.
Puts the product into
operation for the first
time.
The product is not yet
installed and
configured.
1.2 Work safety information
zRead the general safety precautions before operating the device.
zKeep this document for reference.
zFollow all warnings and instructions marked on the device.
zAlways pass this document on together with the device.
zAny national or local safety standards or laws that apply to the development,
design, installation, operation or disposal of a product must be adhered to in
addition to the instructions in the product documentation.
Radio interference with other devices in the environment
zThis is a Class A device. This equipment may cause radio interference in a
residential installation. In this case the user is encouraged to perform
appropriate measures to correct the interference.
Liability claim
zDo not connect the device if it is damaged or any parts are missing.
zDo not make any changes or modifications to the device unless they have
been approved by the manufacturer.
zUse only spare parts and accessories that have been approved by the
manufacturer.
1.2.1 Transport
Damage during transport
zDo not expose the device to mechanical vibrations or shocks.
zKeep the packaging material for future transportation.

Safety
6
Siemens Building Technologies EN
Fire Safety & Security Products 12.2008
1.2.2 Installation
Damage due to unsuitable mounting location
zThe environmental conditions recommended by the manufacturer must be
observed (see Section 3: Technical data).
zDo not operate the device close to sources of powerful electromagnetic
radiation.
zDo not operate the device in dusty places.
zThe device should only be used for indoor applications.
zDo not expose the device to mechanical vibrations or shocks.
zProtect the device against moisture.
Cable damage due to mechanical load
zMake sure that cables are not under stress, kinked or damaged.
Damage to the device due to lack of ventilation
zDo not block or cover the ventilation openings of the device.
zDo not stack several devices on top of each other and do not place any objects
on the device.
Danger of electrical shock due to incorrect connection
zUse the device only in conjunction with a power supply cable that has been
approved in your country and complies with the national standards.
zThis product is designed for TN power systems and for IT power systems in
Norway with 230 V phase-to-phase voltage. Do not connect the device to any
other IT power systems.
Damage to the device due to overvoltage
zConnect the device only to power sources with the specified voltage. Voltage
supply requirements can be found on the type label (see Section 3: Technical
data).
1.2.3 Service and maintenance
Danger of electrical shock during maintenance
zAlways disconnect the power cable and other cables from the main power
supply before performing maintenance.
Danger of electrical shock while cleaning the device
zDisconnect the device from the mains supply before cleaning.
zDo not use liquid cleaners or sprays that contain alcohol, spirit or ammonia.

Directives and standards
7
Siemens Building Technologies EN
Fire Safety & Security Products 12.2008
1.3 Meaning of the written warning notices
The severity of a hazard is indicated by the following written warning notices.
Signal word Type of risk
CAUTION There is a risk of minor injuries or damage to property.
1.4 Meaning of the hazard symbols
The nature of the hazard is indicated by icons.
Warning of a hazard
2 Directives and standards
This product complies with the requirements of the following European directives.
The EU declaration of conformity is available to the responsible agencies at:
Siemens Building Technologies
Fire & Security Products GmbH & Co. oHG
76181 Karlsruhe
Germany
European Directive 2004/108/EC ”Electromagnetic Compatibility”
Compliance with the European Directive 2004/108/EC has been proven by testing
according to the following standards:
Emitted interference: EN 61000-6-4
EN 55022 Class A
Interference resistance: EN 50130-4
European Directive 2006/95/EEC ”Low-Voltage Directive”
Compliance with the European Directive 2006/95/EEC has been proven by testing
according to the following standard:
Safety: EN 60950-1

Technical data
8
Siemens Building Technologies EN
Fire Safety & Security Products 12.2008
3 Technical data
Video
Signal format PAL or NTSC (auto-detect)
Video input Composite: 8 or 16 looping inputs, 1 Vpp auto-terminating, 75 Ohms
Monitor outputs Composite: 1 (BNC), 1 Vpp, 75 Ohms
SVHS: 1
VGA: 1
SPOT: 4 (BNC), 1 Vpp, 75 Ohms
Video resolution Composite: (PAL) 720 x 576, (NTSC) 720 x 480
VGA: 800 x 600 @ 60 Hz
Playback/record speed
(images per second) 200 ips (PAL), 240 ips (NTSC)
Inputs / Outputs
Alarm input 8 or 16 TTL, programmable as NC or NO
Alarm output 7 or 15 TTL open collector, terminal block, programmable as NC/NO,
30 mA @ 12 V DC
1 relay output, 2 A @ 125 V AC, 1 A @ 250 V AC, 1 A @ 30 V DC (NC),
5 A @ 125 V AC, 2 A @ 250 V AC, 3 A @ 30 V DC (NO)
Alarm reset input 1x TTL
Internal buzzer 80 dB @ 10 cm
Network connectivity 10/100 Mbps Ethernet (RJ-45)
Audio input RCA input: 4, Line In
Audio output RCA output: 1, Line Out
IR port 1 remote control
Connections
Video input Composite: 8 or 16 BNC
Video loop Composite: 8 or 16 BNC (auto-terminating)
Monitor output Composite: 1x BNC
SVHS: 1 Y/C *
VGA: 1 VGA
SPOT (composite): 4 BNC
Audio In 4 RCA connectors
Audio Out 1 RCA connector
Alarm input/output 16/16 push-button, terminal blocks
Ethernet port RJ-45
RS-232C serial port DB9 (P)
RS-485 serial port 2-connector terminal block
UltraWide SCSI port High-density female 68-pin connector
USB port 3 (USB 2.0)
Storage
Primary storage SATA hard-disk drive (up to 3)
Built-in DVD-RW drive **
Secondary storage (optional) UltraWide SCSI hard-disk drive (RAID)
USB hard-disk drive, USB CD-RW drive or USB flash drive
Details for ordering
9
Siemens Building Technologies EN
Fire Safety & Security Products 12.2008
Environmental
Operating temperature 5 – 40 °C (41 – 104 °F)
Operating humidity 0 – 90%
Power supply
Power 100 - 240 V AC, 2 A, 50/60 Hz
Power consumption 65 W max. (85 W when 3 hard-disk drives are installed)
General
Dimensions (WxHxD) 430 x 88 x 405 mm (16.9" x 3.5" x 15.9")
Unit weight 10.2 kg (22.5 lbs)
Shipping weight 12.5 kg (27.6 lbs)
Shipping dimensions (WxHxD) 540 x 290 x 590 mm (21.3" x 11.4" x 23.2")
Approval CE, UL, FCC, C-Tick
*) Using a shielded S-Video cable provides better quality video display and
reduces image noise.
**) When installing a DVD-RW drive, connect the SATA I/O cable to the HDD3
socket.
Specifications are subject to change without notice.
4 Details for ordering
Type Order No. Designation Weight
SISTORE AX8 500/200 S54569-C70-B2 SISTORE AX8, 500 GB, 200 ips 10.2 kg
SISTORE AX16 500/200 S54569-C90-B2 SISTORE AX16, 500 GB, 200 ips 10.2 kg
5 Scope of delivery
zDigital video recorder
zPower cord
zUser Manual, Multilingual RAS Software and User Manual on CD-ROM
zMultilingual Installation Guide
zRack-mount kit
zAssembly screws and guide rails for adding hard disk drives
zScrews for fixing SCSI connector
zInfrared remote control

Installation
10
Siemens Building Technologies EN
Fire Safety & Security Products 12.2008
6 Installation
CAUTION Always disconnect the power cable and other cables from the main power
supply before installing the device.
The SISTORE AX8/AX16 is designed to work with a variety of other equipment.
The basic system will consist of a video camera and system monitor.
Refer to the User’s Manual CD for details of installing each type of equipment.
Fig. 1 SISTORE AX16 Rear Panel
Step 1:
Video In: Connect cameras (up to 8/16) to camera BNC inputs. If looping is
required, connect camera out to second source (second BNC).
Step 2:
Video Out and SVHS Out: Connect a monitor to a composite video output for multi-
screen display and playback. Connect a monitor to SVHS output if needed.
Step 3:
Power Connector: Apply power to the unit.

Operation
11
Siemens Building Technologies EN
Fire Safety & Security Products 12.2008
7 Operation
7.1 Turning on the power
The SISTORE AX8/AX16 is operational in approximately 60 seconds after the
power cable is connected to the system. The SISTORE AX8/AX16 may be
powered down by selecting the Shutdown option from the System menu. When
shutting down the DVR, you need to confirm that you want to shut down the unit.
No on/off switch is provided.
Fig. 2 SISTORE AX16 front panel
Display modes
Press the desired camera number button to view the desired camera image, and
press the Display button repeatedly to toggle between different display formats:
4x4, 3x3, 2x2 and PIP.
Recording
Once you have installed the system following the instructions described in the
User’s Manual, it is ready to record. There is no recording button on the front panel
to initiate recording video. The SISTORE AX8/16 will start recording video
according to the schedule configured by the user and from external and internal
events such as alarm input, motion detection or text-in events.
7.2 Playback commands
Camera buttons (1 to 16)
Pressing the individual camera buttons will cause the selected camera to display
full screen. Buttons 1 to 9 are also used to enter passwords.
Display button
Pressing the Display button toggles between different display formats. The available
formats are: 4x4, 3x3, 2x2 and PIP (not all formats are available for the 8-channel
DVR). The button is also used for Zooms In while in the PTZ mode.

Operation
12
Siemens Building Technologies EN
Fire Safety & Security Products 12.2008
Search button
When in the live mode, pressing the Search button enters the Triplex mode.
RW (Rewind) button
Pressing the RW button plays video backward at high speed. Pressing the button
again toggles the playback speed from , and . The screen displays ,
and respectively.
Previous button
Pressing the Previous button goes to the previous image.
Play/Pause button
Pressing the Play/Pause button plays back images at regular speed. Pressing the
button while in the Playback mode pauses the video. The screen displays when
the DVR is playing back video. The screen displays when in the Pause mode.
Next button
Pressing the Next button goes to the next image.
FF (Fast Forward) button
Pressing the FF button plays video forward at high speed. Pressing the button
again toggles the playback speed from , and . The screen displays ,
and respectively.
Zoom button
Pressing the Zoom button zooms the current image on the screen. A PIP with a
rectangle temporarily displays showing what area of the screen has been enlarged.
You can use the arrow buttons to move the rectangle to another area. Pressing the
Enter button toggles the zoom size between 2x, 3x and 4x.
7.3 Front panel buttons and LEDs
Camera
(1-8/16) Pressing the individual camera buttons will cause the selected camera to display full
screen. Buttons 1 to 9 are also used to enter passwords.
PTZ Pressing the PTZ button enters the PTZ (Pan/Tilt/Zoom) mode which allows you to
control properly configured cameras.
Sequence When in the live mode, pressing the Sequence button displays another full live channel
sequentially. When in one of the multi-view formats, pressing this button will cause the
DVR to sequence cameras in two sequence modes: “Page” and “Cameo”. In the Page
mode, the DVR sequences through user-defined screen layouts (pages). In the Cameo
mode, the bottom, right screen to display live cameras sequentially. Pressing the
Sequence button while in the Sequence mode will exit the Sequence mode. The button
is also used for Zoom Out while in the PTZ mode.
Freeze Pressing the Freeze button freezes the current live screen. In the Search mode clip-
copying can be done instantly by pressing and holding the button for two or more
seconds. The button is also used for Near Focus in the PTZ mode.
Alarm The Alarm button has two functions. First, it will reset the DVR’s outputs including the
internal buzzer during an alarm. Second, it will display the event log when you are in the
live monitoring mode unless there is an active alarm. This operation can be user
password protected. The button is also used for Far Focus while in the PTZ mode.
Spot Pressing the Spot button allows you to select which cameras will display on the four
Spot Monitors. After selecting the monitor you can opt to have that Spot Monitor displays
a single camera or all cameras sequentially. The infrared remote control allows you to go
directly to the individual Spot Monitor menus. The button is also saves Presets in PTZ
mode.

Disposal
13
Siemens Building Technologies EN
Fire Safety & Security Products 12.2008
Menu Pressing the Menu button enters the Setup screen. You will need to enter the authorized
user and password to access Setup. Pressing the button also closes the current menu or
setup dialog box. In the Playback mode, pressing the Menu button displays the Search
menu. In Search mode clip-copying can be done instantly by pressing and holding the
button for two or more seconds. The button also loads a Preset View in the PTZ mode.
Enter The Enter button selects a highlighted item or completes an entry that you have made
during system setup.
Panic Pressing the Panic button starts panic recoding of all camera channels, and displays
on the screen. Pressing the button again will stop panic recording. The sensor for the
infrared remote control is just to the lower left of the Panic button. Make certain that
nothing blocks the sensor, or the remote control will not function properly.
Power The Power LED is lit when the unit is On.
Network The Network LED flickers when the unit is connected to a network via Ethernet.
HDD The HDD LED flickers when the DVR is recording or searching video on the hard disk
drive.
7.4 System setup
The front panel buttons are used to enter system commands and for programming.
Press Menu button on the front panel and enter the password by pressing the
appropriate combination of Camera number buttons and then the Enter button.
Refer to User Manual for the setup instructions in detail. The documentation is
located on the CD or in the application folder on the PC hard disk (C:\SISTORE
AX\…).
Setup menu
8 Disposal
All electrical and electronic products should be disposed of separately from the
municipal waste stream via designated collection facilities appointed by the
government or the local authorities.
This crossed-out wheeled bin symbol on the product means the product is covered by
the European Directive 2002/96/EC.
The correct disposal and separate collection of your old appliance will help prevent
potential negative consequences for the environment and human health. It is a
precondition for reuse and recycling of used electrical and electronic equipment. For
more detailed information about disposal of your old appliance, please contact your
city office, waste disposal service or the shop where you purchased the product.

Issued by
Siemens Building Technologies
Fire & Security Products GmbH & Co. oHG
D-76181 Karlsruhe
www.buildingtechnologies.siemens.com/
© 2008 Copyright by
Siemens Building Technologies
Data and design subject to change without notice.
Supply subject to availability.
Document no. A6V10217647
Edition 01.12.2008

Building Technologies
Fire Safety & Security Products
Digitaler Bildspeicher
SISTORE AX8 500/200 V3.6
SISTORE AX16 500/200 V3.6
Installationsanleitung

Liefermöglichkeiten und technische Änderungen vorbehalten.
Data and design subject to change without notice. / Supply subject to availability.
© 2008 Copyright by
Siemens Building Technologies
Wir behalten uns alle Rechte an diesem Dokument und an dem in ihm dargestellten Gegenstand vor. Der Empfänger erkennt diese Rechte
an und wird dieses Dokument nicht ohne unsere vorgängige schriftliche Ermächtigung ganz oder teilweise Dritten zugänglich machen oder
außerhalb des Zweckes verwenden, zu dem es ihm übergeben worden ist.
We reserve all rights in this document and in the subject thereof. By acceptance of the document the recipient acknowledges these rights
and undertakes not to publish the document nor the subject thereof in full or in part, nor to make them available to any third party without our
prior express written authorization, nor to use it for any purpose other than for which it was delivered to him.
In dieser Anleitung werden die digitalen Videorekorder mit 8 und 16 Kanälen beschrieben. Die DVRs sind identisch. Eine Ausnahme bildet
lediglich die Anzahl der Kameras und Alarme, die angeschlossen werden können, sowie die Anzahl der Kameras, die angezeigt werden
können. Der Einfachheit halber wird in den Abbildungen und Beschreibungen in dieser Kurzanleitung das Modell AX16 verwendet.

17
Siemens Building Technologies DE
Fire Safety & Security Products 12.2008
Inhaltsverzeichnis
1Sicherheit...............................................................................................19
1.1 Zielgruppe...............................................................................................19
1.2 Sicherheitshinweise ................................................................................19
1.2.1 Transport.................................................................................................19
1.2.2 Installation...............................................................................................20
1.2.3 Instandhaltung und Wartung...................................................................20
1.3 Bedeutung der schriftlichen Warnhinweise.............................................21
1.4 Bedeutung der Gefahrensymbole...........................................................21
2Richtlinien und Normen .......................................................................21
3Technische Daten .................................................................................22
4Bestellangaben......................................................................................23
5Lieferumfang .........................................................................................23
6Installation.............................................................................................24
7Bedienung..............................................................................................25
7.1 Einschalten des Gerätes.........................................................................25
7.2 Wiedergabefunktionen............................................................................25
7.3 Tasten und LEDs an der Frontseite........................................................26
7.4 Systemkonfiguration ...............................................................................27
8Entsorgung............................................................................................27

18
Siemens Building Technologies DE
Fire Safety & Security Products 12.2008

Sicherheit
19
Siemens Building Technologies DE
Fire Safety & Security Products 12.2008
1 Sicherheit
1.1 Zielgruppe
Die Anweisungen in dieser Dokumentation richten sich an die folgende Zielgruppe:
Zielgruppe Qualifikation Tätigkeit Zustand des Produkts
Inbetriebsetzer Besitzt Fachkenntnisse
im Bereich
Gebäudeinstallations-
technik oder
Elektroinstallationen.
Nimmt das Produkt zum
ersten Mal in Betrieb. Produkt ist noch nicht
installiert und
konfiguriert.
1.2 Sicherheitshinweise
zLesen Sie vor der Installation des Gerätes die Sicherheitshinweise.
zBewahren Sie dieses Dokument zum Nachschlagen auf.
zBeachten Sie alle auf dem Gerät angebrachten Warnungen und
Sicherheitshinweise.
zGeben Sie dieses Dokument auch bei der Weitergabe des Produktes mit.
zBeachten Sie zusätzlich die landesspezifischen oder ortsüblichen
Sicherheitsnormen oder Gesetze für die Planung, die Konzeption, die
Installation, den Betrieb und die Entsorgung des Produktes.
Funkstörungen im Umfeld des Gerätes
zDies ist eine Einrichtung der Klasse A. Diese Einrichtung kann im Wohnbereich
Funkstörungen verursachen; in diesem Fall kann vom Betreiber verlangt
werden, geeignete Entstörungsmaßnahmen vorzunehmen.
Haftungsausschluss
zSchließen Sie das Gerät nur an, wenn es unbeschädigt ist und wenn der
Lieferumfang vollständig ist.
zNehmen Sie nur Veränderungen am Gerät vor, die vom Hersteller genehmigt
wurden.
zVerwenden Sie nur vom Hersteller genehmigte Ersatz- und Zubehörteile.
1.2.1 Transport
Geräteschaden bei Transport
zSetzen Sie das Gerät keinen starken Erschütterungen aus.
zBewahren Sie die Verpackung des Gerätes für den Weitertransport auf.

Sicherheit
20
Siemens Building Technologies DE
Fire Safety & Security Products 12.2008
1.2.2 Installation
Geräteschaden durch den falschen Standort
zHalten Sie die vom Hersteller empfohlenen Umgebungsbedingungen ein
(siehe Kap 3: Technische Daten).
zBetreiben Sie das Gerät nicht in der Nähe einer stark elektromagnetischen
Strahlungsquelle.
zBetreiben Sie das Gerät nicht an staubigen Orten.
zVerwenden Sie das Gerät nur im Innenbereich.
zSetzen Sie das Gerät keiner Erschütterung aus.
zSchützen Sie das Gerät vor Feuchtigkeit und Nässe.
Kabelschaden durch Belastung
zAchten Sie darauf, dass die Kabel nicht geknickt oder beschädigt werden.
Geräteschaden durch unzureichende Belüftung
zBlockieren Sie nicht die Belüftungsöffnungen des Gerätes.
zStellen Sie nicht mehrere Geräte aufeinander und stellen Sie keine anderen
Gegenstände auf das Gerät.
Stromschlaggefahr durch falschen Netzanschluss
zVerwenden Sie das Gerät nur mit einem Spannungsversorgungskabel, das für
das jeweilige Land zugelassen ist und den landesspezifischen Bestimmungen
entspricht.
zDieses Gerät ist ausgelegt für TN-Netze und für IT-Netze in Norwegen mit 230 V
Außenleiterspannung. Schließen Sie das Gerät nicht an andere IT-Netze an.
Geräteschaden durch überhöhte Spannung
zSchließen Sie das Gerät nur an Stromquellen mit der angegebenen Spannung
an. Auf dem Typenschild finden Sie Hinweise zur Spannungsversorgung
(siehe Kap. 3: Technische Daten).
1.2.3 Instandhaltung und Wartung
Stromschlaggefahr bei der Wartung
zTrennen Sie das Netzkabel und andere Anschlüsse vom Stromnetz bevor Sie
Wartungsarbeiten durchführen.
Stromschlaggefahr bei der Reinigung
zTrennen Sie das Gerät vor der Reinigung vom Stromnetz.
zVerwenden Sie keine Flüssigreiniger oder Sprays, die Alkohol, Spiritus oder
Ammoniak enthalten.
This manual suits for next models
1
Table of contents
Languages:
Other Siemens DVR manuals

Siemens
Siemens SISTORE AX8 1000/200 V4.0 User manual

Siemens
Siemens SISTORE MX User manual

Siemens
Siemens DMS8000 MP4 Series Quick guide

Siemens
Siemens SISTORE AX9 User manual

Siemens
Siemens DMS8000 Owner's manual

Siemens
Siemens SIREMOBIL Compact User manual

Siemens
Siemens SISTORE AX9 250 User manual

Siemens
Siemens SISTORE AX4 Lite 250/100 V2.0 User manual

Siemens
Siemens SISTORE AX4 Lite 1000/100 Quick guide

Siemens
Siemens SISTORE AX8 250/100 V2.8 User manual