manuals.online logo
Brands
  1. Home
  2. •
  3. Brands
  4. •
  5. Siemens
  6. •
  7. Temperature Controllers
  8. •
  9. Siemens BPS242RF User manual

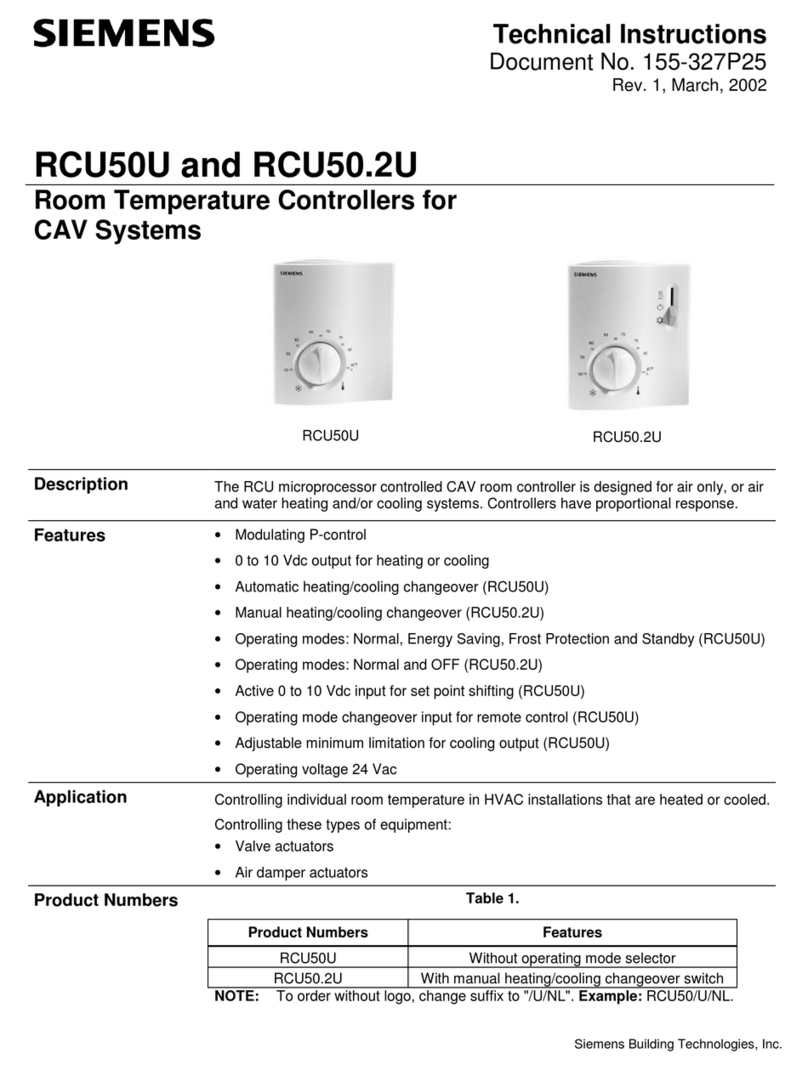
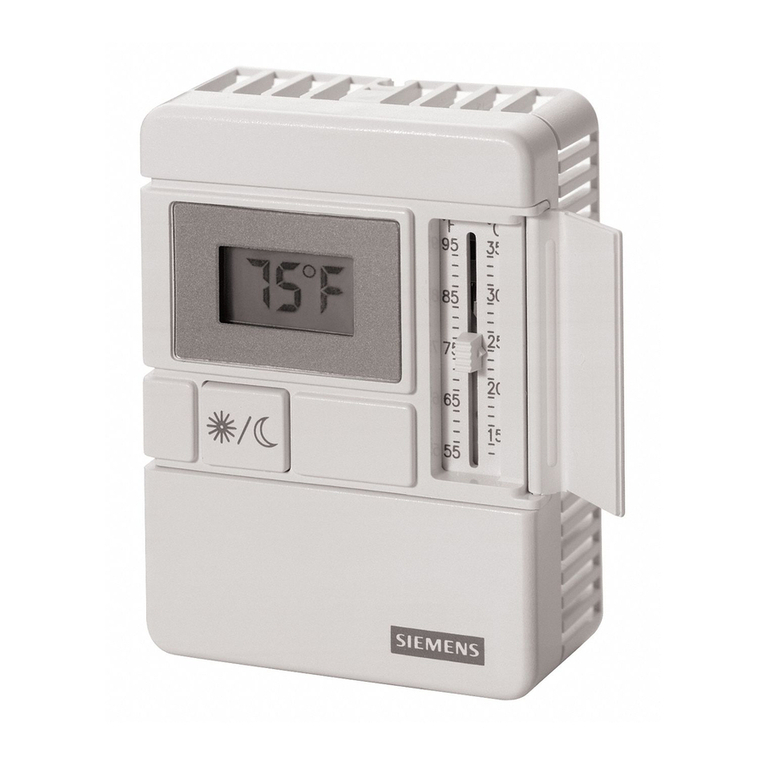
Siemens BPS242RF User manual

Operating instructions
BPS242RF
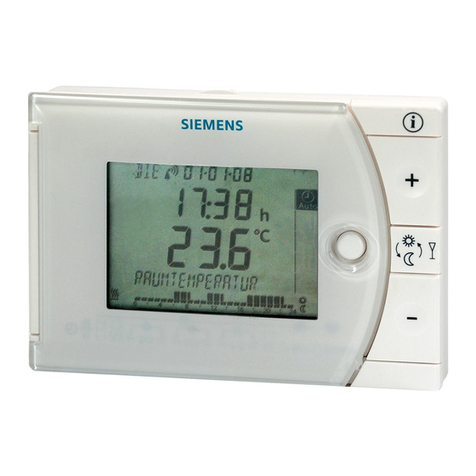
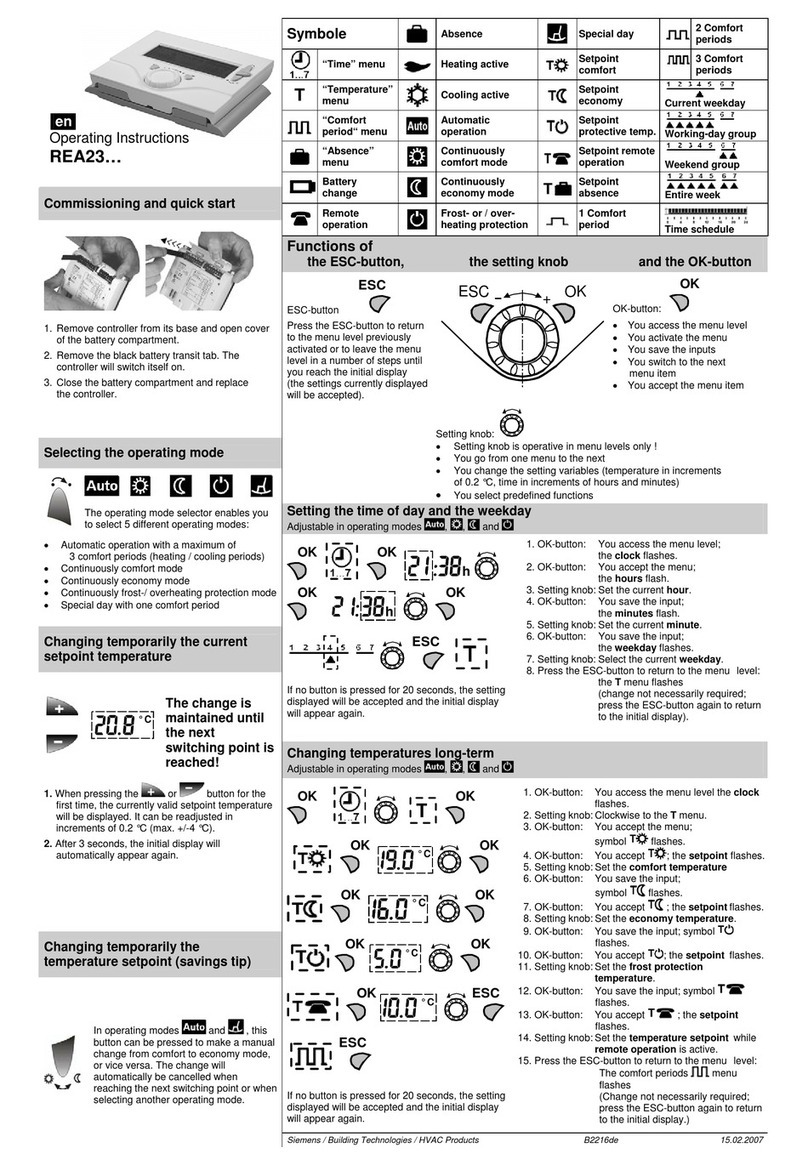
The BPS242RF is a programmable room thermostat that switches between two temperatures known as Sun (comfort) and
Moon (energy saving) which you could describe as on and off. On being the higher temperature (Sun) and off being a lower
temperature (moon). Note the moon setting can be as low as 5°C.
Display
Actual room temperature in ºC
Indicates when there is demand for
heat
The unit is controlling to the selected
comfort temperature
Replace batteries
The unit is controlling to the selected
energy saving temperature
Frost protection: The unit is
controlling continuously to the frost
protection temperature at 5°C
The unit is controlling to the frost
protection temperature at 5 ºC
Energy saving mode: The unit is
controlling continuously to the
energy saving temperature
Indicates when the temperature
setpoint has been changed by the
user. This setpoint will be maintained
until the next switching time. This
function is only active when the unit is
in automatic mode.
Comfort mode: The unit is
controlling continuously to the
comfort temperature
Automatic mode: The unit is
controlling to the selected time and
temperature programs.
Setting knob
Warmer / colder for selecting
the temperature
Programming selector
Battery compartment
2 alkaline batteries type AA, 1.5 V
Time setting position
Operating mode selector
This silder determines how the thermostat
operates
A1
First switch on time
Automatic mode: In this position the thermostat switches at
the programmed times and temperatures
A2
First switch off time
In this position the thermostat ignores all programmed times
and runs permanently at the temperature set in
A3
Second switch on time
In this position the thermostat ignores all programmed times
And runs permanently at the temperature set in
A4
Second switch off time
Frost protection Thermostat runs permanently at 5°c
Comfort (ON) temperature setting
Advance button
Energy saving (OFF) temperature
setting
Switches the operating mode from comfort to energy saving,
or vice versa, until the next switching time
RUN
Set the controller to RUN when all
programming is completed
Introduction
This leaflet provides you easy-to-follow instructions on how to set-
up your BPS242RF programmable room thermostat.
Contents
Commissioning
Initial power up
How do I set the Clock
How do I set the ON and OFF times
How do I set the comfort (ON) temperature
How do I set the energy saving (OFF) temperature
How do I Change batteries
Configuration instructions for the BOSS BR1
(Wireless RF version only)
Energy savings tips
Commission
Remove the black transit tabs from the
alkaline batteries.
Check to see if the battery holder is in the
correct position.
If no batteries are inserted, fit 2 alkaline
batteries type AA in the battery compartment.
Initial power-up
Once batteries are fitted all symbols will be
displayed on the display screen as shown for
around 2 seconds.
Set Clock
1. Move the vertical slider to position
2. The current time setting flashes.
3. Turn the setting knob counterclockwise -
to decrease the time, or clockwise +
to increase the time.
4. When the correct time is displayed move
the programming vertical l slider to any other
position to confirm your setting.
Set the first switch on time
1. Set the programming selector to position A1. The setting for the first switch on
time flashes.
2. Turn the setting knob counterclockwise -to decrease the time, or clockwise +to
increase the time.
3. When the required switch on time is displayed, move the programming selector
to any other position to confirm the setting.
Set the first switch off time
1. Set the programming selector to position A2. The setting for the first switch off
time flashes.
2. Turn the setting knob counterclockwise -to decrease the time, or clockwise +to
increase the time.
3. When the required switch off time is displayed, move the programming selector
to any other position to confirm the setting.
Set the second switch on time
1. Set the programming selector to position A3. The setting for the second switch
on time flashes.
2. Turn the setting knob counterclockwise -to decrease the time, or clockwise +to
increase the time.
3. When the required switch on time is displayed, move the programming selector
to any other position to confirm the setting.
Set the second switch off time
1. Set the programming selector to position A4. The setting for the second switch
off time flashes.
2. Turn the setting knob counterclockwise to decrease the time, or clockwise +to
increase the time.
3. When the required switch off time is displayed, move the programming selector
to any other position to confirm the setting.
Set comfort temperature
1. Set the programming selector to position .
2. The setting for the current comfort temperature flashes.
3. Turn the setting knob counterclockwise -to decrease the temperature setting, or
clockwise to increase the temperature setting.
4. When the required comfort temperature is displayed, move the programming
selector to any other position to confirm the setting.
Set energy saving temperature
1. Set the programming selector to position
2. The setting for the current energy saving temperature flashes.
3. Turn the setting knob counterclockwise -to decrease the temperature setting,
or clockwise +to increase the temperature setting.
3. When the required energy saving temperature is displayed, move the
programming selector to any other position to confirm the setting.
Note: Set the controller to RUN when all programming is completed.
Temporarily change current setpoint
1. The current programmed temperature can be changed temporarily when the
operating mode selector is in the AUTO position and the programming selector
in the RUN position.
2. Turn the setting knob slightly in either direction to display the current programmed
temperature, turn it counterclockwise to decrease the temperature, or clockwise to
increase the temperature .This new temperature is maintained until the next
switching time. The hand symbol is displayed when activated.
Changing
the batteries
1. Get 2 new alkaline batteries type AA, 1.5 V.
2. Within 1 minute: Remove the battery holder, then the batteries, insert the new
batteries and replace the battery holder. The old, set values must be checked!
3. Properly dispose of old batteries per environmental regulations.
Receiver
LED Signal Indicator
LED Relay Indicator
The signal is good when the
LED is solid green.
A solid red LED indicates that
there is no signal.
Orange LED indicates relay is on.
SET Button *
* Note when SET is pressed, the
RF signal will not affect the output
for 15 min. After 15 min the
output and LED will not change if
no RF received. If RF received,
output and LED will follow the RF
data.
Press this button to manually override
instructions from the Room Unit –Use this
when there has been a loss of power to
the Room Unit
RESET Button
Room Unit : (Rear View)
(Transmitter)
Press and hold this button to reset the
Receiver to factory default settings
TEST Button
Used for testing transmission.
Mounting plate must be
removed to get access
to the back!
Learn Button
Press to learn
Configuration instructions for the BOSS BPS242RF
The Transmitter BPS242RF room unit and the receiver BR1 are set to communicate (bonded) with each
other at the factory. If they fail to do so at installation or it is necessary to re bond the units due to loss of
communication please follow the following instructions.
1. For room unit: Set the programming switch to RUN and the selector switch to AUTO.
2. If room unit is wall mounted remove from wall or if on table stand remove grey backing plate
3. For receiver, Reset by pressing the RESET button for 4 seconds.
4. On Receiver Press and release the SET button. This puts the receiver in learn mode.
5. On room unit Press and release the LEARN button on the back.
6. A green solid LED indicates a good signal, a red solid LED indicates no signal.
7. To test transmission, press the TEST button on the transmitter, this switches the relay to ON on
the receiver regardless of temperature. The RF TEST symbol appears on the display (1 s).
8. An orange LED indicates that the relay is on.
Energy saving tips without sacrificing comfort
●Do not allow room temperatures to exceed 21 ºC.
NOTE: You can press the SET button on the receiver to manually switch ON/OFF for a faulty
room unit or transmission signal.
Other Siemens Temperature Controllers manuals

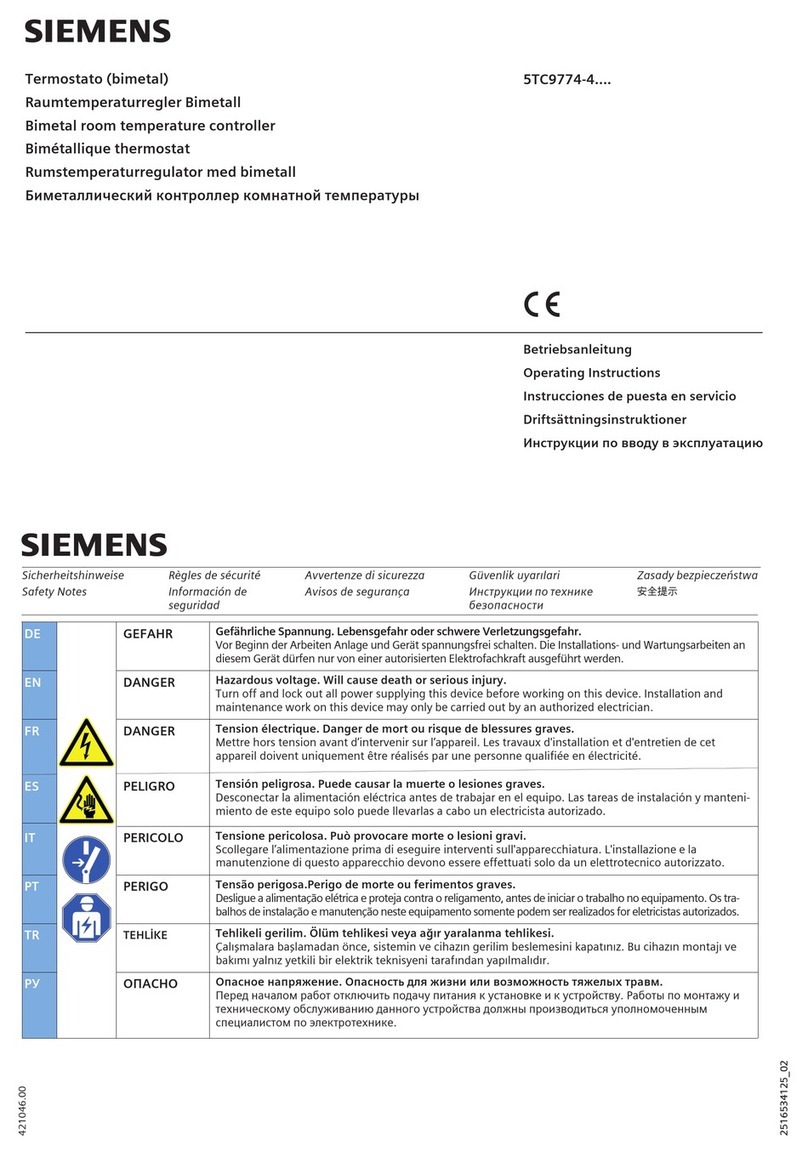
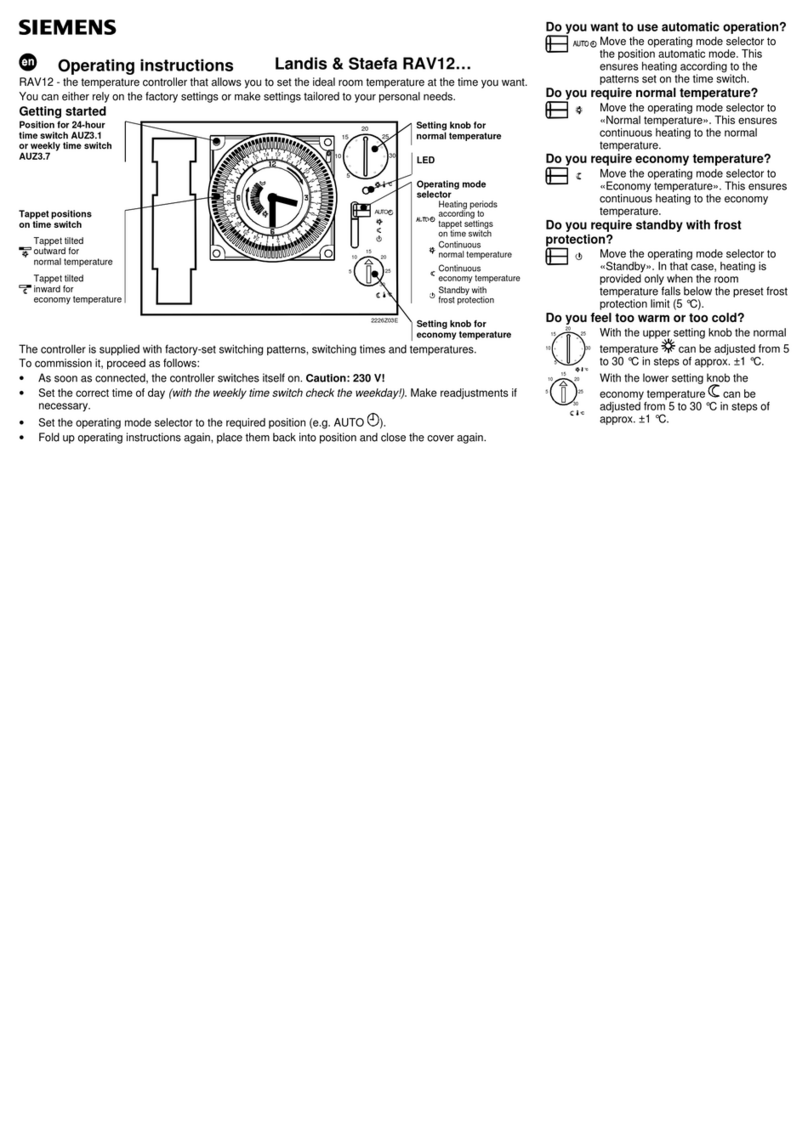
Siemens RAV12 series User manual

Siemens

Siemens RAV12 series User manual

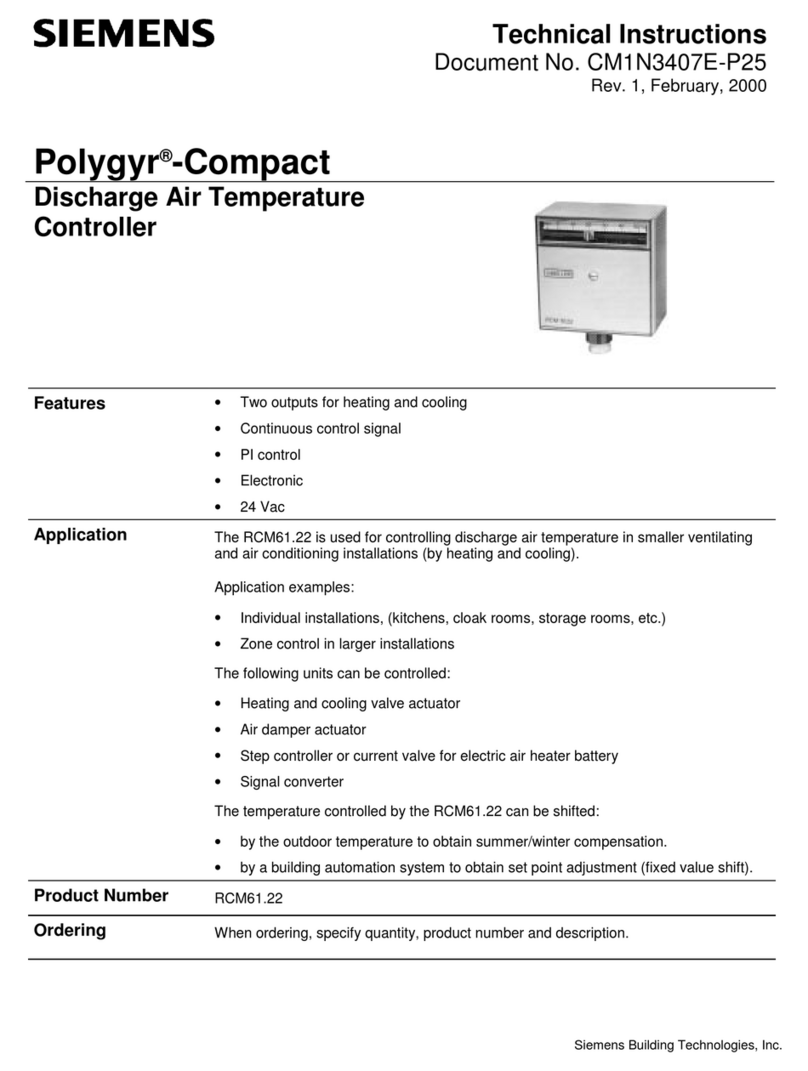
Siemens 5TC9774-4 Series User manual

Siemens

Siemens 5TC9774-4 Series User manual

Siemens HZ39050 User manual

Siemens

Siemens HZ39050 User manual

Siemens RDF20U User manual

Siemens

Siemens RDF20U User manual

Siemens RCC30 User manual

Siemens

Siemens RCC30 User manual

Siemens 24RFDC/SET User manual

Siemens

Siemens 24RFDC/SET User manual

Siemens RDF110 User manual

Siemens

Siemens RDF110 User manual

Siemens REV23 User manual

Siemens

Siemens REV23 User manual

Siemens RLA162 User manual

Siemens

Siemens RLA162 User manual

Siemens RVL470 Operator's manual

Siemens

Siemens RVL470 Operator's manual

Siemens POS8.4420/109 User manual

Siemens

Siemens POS8.4420/109 User manual

Siemens RDJ10RF/SET User manual

Siemens

Siemens RDJ10RF/SET User manual

Siemens REV23RF16A User manual

Siemens

Siemens REV23RF16A User manual

Siemens 1000 series User manual

Siemens

Siemens 1000 series User manual

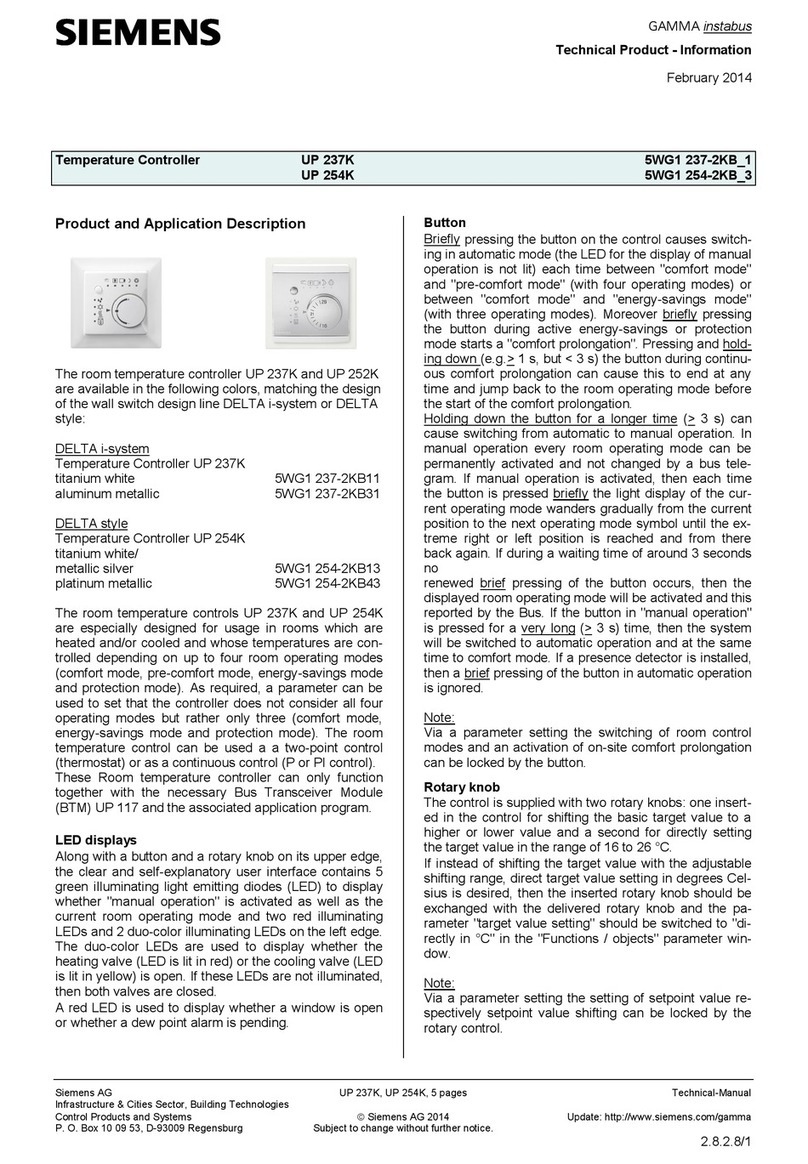
Siemens i-system UP 237K Service manual

Siemens

Siemens i-system UP 237K Service manual

Siemens SITRANS TS100 Administrator guide

Siemens

Siemens SITRANS TS100 Administrator guide

Siemens RDF300 Series Operator's manual

Siemens

Siemens RDF300 Series Operator's manual

Siemens 1000 Series User manual

Siemens

Siemens 1000 Series User manual

Siemens QAX910 User manual

Siemens

Siemens QAX910 User manual

Siemens SITRANS TSinse rt Administrator guide

Siemens

Siemens SITRANS TSinse rt Administrator guide

Siemens RVL482 User manual

Siemens

Siemens RVL482 User manual

Siemens Free Energy Band RCU61U Owner's manual

Siemens

Siemens Free Energy Band RCU61U Owner's manual

Siemens RLA162 User manual

Siemens

Siemens RLA162 User manual

Siemens REV34 User manual

Siemens

Siemens REV34 User manual

Popular Temperature Controllers manuals by other brands

Selec TC544C user guide

Selec

Selec TC544C user guide

Omron C200H-TV Series Operation manual

Omron

Omron C200H-TV Series Operation manual

Vector TCY-FT-U manual

Vector

Vector TCY-FT-U manual

Bticino 3550 user manual

Bticino

Bticino 3550 user manual

AKO AKO-16523 user manual

AKO

AKO AKO-16523 user manual

Campbell CS241 product manual

Campbell

Campbell CS241 product manual

Yolink YS8006-UC Installation manual & users guide

Yolink

Yolink YS8006-UC Installation manual & users guide

Watlow 97 series specification

Watlow

Watlow 97 series specification

Brink Renovent Sky 150 manual

Brink

Brink Renovent Sky 150 manual

S+S Regeltechnik HYGRASGARD VFF Operating Instructions, Mounting & Installation

S+S Regeltechnik

S+S Regeltechnik HYGRASGARD VFF Operating Instructions, Mounting & Installation

Johnson Controls System 350 A350A Technical bulletin

Johnson Controls

Johnson Controls System 350 A350A Technical bulletin

Danfoss C17 Installer's guide

Danfoss

Danfoss C17 Installer's guide

CCL ELECTRONICS C3127A user manual

CCL ELECTRONICS

CCL ELECTRONICS C3127A user manual

Sterlco 6017 Series Operation and installation manual

Sterlco

Sterlco 6017 Series Operation and installation manual

Conotec FOX-2000TT quick guide

Conotec

Conotec FOX-2000TT quick guide

BMW E46 manual

BMW

BMW E46 manual

Nestbox B1BBH user guide

Nestbox

Nestbox B1BBH user guide

PNI SafeHome PT255 user manual

PNI

PNI SafeHome PT255 user manual

manuals.online logo
manuals.online logoBrands
  • About & Mission
  • Contact us
  • Privacy Policy
  • Terms and Conditions

Copyright 2025 Manuals.Online. All Rights Reserved.