.
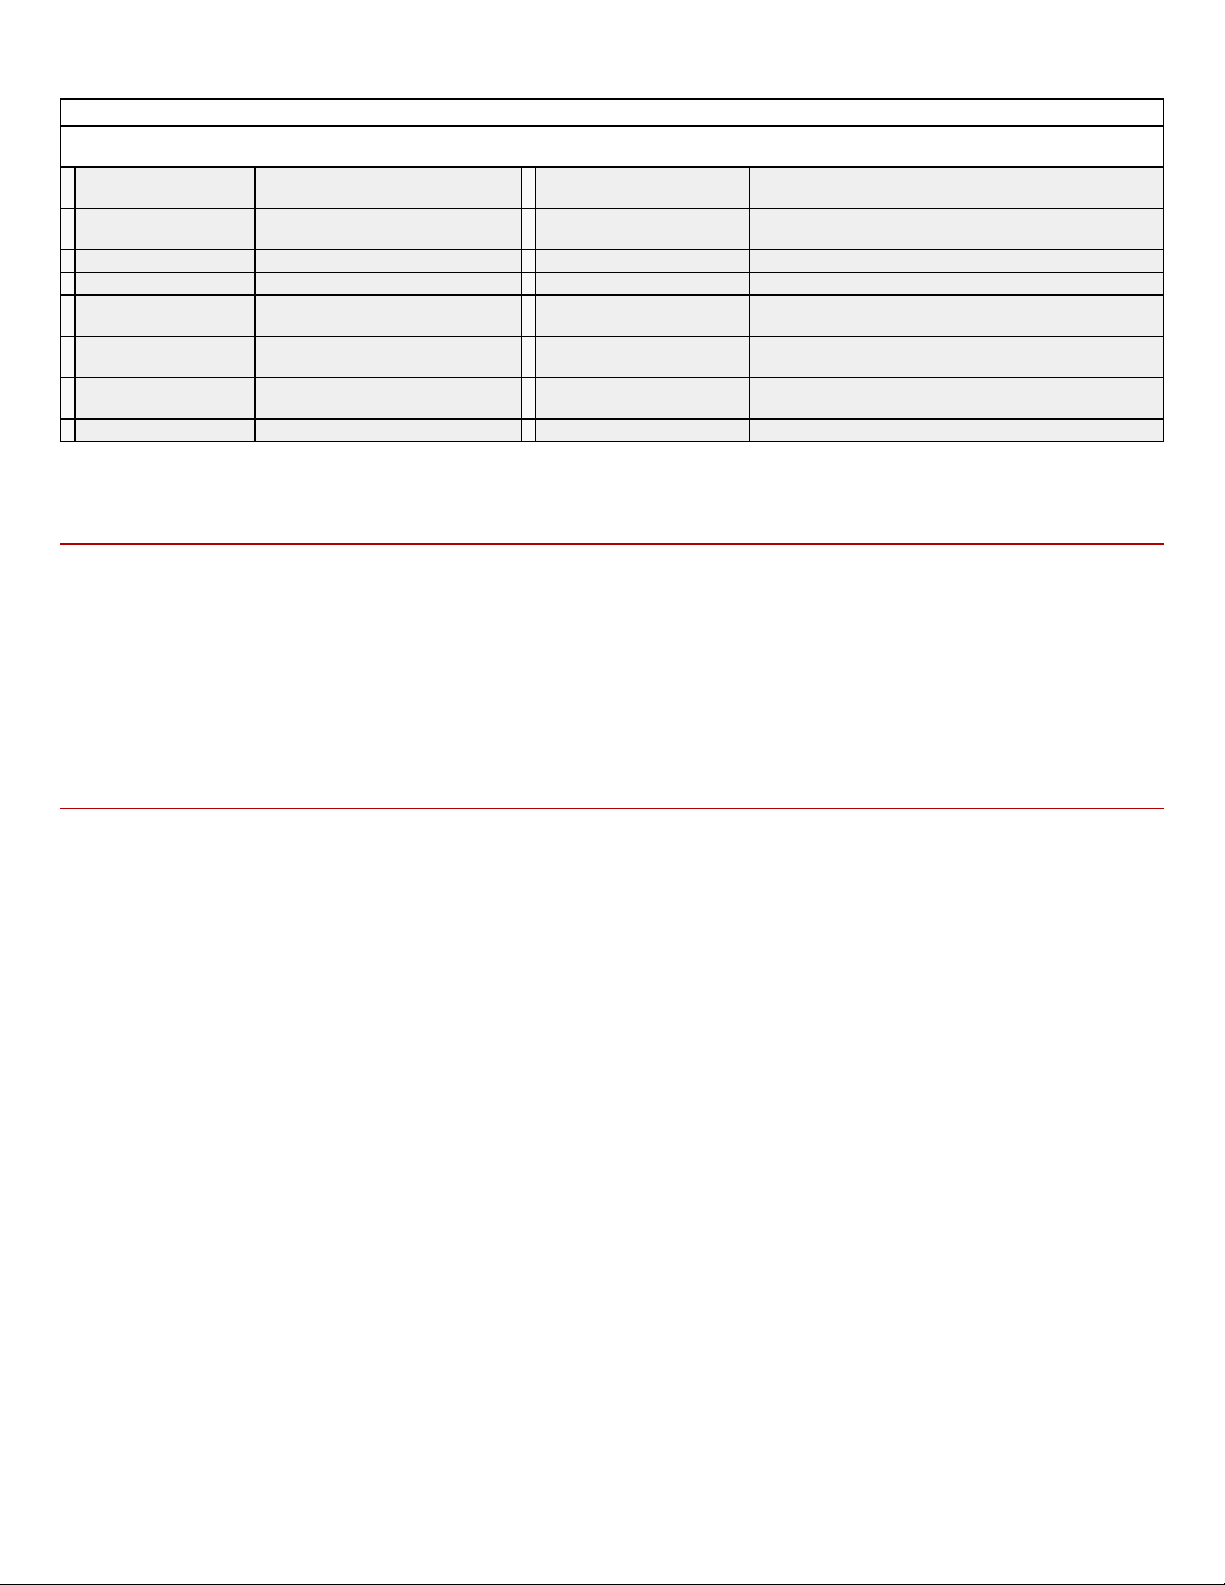
Additional Items Required ( Not Included in Kit)
Note: These are parts that we have used and are familiar with. There are many other brands available and you may substitute other items that
you are more comfortable with or have on hand.
1 En ine Norvel Bi Mi .049 or Norvel Bi
Mi .061
3 Hin es Si Easy Hin es # SH-710 or Du-Bro Kwik Hin e
#537
1 Motor Mount Dave Brown #0506 4 Motor Mount Screws and
Blind Nuts
4-40x3/4" Machine Screws and Blind Nuts Si #SH-
111 or Du-Bro #129
1 Fuel Tank Sullivan loz. #SS-1 or 2oz. #SS-2 1 1/2-A Fuel Line Si #SH-288 or Du-Bro #221
4 Servo Connectors Si #SH-736 or Du-Bro #121 1 White Coverin Material 1 Roll Top Flite Monokote and matchin paint
1 Red Coverin Material 1 Roll Top Flite Monokote and
matchin paint
1 Propeller Grish Tornado 6-3 Nylon Propeller #GRlQ1050
8 Rubber Bands (win
attach)
Si #SH-340 3 3/32" Wheel Collars Si #SH-585 or Du-Bro #138
2 Main Wheels Dave Brown Lectra Lite Wheels
#5620
1 Nose Wheel Dave Brown Lectra Lite Wheel #5617
3 Wheel Bushin s Make from K&S Brass Tube #127
General Note: Cover the plans with wax paper before assembling your model to prevent the parts from sticking to the plan.
Building the Tail Surfaces
1.
Join R-1 and R-2 together over the plan. Temporarily hinge the rudder (R-3) to the fin. Do not glue the hinges at this time.
2.
Join the elevators using the 1/8" dowel. Use the plan and the stabilizer as a guide. Trim the dowel if required to achieve
Temporarily hinge the elevators to the stabilizer. Do not glue the hinges at this time.
Sand the tail surfaces smooth and round all of the edges except the bottom edge of the fin.
5.
Assemble the left fuselage side. Glue parts F
-1 (L)and F2 (L) together as shown on the plan. The letter "L" is on the inside
of the left fuselage side parts and should face up on all the parts. When the glue is dry, glue part F-3 (L) into position on
the inside of the left fuselage side.
6.
Build the right fuselage side as you did the left. The parts for the right fuselage side are marked with an "R" on the inside
7.
Place the right fuselage side on the building board and place formers F-4 and F-5 into position. These formers should be
90 degrees to the Fuselage side. Glue the formers to the fuselage side. Now place the left fuselage side into position and
glue to the formers.
8.
Gently squeeze the aft end of the fuselage sides together and hold with two clothes pins. Glue the 3/32"x3/16" braces to
the front of former F-6 as shown on the plan. Place the formers F-6 and F-7 into position and glue them to the fuselage
sides. Glue the aft end of the fuselage sides together making sure that the joint is straight and not leaning to the left or
9.
Glue the firewall (F-
8) into position on the front of the fuselage sides. You must crack the firewall at the dashed line cut into
it so the bottom half angles forward as shown on the plan. When the firewall is in place, apply a line of glue to the front and
back at the cracked line.
11 together to form the fuselage top.
12.
Place the fuselage top into position. Glue the fuselage top to formers F-4 and F-
5 and to the fuselage sides between these
Glue the fuselage top to F
8 and to the fuselage sides from F
14.
Working from the F-5 to the rear, gently pinch the fuselage sides into contact with the fuselage top and glue together. Now
glue the fuselage bottom (F-12) into position.


