manuals.online logo
Brands
  1. Home
  2. •
  3. Brands
  4. •
  5. Smart Bridge
  6. •
  7. Security Sensor
  8. •
  9. Smart Bridge 9500N-100 User manual

Smart Bridge 9500N-100 User manual

【Quick Install Guide : Smart Bridge 9500N-100_Temperature Detect Mirror】
1 QIG-QTM 0.0.1-001 09-2020 / v1.1
Product Contents
The contents of the 9500N-100 temperature detect mirror
includes the following objects:
-9500N-100 temperature detect mirror x1 set
-USB power cord x 1 cable
-USB Power Supply 110/240V to 5V USB output x 1 set
-3M double-sided sticker x2
Prepare Before Use
1. Please take out the temperature detect mirror and 3M double-sided
glue sticker then paste to the position you want. Plug in the USB
power cord and connect to the power supply.
2. After power-on, OLED-screen will display the booting- screen about 5
to 10 seconds. Enter to temperature measurement mode directly
after the display is off.
Settings
Three different mode for setting temperature、temperature unit and alarm
sound sequentially. Holding the button with different time for different
setting:
1. Alarm temperature adjustment: Hold the button then release it while OLED
displays 3~5 to enter the setting. (Default: 37.5℃)
2. Celsius/Fahrenheit adjustment: Hold the button then release it while OLED
displays 6~9 to enter the setting. (Default: Celsius)
3. Alarm sound adjustment: Hold the button then release it while OLED
displays 9~11 to enter the setting. (Default: Speaker On)
Setup:
1. Press the side-button until OLED displays “3”then release. Display such
as 37.0, press again to 37.1 and so on. When the system detects no
further pressing within 3 seconds, the current temperature the alarm
temperature threshold. (Figure 1)
2. Press the side-button until OLED displays “6” then release. Display such
as ℃and press again for ℉. When the system detects no further
pressing within 3 seconds, use the current temperature unit. (Figure 2)
3. Press the side-button until OLED displays “9”then release. Display such
as “Speaker On”and press again for “Speaker Off”. When the system
detects no further pressing within 3 seconds, use the current alarm
sound setting. (Figure 3)
Measurement
1. The forehead is about 30-50 cm from the center of
the sensor.
2. Temperature measurements can be obtained 3 seconds later
(Figure 4)
3. Get your temperature correctly and you'll hear Bi sound
If the temperature is measured higher than setting
value, you will hear the “Bi Bi Bi”sound.
If the temperature is lower than setting value, you will
only hear a beep.
37.0
37.1
37.2
37.3
37.4
37.5
37.6
37.7
37.8
37.9
38.0
Figure1
Figure2
Figure3
Setting Button
【Quick Install Guide : Smart Bridge 9500N-100_Temperature Detect Mirror】
2 QIG-QTM 0.0.1-001 09-2020 / v1.1
Remarks
1. The product of temperature detect mirror cannot work under the
sunshine. For outdoor usage, it is recommended to set up a scaffold,
block ingenuity to the sun. When the sun shines directly, the hair quickly
absorbs the sun energy. Therefore the body temperature will pull up and,
do not measure the temperature at this time.
2. The ambient temperature need to be controlled between 15 to 35
degrees Celsius. Too low, or too high, measured body temperature has
been unable to refer. Please control the ambient temperature in order to
get the correct body temperature.
3. Different environment: When a person enters the room from outside, if
the temperature gap between the two is too large, it needs to be delayed
by about 5 minutes before testing temperature. For example, outdoor is
35 degrees Celsius, directly into the room for 25 degrees Celsius
condition, Detect temperature immediately, the temperature will be
incorrect.
4. For temperature detect mirror, it is recommended to power-on 5-10
minutes for warn up the system. Then, the detector could be work
normally.
5. This product is mainly used to detect the temperature of the forehead.
Other parts of the human body, the test will be incorrect.
Chinese website: http://www.smartbridge-info.com
English Website: http://www.smartbridge-tech.com

Other Smart Bridge Security Sensor manuals

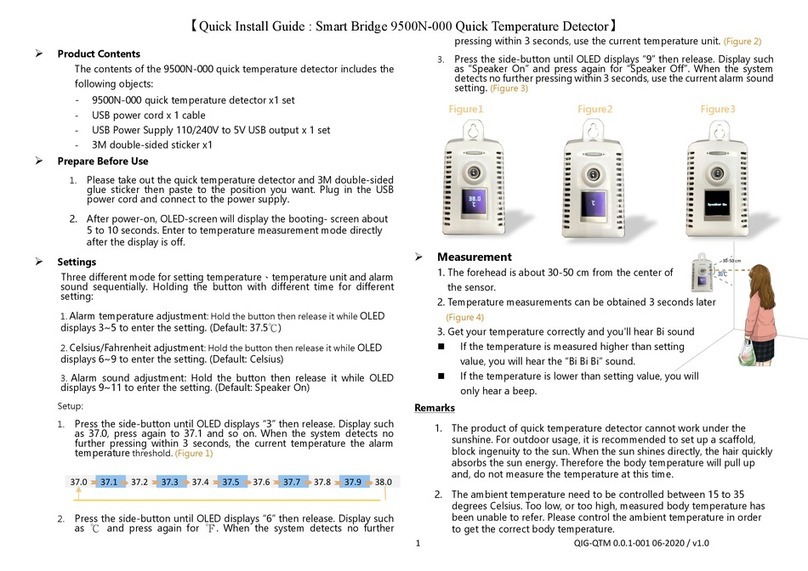
Smart Bridge Quick 9500N-000 User manual

Smart Bridge

Smart Bridge Quick 9500N-000 User manual

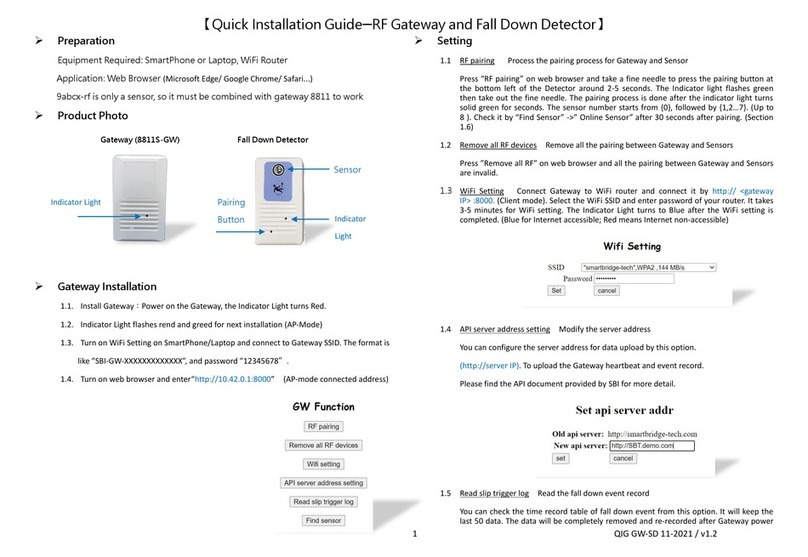
Smart Bridge 8811S-GW&9202N-RF User manual

Smart Bridge

Smart Bridge 8811S-GW&9202N-RF User manual

Smart Bridge 9500N-000 User manual

Smart Bridge

Smart Bridge 9500N-000 User manual

Popular Security Sensor manuals by other brands

Schonstedt Rex instruction manual

Schonstedt

Schonstedt Rex instruction manual

HEIDENHAIN LIDA 277 Mounting instructions

HEIDENHAIN

HEIDENHAIN LIDA 277 Mounting instructions

Visonic NEXT PG2 - installation instructions

Visonic

Visonic NEXT PG2 - installation instructions

Halma Ampac FastSense 25 Installation & operation

Halma

Halma Ampac FastSense 25 Installation & operation

AFRISO Eurovac HV operating instructions

AFRISO

AFRISO Eurovac HV operating instructions

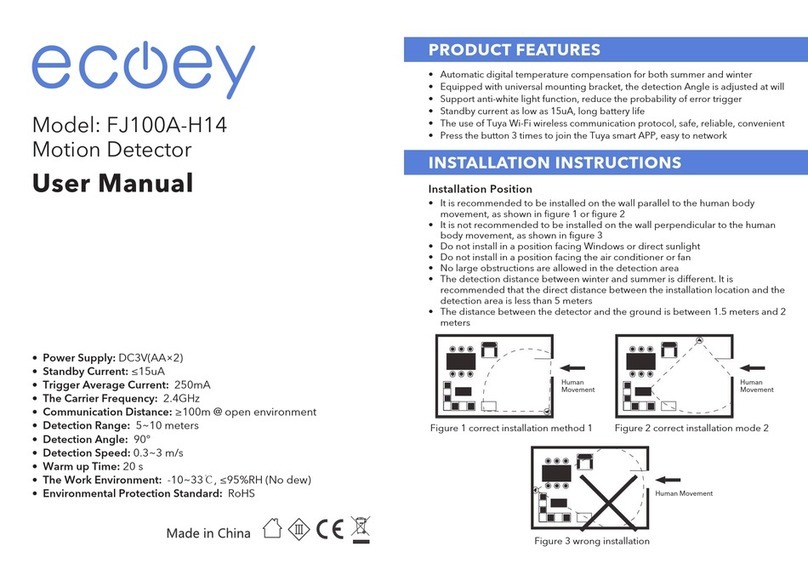
ecoey FJ100A-H14 user manual

ecoey

ecoey FJ100A-H14 user manual

Panaconic SQ4-A Series instruction manual

Panaconic

Panaconic SQ4-A Series instruction manual

Rielta OCHRANA ORLAN installation guide

Rielta

Rielta OCHRANA ORLAN installation guide

Siemens QRI Series manual

Siemens

Siemens QRI Series manual

Vivax Metrotech vLocDM User handbook

Vivax Metrotech

Vivax Metrotech vLocDM User handbook

Snap-On ACT760B user manual

Snap-On

Snap-On ACT760B user manual

Clas Ohlson ZP3102EU manual

Clas Ohlson

Clas Ohlson ZP3102EU manual

Tongdy MSD user manual

Tongdy

Tongdy MSD user manual

Bircher PrimeMotion C Translation of the original instructions

Bircher

Bircher PrimeMotion C Translation of the original instructions

Bradley S19-300T Installation

Bradley

Bradley S19-300T Installation

AJAX Systems StreetSiren user manual

AJAX Systems

AJAX Systems StreetSiren user manual

schmersal RSS 36-SD-R-ST manual

schmersal

schmersal RSS 36-SD-R-ST manual

Mule Lighting , Inc. CEL Installation and operation instructions for

Mule Lighting , Inc.

Mule Lighting , Inc. CEL Installation and operation instructions for

manuals.online logo
manuals.online logoBrands
  • About & Mission
  • Contact us
  • Privacy Policy
  • Terms and Conditions

Copyright 2025 Manuals.Online. All Rights Reserved.