CHAPTER 1
WELCOME
4 smarttech.com/kb/170818
NOTES
lThis guide documents room systems with SMARTBoard 8055i-G5, 8070i-G4 and 8084i-G4
interactive flat panels. For information on room systems with SMARTBoard 8055i
interactive flat panels, see the
SMARTRoomSystem for Lync setup and maintenance
guide
(smarttech.com/kb/170450).
lOther, minor components are documented elsewhere in this guide.
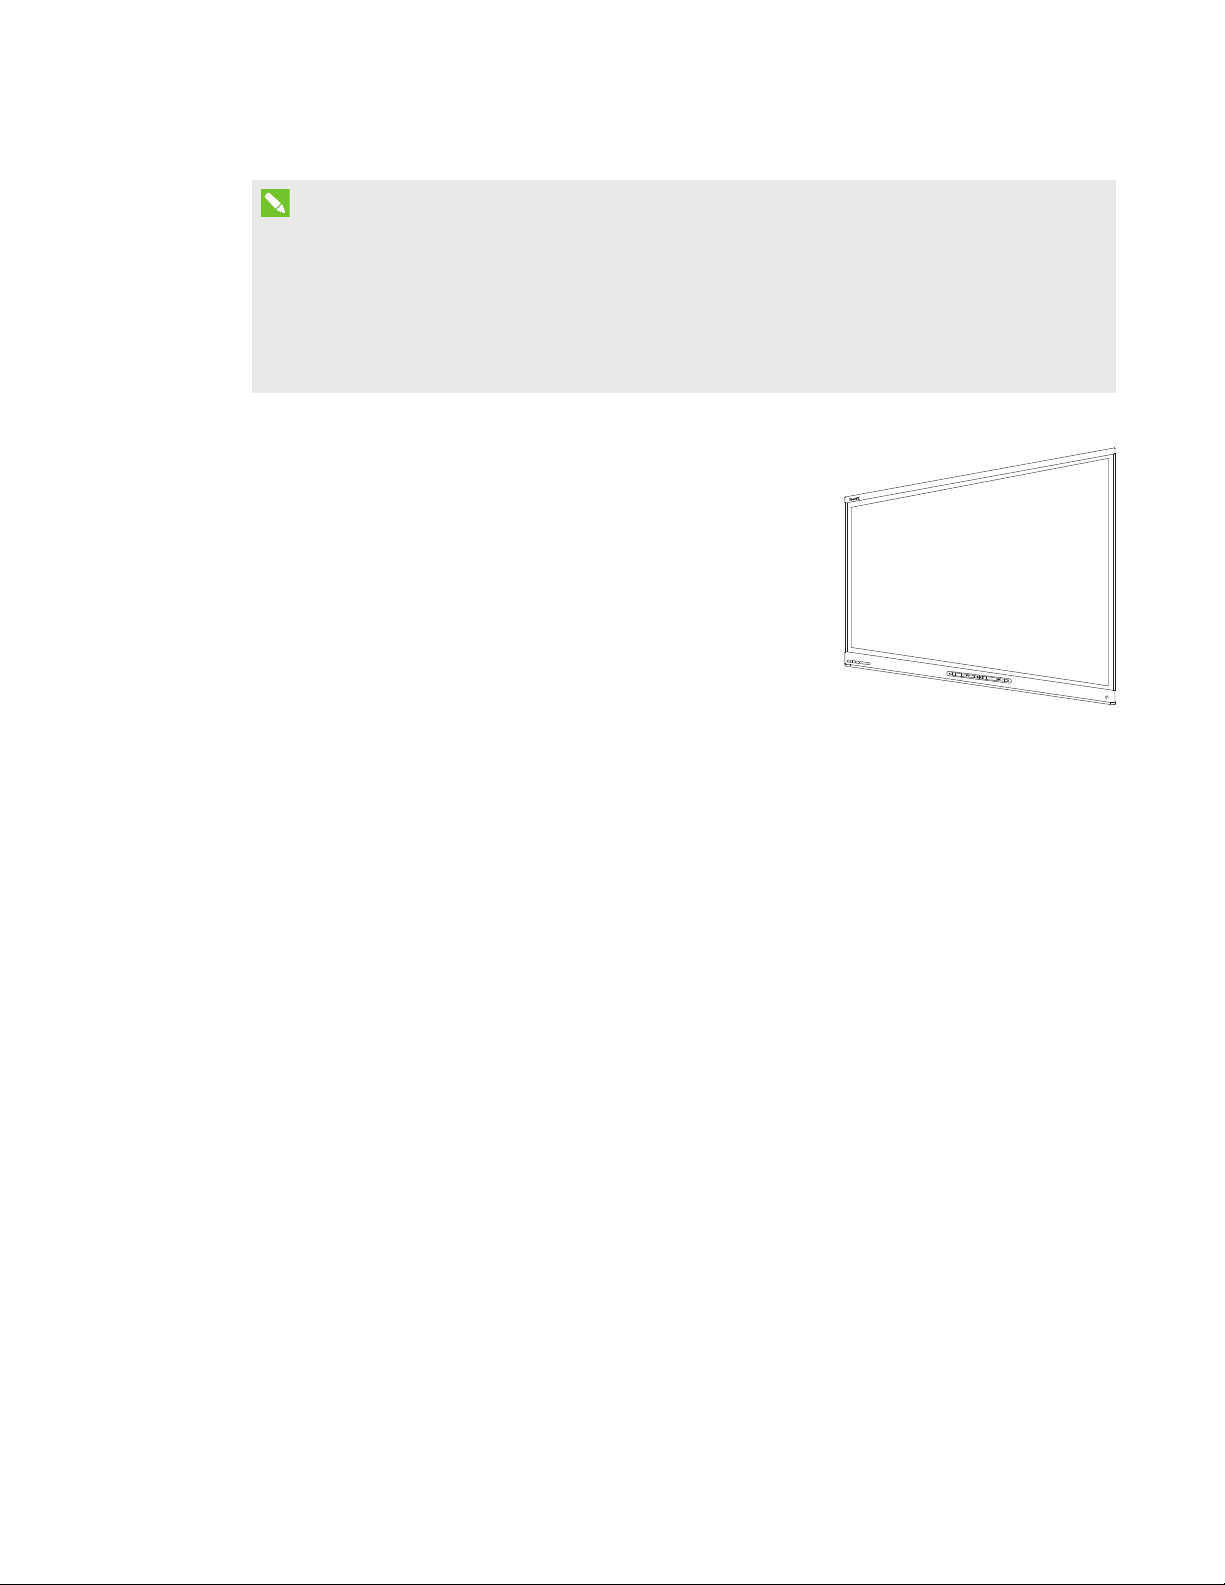
SMARTBoard interactive flat panels
SMARTBoard interactive flat panels feature SMART’s proprietary
DViT® (DigitalVisionTouch) technology on a 16:9 LCD screen with
e-LED backlight. DViT technology enables you to do the following:
lInteract with content by pressing it with your fingers
lWrite digital ink using your fingers or one of the provided pens
lErase digital ink using your fists, your palms or the provided
eraser
During a meeting, the interactive flat panels show video, shared
PowerPoint files, and video input from optionally connected computers. In addition, you can use
the whiteboard feature to record notes and share them with others.
For information on which interactive flat panel model is included with your room system and the
differences between these models, see
Comparing room sizes
on page7.
Lync appliance
The Lync appliance includes Lync Room System software as well as SMARTProductDrivers. Lync
Room System software enables you to start, join and facilitate meetings and connect with others
through your organization’s Lync infrastructure. SMARTProductDrivers enables the touch features
of the interactive flat panels and the operation of the all components in the room system.
In room systems with SMARTBoard 8055i-G5 interactive flat panels, the Lync appliance is installed
in an enclosure mounted to the wall behind the left interactive flat panel.
In room systems with SMARTBoard 8070i-G4 and 8084i-G4 interactive flat panels, the Lync
appliance is installed in a slot on the bottom of the left interactive flat panel.