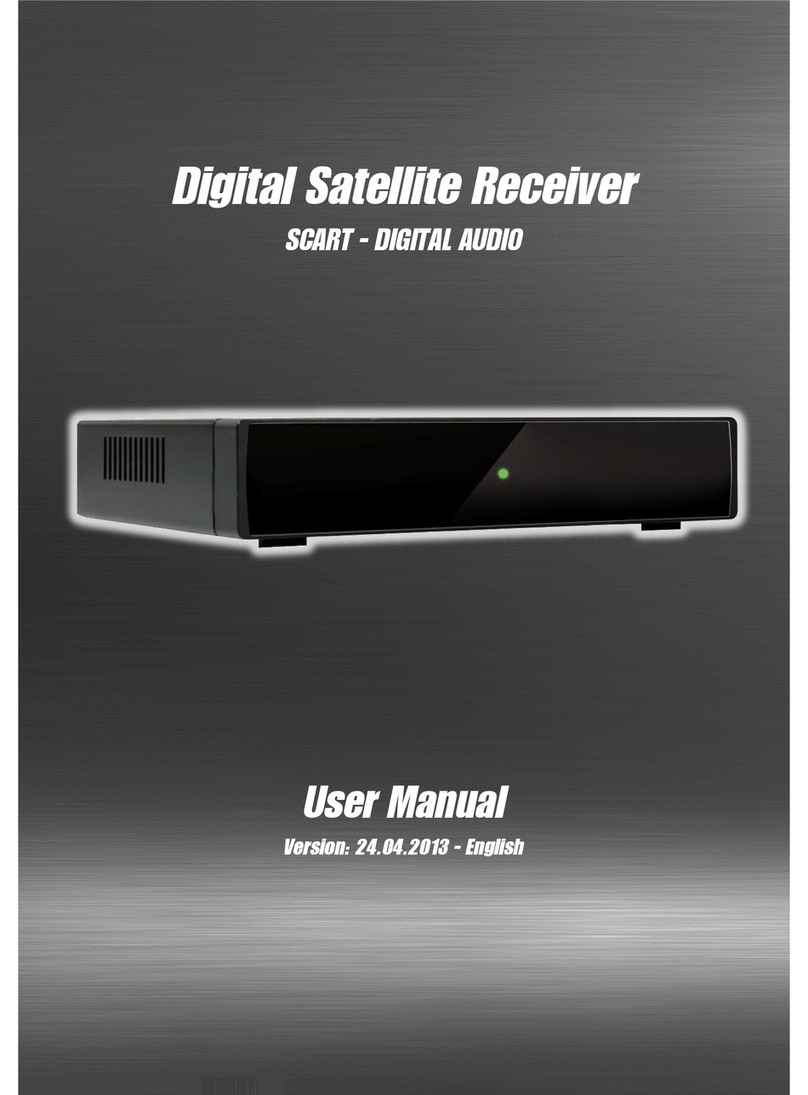
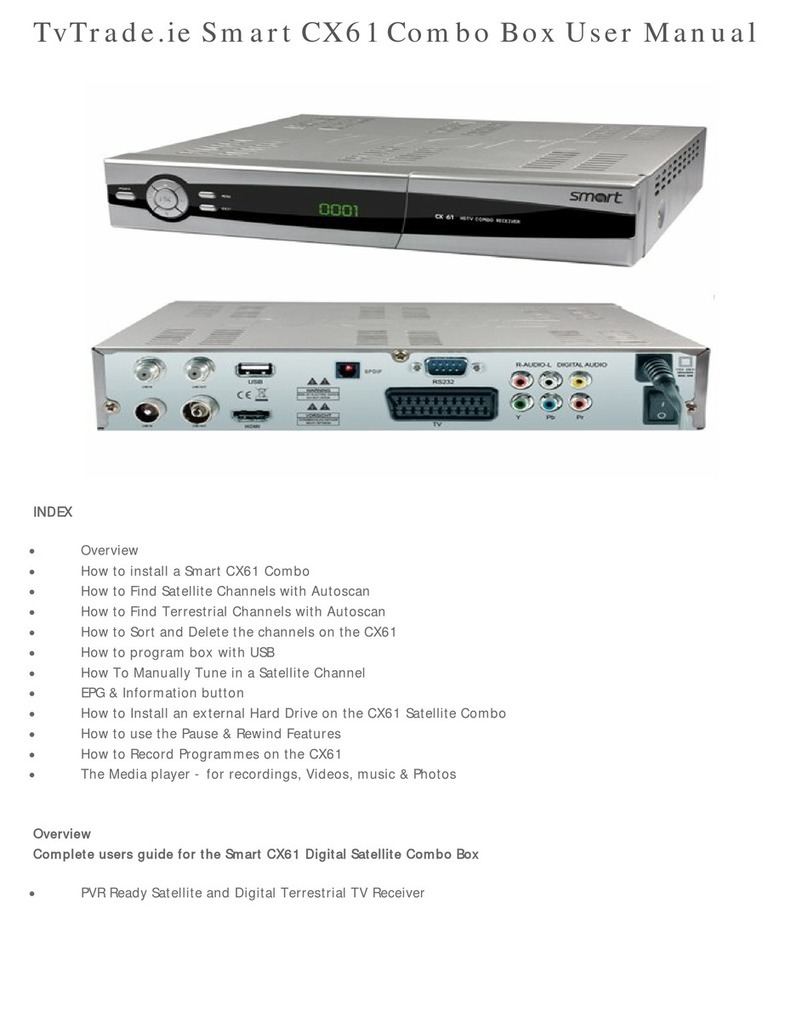
SMART MX 05 L User manual

Preface
Smart MX 05 L DE 1
MX 05 L
Digital Satellite Receiver
V
ersion 31.07.2009
Owner's Manual

Preface
2 DE Smart MX 05 L
Preface
Dear Customer,
Thank you for purchasing this digital satellite receiver Smart MX 05 L.
Before operating this receiver, please read the manual of the Smart MX 05 L.
carefully.
This manual helps you with the
•designated,
•safe and
•advantageous
use of the digital satellite receiver Smart MX 05 L.
Everyone who
•installs,
•connects,
•operates,
•cleans or
•disposes of this receiver
must have familiarised himself with the complete contents of this manual.
Please keep this manual always at hand near the receiver.
We hope you enjoy using your Smart MX 05 L.
Your smart electronic GmbH

Preface
Smart MX 05 L DE 3
Contents
Preface ............................................................................................................. 2
Contents........................................................................................................... 3
Safety Instructions.......................................................................................... 4
Designated Use ............................................................................................... 5
Scope of Delivery ............................................................................................ 5
SAVE ENERGY ................................................................................................ 5
Overview of the Units ..................................................................................... 6
Connection..................................................................................................... 10
Start-up of the Receiver................................................................................ 12
Settings .......................................................................................................... 13
Editing Channels........................................................................................... 15
Installation ..................................................................................................... 16
System Settings ............................................................................................ 17
Tools............................................................................................................... 19
Games ............................................................................................................ 20
Recording....................................................................................................... 21
Operation ....................................................................................................... 22
Update ............................................................................................................ 26
Cleaning ......................................................................................................... 27
Shutdown and Storage of the Receiver ...................................................... 27
Troubleshooting............................................................................................ 28
Disposal ......................................................................................................... 29
Specifications................................................................................................ 30
Warranty......................................................................................................... 31
Manufacturer.................................................................................................. 32
Declaration of Conformity ............................................................................ 32
Safety Instructions
4 DE Smart MX 05 L
Safety Instructions
Caution!
Before operating the receiver, please read the safety
instructions carefully.
Please observe all warning and notes on the unit and in this
manual.
Moisture
•Make sure that receiver and mains plug do not come into contact with any
moisture whatsoever.
Electric Hazards
•Connect the receiver to 175 - 250 V ~, 50/60 Hz only.
•During an electric storm or operational faults, pull the plug.
Mechanical Hazards
•Do not bend or squeeze the cable.
•Repairs on plug, cable or receiver may only be performed by qualified
skilled personnel..
•Do not place any heavy objects on the receiver.
Correct installation site
•Place the receiver on a solid flat surface.
•Protect receiver from moisture, heat, dust, dirt, etc.
•Ensure sufficient ventilation (do not cover the ventilation slots)
Proper handling of batteries
•Batteries must be kept away from children.
•Leaking batteries may cause damage to the environment and the remote
control.
ÖBatteries must be disposed of in accordance with current legal regulations
(see chapter Disposal, page°29).

Designated Use
Smart MX 05 L DE 5
Designated Use
The digital satellite receiver Smart MX 05 Lis intended for the reception of
digital satellite programs in the private sector. It is designed exclusively for this
purpose and may be used only for such purpose.
Any other purposes are not considered the designated use.
We will not be held liable for damage caused by such use contrary to the
designated use.
Scope of Delivery
•Satellite Receiver Smart MX 05 L,
•Remote control
•2 batteries (AAA) for the remote control,
•one owner's manual.
If you have any questions:
Öplease contact the manufacturer (see chapter Manufacturer, page°32)
SAVE ENERGY
The receiver Smart MX 05 L is equipped with special energy-saving electric
and electronic components. Moreover, a well thought-out energy management
will help you save energy.
the SAVE-ENERGY Standby mode will lower the power consumption to
considerably less than 1 Watt!

Overview of the Units
6 DE Smart MX 05 L
Overview of the Units
Receiver
Figure 1: Operating elements and connections
No. Designation Function
1 STANDBY Standby/Normal mode selector switch
VOL- To reduce the volume / in the menu to the left
VOL+ To increase the volume / in the menu to the right
OK To show channel list / To confirm menu item
CH- Channel Down / in the menu down
2
CH+ Channel Up / in the menu up
3 EXIT To exit menu or menu item
4 MENU To display menu or exit menu
5 Display and LEDs red = Standby; green = Normal mode
6 USB USB connection behind flap

Overview of the Units
Smart MX 05 L DE 7
No. Explanation
7 LNB OUT – loop through for additional receivers
8 LNB IN – Antenna connection
9 Scart connection of TV set
10 Scart connection of video/DVD player
11 RS-232 connection (for updates)
12 VIDEO – connection to TV set (Composite)
13 0/12V - Control voltage
14 Audio stereo connection
15 Digital Audio Output SPDIF
16 Mains switch
Remote Control
Inserting batteries
Figure 2: Inserting the batteries into the remote control
Replacing the batteries
ÖReplace batteries when the range of the remote control is decreasing or
when the receiver no longer reacts to all commands.
•Required batteries 2 size AAA
•When not used for prolonged periods of time, batteries may
leak. Remove batteries from the remote control if it is not
used for long periods of time (> 1.5 years).
•When replacing batteries, always replace all batteries.

Overview of the Units
8 DE Smart MX 05 L
Keys of the remote control handset
Figure 3: Remote control

Overview of the Units
Smart MX 05 L DE 9
No. Description
1 To switch between operating and standby modes.
2 Direct channel selection or input of alphanumeric characters
3 To switch between TV and radio modes.
4 Channel + or cursor up
5 To start/finish Electronic Programme Guide
6 Volume - or menu option left
7 To load favourite channel list
8 Channel - or cursor down
9 Channel search function
10 Video text
11 Still image
12 To show information on the current programme
13 To switch between TV and AV modes.
14 Recording
15 To play
16 Fast Forward and Backward
17 Mute switch
18 To switch to the previously selected channel
19 Main menu
20 To show channel list or confirm menu item
21 Volume + or menu option to the right
22 To exit menu or menu item
23 To scroll page up in menu
24 To enlarge image detail
25 To scroll page down in menu
26 To change Audio mode
27 To show several programmes on screen (multi-picture)
28 To set switch-off timer
29 Timeshift
30 Stop
31 Slow Fast Forward or Backward

Connection
10 DE Smart MX 05 L
Connection
Caution!
Connect the receiver first to the cable network and then to all
other units, before plugging the mains plug into the socket.
Figure 4: Connection diagram

Connection
Smart MX 05 L DE 11
1. Connecting the cable of the satellite installation
ÖConnect cable of the satellite installation to LNB IN.
The satellite signal that is active at the "LNB IN" connection is
looped through the receiver and can be tapped an the "LNB
OUT" connection, to connect, if desired, additional receivers.
2. Connecting the TV set
Is there a scart socket at the TV
set?
Is there a composite socket at the
TV set?
ÖConnect the TV set to the
receiver with a Scart cable.
ÖConnect TV set to the receiver
with a suitable cinch cable
(shown in dotted lines in the
circuit diagram).
3a. Connecting the stereo system
Once the receiver has been connected to the TV set with a
Scart cable, the audio signal can be tapped at the receiver
using AUDIO-L and AUDIO-R cinch sockets.
3b. Connecting the home cinema system
If your home cinema system can process digital audio data SPDIF:
ÖConnect the home cinema system to the receiver with a suitable cinch
cable.
4. Connecting the power supply
Once all units have been properly connected to the receiver:
ÖPlug mains plug into socket.

Start-up of the Receiver
12 DE Smart MX 05 L
Start-up of the Receiver
Switching on
ÖSwitch on all connected units.
ÖSwitch on the receiver on the mains switch at the rear panel.
The receiver is now in Standby mode.
ÖSwich on the receiver on the Power key of the unit or on the remote
control.
First start-up
During the first start-up or after a factory reset, the following menus appear
automatically.
1. Language
Here you can select the menu language of the OSD (On Screen Display).
2. RAPS
RAPS (Receiver Automatic Programming System) will
automatically programme for you the channel list and maintain
it automatically in the latest version.
If you need further information on RAPS, please contact your
specialist dealer, the manufacturer or visit www.raps.tv
3. Selecting a satellite
ÖSelect which satellites you want to receive with your satellite system.
4. RAPS list and regional channels
Depending on the Länder setting, RAPS will save the correct
channel list and your regular regional station on the 3rd
channel.
4. Erotic contents
ÖSelect whether or not you want to receive erotic channels.

Settings
Smart MX 05 L DE 13
Settings
A menu or OSD is an operator panel displayed on screen
(OnScreenDisplay)
Settings can be made both on the receiver keys (Fig. 5, left)
and on the remote control (Fig. 5, right).
Figure 5: Menu Navigation
Display/Exit menu
ÖPress MENU key.
The menu is displayed.
ÖPress EXIT key.
One level back in the menu
To return to the Normal mode, you may have to press the key several times.
Navigation in the menu
ÖPress PR+ in the menu, to go one menu item up
ÖPress PR- in the menu, to go one menu item down
ÖPress VOL+ in the menu, to increase the selected value
ÖPress VOL- in the menu, to decrease the selected value
ÖPress OK/LIST in the menu, to select a menu item or to confirm a set
value.
Menu items that are active are highlighted in colour.
The different menus explain the functions of each key once
again at the bottom margin of the screen.

Settings
14 DE Smart MX 05 L
Menu Structure
Figure 6: Menu Structure

Editing Channels
Smart MX 05 L DE 15
Editing Channels
TV Channel List / Radio Channel List
Here the current channel list can be edited. The following editing options are
available:
FAV To add a channel to a favourite channel group
ÖMark channel
ÖPress "FAV" key
ÖAssigning a channel to a favourite channel group
ÖPress OK to confirm
Lock Protects a channel by a password
ÖPress red "FIND" key
ÖMark channel
ÖPress OK to confirm and enter password
Skipping Skips a channel during zapping
ÖMark channel
ÖPress green "ZOOM" key
ÖPress OK to confirm lock
Move Moves a channel to a different channel number.
ÖPress yellow "TXT" key.
ÖMark channel
ÖMoves channel to the desired channel number.
ÖPress OK to confirm
Change ÖPress blue "AUDIO" key
•The red "FIND" key can now be used to resort the
channel list.
•The green "ZOOM" key can be used to rename the
channel.
•The blue "AUDIO" key can be used to delete the
channel.
Delete All
All channels are deleted

Installation
16 DE Smart MX 05 L
Installation
Antenna Selection
If several antennae are connected to your receiver, you can select the
antenna whose signal you want the receiver to receive.
Satellite List
Here you can set which satellites you are receiving.
Antenna Settings
In the Antenna Settings menu, you can make extensive settings with regard to
the received satellites, transponders, frequencies, motorised control,
polarisation, etc.
Caution!
If you're doubt, have an expert make the settings in this
menu.
For normal use, it is usually not required to make any settings
here.
Single Satellite Search / Multi-Satellite Search / TP List
Once you have activated RAPS, it is usually not necessary to
make any settings in these menus.
In the "Single Satellite Search" menu, you can search individual satellites for
receivable channels.
In the "Multi-Satellite Search" menu, you can search all received satellites for
receivable channels.
In the "TP List" menu, you can search individual transponders selectively for
channels.

System Settings
Smart MX 05 L DE 17
System Settings
Language
Language
Here you can select the menu language of the OSD (On Screen Display).
Audio chanel
Here you can select the language of the two audio channels.
Some stations broadcast in different languages. When the
language that you have set is broadcast, your TV set will
broadcast automatically in this language.
Language of the subtitles
Here you can select the language of the subtitles
Teletext
Here you can select the language of the teletext
TV System
Display Mode
Here you can select the video signal type.
The available options are PAL, NTSC, SECAM and PAL/NTSC.
PAL is the TV standard in Europe
Aspect Ratio
Here you can select in which length-to-width ratio the TV picture is to be
transmitted to the TV set.
Video Output
Here you can select which video output is to be used.
Local Time Settings
In this menu, you can select whether the time and date are to be transmitted
and set automatically (GMT = on) or whether you want to set time and date
yourself. (GMT = off).

System Settings
18 DE Smart MX 05 L
Timer Settings
In this menu, you can add, edit or delete timer events.
Timer events are times programmed by you, at which your TV
set will jump to a preset channel or record a programme and
save it to your data carrier.
Date and time are entered on the numeric keys of your remote
control.
You can also select a programme in your electronic
programme guide ("EPG" key on your remote control) and
directly add the timer.
Parental Lock
As-delivered the password is set to 0000.
Menu Lock
Here you can set whether access to the Settings menus is to be protected by
a password.
PIN
Here you can set whether certain channels (see TV Channel List) are to be
protected by a password.
New password
Here you can assign a new password.
OSD Settings
Display Subtitles
Here you can activate of deactivate the display of subtitles.
Hide OSD
Here you can set the time in seconds (1 - 10) during which the info menu
remains on screen when changing channels.

Tools
Smart MX 05 L DE 19
OSD Transparency
Here you can select how transparent you want the OSD to be.
Favourites
Here you can rename your favourite channel groups.
Others
LNB Voltage
Here you can select whether the reception head (LNB) is to be supplied with
power.
Channel Display Type
Here you can set whether all channels, only free-to-air channels or only
encoded channels are to be displayed.
Switching channels
When switching between different channels, it often happens
that a short pause occurs until the receiver shows the picture of
the selected channel.
Here you can set whether you want the picture to be frozen for a short instant
or prefer a black screen during this time.
Acoustic Signal
Here you can set whether you want your TV set to play an acoustic signal
while you're in the "Antenna Settings" menu.
The acoustic signal sequence accelerates when the signal is better and slows
down when the signal is poorer.
Tools
Information
This menu displays the version of your loaded software.
No settings are possible here.
Factory setting
In this menu, all receiver settings can be reset to the factory settings.

Games
20 DE Smart MX 05 L
Update via USB
In this menu, you can start the software update via USB
Software update via satellite
In this menu, you can start the software update via satellite.
USB
The USB menu can only be opened when a USB storage
medium has been connected.
To navigate through files and menus on the USB data carrier, use the arrow
keys and the OK key on the remote control (left) or on the receiver (right).
Figure 7: USB Navigation
Open Playlist
Add Selected File to Playlist
Show All Music Files
Show All Video Files
Games
This menu contains a few games:
For game selection and operation, see chapter Navigation in the menu, page
13).
Table of contents
Other SMART Receiver manuals