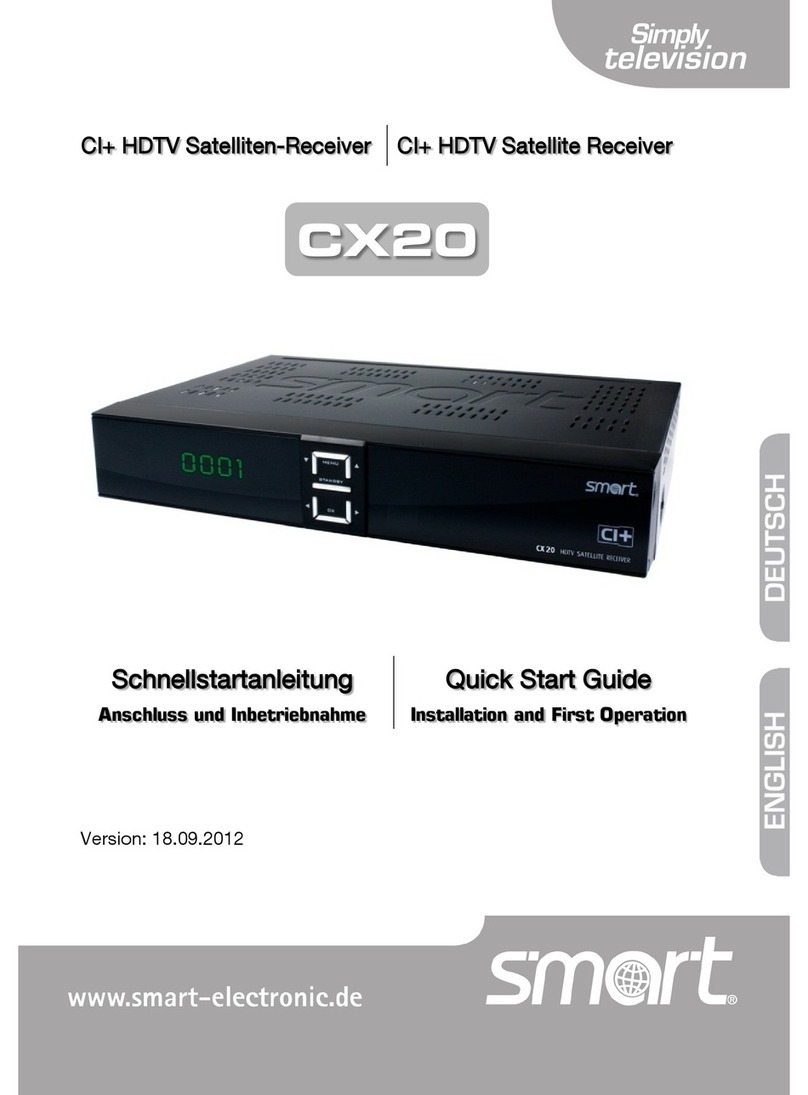
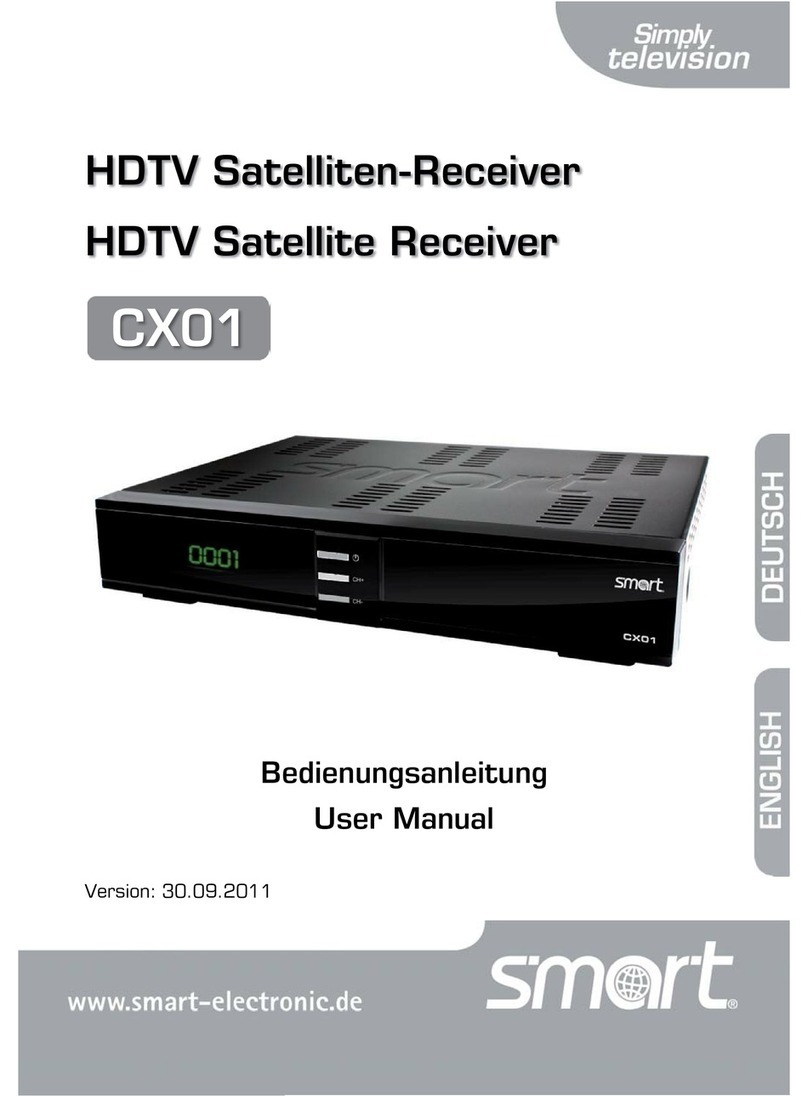
SMART CX10 User manual

HDTV Satellite Receiver
CX10/VX10
User Manual
Version: 14.05.2013 - English

Preface
2 smart CX10/VX10
Preface
Dear customer!
Thank you for purchasing a smart CX10/VX10 HDTV satellite receiver. This
manual explains how to
•install,
•connect,
•customize,
•operate,
•clean or depollute
the receiver. Please read the manual carefully before operating the unit.
We hope you enjoy using your smart receiver.
Your
smart electronic GmbH
Industriestrasse 29
78112 St. Georgen
Germany
Service-Hotline: +49 (0) 7724 94 78 555
Telefax: +49 (0) 7724 94 78 333
E-Mail: service@smart-electronic.de
Internet: www.smart-electronic.de
© smart electronic GmbH 2013
All rights, technical changes, errors as well as printing mistakes reserved. Any reproducing or
copying of the contents requires prior written permission from smart.

Contents
smart CX10/VX10 3
Contents
1General Advice ..................................................................................10
1.1 Use of this Manual...............................................................10
1.2 Symbols and Illustration Agreements..................................10
2Product Description..........................................................................11
2.1 Scope of Delivery ................................................................11
2.2 Receiver...............................................................................12
2.2.1 Receiver Front (flap open) ...................................................12
2.2.2 Rear Panel ...........................................................................13
2.3 Remote Control Unit............................................................14
2.4 Save Energy.........................................................................16
2.5 Warranty ..............................................................................16
3Safety Instructions............................................................................16
3.1 Designated Use ...................................................................16
3.2 Hazards during designated use...........................................17
3.3 Grounding............................................................................17
3.4 Installation Location.............................................................17
3.5 Proper Handling of Batteries...............................................18
3.6 Product Liability...................................................................18
4Connecting smart CX10/VX10 .........................................................18
4.1 Connection Diagram............................................................19
4.2 Connecting the Satellite System .........................................19
4.3 Connecting the TV Set ........................................................19
4.4 Connecting a Home Theater System (optional) ..................20
4.5 Connecting a Data Storage Device (optional) .....................21
4.6 Connecting a Home Network (optional) ..............................22
4.7 Inserting the Batteries of the RCU.......................................22
5Basic Operation.................................................................................22
5.1 Switching on the Receiver...................................................23

Contents
4 smart CX10/VX10
5.2 Software Update ................................................................. 28
5.2.1 Update via USB................................................................... 28
5.2.2 Online Update ..................................................................... 29
5.2.3 OTA Update ........................................................................ 30
5.2.4 Automatic Update ............................................................... 30
5.2.4.1Update During Operation.................................................... 30
5.2.4.2 Update During Standby-Mode............................................ 31
5.3 Installation with RAPS......................................................... 24
5.4 Installation without RAPS.................................................... 26
5.4.1 Predefined List .................................................................... 26
5.4.2 Automatic (HD+).................................................................. 27
5.5 Network............................................................................... 28
5.6 Operation Mode .................................................................. 28
5.7 Open/Close Menu............................................................... 32
5.8 Menu Navigation ................................................................. 32
5.9 Watching TV........................................................................ 33
5.9.1 Channel Selection ............................................................... 33
5.9.2 Select Channel List ............................................................. 34
5.9.3 Recall................................................................................... 35
5.9.4 Teletext (Videotext) ............................................................. 35
5.9.5 Quick Access Menus .......................................................... 37
5.9.6 Adding a channel to a favorite ............................................ 39
5.9.7 Subtitles .............................................................................. 39
5.9.8 Aspect Ratio........................................................................ 40
5.9.9 TV Resolution...................................................................... 41
5.9.10 Soundtrack.......................................................................... 42
5.9.11 Audio ................................................................................... 42
5.9.12 Sleep Timer ......................................................................... 43
5.9.13 Parental Control .................................................................. 44
5.9.14 Mini Guide ........................................................................... 44
5.9.15 Full Guide ............................................................................ 46
5.9.16 Personal Planner ................................................................. 48
5.9.17 List Manager ....................................................................... 48

Contents
smart CX10/VX10 5
5.10 HbbTV..................................................................................48
6PVR .....................................................................................................49
6.1 Record .................................................................................49
6.2 Programming via EPG .........................................................50
6.3 Time Shifting........................................................................52
6.4 Playback ..............................................................................52
6.4.1 Direct Playback....................................................................52
6.4.2 Playback via the Media Player ............................................53
6.5 Recording one Channel and Watching another at the
same Time ...........................................................................53
6.6 Recording and Playing EPG Data .......................................53
7Extended Functions and Settings ...................................................54
7.1 Operating Mode Live TV......................................................54
7.2 Operating Mode Live Radio.................................................54
7.3 Manage Your Recordings....................................................54
7.3.1 Display and Playback Recordings.......................................54
7.3.2 Deleting a Recording File ....................................................55
7.3.3 Renaming a Recording File .................................................56
7.3.4 Define default directories.....................................................56
7.3.5 Formatting a storage device................................................56
7.3.6 Mounting/Unmounting an USB or eSATA device ...............57
7.3.7 Testing a Storage Device ....................................................58
7.4 Programming a Timer..........................................................58
7.4.1 Setting Start Time and End Time ........................................59
7.4.2 Setting Start Date and End Date .........................................59
7.4.3 Setting the Channel .............................................................59
7.4.4 Setting the Event Type ........................................................59
7.4.5 Repeat Mode .......................................................................60
7.4.6 Ending Timer Setting ...........................................................60
7.5List Manager........................................................................60
7.5.1 Delete a Channel List...........................................................61
7.5.2 New Channel List.................................................................61

Contents
6 smart CX10/VX10
7.5.3 Rename Channel List.......................................................... 62
7.5.4 Editing Channel Lists .......................................................... 62
7.5.5 Adding a Channel to a Favorite List.................................... 63
7.5.6 Deleting a Channel from a Favorite List.............................. 63
7.5.7 Sorting a Channel List......................................................... 63
7.5.8 Moving a Channel in a Channel List ................................... 63
7.5.9 More List Editor Functions.................................................. 64
7.6 Guide................................................................................... 65
7.7 Media Player ....................................................................... 65
7.7.1 Network streaming.............................................................. 67
7.7.1.1 Password ............................................................................ 67
7.7.1.2 Firewall ................................................................................ 67
7.7.2 Receiver Settings for Streaming ......................................... 67
7.7.3 How to Share Folders and Drives ....................................... 68
7.7.3.1 How to Share Folders and Drives with Windows XP.......... 69
7.7.3.2 How to Share Folders and Drives with Windows 7 ............ 69
7.7.4 Example Music.................................................................... 71
7.7.5 Example Photos.................................................................. 72
7.8 Web ..................................................................................... 72
7.9 Control Panel ...................................................................... 73
7.9.1 User Preferences................................................................. 74
7.9.1.1 Default State of the Receiver After Power-Up.................... 74
7.9.1.2 Number of Channels in the Channel Memory..................... 74
7.9.1.3 Setting the Energy mode .................................................... 74
7.9.1.4 User Interface...................................................................... 75
7.9.1.5 Quick View Window Behavior............................................. 75
7.9.1.6 Getting Informed About Existing HbbTV Content .............. 75
7.9.1.7 Automatic Standby-Mode................................................... 76
7.9.1.8 Functions for the Keys FAV, EPG and HELP...................... 76
7.9.1.9 Automatic Playback of a Multimedia File............................ 77
7.9.1.10 Leaving the Menu “User preferences”................................ 77
7.9.2 Time / Date.......................................................................... 78
7.9.3 Languages........................................................................... 79
7.9.4 Recording............................................................................ 79

Contents
smart CX10/VX10 7
7.9.4.1 Setting Lead Time and Overrun Time..................................79
7.9.4.2 Setting Default Directories for Recordings and
Timeshift ..............................................................................79
7.9.4.3 Channel Change During Recording.....................................80
7.9.4.4 Recording Subtitles .............................................................80
7.9.4.5 Recording Audio Tracks......................................................80
7.9.4.6 Recording Teletext ..............................................................80
7.9.4.7 Power at the USB Port ........................................................80
7.9.4.8 Blocking the menu during recording...................................80
7.9.5 Parental Control / Pin Code.................................................81
7.9.6 Network ...............................................................................81
7.9.6.1 Wired Network – LAN ..........................................................81
7.9.6.2 Wireless Network – WLAN...................................................83
7.9.6.3 Showing Network Connection Parameters.........................84
7.9.6.4 Activating a Network Quality Control ..................................84
7.9.7 Channel Search ...................................................................84
7.9.7.1 Satellite Search....................................................................84
7.9.7.2 Advanced Channel Search..................................................85
7.9.8 Factory Settings ..................................................................85
7.9.9 System Update....................................................................86
7.9.10 System information..............................................................86
7.9.11 Audio / Video .......................................................................86
7.9.11.1 Digital Audio Out..................................................................86
7.9.11.2 HDMI Output........................................................................87
7.9.11.3 TV Scart ...............................................................................87
7.9.11.4 HDCP...................................................................................87
7.9.11.5 Disable Analog Video Output ..............................................87
7.9.11.6 Adaptive Scan HDMI ...........................................................88
7.9.12 Antenna................................................................................88
7.9.13 Smartcard............................................................................89
7.9.14 RAPS Config........................................................................90
7.10 Sorting Channels .................................................................90
7.11 EPG More options ...............................................................91
7.12 Using USB Input Devices (Mouse, Keyboard).....................92
Contents
8 smart CX10/VX10
7.12.1 The USB Mouse or the USB Keyboard is the only USB
Device ................................................................................. 94
7.12.2 Several USB Devices .......................................................... 94
8Operation in a Unicable System...................................................... 95
8.1 About Unicable.................................................................... 95
8.2 Allocation ZF Channels and Frequencies ........................... 95
8.3 Installation ........................................................................... 96
9Management of USB Storage Devices........................................... 96
9.1 USB Sticks .......................................................................... 96
9.2 USB Hard Drive 2.5 "(Inch) ................................................. 97
9.3 USB Hard Drive 3.5 "(Inch) ................................................. 97
9.4 Check the Read and Write Speed ...................................... 97
9.5 File System.......................................................................... 97
9.6 Partitions on the Storage Device ........................................ 97
9.7 Memory Requirements for Recording................................. 98
9.8 Troubleshooting USB Storage Devices .............................. 98
9.9 Error Checking in Windows ................................................ 99
10 Cleaning........................................................................................... 100
11 Transport and Shutdown ............................................................... 100
12 Troubleshooting.............................................................................. 101
13 Disposal........................................................................................... 102
14 Specifications ................................................................................. 103
14.1 General.............................................................................. 103
14.2 Remote Control................................................................. 103
14.3 LAN/WLAN........................................................................ 103
14.4 Power Supply.................................................................... 103
14.5 Connections ...................................................................... 104
14.6 Temperature...................................................................... 104
14.7 Dimensions and Weight .................................................... 104

Contents
smart CX10/VX10 9
15 Open-Source-Software ..................................................................104
16 Declaration of Conformity..............................................................111
16.1 Hybridreceiver HD+ smart CX10.......................................111
16.2 Hybridreceiver HD+ smart VX10 .......................................111

General Advice
10 smart CX10/VX10
1General Advice
1.1 Use of this Manual
•This manual is valid for both, the smart HDTV satellite receivers smart
CX10 and smart VX10. Both units differ only in the WLAN compatibility
of the VX10. Therefore, due to simpleness below we mention only the
combination CX10/VX10. Differences are pointed out if necessary.
•Read the manual completely before starting up the receiver the first
time.
•Pay attention to all warnings and notes in the manual.
•Consider the manual as a part of the product and preserve it well ac-
cessible.
•If passing the set to third party, do not forget to attach this manual.
•In the support area of our website www.smart-electronic.de you can
download the up-to-date version of the manual, e. g. if the original
manual is lost.
•After purchasing the receiver mainly the software will still be enhanced.
Therefore, it may be possible that there are differences in e. g. operat-
ing instructions or illustrations between the manual and the reality.
•For many menu items there is detailed help shown as part of the OSD.
In these cases there will not be any additional explanation in the manu-
al.
1.2 Symbols and Illustration Agreements
Illustration
Meaning
WARNING
Hazard of electric shock with possibly serious bodi-
ly harm effect.
CAUTION
Warning of material damage.
Advice
Additional information and hints.

Product Description
smart CX10/VX10 11
Illustration
Meaning
You are asked to do something.
1.
2.
Act in the described order
enumeration
italic
various possibilities of an adjustable value are writ-
ten in
italics
bold
menu windows, menu items and key names are
printed in bold
2Product Description
The smart CX10 hybrid receiver uses up-to-date HDTV chip technology. It
offers satellite reception and a LAN interface for the connection to your
home network and internet access.
The smart VX10 offers the same features and additionally WLAN compati-
bility.
2.1 Scope of Delivery
•HDTV satellite receiver smartCX10/VX10.
•remote control (rc)
•2 batteries (AAA) for the rc
•HDMI cable
•WLAN antenna (only VX10)
•HD+ smartcard (in the CA bay behind the front flap), HD+ info flyer
•user’s manual

Product Description
12 smart CX10/VX10
2.2 Receiver
2.2.1 Receiver Front (flap open)
No.
Description
1
STANDBY
Switch standby / operating mode
2
MENU
Display menu or exit menu
3
/ VOL- Decrease volume / to the left in the menu
/ VOL+ Increase volume / to the right in the menu
OK
Show channel list / confirm menu item
/ CH-
Channel Down / down in the menu
/ CH+
Channel Up / up in the menu
4
EXIT
Exit menu or menu item
5
Display and
LED Green LED = operational mode
6
WLAN
Antenna for wireless network (only VX10)
7
CA
Bay for smartcard

Product Description
smart CX10/VX10 13
2.2.2 Rear Panel
No.
Description
1
LNB OUT
SAT signal - loop through for additional receivers
2
LNB IN
Antenna connection
3
WIFI
WLAN antenna (only VX10)
4
Digital Audio
Digital audio out (SPDIF)
5
AUDIO - R
Analog audio right
6
LAN/Ethernet
Ethernet connector (home network / internet)
7 SATA
Serial ATA, data interface to connect an external data stor-
age device (hard disk), eSATA
9
USB
USB data storage medium
9
HDMI
0F
1
Digital audio / video out
10
TV
Scart connection to a TV set
11
Video
Composite, analog TV video signal
12
AUDIO L
Analog audio left
13
SPDIF
Digital audio optical out (SPDIF)
14
ON / OFF
Mains switch
1High Definition Multimedia Interface, interface for the fully digital transmission of audio and
video data.

Product Description
14 smart CX10/VX10
2.3 Remote Control Unit
No.
Key
Description
1
Switches between operating mode and standby
2
V-FORMAT
Toggles video resolution
3
0 - 9
Program selection, alphanumeric input
4
TV/R
Switches between TV mode and Radio mode
5
+/-
Volume +/-

Product Description
smart CX10/VX10 15
No.
Key
Description
6
Green function key
7
Red function key
8
MENU
Display main menu
9
Program Up / up in the menu
Program Down / down in the menu
Decrease volume / to the left in the menu
Increase volume / to the right in the menu
OK
Show channel list / confirm menu item
10
INFO
Shows information on the current program
11
FAV
Shows favorite program list
12
Fast forward and backward
13
Jump forward and backward
14
USB
Opens Personal Planner
15
Mute
16
16:9
Toggle video format
17
AUDIO
Change audio mode
18
RECALL
Switch back to the last viewed program
19
+/-
Program +/-
20
Yellow function key
21
Blue function key
22
EXIT
Exit menu or menu item
23
BACK
Back to the previous menu item
24
EPG
Opens electronic program guide (EPG)
25
TXT
Opens / close teletext
26
Starts direct record
27
Starts / pause playback
28
Stops record / playback

Safety Instructions
16 smart CX10/VX10
No.
Key
Description
29
HELP
Opens the smart support center (internet)
30
PVR
1F
2
Opens data storage menu
2.4 Save Energy
The CX10/VX10 receiver is equipped with special energy-saving electric
and electronic components. Moreover, a well thought-out energy man-
agement will help you save energy.
The Save Energy standby mode will reduce the power consumption to
less than 0,5 Watt (energy mode economic, see section 7.9.1, page 74)!
2.5 Warranty
The warranty for the HDTV Satellite Receiver smartCX10/VX10 complies
with the legal regulations at the time of purchase.
3Safety Instructions
3.1 Designated Use
The HDTV satellite receiver CX10/VX10 is intended for the reception of
both, free to air and scrambled digital satellite programs (DVB-S/S2) in the
private sector. It is designed exclusively for this purpose and may be used
only for this.
Any other use is not considered as to be designated. We will not be liable
for damage caused by any use contrary to the designated use.
2PVR = Personal Video Recorder, hard disk recorder for digital recording of audio and video

Safety Instructions
smart CX10/VX10 17
3.2 Hazards during designated use
CAUTION!
WARNUNG!
Possible malfunction or unit damage caused
by moisture, wrong mains voltage and/or
wrong mains frequency, lightning or mechani-
cal overstraining.
Hazard of electric shock by contact with line
voltage.
Ensure that receiver and mains plug as well as the RCU
do not come into contact with any moisture whatsoev-
er.
Connect the receiver to 175…250 V ~, 50/60 Hz only.
During an electric storm or operational faults, pull the
plug.
Do not place any heavy objects on the receiver.
Do not bend or squeeze the cable.
Repairs on plug, cable or receiver may only be per-
formed by qualified skilled personnel.
3.3 Grounding
The satellite antenna must be grounded properly. Note the relevant VDE2F
3
regulations3F
4.
smart recommends that the outdoor unit of the satellite
system should be installed by a professional!
3.4 Installation Location
Place the receiver on a solid flat surface.
Protect receiver from moisture, heat, dust, dirt, etc.
Ensure sufficient ventilation (do not cover the ventilation slots).
3VDE = Verband der Elektrotechnik, Elektronik, Informationstechnik (German) = Association
for Electrical, Electronic & Information Technologies
4DIN EN 60728-11 VDE 0855-1:2011-06: Cable networks for television signals, sound sig-
nals and interactive services, Part 11: Safety

Connecting smart CX10/VX10
18 smart CX10/VX10
There may occur moisture condensation, if you move
the receiver from a cold location to a warm location.
Do not operate the receiver, but keep it switched off for
several hours.
3.5 Proper Handling of Batteries
•Batteries must be kept away from children.
•Leaking batteries may cause damage to the environment and the re-
mote control.
Batteries must be disposed of in accordance with current legal regula-
tions (see chapter Disposal, page°102).
3.6 Product Liability
We do not assume liability, if the designated protection of the unit is im-
paired, especially in these cases:
•The unit is not used according to the manual.
•The application range is not correct.
•The user makes unauthorized changes regarding the receiver hardware
.
4Connecting smart CX10/VX10
CAUTION!
Connect the receiver first to the antenna and then to
all other devices, before plugging the mains plug into
the socket.
Pay also attention to the respective notes in the man-
uals of the other devices.

Connecting smart CX10/VX10
smart CX10/VX10 19
4.1 Connection Diagram
4.2 Connecting the Satellite System
Connect the cable of the satellite system to the LNB IN socket.
The satellite signal at the LNB IN connection is looped
through the receiver and can be tapped at the LNB OUT
connection, to connect, if desired, additional receivers.
If your receiver is in standby mode, you only can use
loop through if you selected the energy mode economic
(see section 7.9.1, page 74).
4.3 Connecting the TV Set
As shown in the connection diagram, there are various options to connect
the smartCX10/VX10 and the TV set. It depends on the connectivity of
your TV set which option is possible for you.
Home Network
Internet

Connecting smart CX10/VX10
20 smart CX10/VX10
Is there a HDMI socket at the TV set?
YES
NO. Choose one of below possibilities.
Connect TV
set and re-
ceiver with a
HDMI cable.
Connect TV set
and receiver with
a scart cable.
Connect TV set and receiver
with a single-
pole composite
video cinch cable and a
double-pole stereo cinch
cable.
If your TV-Set has all these sockets, always choose
the connection via HDMI cable.
Quality is best, if both, audio transmission and video
transmission is digital.
4.4 Connecting a Home Theater System (optional)
In order to improve the sound quality, you can connect to your CX10/VX10
additionally to the TV set, a home theater system with surround sound or a
stereo system. Once more, there are various options. It depends on the
connectivity of your home theater system which option is possible for you.
a.
Your home theater system can loop through the HDMI sig-
nal, i. e. there is a HDMI socket to connect the receiver and
a HDMI socket to connect the TV set.
Receiver
TV set
Connect the home theater system and the receiver
with a HDMI cable and connect the home theater
system with your TV set with another HDMI cable.
This manual suits for next models
1
Table of contents
Other SMART Receiver manuals