manuals.online logo
Brands
  1. Home
  2. •
  3. Brands
  4. •
  5. Soltech
  6. •
  7. Floodlight
  8. •
  9. Soltech COSMO Series User manual

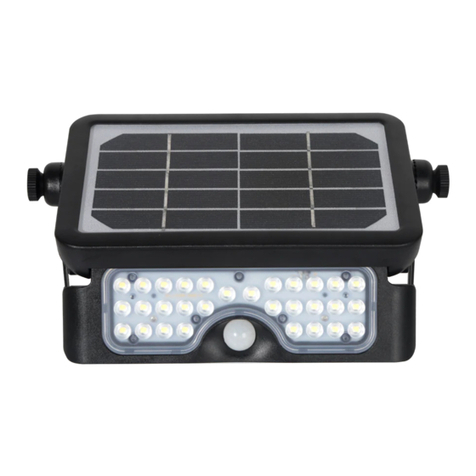
Soltech COSMO Series User manual

01
COSMO
Flood Lights
20W 50W
Installation Manual
SOLTECH offers Advanced LED
Technology That Is Eco-friendly And
Utilizes Clean Energy.
02 03
01 Introduction 02 Specification
Thank you for purchasing COSMO Urban Lighting Products.
Important
Please read these instructions before installation to ensure optimum results
and longevity of your lights. The solar panel should be charged in full
sunlight for 8 to 9 hours before initial first use to provide optimum results.
Features
• Adjusting the solar panel angle maximizes solar collection & allows
snow to slide off.
• The solar flood light has a separate solar panel to collect energy
from the sun.
• (IAP) Intelligent Adaptive Program Battery Control Technology
that stays lit all night, even through cloudy or rainy days.
• The light can be used separately from the solar panel for both
indoor and outdoor uses
• Use outdoor as a flag pole light, sign light, billboard light, or wall pack
• Use indoor as bus stop & shelter lighting
• 6 operating modes for indoor and outdoor use
• Remote control can adjust brightness and set the timer
• LED Indicators show 3 levels power storage
• The easiest way to bring lighting to both indoor and outdoor applications
Activation
Press and Hold the button located in the image
to the right to activate the light.
Press and release the button to quickly switch
from Indoor and Outdoor modes.
There are two indicator lights on the main body.
The indicator light, and the battery indicator light.
The lighting indicator light will illuminate Red if
you’re in Outdoor Mode, and Green if set to Indoor Mode.
The battery indicator light will display as follows:
GREEN : <80% Battery Life
ORANGE: <60% Battery Life
RED: <40% Battery Life
*Please note that you must connect the light to the solar panel before
usage, otherwise the light will not turn on. After charging the light in
bright sunlight for at least 48 hours before first time usage, press
the Activation button. This will now allow the light to turn on when
it senses darkness and turns off when it senses sufficient lighting. The
sensor is located within the solar charging panel.
- - - -
Ordering Information Chart
COSMO 20W COSMO 50W
3.1 inches
7.1 inches
9.6 inches
7.4 inches
4.0 inches
3.1 inches13.2 inches
4.0 inches
13.8 inches
13.8 inches
6 Operating Modes 6 Operating Modes
20W
COSMO 20W
50W
COSMO 50W
Mono-Crystalline Silicon 5.2W Mono-Crystalline Silicon 14.3W
29.6WH 3.7V 8AH 66.6WH 3.7V 18AH
2,000 5,000
PC & Aluminum PC & Aluminum
100 lm/W 100 lm/W
8 hrs (1000W/m2) 8 hrs (1000W/m2)
8 Nights 8 Nights
-4 °F to 140 °F -4 °F to 140 °F
32 °F to 131°F 32 °F to 131°F
LED Nominal Power
Specifications
Solar Panel
Lithium Ion Battery
CCT
Lumen Output@6000K
IP65
11.5 ft
IP65
11.5 ft
PIR Sensor Angle/Distance
Waterproof Rate
Cable Length
> 70 > 70
Solar Panel 9.6 X 7.1 Inches
Light 7.4 X 4.0 X 3.1 Inches
Solar Panel 13.8 X 13.8 Inches
Light 13.2 X 4.0 X3.1 Inches
120° / 9.8–16.4 ft 120° / 9.8–16.4 ft
4,000K, 5,000K, 6,000K 4,000K, 5,000K, 6,000K
CRI
Casting
Efficiency@5000K
Product Size
* Charging Time
Run Time (@Full Power)
Operation Mode
* Operating Temperature
* Charging Temperature
* The temperature can impact the battery’s charging and normal operation. * The solar charge time data is base on 77 degree F ambient temperature with the
panel pointed directly at the solar radiation. The standard radiation value is 1000W/m2.
STL-SWL=COSMO
SERIES WATTAGE COLOR
TEMPERATURE
MOUNTING
OPTIONS FINISH
10=20W 2000 Lumens
20=50W 5000 Lumens
4=4000K
5=5000K
6=6000K
WM=WALL MOUNT BK=BLACK
04 05
03 Installation
WALL MOUNT
Connect
OPERATING MODES
INDOOR
1. Reading Mode
Maximum Brightness
2. General Mode
Medium Brightness
3. Atmosphere Mode
Low Brightness
7. 10% increase output
8. 10% decrease output
9. Set the Timer for
5 hours on
10. Set the Timer for
3 hours on
LIGHTING MODE INDICATOR
Red: Outdoor
Green: Indoor
BATTERY CAPACITY INDICATOR
Green: ≥80%
Orange: 60%–80%
Red: ≤40%
Note: The fixture is in low
voltage protection status when
the red light flashes.
1. Attach the bracket on the
wall, then screw the solar panel
onto the bracket.
2. Screw the bracket onto the
fixture housing and mount it
onto the wall.
3. Connect the light and solar
panel cables.
Package Contents
1. Lamp (with bracket)
2. Solar Panel
3. Bracket for Solar Panel
4. Remote Control
5. Expansion pillar-hinge (4pcs)
6. Small Gasket (4 pcs)
7. Screw PA4*25 (4 pcs)
8. Large Gasket (2 pcs)
9. Screw M5*16 (2 pcs)
OUTDOOR
4. Rainy Mode
(30% output)
5. Cloudy Mode
(60% output)
6. Sunny Mode
(100% output)
If you select any of the 3 “Indoor” lighting modes, the lights will not
turn on/off automatically. You must turn the light on/off by using those
buttons on the Remote Control. *The “indoor” modes can also function
when the light is placed outdoors. It simply means that the light does
not activate when it is dark, but that it activates when you turn it on
(and deactivates when you turn it off). If you select any of the 3 outdoor
lighting modes, the lights will turn on/off automatically (It will turnon
when it detects that it is sufficiently dark and turn off when it detects it
is sufficiently light). The timer modes can be used in conjunction with
indoor or outdoor modes. You can also step up or down the brightness
using the brightness step up and step down button in either outdoor or
indoor mode.
Additonal Notes
1. Prior to activation, allow for at least 48 hours of charging time
in bright sunlight for the battery to be sufficiently charged.
2. Install the solar panel where it will receive optimal sunlight without
any obstructions. If you are using this solar light in extreme
conditionsabove 131° Fahrenheit or below 32° Fahrenheit, the battery
an solar charging panel will functionless optimally as it gets colder.
3. When using the solar light in less than optimal conditions (cloudy,
or not much direct sunlight), it may take longer to fully charge
the battery.
Warning
1. Keep device away from fire and oil to avoid explosion.
2. Severe shock to Solar powered light is to be avoided.
3. Do not disassemble the light without assistance from an expert.
06 07
04 Luminous Distribution 05 Warranty
COSMO is covered by a 3 year limited warranty. COSMO
urban light warrants to the original purchaser that this
product is free from defects in materials and workmanship
for the period of 3 years from date of purchase. To obtain
warranty service please contact your local distributor or sales
rep for further instruction.
SOLTECH offers
advanced LED
technology that is
eco-friendly and
utilizes clean energy.
COSMO 20W
COSMO 50W
IESViewerv2.99n
A.Legotin(C)2004
0
100
200
300
Type CLamp=2 011.61 lm
Max=393.4 cd/klm
Power=0 W
Multiplier=2.01161
Degrees=0
Rect 100x100 mm
IESViewerv2.99n
A.Legotin(C)2004
0
100
200
300
Type CLamp=5 048.11 lm
Max=393.4 cd/klm
Power=0 W
Multiplier=5.04811
Degrees=0
Rect 100x100 mm
08
Copyright©2020–2021 SOLTECH LLC,
All Rights Reserved.
SOLTECH LLC reserves the right to update all
product data sheets at any time. Consult SOLTECH
marketing specialists for publication updates at
[email protected]
1460 Park Avenue.
Emeryville CA 94608 USA
www.soltechlighting.com

This manual suits for next models

2

Other Soltech Floodlight manuals

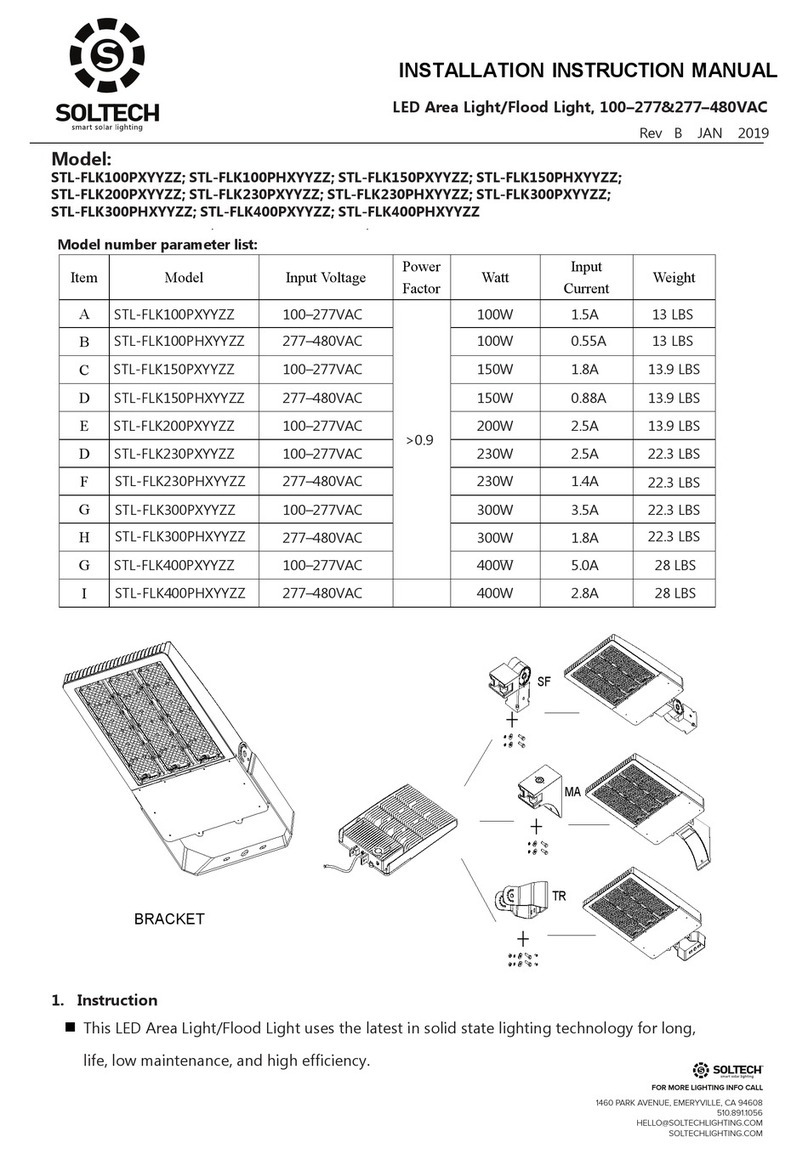
Soltech FLUX User manual

Soltech

Soltech FLUX User manual

Soltech SOLPAD User manual

Soltech

Soltech SOLPAD User manual

Soltech SOLPAD User manual

Soltech

Soltech SOLPAD User manual

Soltech SOLTAB User manual

Soltech

Soltech SOLTAB User manual

Soltech Cosmo 20W User manual

Soltech

Soltech Cosmo 20W User manual

Soltech FLUX User manual

Soltech

Soltech FLUX User manual

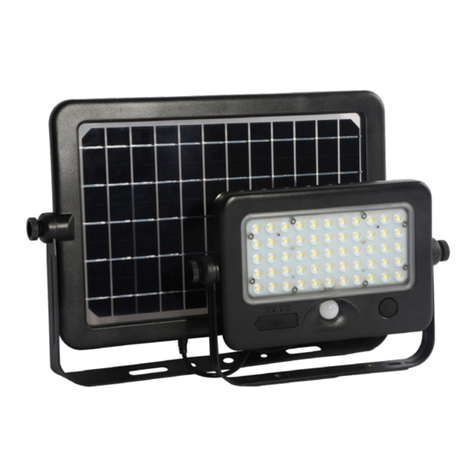
Soltech STL-FLK100PXYYZZ Service manual

Soltech

Soltech STL-FLK100PXYYZZ Service manual

Soltech SOLTAB 10W User manual

Soltech

Soltech SOLTAB 10W User manual

Popular Floodlight manuals by other brands

thomann LED Colour Flood 10W RGB user manual

thomann

thomann LED Colour Flood 10W RGB user manual

American DJ DOTZ FLOOD User instructions

American DJ

American DJ DOTZ FLOOD User instructions

Chauvet DJ SlimPAR PRO Pix Quick reference guide

Chauvet DJ

Chauvet DJ SlimPAR PRO Pix Quick reference guide

Anolis ArcSource Outdoor 24 MC Integral SmartWhite user manual

Anolis

Anolis ArcSource Outdoor 24 MC Integral SmartWhite user manual

LANZINI QS instructions

LANZINI

LANZINI QS instructions

Robus RCM30040-04 quick guide

Robus

Robus RCM30040-04 quick guide

Chauvet DJ Intimidator Trio Quick reference guide

Chauvet DJ

Chauvet DJ Intimidator Trio Quick reference guide

Ritos 7040115A Operation and maintenance manual

Ritos

Ritos 7040115A Operation and maintenance manual

RAB Stealth STL200HB installation manual

RAB

RAB Stealth STL200HB installation manual

hylite Mightylite MLF136 Installation and operating instruction

hylite

hylite Mightylite MLF136 Installation and operating instruction

Future light PHW-575 Pro-Head-Wash user manual

Future light

Future light PHW-575 Pro-Head-Wash user manual

BEGA 84 366 Series Instructions for use

BEGA

BEGA 84 366 Series Instructions for use

Eagle L320CA manual

Eagle

Eagle L320CA manual

Martec GUARD instruction manual

Martec

Martec GUARD instruction manual

Festo SBAL-C6-A-X installation instructions

Festo

Festo SBAL-C6-A-X installation instructions

thomann Stairville HL-x18 user manual

thomann

thomann Stairville HL-x18 user manual

Prestige Venus W15 user manual

Prestige

Prestige Venus W15 user manual

Malibu Boats CL9 instructions

Malibu Boats

Malibu Boats CL9 instructions

manuals.online logo
manuals.online logoBrands
  • About & Mission
  • Contact us
  • Privacy Policy
  • Terms and Conditions

Copyright 2025 Manuals.Online. All Rights Reserved.