manuals.online logo
Brands
  1. Home
  2. •
  3. Brands
  4. •
  5. SOMFY
  6. •
  7. Garage Door Opener
  8. •
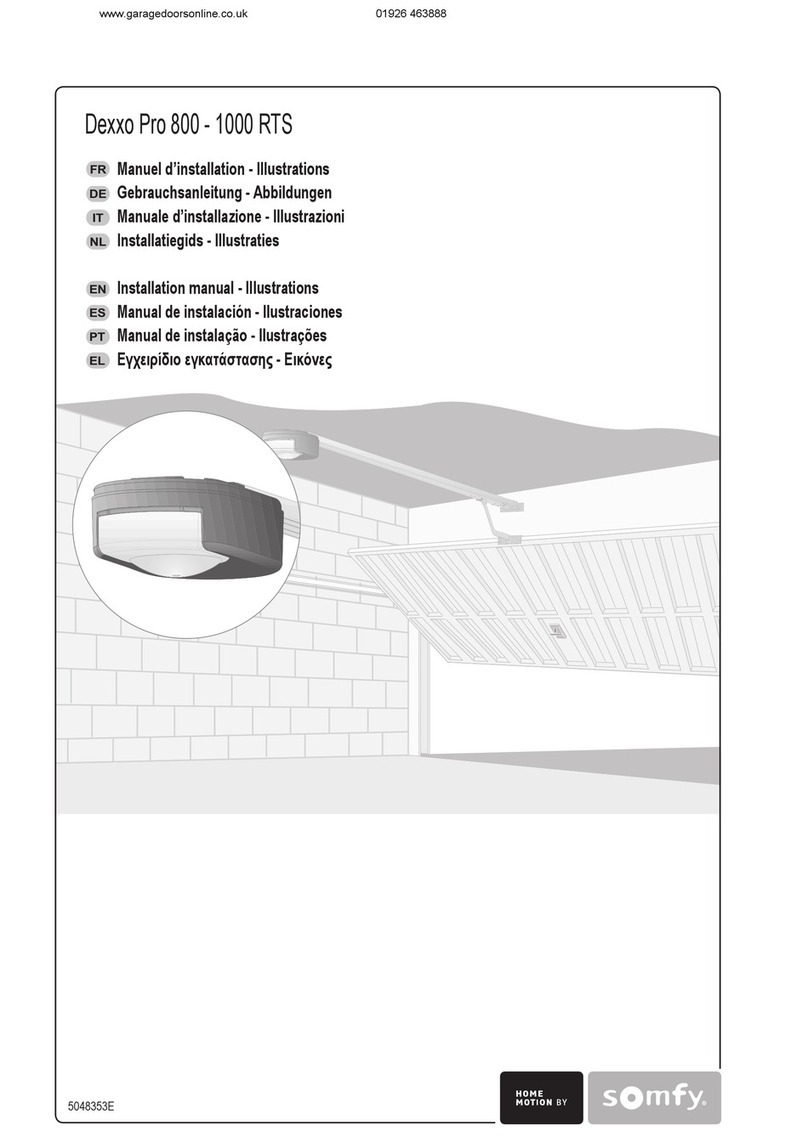
  9. SOMFY Dexxo Pro Training manual

SOMFY Dexxo Pro Training manual

Memory deletion
Controls
Self-learn setting
Preparingand setting
the self-learn phase
Connecting power to the
Dexxo Pro for the first time
Unscrew the main cover and
remove the protective sheet.
Commissioning Instructions
Fit the screw-in
light bulb.
Power the unit up.
The light will flash 3
times and the LCD screen will
display S1.
230Vac
1
S1 = Up & Over or Sectional door S0 = Swing door
By default, the unit is set for Up & Over or
Sectional doors. Press the + or - buttons to
adjust the setting for Swing doors, otherwise
continue to step 5.
2 3 4
5
CLACK!
Press the ‘SET’
button 3 secs.
The light will come on and
the LCD screen will display S2.
3
secs
CLACK!
To engage the carriage, operate the drive until the chain/belt
runner links with the carriage. Press and hold the ‘+’ button
to move in the close direction and ‘-’ in the open direction.
6 7
Once the carriage has been engaged, press the ‘OK’ button
to initiate the self-learn phase. Once the self-learn process
is completed, C1 will be displayed on the LCD screen.
Press ‘OK’ - S2 will flash and the system will cycle
through the self-learn phase
Press and
hold
Press and
hold
Programming the
remote controls
3
secs
8
Press the ‘PROG’
button 3 secs.
The light will come on and
the LCD screen will display F0.
Press the desired control button on the remote control. The
LCD screen will display ‘--’ and the light will flash for 5
seconds. LCD screen = C1 - The control is now recorded.
9 10
Repeat the procedure starting at step 1 to record additional
controls. The radio wall switch and digipad are recorded in
the same way. For Telis type controls, press the program
button instead of the control button.
or
Control panel overview
1 2
3
45
6
7
8
2
LCD display - provides visual feedback on all
programming and operating
1
3
4
Button to move up through the parameter
values
Button to move down through the parameter
values
Button use to start the self-learn phase and
toconfirm parameter selection and value
6
Button use to modify a parameter value and
operate the rail drive during set-up
5
7
8
Button use to modify a parameter value and
operate the rail drive during set-up
Button used for various programming
functions and to reset the system
Button used when programming controls and
todelete all controls stored in the memory
Press and hold the ‘PROG’ button. The light will come on and then begin to flash after
approximately 7 seconds (the light will flash for 5 seconds) and the LCD screen will
display ‘--’. All controls have been deleted from the memory.
7seconds7seconds
Press and hold the ‘SET’ button. The light will come on and
then begin to flash after approximately 7 seconds (the light
will flash for 7 seconds) and the LCD screen will display ‘--’.
The self-learn memory has been deleted.
Obstacle detection
Openingcycle Closing cycle
If an obstacle is detected
during the open cycle, the
door will stop
If an obstacle is detected during the
close cycle, the door will stop and
return
Commissioning procedure
Control programming
Parameter setting
Parameter programming
Changing P7 value from 01 to 02
The following example illustrates the stages involved in changing a value within a parameter setting:
Parameter programming
Parameter
P0
Description Value Comments
Photocells must be installed if the automatic closure mode is selected
(P2 is set to 1 or 2). When the automatic closure mode is selected, the
door will close after the preset time delay defined by ‘T0’.
00: Sequential
01: Automatic closure
Operating mode
P1 Awarning light is recommended if the garage door opens onto an
area with public access - set P1 to 1 (2 seconds advance warning).
00: No advanced warning
01: 2sec. advance warning
Warning light
P2
Ifasafety device is connected (photocell):
Select value 1 if the safety device has a self test function.
Select value 2 if the safety device does not have a self test function.
00: No safety device
01: Safety device with self test
02: Safety device without self test
Safety device input
P3
If the value of this parameter is changed to decrease the sensitivity
(value 0 or 1), a force measurement test must be performed to
ensure compliance.
00: Low sensitivity
01: Low sensitivity with sensor bar
02: Standard sensitivity
03: High sensitivity
Obstacle detection sensitivity
P4
If an intermediate position is commissioned:
A short press on the control button will open the door to the IP position.
A long press on the control button will open the door.
00: IP not valid
01: IP valid
Intermediate position (IP)
(validate IP option)
P5 If the value of this parameter is changed from the standard speed,
aforce measurement test must be performed to ensure compliance.
00: Fast
01: Standard
02: Slow
Closing speed
P6 A short press (<1s) on the control button will operate the door to
the IP, a long press (>1s) will open and close the door.
See program procedure below
Intermediate position
(programming the position)
P7
Standard setting (P7=0) will result in no soft stop.
Short setting (P7=1) will result in a soft stop 20cm before closure.
Long setting (P7=2) will result in a soft stop 50cm before closure.
00: Standard
01: Short soft stop
02: Long soft stop
Soft stopclosure distance
A0 If value 1 is selected, the door will not open if the safety device
senses an obstacle when the control is operated.
0: No effect
1: Movement rejected
Safety device command
during the open cycle
A1
Applicable when the safety device (photocell) senses an obstacle
during the close cycle. Value 1 must not be selected if the door is
fitted with a safetyedge.
01: Stop
02: Partially open
03: Fully open
Safety device command
during the close cycle
A2 Thedoor will either stop and reverse or fully open when an
obstacle is detected during the close cycle.
02: Stop and reverse
03: Stop and fully open
Obstacle detection command
during the close cycle
t0 Photobeam safety cells are recommended if the automatic function
is activated.
0to 12 (each unit is 10 secs.)
e.g. set 6 for 60 seconds.
Automatic closure time delay
(when P0=1)
t1 The thermal cut-out protection system may engage if the time
delay for the lighting system is set too high.
0to 60 (each unit is 10 secs.)
e.g. set 6 for 60 seconds.
Lighting time delay
The LCD
displays
‘C1’
Press the‘SET’
button - P0 is
displayed.
21 3 4 65 7
Press the ‘h’
button until P7
is displayed.
Press‘OK’ - the
current value is
displayed.
Press‘+’ until
the desired value
is displayed.
Confirm thenew value by
pressing‘OK’.
Press the‘SET’
button to return
toC1.
Intermediate position
Settingan intermediate position
The following example illustrates the stages involved when setting an intermediate position:
The LCD
displays
‘C1’
Pressthe ‘SET’
button - P0 is
displayed.
21 3 4 6 7
Pressthe ‘h’
button until P6
is displayed.
Press‘OK’ - P6 will
flash - proceed
with the IP setup.
Use the‘+’ and ‘-’ buttons
to adjust the garage door to
the desired IP position.
Confirmthe IP
position by
pressing ‘OK’.
Pressthe ‘SET’
button to return
to C1.
Somfy Ltd - Moorfield Road - Yeadon - Leeds - West Yorkshire - LS19 7BN
Tel. 0113 391 3030 - Fax. 0113 391 3010 - www.somfy.co.uk
Other manuals for Dexxo Pro

2

Other SOMFY Garage Door Opener manuals

SOMFY Dexxo Compact RTS User manual

SOMFY

SOMFY Dexxo Compact RTS User manual

SOMFY Dexxo Pro RTS Series User manual

SOMFY

SOMFY Dexxo Pro RTS Series User manual

SOMFY DEXXO SMART io User manual

SOMFY

SOMFY DEXXO SMART io User manual

SOMFY AXOVIA 3S User manual

SOMFY

SOMFY AXOVIA 3S User manual

SOMFY Dexxo RTS Pro User manual

SOMFY

SOMFY Dexxo RTS Pro User manual

SOMFY Dexxo Pro 800 RTS User manual

SOMFY

SOMFY Dexxo Pro 800 RTS User manual

SOMFY GDK User manual

SOMFY

SOMFY GDK User manual

SOMFY GDK 700 Installation guide

SOMFY

SOMFY GDK 700 Installation guide

SOMFY Dexxo Smart 800 io User manual

SOMFY

SOMFY Dexxo Smart 800 io User manual

SOMFY Dexxo Pro 800 RTS User manual

SOMFY

SOMFY Dexxo Pro 800 RTS User manual

SOMFY HOME MOTION 5050295C User manual

SOMFY

SOMFY HOME MOTION 5050295C User manual

SOMFY AXOVIA 150S Assembly instructions

SOMFY

SOMFY AXOVIA 150S Assembly instructions

SOMFY GDK User manual

SOMFY

SOMFY GDK User manual

SOMFY Dexxo Pro io User manual

SOMFY

SOMFY Dexxo Pro io User manual

SOMFY Dexxo Compact RTS User manual

SOMFY

SOMFY Dexxo Compact RTS User manual

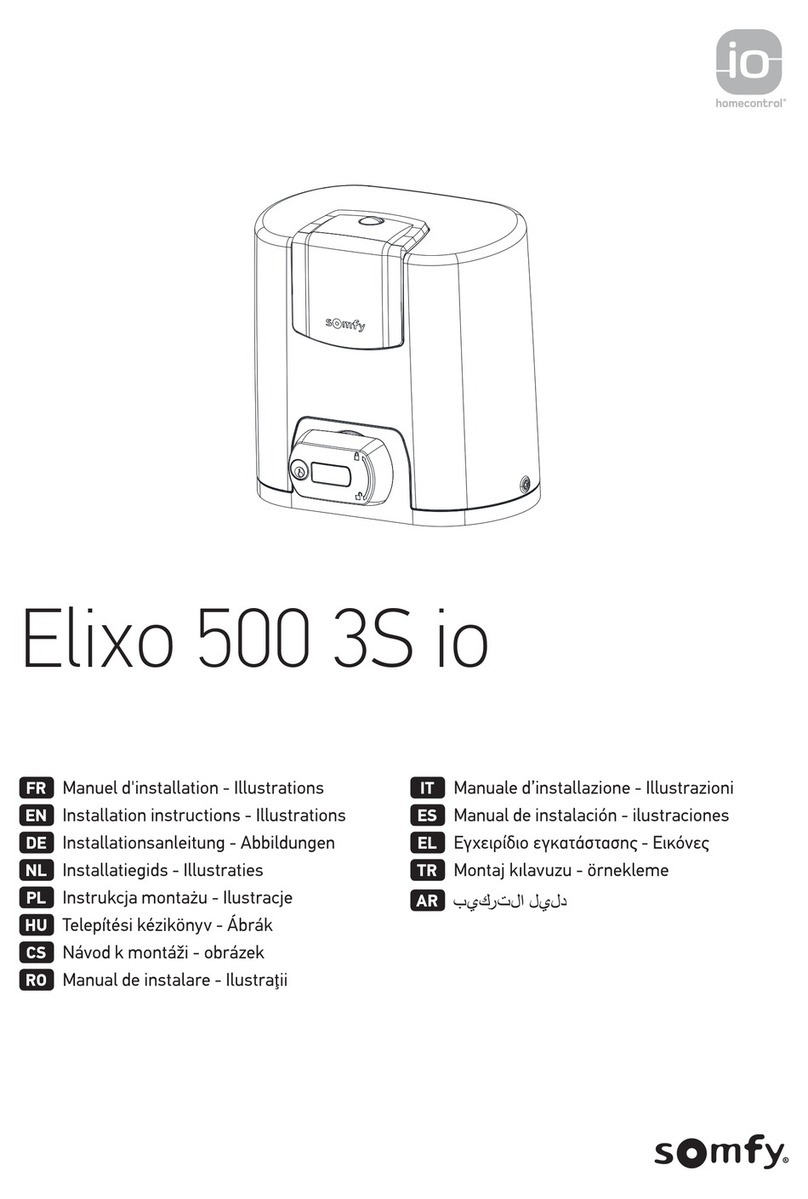
SOMFY Elixo 500 3S io User manual

SOMFY

SOMFY Elixo 500 3S io User manual

SOMFY GDK Installation guide

SOMFY

SOMFY GDK Installation guide

SOMFY Home motion Dexxo Pro io User manual

SOMFY

SOMFY Home motion Dexxo Pro io User manual

SOMFY DEXXO SMART io User manual

SOMFY

SOMFY DEXXO SMART io User manual

SOMFY Elixo 500 230 V User manual

SOMFY

SOMFY Elixo 500 230 V User manual

SOMFY Dexxo Optimo RTS User manual

SOMFY

SOMFY Dexxo Optimo RTS User manual

SOMFY SGS LINE User manual

SOMFY

SOMFY SGS LINE User manual

SOMFY EXAVIA 500 User manual

SOMFY

SOMFY EXAVIA 500 User manual

SOMFY DEXXO SMART io User manual

SOMFY

SOMFY DEXXO SMART io User manual

Popular Garage Door Opener manuals by other brands

Chamberlain RJO20C manual

Chamberlain

Chamberlain RJO20C manual

Chamberlain Power Drive Security+ PD752CDS owner's manual

Chamberlain

Chamberlain Power Drive Security+ PD752CDS owner's manual

Comunello Automation RAMPART 600 Installation and user manual

Comunello Automation

Comunello Automation RAMPART 600 Installation and user manual

DTS 1000 installation manual

DTS

DTS 1000 installation manual

Superlift SDO-5 DC FS 1000 Installation instructions and user guide

Superlift

Superlift SDO-5 DC FS 1000 Installation instructions and user guide

MOX C40 Series Instruction and warnings for the installer

MOX

MOX C40 Series Instruction and warnings for the installer

Chamberlain LiftMaster CSW24V quick start guide

Chamberlain

Chamberlain LiftMaster CSW24V quick start guide

SEA Saturn 600 manual

SEA

SEA Saturn 600 manual

Johnson Controls HomeLink OHHL3 user manual

Johnson Controls

Johnson Controls HomeLink OHHL3 user manual

Roger Technology F70/IPU36 Instruction and warnings for the installer

Roger Technology

Roger Technology F70/IPU36 Instruction and warnings for the installer

Craftsman 958501 quick start guide

Craftsman

Craftsman 958501 quick start guide

SEA Compact 400 Fitting and Connection Instructions

SEA

SEA Compact 400 Fitting and Connection Instructions

Chamberlain Whisper Drive Security+ 8200C owner's manual

Chamberlain

Chamberlain Whisper Drive Security+ 8200C owner's manual

Gate Motors SIMPLY Installation and use manual

Gate Motors

Gate Motors SIMPLY Installation and use manual

Craftsman 139.53991 owner's manual

Craftsman

Craftsman 139.53991 owner's manual

MasterCraft 046-0265-2 instruction manual

MasterCraft

MasterCraft 046-0265-2 instruction manual

Genius SPRINT 382 Use and Installation Instructions

Genius

Genius SPRINT 382 Use and Installation Instructions

Seip C 75 installation instructions

Seip

Seip C 75 installation instructions

manuals.online logo
manuals.online logoBrands
  • About & Mission
  • Contact us
  • Privacy Policy
  • Terms and Conditions

Copyright 2025 Manuals.Online. All Rights Reserved.