manuals.online logo
Brands
  1. Home
  2. •
  3. Brands
  4. •
  5. SOMFY
  6. •
  7. Remote Control
  8. •
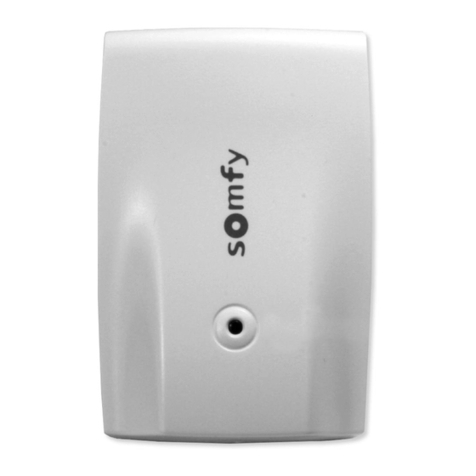
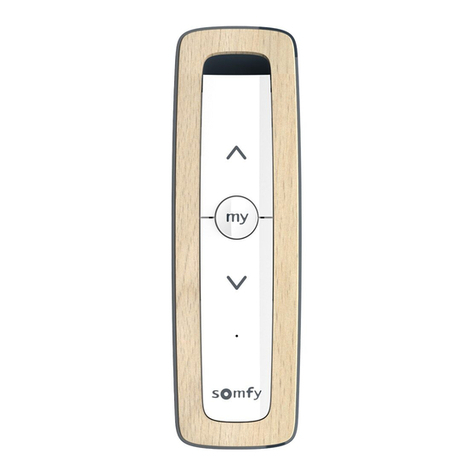
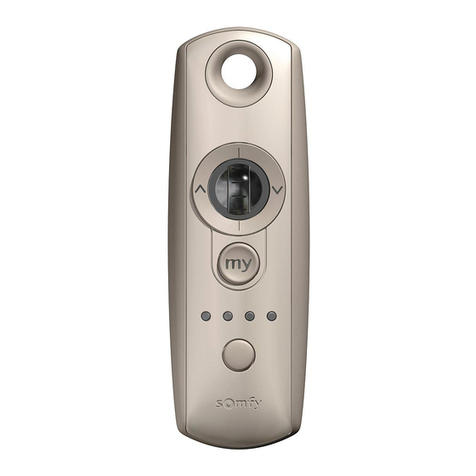
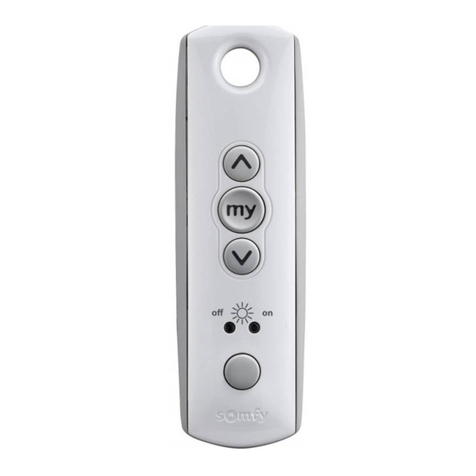
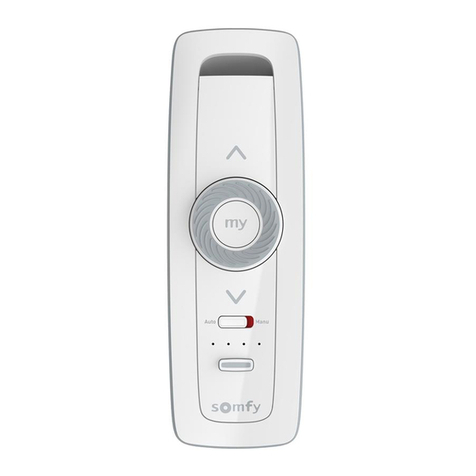
  9. SOMFY SITUO 5 io/RTS PURE User manual

SOMFY SITUO 5 io/RTS PURE User manual

Situo 5 io/RTS
EN
INSTRUCTIONS
SL
NAVODILA
SOMFY ACTIVITÉS SA
50 avenue du Nouveau Monde
F - 74300 Cluses
www.somfy.com
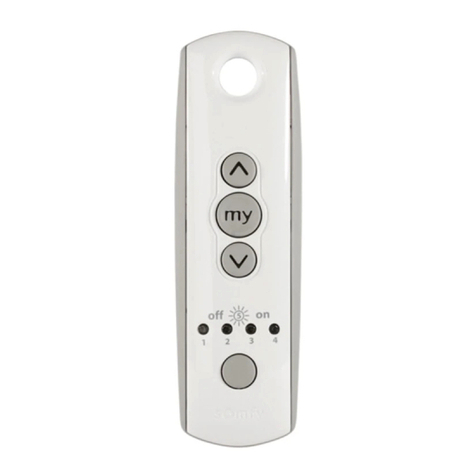
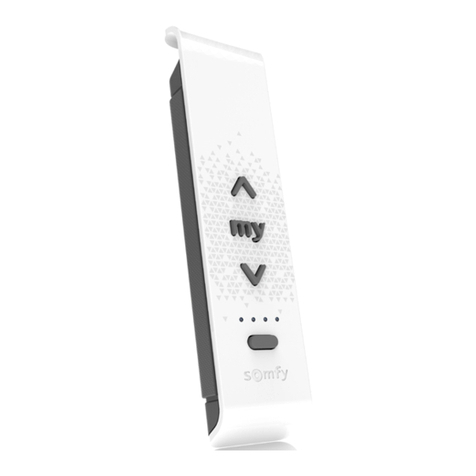
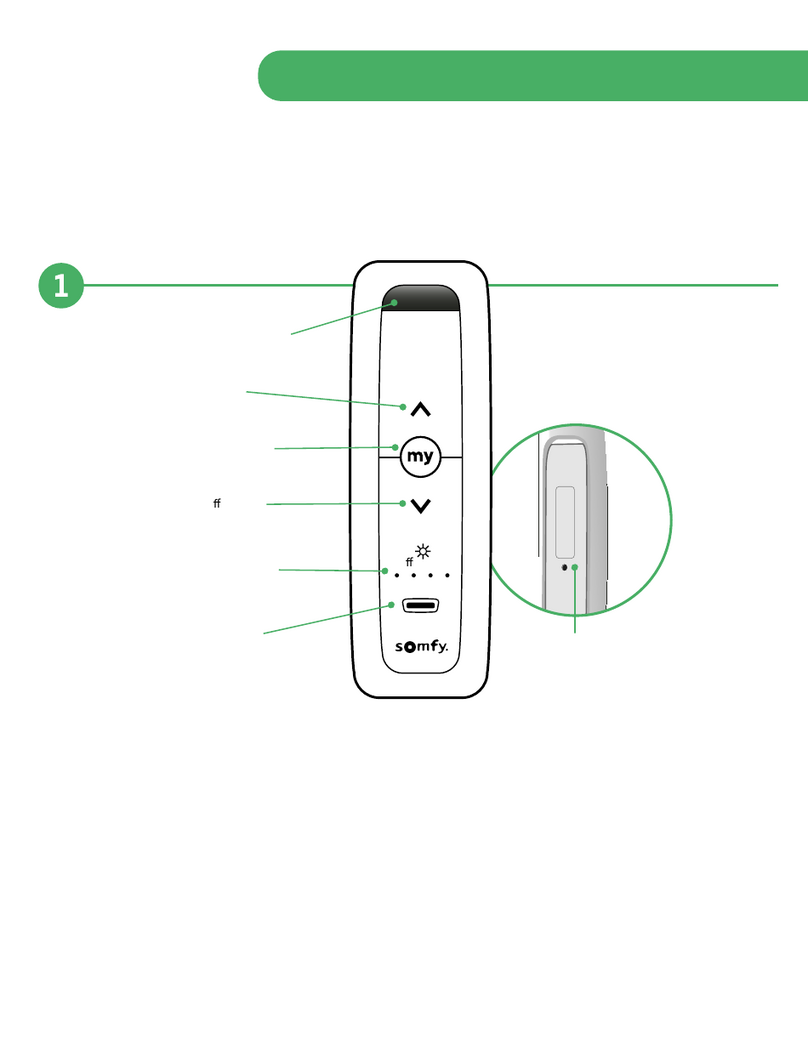
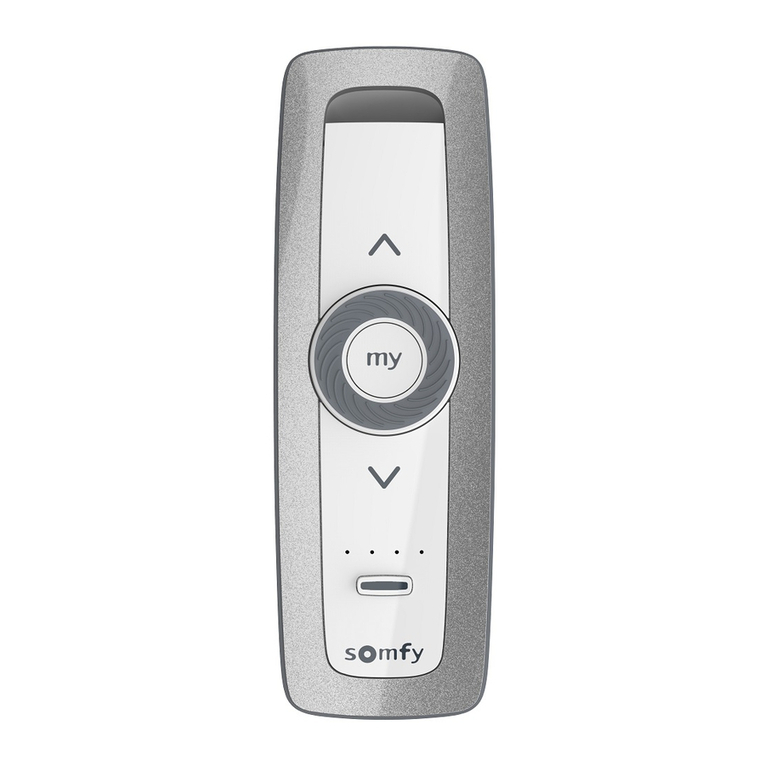
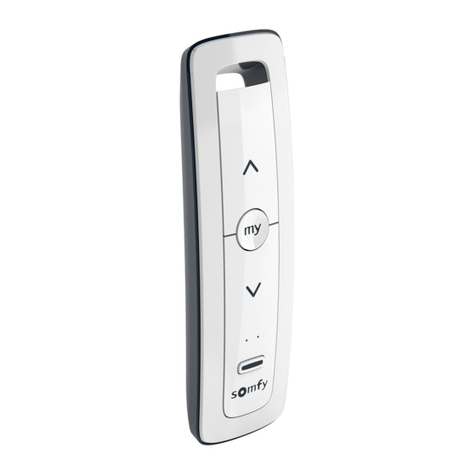
Situo 5 io/RTS is a remote control which can be used
to control up to 5 groups of one or more io and RTS
applications.
Situo 5 io/RTS cannot be used to carry out settings or
re-settings, or restore the motorisation to its factory
configuration.
1. Safety and liability
1. 1. Liability
These instructions must be kept by the user. Failure to follow
these instructions or use of the product outside its field of
application is forbidden, and will invalidate the warranty and
discharge Somfy of all liability. This Somfy product must be
installed by a professional motorisation and home automation
installer. Moreover, the installer must comply with the
standards and legislation currently in force in the country in
which the product is being installed, and inform his customers
of the operating and maintenance conditions for the product.
Never begin installing without first checking the compatibility
of this product with the associated equipment and
accessories. If in doubt when installing this product and/or to
obtain additional information, contact a Somfy representative
or visit the website www.somfy.com.
1. 2. Safety instructions
If used with a motor, you should also consult the instructions
provided with the motor.
Do not use or install this product outdoors.
Keep the product out of the reach of children.
Do not use abrasive products or solvents to clean it.
Do not knock or drop the product, expose it to flammable
materials or sources of heat or moisture, or splash or
immerse it.
Warning
This product contains a cell battery.
Do not swallow the battery: risk of potentially fatal chemical
burns in less than 2hours. If the battery has been inserted into
a part of the body or if in any doubt, call a doctor immediately.
Keep batteries (new and used) and the product out of the
reach of children. If the battery compartment no longer
closes, do not use the product and keep it out of the reach
of children. Risk of explosion, leaking flammable liquids or
gases from the battery if it is kept at a high temperature (hot
oven, fire), crushed, cut or subjected to very low air pressure.
Non-rechargeable batteries must not be recharged.
2. Situo5io/RTS in detail
(FigureA)
a
Group selection and button press indicator lights
To select groups 1 to 5, pressing the group selector switch
several times in succession will illuminate the indicator lights
from 1 to 4 and then all 4 together.
b
Application control buttons
c
Group selector
d
Wall mount
e
Wall mount recess
f
PROG button
3. Adding/deleting Situo5io/RTS
To program the first control: refer to the motor or
receiver instructions.
In case of a control with feedback function, refer to its
instructions.
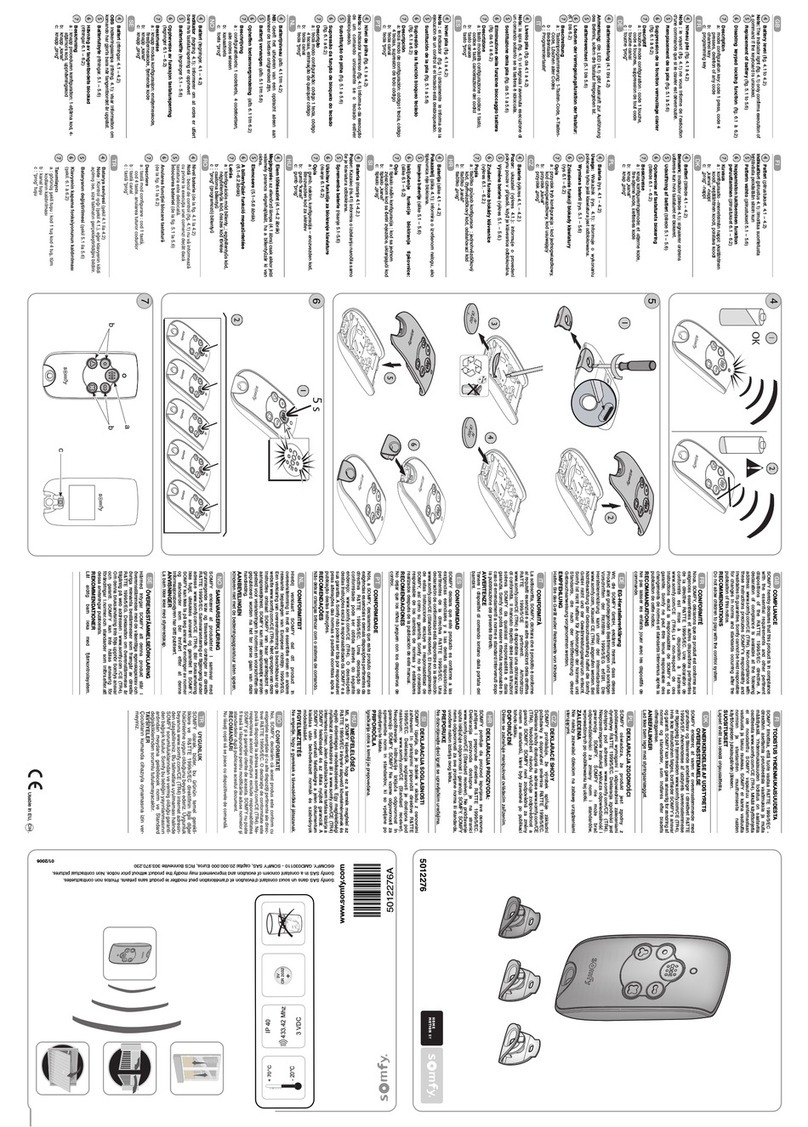
To add or delete Situo 5 io/RTS to/from an application
(FigureB):
1) On the individual control already associated with the
application:
• Press and hold (≈ 3 s) its PROG button until the
application moves up and down: programming mode is
activated for 10mins.
2) On Situo5io/RTS to be added or deleted:
• Select the desired group for this application.
• Briefly press its PROG button: the application moves up
and down, and Situo 5 io/RTS is added or deleted.
4. Fastening the wall mount
(Figure C)
This product must not be installed at a height of more
than 2m.
Open the wall mount and fasten it to a flat surface using a
screwdriver, as shown in the figure.
Situo 5 io/RTS je daljinski upravljalnik, ki omogoča
upravljanje največ 5 skupin ene ali več naprav io in RTS.
Situo 5 io/RTS se ne more uporabljati za nastavljanje,
spreminjanje nastavitev ali ponastavitev pogonskega
sistema na tovarniške nastavitve.
1. Varnost in odgovornost
1. 1. Odgovornost
Uporabnik mora ta navodila shraniti. Neupoštevanje teh navodil
ali uporaba naprave, ki ne ustreza predvidenim namenom,
je prepovedana in družbo Somfy odvezuje odgovornosti ter
razveljavlja garancijo. To napravo Somfy mora namestiti
usposobljen monter pogonskih sistemov in sistemov za hišno
avtomatizacijo. Monter mora upoštevati veljavne predpise in
zakonodajo v državi namestitve in uporabnike seznaniti s pogoji
uporabe in vzdrževanja naprave.
Pred vsako namestitvijo preverite, ali je naprava združljiva z
drugo priključeno opremo in dodatki. Če se med nameščanjem
naprave pojavi kakršen koli dvom ali če potrebujete dodatne
informacije, se obrnite na predstavnika družbe Somfy ali obiščite
spletno stran www.somfy.com.
1. 2. Varnostna navodila
V primeru uporabe z motorjem upoštevajte navodila, priložena
motorju.
Naprave ne nameščajte ali uporabljajte na prostem.
Napravo hranite zunaj dosega otrok.
Za čiščenje ne uporabljajte abrazivnih sredstev ali topil.
Naprava ne sme nikoli pasti na tla, ni je dovoljeno tresti, ne
sme priti v stik z vnetljivimi materiali ali z viri toplote, vlago ali
tekočino, prav tako se je ne sme potapljati v tekočino.
Opozorilo
Ta naprava vsebuje gumbasto baterijo.
Baterije se ne sme zaužiti: v samo dveh urah lahko to povzroči
smrtno nevarne kemične opekline. V primeru vnosa baterije v
kateri koli del telesa ali v primeru dvomov nemudoma pokličite
zdravnika.
Baterije (nove in prazne) in napravo hranite zunaj dosega
otrok. Če se prostor za baterije ne zapre popolnoma, naprave
ne uporabljajte več in jo hranite zunaj dosega otrok. Nevarnost
eksplozije, uhajanja vnetljive tekočine ali plinov iz baterije, če je
izpostavljena visoki temperaturi (topla peč, ogenj) ali izjemno
nizkemu zračnemu tlaku, se zmečka ali poči. Baterije, ki niso
namenjene polnjenju, se ne smejo polniti.
2. Podrobneje o daljinskem upravljalniku
Situo5io/RTS
(SlikaA)
a
Kontrolna lučka izbire skupine in pritiska na gumbe
Skupine od 1 do 5 izberete z zaporednimi pritiski na gumbe in
kontrolne lučke od 1 do 4 zasvetijo posamezno za vsako skupino,
ob izbiri skupine 5 pa vse kontrolne lučke zasvetijo istočasno.
b
Upravljalni gumbi naprav
c
Izbirnik skupine
d
Stenski nosilec
e
Mesto pritrditve na stenski nosilec
f
Gumb PROG
3. Dodajanje/odstranjevanje daljinskega
upravljalnika Situo5io/RTS
Za registracijo prvega upravljalnika: glejte navodila
motorja ali sprejemnika.
Za daljinski upravljalnik s pošiljanjem povratnih informacij glejte
priložena navodila.
Za dodajanje ali brisanje daljinskega upravljalnika Situo5io/RTS
pri napravi
(SlikaB):
1) Na posameznem daljinskem upravljalniku, že povezanem
z napravo:
• Držite gumb PROG (≈ 3 s), dokler se naprava ne pomakne
gor in dol: način za nastavitev ostane aktiven 10min.
2) Na daljinskem upravljalniku Situo 5 io/RTS, ki ga želite
dodati ali izbrisati:
• Izberite želeno skupino za to napravo.
• Kratek pritisk na gumb PROG: naprava se pomakne gor in
dol, nato je Situo 5 io/RTS dodan ali izbrisan.
4. Namestitev stenskega nosilca
(Slika C)
Naprave ne smete namestiti na višino nad 2m.
Kot je prikazano na sliki, odprite stenski nosilec in ga z izvijačem
pritrdite na ravno površino.
EN SL
1/2
1)
2)
3 s
B
0.5 s
4)
3)
2)
19 mm
5)
1)
C
100% recycled paper 5152834A
A
c
b
d
f
a
e
5. Use
Before performing any operation with Situo 5 io/RTS, check that
the correct group has been selected.
Situo 5 io/RTS does not enable slat orientation, nor light or heating
variations.
5. 1. /
buttons (Figure D)
Depending on the type of application to be controlled:
-: Up / On / Open
-: Down / Off / Close
5. 2. STOP/ button
(Figure E)
-Briefly press to stop the application from being activated.
-If the application has been stopped, briefly press to activate it until it
reaches its favourite position (my).
5. 3. Setting, modifying or deleting the favourite position(my)
(Figure F)
-Place the application in the desired position, then press and hold (≈ 5 s) to
program the favourite position (my).
-Place the application in its favourite position (my) and press and hold
(≈5s) to delete it.
6. Tips and advice
To replace the last lost or broken control point, contact a motorisation and home
automation professional.
Specific information for an autonomous motor
(Figure G)
Carry out this procedure only for controlling an autonomous application of a
non-Somfy partner brand.
Activate this specific autonomous mode on each group associated with this type
of application.
On Situo 5 io/RTS, first select the group.
1) Unscrew the rear cover of the remote control.
2) To check the current mode: create a brief contact between the 2 parts of the
dedicated activation zone (2 semi-circles beside the Prog button).
• Indicator light
a
lit constantly = standard mode (Somfy brand autonomous mode
activated).
• Indicator light
a
flashing = specific autonomous mode activated.
3) To change mode: create a contact for approx. 2 s between the 2 parts of the
dedicated activation zone until the indicator light changes status: it indicates the
new mode.
4) Screw the rear cover back into place.
7. Replacing the battery (Figure H)
Read the section entitled Safety instructions.
Risk of explosion if the battery is replaced by an incorrect type.
1) Unscrew the rear cover of the remote control as shown in the figure.
2) Push the used battery out of its housing using a plastic object.
3) Insert a CR 2430 3 V battery, with the plus (+) side visible. Be sure to respect
the polarity. The power supply terminals must not be short-circuited.
4) Push the battery fully into its housing and 5) Screw the rear cover back into
place.
Please separate storage cells and batteries from other types of waste,
and recycle them via your local collection facility.
We care about our environment. Do not dispose of the appliance with
regular household waste. Submit it to an approved collection point for
recycling.
8. Technical data
Radio frequency: 868.95MHz, io-homecontrol
®
/ 433.42MHz, RTS
Frequency band and maximum power used:
868.700MHz - 869.200MHz e.r.p. < 25 mW
433.050MHz - 434.790MHz e.r.p. < 10 mW
Radio range: 150 m in open space. Use guaranteed on most floors, depending on
the environment (point-to-point access).
Operating temperature: 0°C to + 48°C
Power supply: 1 type CR2430 battery, 3 V.
5. Uporaba
Pred uporabo daljinskega upravljalnika Situo 5 io/RTS se
prepričajte, da je izbrana prava skupina.
Daljinski upravljalnik Situo 5 io/RTS ne omogoča usmerjanja lamel ali
spreminjanja jakosti svetlobe in ogrevanja.
5. 1. Gumba /
(Slika D)
Glede na vrsto upravljane naprave:
-: Gor/Vklop/Odpiranje
-: Dol/Izklop/Zapiranje
5. 2. Gumb STOP/
(Slika E)
-Kratko pritisnite gumb , da prekinete vklop naprave.
-Če se je naprava zaustavila, kratko pritisnite gumb , da začne delovati,
dokler ne doseže priljubljenega položaja (my).
5. 3. Nastavljanje, spreminjanje in brisanje priljubljenega položaja
(my)
(Slika F)
-Napravo nastavite na želeni položaj in pritisnite gumb (≈5s), da shranite
priljubljeni položaj (my).
-Napravo nastavite na priljubljeni položaj (my) in pritisnite gumb (≈5s), da
ga izbrišete.
6. Namigi in nasveti
Za menjavo zadnjega izgubljenega ali poškodovanega upravljalnika se obrnite na
strokovnjaka za pogonske sisteme in hišno avtomatizacijo.
Posebni samostojni način motorja
(Slika G)
Ta postopek izvedite samo za upravljanje samostojne naprave, ki ni znamke Somfy,
iz izbora naših soproizvajalcev.
Vklopite posebni samostojni način za vsako od skupin, ki je povezana s tovrstno
napravo.
Na daljinskem upravljalniku Situo 5 io/RTS najprej izberite skupino.
1) Odstranite pokrov na zadnji strani daljinskega upravljalnika.
2) Preverjanje trenutnega načina: vzpostavite kontakt med dvema deloma območja
za vklop (2 polkroga na strani gumba PROG).
• Kontrolna lučka
a
sveti neprekinjeno = običajni način (vklopljen je samostojni
način za znamko Somfy.
• Kontrolna lučka
a
utripa = vklopljen je posebni samostojni način.
3) Sprememba načina: za 2 s vzpostavite kontakt med dvema deloma območja za
vklop, dokler se kontrolna lučka ne spremeni: označuje novi način.
4) Pokrov daljinskega upravljalnika namestite nazaj na svoje mesto in privijte vijake.
7. Menjava baterije (Slika H)
Preberite poglavje Varnostna navodila.
Nevarnost eksplozije, če baterijo zamenjate z neustrezno vrsto.
1) Odvijte vijake pokrova na zadnji strani daljinskega upravljalnika, kot prikazuje
slika.
2) S plastičnim predmetom potisnite izpraznjeno baterijo iz ohišja.
3) Vstavite baterijo CR 2430 (3 V), tako da stran, označena s plusom (+), gleda
navzgor. Upoštevajte polarnost. Napajalni priključki ne smejo biti v kratkem stiku.
4) Potisnite baterijo do konca v ohišje in 5) Pokrov daljinskega upravljalnika
namestite nazaj na svoje mesto in privijte vijake.
Baterije in akumulatorje ločujte od drugih odpadkov in jih oddajte na
ustreznih zbirnih mestih, kjer bo poskrbljeno za njihovo recikliranje.
Skrbimo za okolje. Naprave ne odvrzite med gospodinjske odpadke. Oddajte
jo na ustreznem zbirnem mestu, kjer bo poskrbljeno za njeno recikliranje.
8. Tehnični podatki
Radijska frekvenca: 868,95MHz, io-homecontrol
®
/ 433,42MHz, RTS
Frekvenčni pas in največja uporabljena moč:
868,700MHz-869,200MHz ERP< 25 mW
433,050 MHz–434,790 MHz ERP< 10mW
Domet radijskega signala: 150 m na odprtem. Uporaba prek večine zidov in
nadstropij zagotovljena glede na okolje (povezava od točke do točke).
Delovna temperatura: od 0 °C do +48 °C
Napajanje: 1 baterija tipa CR2430, 3 V.
EN SL
SOMFY ACTIVITES SA hereby declares that the radio equipment covered by these
instructions is in compliance with the requirements of the Radio Directive 2014/53/EU
and the other essential requirements of the applicable European directives. The full text of the EU
Declaration of Conformity is available at www.somfy.com/cw.
D
< 0.5 s
< 0.5 s
< 0.5 s
< 0.5 s
E
> 5 s.
> 5 s.
F
Copyright © 2019. SOMFY ACTIVITÉS SA, Société Anonyme, capital 35.000.000 Euros, RCS Annecy 303.970.230 - 12/2019 All rights reserved. Images non contractually binding.
H
2/2
1) 4)
2)
< 0.5 s
G
1) 4) 5)
3)
CR2430
2)
3)
2 s.
S to izjavo družba SOMFY ACTIVITES SA zagotavlja, da je radijska oprema, navedena v
teh navodilih, skladna z bistvenimi zahtevami direktive o radijski opremi 2014/53/EU in
drugimi bistvenimi zahtevami ustreznih evropskih direktiv. Celotno besedilo izjave o skladnosti s
predpisi EU je na voljo na spletnem naslovu www.somfy.com/ce.

Other manuals for SITUO 5 io/RTS PURE

2

Other SOMFY Remote Control manuals

SOMFY Telis Soliris RTS User manual

SOMFY

SOMFY Telis Soliris RTS User manual

SOMFY KEYTIS INTERIOR User manual

SOMFY

SOMFY KEYTIS INTERIOR User manual

SOMFY 5014984 User manual

SOMFY

SOMFY 5014984 User manual

SOMFY Situo 1 RTS Operating and maintenance instructions

SOMFY

SOMFY Situo 1 RTS Operating and maintenance instructions

SOMFY inteo CENTRALIS RTS User manual

SOMFY

SOMFY inteo CENTRALIS RTS User manual

SOMFY 1810632 Telis 1 RTS Pure User manual

SOMFY

SOMFY 1810632 Telis 1 RTS Pure User manual

SOMFY inis RT User manual

SOMFY

SOMFY inis RT User manual

SOMFY Oximo RTS User manual

SOMFY

SOMFY Oximo RTS User manual

SOMFY SITUO 5 io/RTS PURE User manual

SOMFY

SOMFY SITUO 5 io/RTS PURE User manual

SOMFY Telis 1 Soliris RTS Pure User manual

SOMFY

SOMFY Telis 1 Soliris RTS Pure User manual

SOMFY Telis Composio io User manual

SOMFY

SOMFY Telis Composio io User manual

SOMFY 1875157 User manual

SOMFY

SOMFY 1875157 User manual

SOMFY Easy Sun io User manual

SOMFY

SOMFY Easy Sun io User manual

SOMFY Telis 1 RTS Pure User manual

SOMFY

SOMFY Telis 1 RTS Pure User manual

SOMFY Nina io User manual

SOMFY

SOMFY Nina io User manual

SOMFY Telis RTS User manual

SOMFY

SOMFY Telis RTS User manual

SOMFY Telis 4 Soliris RTS User manual

SOMFY

SOMFY Telis 4 Soliris RTS User manual

SOMFY IRS 300 User manual

SOMFY

SOMFY IRS 300 User manual

SOMFY Telis Composio RTS User manual

SOMFY

SOMFY Telis Composio RTS User manual

SOMFY Situo 1 io User manual

SOMFY

SOMFY Situo 1 io User manual

SOMFY INTEO TELIS 1 RTS User manual

SOMFY

SOMFY INTEO TELIS 1 RTS User manual

SOMFY Nina Timer io User manual

SOMFY

SOMFY Nina Timer io User manual

SOMFY KeyGo io User manual

SOMFY

SOMFY KeyGo io User manual

SOMFY Rollixo Optimo RTS User manual

SOMFY

SOMFY Rollixo Optimo RTS User manual

Popular Remote Control manuals by other brands

Astral Pool LumiPlus CONTROL MOTION quick start guide

Astral Pool

Astral Pool LumiPlus CONTROL MOTION quick start guide

Oplink RMC1300 user guide

Oplink

Oplink RMC1300 user guide

Range Master TXTIMER user manual

Range Master

Range Master TXTIMER user manual

One Forall 8L user guide

One Forall

One Forall 8L user guide

One Forall URC-6410 instruction manual

One Forall

One Forall URC-6410 instruction manual

Go Power GP-SW owner's manual

Go Power

Go Power GP-SW owner's manual

dewert okin IPROXX 2 System instructions

dewert okin

dewert okin IPROXX 2 System instructions

Contec DVR Remote Control RT-U62CD Training guide

Contec

Contec DVR Remote Control RT-U62CD Training guide

Abus FUBE50015 user guide

Abus

Abus FUBE50015 user guide

Skytech 1001 TH-A manual

Skytech

Skytech 1001 TH-A manual

Hi-Tec Focus 3 SS manual

Hi-Tec

Hi-Tec Focus 3 SS manual

Delta DE212 GLOBAL Operation and installation manual

Delta

Delta DE212 GLOBAL Operation and installation manual

Arena Luci LC9182SZG-RGB user manual

Arena Luci

Arena Luci LC9182SZG-RGB user manual

dewert okin Mattress FIRM RF510A instructions

dewert okin

dewert okin Mattress FIRM RF510A instructions

One Forall URC-10820 user guide

One Forall

One Forall URC-10820 user guide

Range Master TXIQ8 user manual

Range Master

Range Master TXIQ8 user manual

HunterDouglas PowerView Pebble Product information manual

HunterDouglas

HunterDouglas PowerView Pebble Product information manual

Merit RC T6HF instruction manual

Merit RC

Merit RC T6HF instruction manual

manuals.online logo
manuals.online logoBrands
  • About & Mission
  • Contact us
  • Privacy Policy
  • Terms and Conditions

Copyright 2025 Manuals.Online. All Rights Reserved.