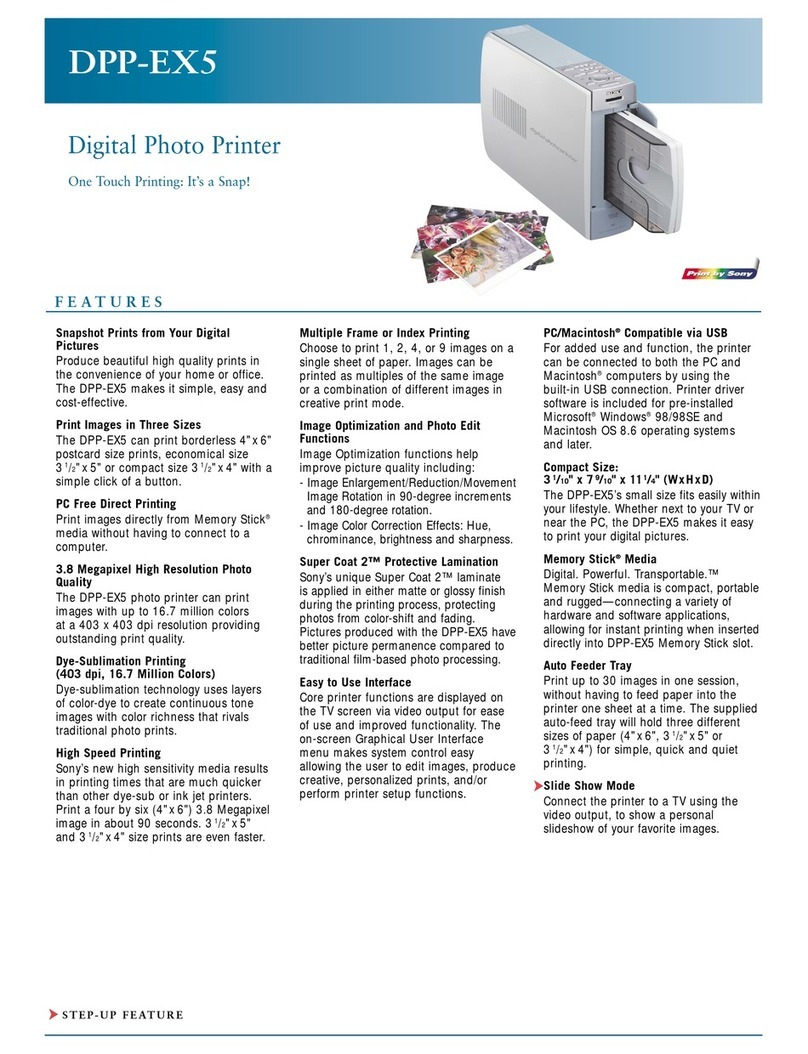
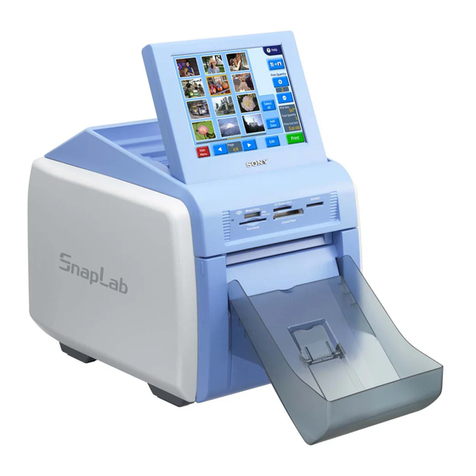
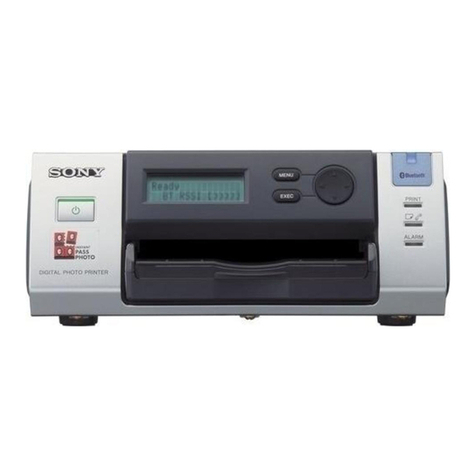
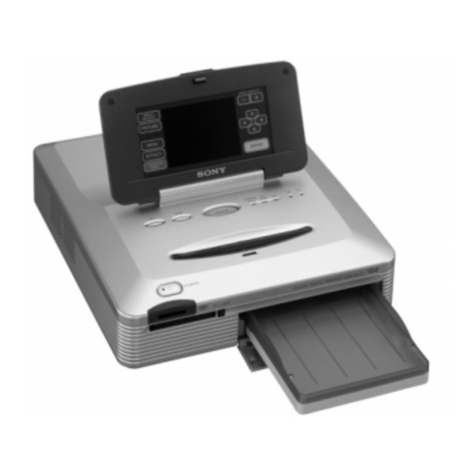
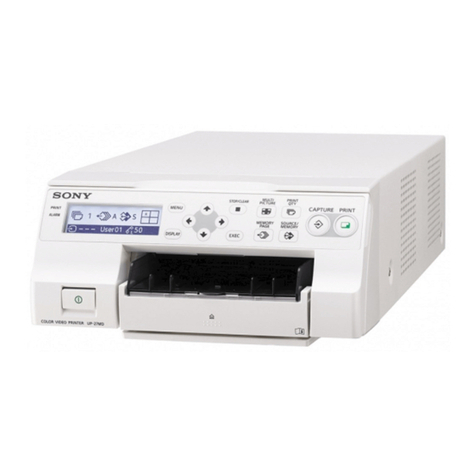
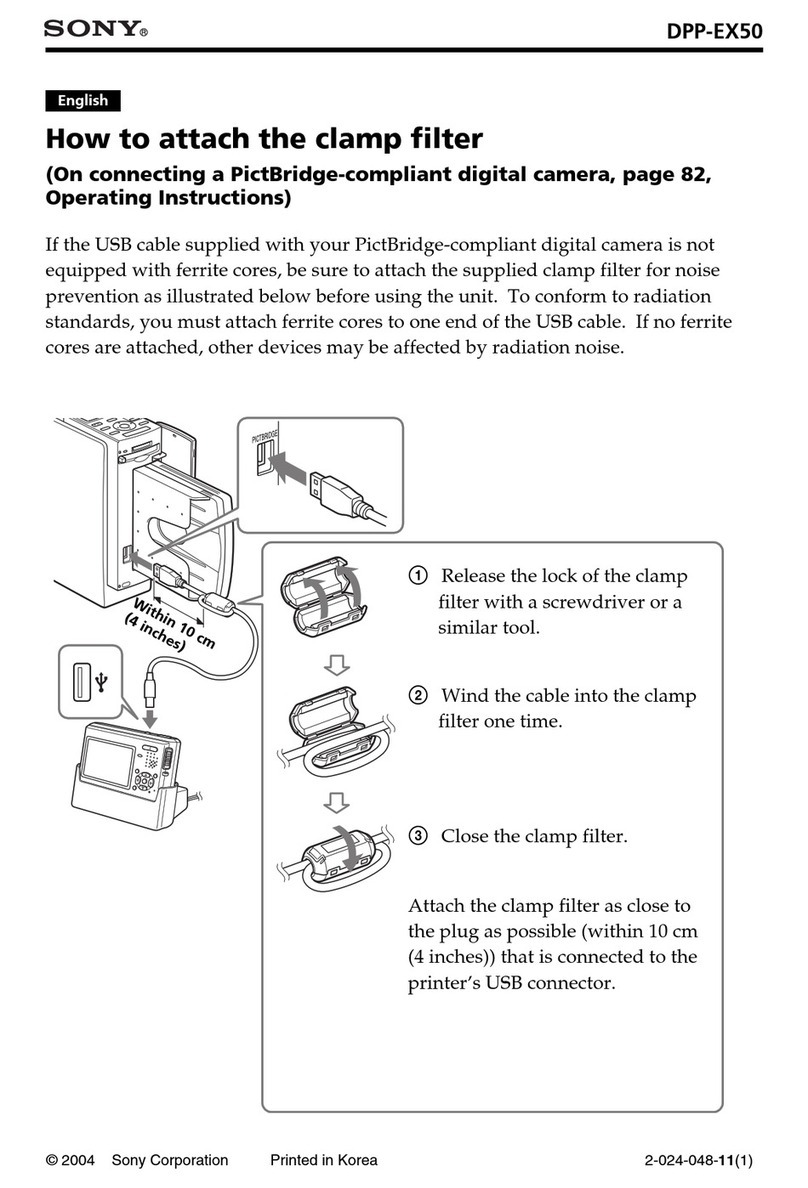
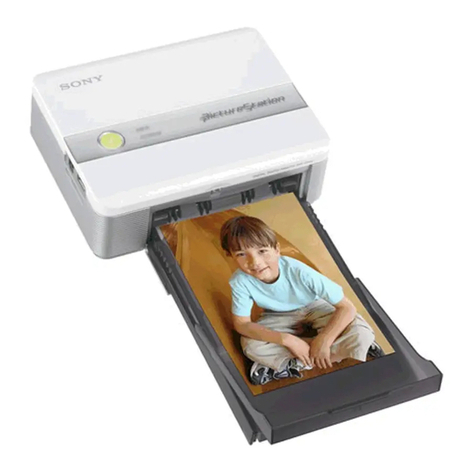
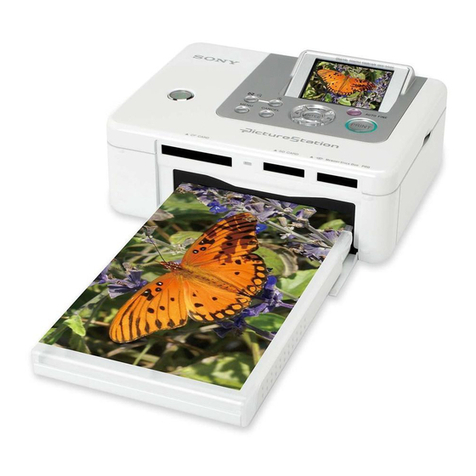
Sony DPP-FPHD1 Instruction Manual (Photo Printer) User manual


To reduce fire or shock hazard, do
not expose the unit to rain or
moisture.
CAUTION
You m'_ cautioned that any cllzmges or
modifications not expressly appl'o_ed in this
nmnual could void your autllority to operate this
equipment.
Note:
This equipnlcnl has been tested and lound to
comply with tile limits lor a Class B digital
device, pursuant to Part 15 of the FCC Rules.
The_ limits are designed to provide reasonuble
protection against llarmfifl interl_:rcnce in a
rcsidential installation. This equipment generates,
uses, and can radiate radio lrcquency energy and,
if not installed and used in accordance with the
inslructions, may cause harmfifl interim:fence to
radio conlnlunications+ However, there is no
guarantee that interlk:rcnce will not occur in a
particular installation. If this equipment does
cause harmflfl interl_zrence to radio or television
rcccption, which can be determined by turning the
equipment off and on, the uscr is encouraged to
tl3, to correct the interl_:rence by one or nlorc of
tile lbllowing lneasures:
Reoricnt or relocate the rcceiving antcnna.
lncrease the scparation between the
equipment and receiver.
Connect the equipnlent into all outlet on a
circuit dil]crcnt li'om tllat to wllicll file
receiver is connected.
Consuh the dealer or an experienced radio/TV
technician lbr llelp.
.....i ¸i+i!i+i+i!i+i!i+i+i+! ii! ! iiiiiiiiiiiiiiiiiiiiiiiiii+i¸
This product has b_n tested and lbund compliant
with file limits set out in the EMC Directive lot
using connection cables sllortcr thun 3 meters (9,8
lout).
Attention
Tile electromagnetic fields at tile specific
hequencies may influence tile picturc of this
digital photo printer,
Notice
It static electricily or electromagnetism causes
data translcr to discontinue midway (lidl), l+cstart
the application or disconnect and connect file
communicution cable (USB, etc.) again.

DisposalofOld Electrical& Electronic
Equipment(Applicableinthe
EuropeanUnionand other European
countrieswith separatecollection
systems)
This symbol on tile product or on its packaging
indicates that this product shall not be treated as
hou_hold waste. Instead it shall be handed over
to the applicable collection point 1or the recycling
of electrical and electronic equipment. By
ensuring this product is disposed of correctly, you
will help prcvcnt potcmial negative consequmlces
lbr the environment and human heahh, which
could otherwise be caused by inappropriate waste
handling of this product. The recycling of
materials will help lo conserve natural resources.
For more detailed inlbrmation aboul rccycling of
this producL please contact your local Civic
Ollice, your househokl waste disposal service or
the shop where you purchased the product.
Applicable Accessory: Remote Control
A moulded plug complying with BS 1363 is fitted
to tfiis equipment lbr your salEty and convenience.
Should the filse in the plug supplied need to be
replaced, a filse of the same rating as the supplied
one and approved by ASTA or BSI to BS 1362,
(i.e,, marked with an @ or _ mark) musl be
used.
If the plug supplied with this equipment has a
detachable lhse cover, be sure to attach the fuse
cover alicr you change the filse. Never use the
plug without the lhse cover. If you should lose the
lhse cover, please conlacl your nearest Sony
service stallon,
Duplicatkm, edition, or printing of a CD. TV
programs, copyrighted materials such as
pictures or publications, or any other materials
except 1or your own recording or crealion is
limited to private or domestic use only. Unless
you hold copyright or have pemfission of
copyright holders liar the materials to be
duplicated, use of those nlaterials beyond this
limit may inhinge the provisions of the
copyright law and be suhject to the copyright
holder's claim lbr damages.
When using photo images with this printer, pay
special altenlkm nol lo inhinge lhe provisions
of the copyright law. Any unauthorized use or
modification of other's portrail may also
inliinge their rights.
For SOlne delnonstralions, perlbrmances, or
exhibits, photography may be R_rbidden.
Backup recommendations
To avoid potcntial risk of data loss caused by
accidental operation or mallhnction of the
printer, we reconlnlelld lhal you save a backup
copy of your dala.
Information
IN NO EVENT SHALL SELLER BE LIABLE
FOR ANY DIRECT, INCIDENTAL OR
CONSEQUENTIAL DAMAGES OF ANY
NATURE, OR LOSSES OR EXPENSES
RESULTING FROM ANY DEFECTIVE
PRODUCT OR THE USE OF ANY
PRODUCT,
Trademarks
•Cyher-shol is tile trademark of Sony
CoriKn'ation.
• All other companies and product n_m_es
menlkmed herein nlay be the trademarks or
rcgistered trademarks of their respective
companies. FurthernKire, ]M and ® arc llol
mentioned in each case in tiffs manual.
• This soltwarc is based in part on the work of file
independent JPEG Group.
Checkingthe contentsof the package
Make sure that the %llowing accessories
are supplied with your printer.
ACadaptor(AC-$2422)(1)
ACpowercord*(1)
'_The AC power cord illustrated is lor 120V only.
The plug shape and specificalions of the AC
power cord ditlcr depending on the rcgkm you
purchased the prinler.
Cleaningcartridge(1)/
Cleaningsheet(1)
RemoteControl(1)
Verticalstandattachment(2)
AN connectingcable(1)
Componentvideocable(1)
Paperprotector(1)
• Sample color print pack
(Post card size)
• Operating Instructions (this tnanttal, 1)

Tableof contents
Checking the contents of the package ...................................................... 4
What you can do with this printer .............................................................. 6
Identifying the parts ................................................................................... 8
Preparations ............................................................................................ 11
Preparing the print pack .................................................................................. 11
Loading the inkribbon .................................................................................... 12
Inserting the print paper .................................................................................. 13
Connecting ...................................................................................................... 15
Viewing images on the TV ....................................................................... 17
Printing images ....................................................................................... 18
Charging the battery pack ....................................................................... 20
Troubleshooting ....................................................................................... 21
Iftrouble occurs .............................................................................................. 21
If paper jams ................................................................................................... 25
Cleaning the inside of the printer .................................................................... 25
Precautions ............................................................................................. 27
Specifications .......................................................................................... 29
Display range of images ................................................................................. 30

Whatyoucandowith this printer
You can r!!joy viewing images oil a high
definition TV and print the desired image
instantly using the digital photo printer
DPP-FPHD 1.
Shoot images using the DSC-WSO.
For details oil how to use the DSC-WSO.
relcr to the Instruction Manual supplied
with the camera and the Cyber-shot
Handbook (PDF).
Place the camera on the
camera adaptor.

Youcanm!ioyimagesonthecameraoila
high-definitionTVusingthecomponent
videocable(supplied).--+page17 Whenyouturnuffthepowerofthecamera.
thecameraadaptorcanchargethebattery
packinsidethecamera.
Thecameraadaptorcanchargethebattery
fasterthanthebatterychargersuppliedwith
thecamera.--+page20
You can play back a series of recorded
images with the desired effect and music
(Slkle show). --+ page 17
,5
You can print the desired image easily by pressing the PRINT button on the remute cuntroh
--+ page 18
• You can print up to 20 sheets of print paper at once.
• The Super Coat 2 feature enables high durability and moisture or fingerprint resistance.
keeping your prints in good condition liar an extended period of time.

Identifyingthe parts
For details, see the pages indicated in the
parentheses.
Printer
[] Stand attachment slit (page 16)
[] (_3 (on/standby) indicator
• Lighls in rcd: Tile printer is in the standby
nlode.
•Lighls in yellow greta1: The prinler is
powered on,
•Plashes in yellow green: Printing is in
process. It flashes also when all error occurs.
[] ACCESS indicator (page 19)
• Lighls: The camera is being connected to
lhe prinler.
•Plashes: The image 1obe printed is
damaged.
[] ERROR indicator (pages 12,25)
• Lighls: The paper tray is not inserted. NO
prinl paper is in lhe paper tray.
Paper remains in the prinler.
•Plashes slowly: The ink ribbon ends. NO ink
ribbon is inserted.
•Plashes rapidly: Paper is jammed.
[] Paper tray (page 13)
[] Paper eject slot
• Do nol leave qjecled paper when it reaches
20 sheets.

[] Ventilation holes
[] DC IN 24V jack (page 15)
lnsert the AC power adaptor supplied
here, and then connect the AC power
adaptor and the wall outlet with the
supplied AC power cord.
[] A/V OUT jack (page 16)
[] COMPONENT OUT jack (page 16)
[] lnk ribbon slot (page 12)
[] Ink ribbon eject lever (page 12)
[] Ink ribbon compartment cover (page 12)
Papertray [] Paper tray lid (page 13)
Cameraadaptor
[]
[] Model select switch
When using this printer, the Model
select switch must be set to A.
[] CHARGE indicalor (page 20)
[] HD OUTPUT indicator
• Lights when the setting is sel to
"HD( 1080i)" on the camera.
[_ Remote sensor
[] Multi connector

Remote control
[]
[] SLIDE SHOW button (page 17)
[] PRINT button (page 18)
[] MENU button':'
• Functions operate tile same as the MENU
buttons on tile camera.
• However, "Relwuch _'limction of lhe
Viewing menu cannol be used.
[] (_) (on/standby) button (page 17)
• To lurn on the prinler, press (_31olurn on the
(_) indicator in yellow green.
• To turn oil the printer, press (D again to turn
on lhe (_3 indicalwr in red.
[] [] (Index) button
• Press lhe _i_ side to swilch to the index
screen.
•Prcss the [] side again to switch lit lhe
index screen with snlaller lhumbnails.
• Press the other side to return tit lhe previous
index screen.
[] Control buttons (A/V/4/,/U)*
• Press i/V/'ll/_ 1oselecl the images or file
MENU ilems.
• Press • to confirm tile selection.
_' For details, refer tit tile Instruction Manual
supplied with the camera and the Cyber-sllot
Handbook.
WNotes
• Remove tile insulation sh_t before using tile
rel/lOle conlrol.
• Poinl tile rel/lOle COlllrol towards tile relllote
Sellsor on the camera adaptor to operate your
camel_a.
Tochangethebatteryoftheremote
control
@ While pressing on the tab, inset your
fingernail into the slit to pull out the
battery case.
@ Place a new battery with the + side lacing
up.
@ Insert the battery case back into the remote
control until it clicks.
Caution
Risk of Explosion if battery is rcplaced by an
incorrect type,
Dispose of used battcries according lit
instruclions.
WARNING
Battery may explode it mistreated.
Do not rechage, disassemble or despose ol in I]re.
• The remote control has a button type lithium
batte] T (CR2025) buih in. Do not use batteries
other tllan CR2025.
10

Preparations
Preparing the print pack
To print an image, you need a print pack
designed for the printer. The sample color
print pack contains a set of 5 sheets of post
card size print paper and an ink ribbon for 5
prints.
Size of print paper
The size of the post card size print paper is
as Mlows:
•Post card (4 x 6 inch/10 x 15 cm) size
(101.6 x 152.4 nnn)
(the maximun/borderless printing size)
Optionalprintpacks
You c:m use the following optional print
packs for the printer:
Post card size print pack
SVM-F40P
•40 sheets of 4 x 6 inch print paper (20-
sheet-pack x 2)
• Ink ribbon l_r 40 prints
SVM-FI20P
• 12(1 sheets of 4 x 6 inch print paper (20-
sheet-pack x 6)
• 3 ink ribbons each for 40 prints
IINote
Not all models are _wailable in all cotmtries
or regions.
nNotes on using print packs
• Ahvays use tile print pack designed for this
printer only. If you use different types of
print pack, printing may not lie possible or
malflmction may OCClll:
• The side without ll_eimprinting is the printing
surluce. Int_:rior print quality may result if the
printing surlace is contaminated with (lust or
Iingerprints. Be carelhl to avoid touching the
printing surlace.
• Do not bend the paper or tear it off at tile
pertbrations I}erore printing.
• Do not print on used sheets of print paper or
attempt to rewind the ribbon inside the ink
rillbon+ Doing so could result in damages to
the printer+
r=Notes on storing print packs
(for quality prints)
•Whcn you m'e going to store a partially-used
pack ol the ink ribbon mid print p_per lor m_
cxtcnded period of tinlc, store il in its original
bag or in a sinlilar comainer.
• Avoid placing ll_eprinl pack in locations thai are
subjecl It) high temperature, high hunlidily,
cxcessive dust, or direct sunlight.
• U_ print pack wilhin lwo years honl the date of
production.
WNote on storing printouts
• Do not affix ccllophane tape or plastic erasers to
printouts. Also avoid leaving printouts under
pl_stic desk hi,as.
11

Loading the ink ribbon
1Pull and open the ink ribbon
compartment cover.
2Insert the ink ribbon in the arrow
direction until it clicks into place.
Removing the ink ribbon
When the ink ribbon runs out, the ERROR
indicator will flash slowly. Open the ink
ribbon compartment cover, push up the
eject lever, and remove the used ink ribbon.
WNotes
• Usethe inkribbon contained in the same box
with the print paper.
• Do not touch tile inkribbon or placethe ink
ribbon in a dusly location. Fingerprints ordust
on the ink ribbon mayresult in imperlcct
printing.
_a .............. Ink
3Close the ink ribbon compartment
cover.
12

• Never put your hand into the ink ribbon
compartlncnt. Tile thermal head rcaches high
temperatures, especially al_cr repeated printing.
• Do not rt=wind the ink ribbon and use the
rewound ink ribbon lot printing. Otherwise,
proper printing resuh will not be obtained, or
even a nlall/inction may occur.
• If the ink ribbon does not click into place,
remove it and then re-insert it. If tile ink ribbon
is too slack to be loaded, wind file ink ribbon in
the direction of the arrow 1orcnlove the slack.
• Do not remove tile ink ribbon while printing.
Inserting the print paper
1Open the paper tray.
2Lift the paper tray lid up.
13

Set the print paper into the tray.
You can sel up 1o 2(1 shecls ot print paper.
Riffle the print paper d/oroughly. Insert the
print papcr into tile tray, with tile protective
sheet at tile top.
If tl/ere is no protective sheet:
Ritlle the print paper thoroughly. Then inscrt
tile print paper with its printing sultace (tile
side with no imprint) [_cing up.
4Remove the protective sheet.
Printing
Paper
feeding
direction
5 Close the paper tray lid.
• Set tile print paper toward the paper li:eding
direction witll the back of paper witll tile
SONY logo lacing down.
The back of print --
paper
WNote
Do not touch tile printing surlace.
Fingerprints on tile printing surlhce may result in
imperfect printing,
14

OInsert the paper tray into the
printer.
Insert tile paper truly straight in until it reaches
the cnd.
r=Notes
•Do nol rcmme tile p_lper m,y during printing.
• To avoid paper jam or nmllunctions ol tile
prinler, make sure the lbllowing belore printing:
Do not write or type on lhe prinl paper. Use
file oil ink pen to write on the paper after
printing. You cannol type on lhe print paper
using all ink-ira printer, etc.
Do not attach slicker or slamps (Ill lhe prin[
paper.
Do not lbld or bend the print paper.
Total number of prin( paper does no( exceed
20 slleets.
Do not print on the used prin( papel: Printing
an image (wice on the same paper will not
make (he printed image (bicker.
Use the print paper lot this printer only.
Do not use the prin( paper ejected without
prin(ed.
nNote on storing the print paper
• Avoid storing tile paper xvilll the printed lilccs
louching eacll olher or in conlacl wilh rubber or
plastic products including vinyl ctlloride or
plastici/cr lor an extended period of tilnc: color
changes or deterioration of file printed image
nlay occur.
Connecting
1Insert the plug of the AC adaptor
(supplied) to the DC IN 24V jack of
the printer.
2Insert one plug of the AC power
cord to the supplied AC adaptor
and insert the other plug of the
AC power cord to the wall outlet
(wall socket) close by.
Tile (_)(oil/standby) indicatorligh(s illred.
DC plug
AC adaptor
To a wall outlet
(wall socket)
AC power cord
(mains lead)
WNote
Tile sockel outlet sh_tll be installed nero tile
equipment and sllall be easily accessible.
15

Connect the printer to a TV.
Connect the printer to the high
definition TV with the component
video cable and the A/V
connecting cable.
Toinstall the printer vertically
You can attach tile stand attachments te tile
printer and install the printer vertically.
i_ [_ Component
Component video cable
Red _ Audio
l_._ WhIte h_] (monaural)
k***********A/V connecting cable
• When both the Component video cable and
the A/V connecting cable are connected,
inlages will be output not via lhe A/V OUT
jack, but via the COMPONENT OUT jack.
• Sel the "COMPONENT" sclting of the
camera to "HD(1080i)" betktrchand,
Connect the printer to the high
definition TV with the A/V
connecting cable.
For details on how to play back on a TV, s_
page 17.
Align • markers on the
stand attachment slit and
stand attachment.
When using the paper protector
(supplied)
The print paper comes out of the rear side a
l__'wtimes during prittting. You can protect
the paper <jected t?om the printer when
using the paper protector. The protector also
prevents blockittg the ventilation holes.
OPrecautions
• The printer is not disconnected ti'om the AC
power source (m_fins) as long _s it is connected
lit lhe wall outlel, even if the printer ilself has
been mined oil
• Connect lhe AC adaptor tit an easily accessible
wall oullel close by. If some trouble occurs
willie using the adaptor, immedialely shul ot]
lhe power by disconnecting lhe plug tiom lhe
wall outlel,
• When you have finished using the AC adaptol\
disconnect it tiom the DC IN 24V jack of the
printer.
• Do not short the DC plug of the AC adaptor
with a metallic object, as this may cause
malthnction.
• Do nol use lhe AC adaplor in a narrow space,
such as the one between the prinler and lhe wall.
16

Viewingimagesonthe TV
nNote
Check tile 'USB Colmect" sclting ot file camera
is set to 'PictBridge" or "Auto".
For details, relcr to the Instruction Mmmal
supplied with the cmnera and the Cybcr-shot
Handbook.
You can play back images by connecting to
the TV with the A/V connecting cane
(supplied) or the component video cable
(supplied) together with the A/V
connecting cable.
1Place the camera on the camera
adaptor.
• This printer is designed tot tile DSC-WSO
only.
Turn on the TV and set the TV/
Video switch to "Video".
• For details, rei_r to tile operating
instluclions supplied with tile TV.
3Press _on the remote control to
turn on the power of the camera.
The print menu appears onthe scr_n.
A
=-I. Select "Exit" by pressing •on the
remote control and press eat the
center.
The playback screen appears.
E" Select the desired image by
pressing 41/1_.
• Youcannot phiy back ramies.
• When connecting with the component video
cable, set the 'COMPONENT" setting of
the camera to 'HD(1080i)" belorchand.
Viewing images by the slide show
You cml playback a series of still images
recorded with your camera by only pressing
the SLIDE SHOW button on the remote
ct)ntrol.
• Youcan changetilesettings of Slide Show with
the settings on the camera.
17

Printingimages
• YOu can prinl images by pressing either
the control buttons (li/the remote control
or on [he can]era+
4
/ Place the camera on the camera
adaptor and turn on the power of
the camera.
The prillt menll appears Oll the screen.
4Select desired images with the
control buttons.
(_) Select the images with 411/1_ and press
m at the center.
(_) Press the MENU button.
(_) Select "OK", and press U at the
center+
5 Set the print mode.
18
You can select ffonl tile tbllowing print
Inodes:
• Printing (if tile inlage currently displayed (in
file screen _ To the Step 2
• Printing of nnfltiple selected images _ To
tile Step 3
Select "This Image" with the
PRINT button or the control
buttons on the remote control,
and press nat the center.
Proceed to tile Step 5.
3Select "Multiple Images" with the
control buttons on the remote
control, and press Oat the center
when selecting images.
You can select fl+onl tile iollowing print
II/odesi
• Index print
• Border/Borderless print _
• [)ate print
When you speciiy border prim k)r 16:9 size
inlages, you can print file thll images
without nlargins being cut off, (page 30)
OSelect "OK" with the control
buttons, and press gat the
center.
Tile image will be printed.
Tile "Printing..." screen disappears when
printing is complete.
• For dclails on printing, rcti:r to tile Cyber-shot
Handbook.
• You can play back and rcview images on a TV
when prindng the inlages. (++4 page 17)
WNotes on printing
• Nc_er move or turn oil tile printer wlfile it is
printing; tile ink ribbon or paper nlay become
stuck. In case you turn oil tile power, keep the
paper tray inserted and then turn on the printer.
If paper being printed ivmains in the printer.
remove tile paper that emerged automatically
and rcsume printing from the step I.

• The prinl paper emerges from the rear a low
limes during prinling. Do nol louch or pull out
lhe paper that appeared. Make sure to spare
enough space behind the printer, such as by
using lhe paper protector, elc.. during prinling.
• If print paper runs out during continuous
printing or if you print with no print paper in the
paper tray, the printer's ERROR indicgm>r lights.
Feed the print paper without turning (d] tile
power and resume printing.
OntheACCESSindicator
The ACCESS indicator shoves the
connection status between the printer and
the camera as follows:
• When the indication lights:
The connection between file prinlm and ll_e
camera is established.
• When the indication flashes:
The image to be printed is damaged.
lg

Chargingthe batterypack
Turn off the camera and place the camera
with the battery pack inserted on the camera
adaptor. Charging starts autonlatically. The
CHARGE indicator of the camera adaptor
lights up.
• When the camera is turned oil, the cantata
adaptor stops charging the battery pack.
• When the charging reaches to Normal
charge*, the CHARGE indicator goes off.
" Recording and playback time wilh Normal
charge is approximately 90% of Full chalge.
• The time of the full-charge for a
completely discharged battery at the
temperature of 25 'C (77 'F) is
approximately 230 minutes.
It may take longer to charge, depending
on the charging condition and
environment.
• If the motor in the printer is still running,
turn off the camera afler the motor stops
running. You cannot charge the battery
while the motor is running.
• If CHARGE indicator f:uls to light or
blinks lbr more than 10 seconds, reli:r to
"Troubleshooting".
• After attaching the cmnera to the camera
adaptor, the CHARGE indicator may flash
lot 3 to 10 seconds. This indicates
conlmmlication between the cantata and
the cmnera adaptor, am.l it is not a
malfunction.
Charging temperature
Tile temperature range for charging is 0 'C
to 40 °C (32 'F to 104 °F). However. to
provide maximum battery efficiency, the
recommended temperature range when
charging is 10 'C to 30 'C (50 'F to 86 'F).
2O
Other manuals for DPP-FPHD1 Instruction Manual (Photo Printer)
2
Table of contents
Other Sony Printer manuals

Sony
Sony UP-51MDP User manual

Sony
Sony Digital Photo Printer DPP-EX7 User manual

Sony
Sony UP-CX1 series User manual

Sony
Sony UP55MD User manual

Sony
Sony Digital Photo Printer DPP-EX7 User manual

Sony
Sony UP-DR100 User manual

Sony
Sony DPP--SV77 User manual

Sony
Sony DPP-EX50 User manual

Sony
Sony DPP-MP1 User manual

Sony
Sony DPP-EX50 User manual