manuals.online logo
Brands
  1. Home
  2. •
  3. Brands
  4. •
  5. Speco
  6. •
  7. DVR
  8. •
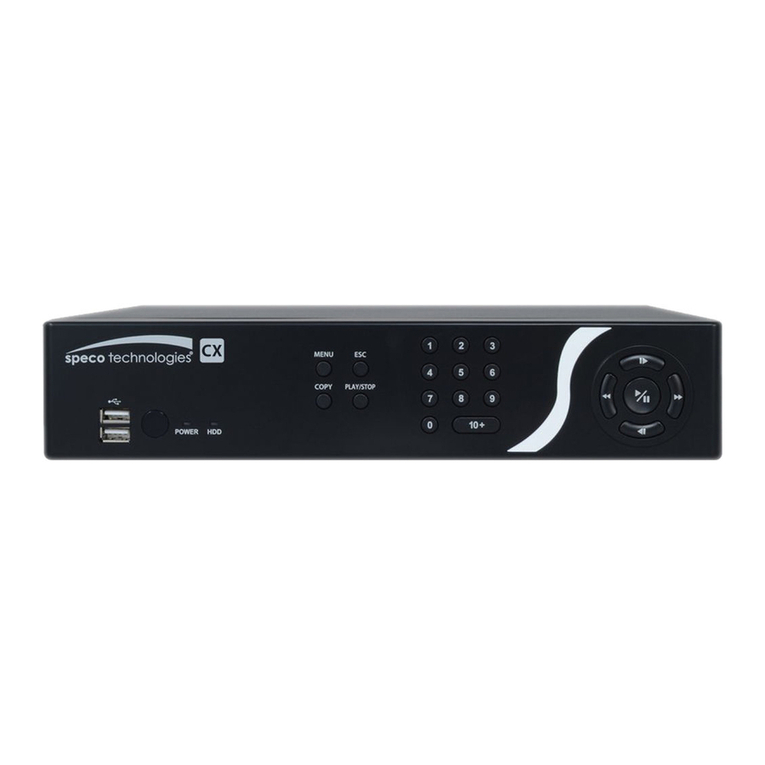
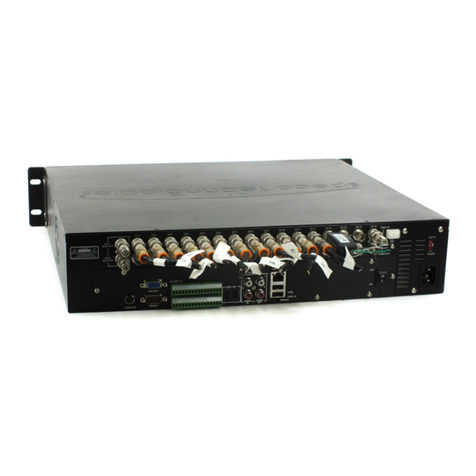
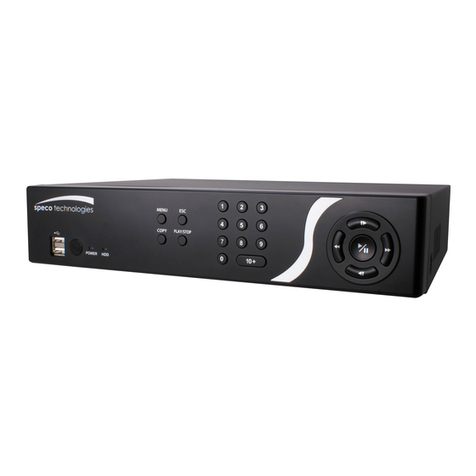
  9. Speco N32NS User manual

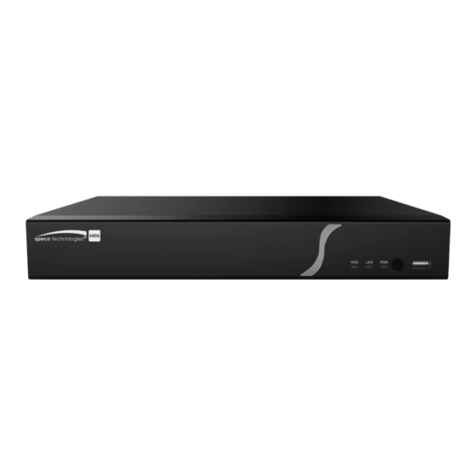
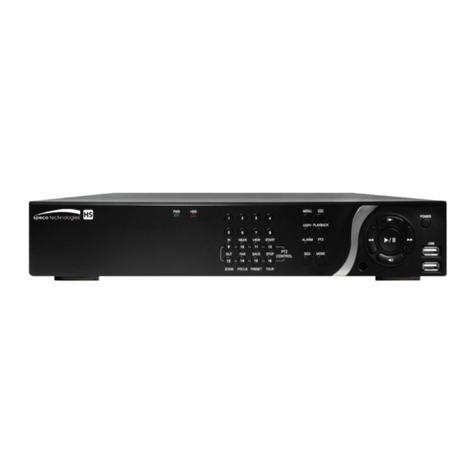
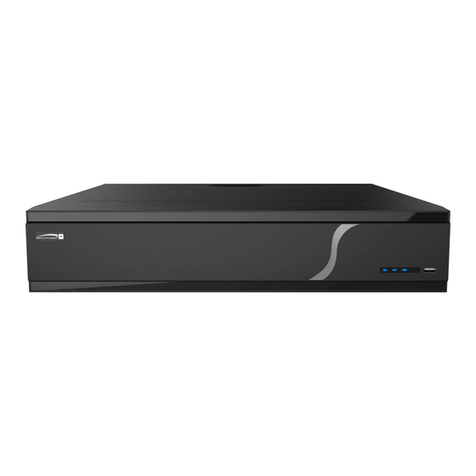
Speco N32NS User manual

NU & N32NS Series
N8NU
N16NU
Remote Control
Remote Battery 1.5V (AAA x 2EA)
Quick Setup Guide User Guide
Mouse for N8NU, N16NU and N32NS
Software & Manual CD
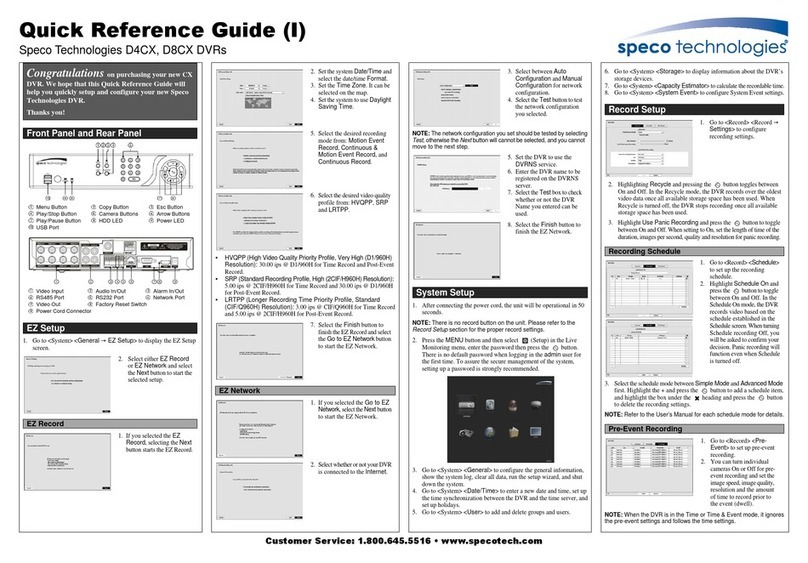
Congratulations on purchasing your NU & N32NS.
We hope that this Quick Setup Guide will help you quickly setup
Thank you!
Product Components
Internal Connections
Power on the NVR
EZ Setup
EZ Network Setup
EZ Setup for Date/Time and Camera
• Please follow the proper power on procedures
to avoid damaging the NVR.
• Connect all necessary components, e.g. monitor and cameras,
before powering the NVR.
• Check the type of power source before connecting the power adaptor
to the NVR. Only use the power supply that is included with the unit.
• It is recommended that the Adaptors are connected to the
NVR before powering up unit.
•To start the EZ Setup, right click on the mouse and select
EZ SETUPfrom the submenu.
• Enter username and password.
The default username is admin and password is set on the first booting.
• It is strongly suggested to change the password to
prevent unauthorized access.
Quick Setup Guide
Speco Technologies NU & N32NS Series NVRs
Please go to www.specotech.com/software-updates.html for the latest software
Rev. 10/31/18
1. Under EZ Setup, select EZ Network for Network Setup
2. Select NEXT if the NVR is using an internet connection.
5. Setup DDNS setting. DDNS (Dynamic Domain Name System)
allows a DNS name to be constantly synchronized
with a dynamic IP address. It allows using a dynamic IP address to be
associated with a static domain name. Refer to the full version manual
for more information.
6.Click FINISH to save the setup.
1. In the EZ Setup window, select EZ Camera for Date/Time and
Camera Setup and click on NEXT.
3. Setup the DATE DISPLAY FORMAT, DAYLIGHT SAVINGS and
DATE & TIME.
4. Click on NEXT to enter the EZ Camera Setup.
5. Select the IP Camera VENDOR
6. Click on SCAN to search the network for cameras.
7. Once the IP Camera information is added for the channel, click on
PREVIEW to verify video
8. Click OK and EZ Camera Setup has completed.
Rack mounts ears (x 2EA)
Screws (x 6EA)
Adaptors (DC12V 6.67A for N32NS),
Power cables (110V or 220V)
1.Ground: Use for ground port.
2. PoE POWER: DC48Vinput. (NSPModels)
3. PoE PORTS: N4NSP (4 Port PoE), N8NSP& N16NSP (8 Port PoE)
4. ETHERNET PORT2:Secondary Network Terminal.
(NS Series without PoE)
5.AUDIO IN/OUT: 4 Connectors for Audio Input /
1Connector for Audio Output.
6.CVBS OUT: HDMI output port. Connector to the HDMI Monitor.
7. HDMI OUT:Main Video Output (1280x720, 1920x1080).
8.VGA OUT: Connector for VGA Monitor.
9. RS232C: POS Interface (TBD).
10.E-SATA:1 External SATATerminal.
11. USB PORT: USB Ports for Mouse or USB Flash Drive .
12. ETHERNET PORT1: RJ-45 Connector for Primary Network.
13.Audio 5~16: More audio inputs for N8NSP, N16NSP.
14. SENSOR IN,ALARM OUT, RS-485: 4 sensor inputs;
1 alarm output and RS-485 for PTZ.
15. POWER: DC12Vinput for NVR.
NSSeries
N4NS, N8NS, N16NS
N4NSP
N8NSP, N16NSP
RemoteControl
RemoteBattery 1.5V (AAA x 2EA)
QuickSetup Guide QuickUser Guide
Mouse for D4RS / D8RS / D16RS
Software& Manual CD
Congratulationson purchasing your new NS NVR.
Wehope that this Quick Setup Guide will help you quickly setup
Thankyou!
Product Components
Internal Connections
Power on the DVR EZ Setup
EZ Network (InternetConnected) EZ Network (NotConnected to the Internet)
EZ Camera
• Please follow the proper power on procedures
to avoid damaging the NVR.
• Connect all necessary components, e.g. monitor and cameras,
before powering the NVR.
• Check the type of power source before connecting the power adaptor
to the NVR. Only use the power supply that is included with the unit.
• It is recommended that theAdaptors are connected to the
NVR before powering up unit.
•Tostart the EZ Setup, right click on the mouse and select
EZSETUPfrom the submenu.
• Enter username and password.
Thedefault username is admin and password is 1111.
• It is strongly suggested to change the password to
preventunauthorized access.
Quick Setup Guide
Speco TechnologiesNS Series NVRs
Pleasego to www.specotech.com/software-updates.html for the latest software
Rev.5/21/13
4
5
6 7 8
11
10
115
12
16
56 7
8
9
10
11
1
14
14
13
13
12
15
14
2
2
3
3
567
8
11
1210
1
15
1.Under EZ Setup, select EZ Networkfor Network Setup
2.Select YES if the NVR is using an internet connection.
(STATIC)and then click TEST button. It will automatically
setup the network setting for the system (NVR).
4.Setup DDNS setting. DDNS (Dynamic Domain Name System)
allows a DNS name to be constantly synchronized
with a dynamic IP address. It allows using a dynamic IP address to be
associated with a static domain name. Refer to thefull version manual
for more information.
5.ClickFINISH to save the setup.
1.Under EZ Setup, select EZ Networkfor Network Setup
2.Select NO if the NVR is not using an internet connection.
3.Select OFF for ENABLE DDNS and click NEXT button.
4.Click FINISH to save the setup.
1.In the EZ Setup window, select EZ Camera forDate/Time and
CameraSetup and click on NEXT.
3.Setup the DATE DISPLAYFORMAT,DAYLIGHT SAVINGSand
DATE& TIME.
4.Click on NEXT to enter the EZ Camera Setup.
5.Select the IP Camera VENDOR
6.Click on SCAN to search the network for cameras.
7.Once the IP Camera information is added for the channel, click on
PREVIEWto verify video
8.Click OK and EZ Camera Setup has completed.
Rackmounts ears (x 2EA)
Screws(x 6EA)
Adaptors(DC12V 5A, DC48V 2A)
& Power cables (110Vor 220V)
1. Ground: Use for ground port.
2. POWER: Power Input (AC 100~240V)
3. PoE PORTS: 8/16 Port PoE
4. AUDIO IN/OUT: Connectors for Audio Input / Connector for Output.
5. CVBS OUT: TV out port. Connector to the TV Monitor.
6. HDMI OUT: Main Video Out (Max. 3840x2160)
7. VGA OUT: Connector for VGA Monitor (Max. 1920x1080)
8. E-SATA: 1 External SATA Terminal.
9. USB PORT: USB Ports for Mouse or USB Flash Memory.
10. ETHERNET PORT: RJ-45 Connector for Primary Network.
11. SENSOR IN, ALARM OUT, RS-485: 4 Sensor Inputs, 1 Alarm
Output and RS-485 for PTZ
12. POWER SWITCH
N32NS
3. NVR automatically tries to test and detect a network environment.
4. Select Auto Conguration(DHCP) and then click TEST button.
It will automatically setup the network setting for the NVR.
EZ Network Setup continued
1. Ground: Use for ground port.
2. IP CAMERA: Network Terminal for IP Camera, No Internet Access.
3. CVBS OUT: TV out port. Connector to the TV Monitor.
4. HDMI OUT: Main Video Out (Max. 3840x2160)
5. VGA OUT: Connector for VGA Monitor (Max. 1920x1080)
6. AUDIO IN/OUT: Connectors for Audio Input / Connector for Output.
7. E-SATA: 1 External SATA Terminal.
8. USB PORT: USB Port for Moue or USB Flash Memory.
9. ETHERNET PORT: RJ-45 Connector for Primary Network.
10. SENSOR IN, ALARM OUT, RS-485: 4 Sensor Inputs, 1 Alarm
Output and RS-485 for PTZ
11. POWER: DC 12V 6.67A Input
Recording Setup Connect the NVR via Web-Browser Viewer continued
Mobile View Software
Mobile View Software continued
Connect the NVR via SpecoTech
Multi-Client Viewer Software
IP Camera Setup
Connect the NVR via Web-Browser Viewer
Alarm I/O Setup
Network Setup
•To setup a recording schedule, select SCHEDULE in the
RECORD menu.
• Select CHANNEL > select NONE, CONTINUOUS, MOTION,
or SENSOR > Highlight area for recording setting.
•To copy a schedule to a different channel, select the desired channel
from the COPY SCHEDULE menu and click COPY.
Setup Instructions:
• Make sure PC is connected to the Internet.
• Make sure NVR is setup using the steps in Network Setup section.
• Start Internet Explorer; go to ‘Tools’→ ‘Internet Options’ →
‘Security’ tab.
• Select ‘Trusted sites’ and click ‘Sites’ to specify its security setting.
• Enter the IP address of the NVR in this in this zone.
• In the Security Level area, click ‘Custom Level’. Under ‘ActiveX
controls and plug-ins’, set all items to ‘Enable’ or ‘Prompt’.
• Click ‘OK’ to accept the settings and close the
‘Security Settings’ screen. Obtain Network Information of the NVR.
installation.
• Install the plug-ins.
• Click on ‘Connect’ and enter the username, password,
and network port of the NVR.
1111 and user1 / 1111.
SpecoTech Multi-Client Viewer Software is a multiple site monitoring
client software that allows streaming of video and audio, and
transmission of alarm signals from the NVRs over the network.
The SpecoTech Multi-Client can display up to 16 NVRs and supports
dual monitors.
PTZ camera control is also supported by this software.
By attaching a microphone and speaker system to devices on site, the
user may make bi-directional audio communication over the network.
Refer to the complete manual for more information.
The SpecoTech Multi-Client Viewer Software and
manual are included on the CD.
200 New Highway
Amityville, NY 11701
1-800-645-5516
www.specotech.com
Quick Setup Guide
Speco Technologies is constantly developing and improving products.
notice and without incurring any obligation. Rev. 10/14/16
D+ S1 S3 A
G
N
D
S2 S4 B
G
N
D
D-
Sensor
Inputs
RS-485D-
RS-485D+
Alarm
Output
• In the SETUP menu, select the DEVICE tab and click on
ALARM-OUT.
• Set the sensor, motion, and video loss for triggering alarm relay output.
• HDD Error and Change to NO CONNECTION can also trigger beeping.
Select the NETWORK tab.
• For DHCP, set the Network
Type to DHCP and exit from
Subnet Mask, Gateway and
DNS settings are retrieved
from network servers.
DHCP is dynamic and the
settings will change from time
to time.
• For Static, set the Network Type to Static. Enter the IP address, Subnet
Mask, Gateway and DNS. Obtain this information from the network
service provider.
• To enable DDNS for free, Enter the NVR Name
and DDNS server name.
Select the IP Camera tab.
CHANNEL : Select the Channel to setup an IP Camera
VENDOR : Select the Brand of the Camera
SCAN : Automatically search the network for IP Cameras
IP : Enter the IP Address of the desired Camera
PORT : Enter the Camera stream Port Number (Default : 554)
WEB PORT : Enter the Camera Web Port Number (Default: 80)
PROTOCOL : Select a Protocol (Default: TCP)
ID : Enter the User ID for access to the IP Camera
PASSWORD : Enter the Password for the associated ID
• Obtain the local IP address from System Information from the
Sub Menu. To get global IP address, contact network administrator or
service provider.
• In the SETUP menu, select the SYSTEM tab and enable
CLIENT ACCESS.
• In the SETUP menu, select the NETWORK tab, obtain the network
and web port number.
• Start Internet Explorer and enter the IP address and web port of
the NVR.- For example: http:// [ip address] : [web port] →
http://172.16.2.62:80
and the Android™.
iPhone® / iPad®
• Search for ‘Speco Player’ in the Apple App Store
and install the app.
•Press (+) on the upper right and enter site information.
• Click SAVE to save the site information.
•Select the saved site from “Devices”
•Select a channel(s) to view.
•Select Playback/Live then click CONNECT
Android™
• Search for ‘Speco Player’ in the Google Play Store and install the app.
• Select the ADD menu and enter site information.
• Click ADD to save the site information.
• Select the saved site from “Devices” for network connection.
• Select a channel and select Live view or Playback.
• Click on START button.
Speco Technologies NU & N32NS Series NVRs

Other manuals for N32NS

1

This manual suits for next models

11

Other Speco DVR manuals

Speco DVR-4CF User manual

Speco

Speco DVR-4CF User manual

Speco DVR-4TL/160* User manual

Speco

Speco DVR-4TL/160* User manual

Speco D8VS User manual

Speco

Speco D8VS User manual

Speco DVR-4TH Series User manual

Speco

Speco DVR-4TH Series User manual

Speco LS16 Technical manual

Speco

Speco LS16 Technical manual

Speco DVR-PC8 Series User manual

Speco

Speco DVR-PC8 Series User manual

Speco D4VS Instruction manual

Speco

Speco D4VS Instruction manual

Speco DVR-4TN Series User manual

Speco

Speco DVR-4TN Series User manual

Speco D4CS User manual

Speco

Speco D4CS User manual

Speco D8HS Instruction manual

Speco

Speco D8HS Instruction manual

Speco D4VX User manual

Speco

Speco D4VX User manual

Speco N32NRN User manual

Speco

Speco N32NRN User manual

Speco DVR-4TN Series User manual

Speco

Speco DVR-4TN Series User manual

Speco DVR-IP4CF User manual

Speco

Speco DVR-IP4CF User manual

Speco N4NRN User manual

Speco

Speco N4NRN User manual

Speco D8HT User manual

Speco

Speco D8HT User manual

Speco N16NRN User manual

Speco

Speco N16NRN User manual

Speco DxVT Series User manual

Speco

Speco DxVT Series User manual

Speco DS Series User manual

Speco

Speco DS Series User manual

Speco D8HS2TB User manual

Speco

Speco D8HS2TB User manual

Speco DVR-DS4TN User manual

Speco

Speco DVR-DS4TN User manual

Speco DVR-16 User manual

Speco

Speco DVR-16 User manual

Speco DVR-4TH Series User manual

Speco

Speco DVR-4TH Series User manual

Speco N32NRE User manual

Speco

Speco N32NRE User manual

Popular DVR manuals by other brands

Sound Devices PIX 260i User guide and technical information

Sound Devices

Sound Devices PIX 260i User guide and technical information

DANE-ELEC SO SPEAKY PVR quick start guide

DANE-ELEC

DANE-ELEC SO SPEAKY PVR quick start guide

Interlogix TVR 12HD quick start guide

Interlogix

Interlogix TVR 12HD quick start guide

Nuvico DT-E400 instruction manual

Nuvico

Nuvico DT-E400 instruction manual

Vitek SAGA "ST" Series user guide

Vitek

Vitek SAGA "ST" Series user guide

JB Systems Light USB 1.1 REC Operation manual

JB Systems Light

JB Systems Light USB 1.1 REC Operation manual

Techpro TRIDVR-EL8 user manual

Techpro

Techpro TRIDVR-EL8 user manual

Q-See QT426 Setup manual

Q-See

Q-See QT426 Setup manual

Q-See QC444 user manual

Q-See

Q-See QC444 user manual

Digicam Premium DPA-0440L user manual

Digicam Premium

Digicam Premium DPA-0440L user manual

Philips VR 210/07 operating instructions

Philips

Philips VR 210/07 operating instructions

Jands DMR_1681DR user manual

Jands

Jands DMR_1681DR user manual

DirecTV HD DVR user guide

DirecTV

DirecTV HD DVR user guide

GE MobileView 4 installation manual

GE

GE MobileView 4 installation manual

Ikegami SDR-301 Setting instructions

Ikegami

Ikegami SDR-301 Setting instructions

EverFocus ECOR Series instruction manual

EverFocus

EverFocus ECOR Series instruction manual

Samsung SRD-830 user manual

Samsung

Samsung SRD-830 user manual

Vacron VDH-DXG Series Hardware manual

Vacron

Vacron VDH-DXG Series Hardware manual

manuals.online logo
manuals.online logoBrands
  • About & Mission
  • Contact us
  • Privacy Policy
  • Terms and Conditions

Copyright 2025 Manuals.Online. All Rights Reserved.