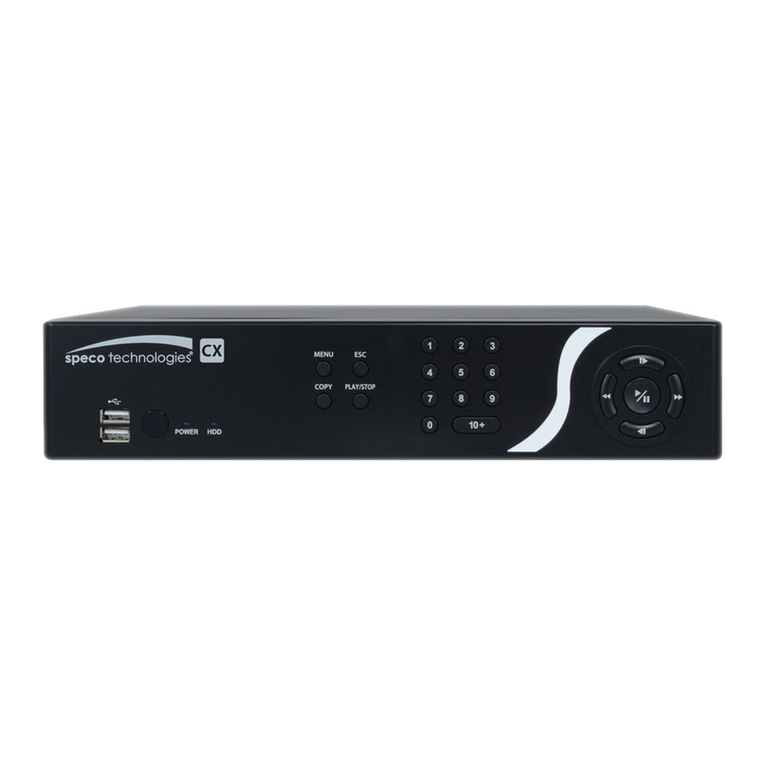
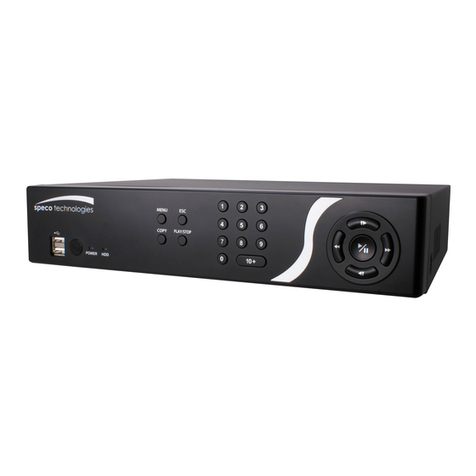
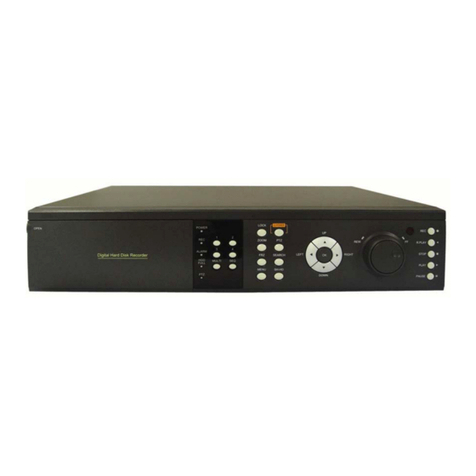
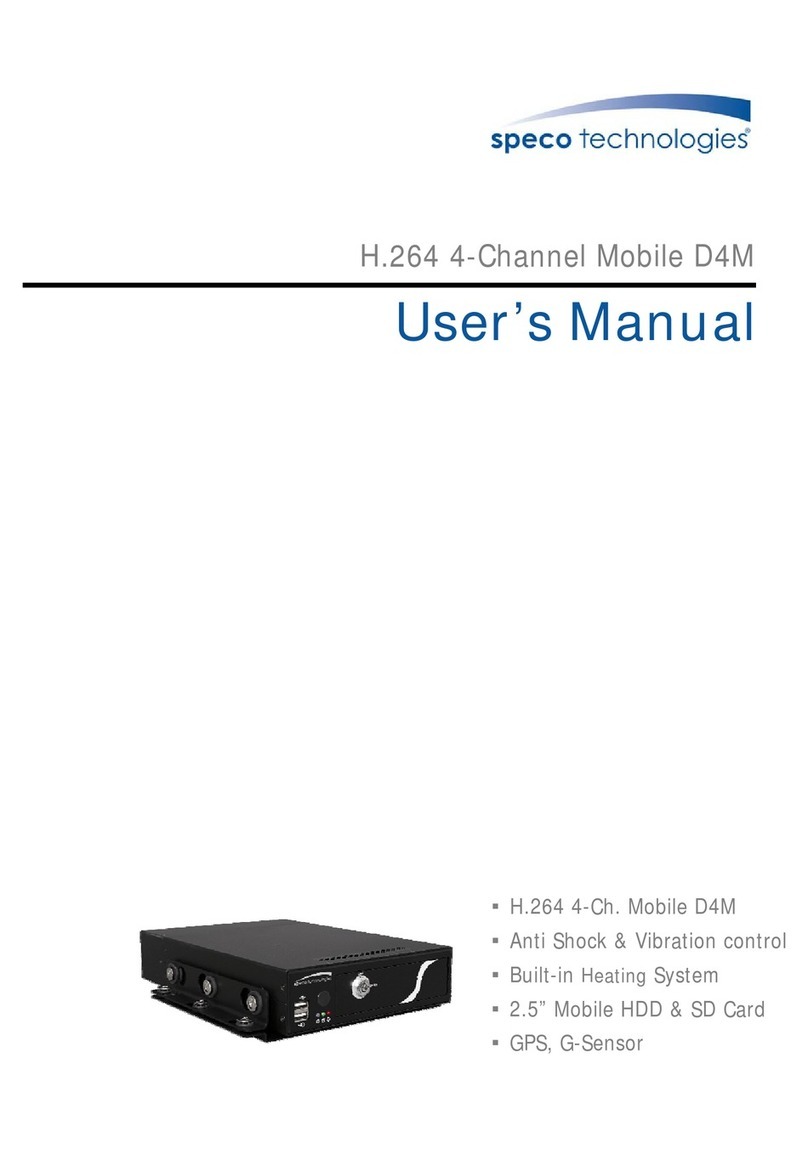
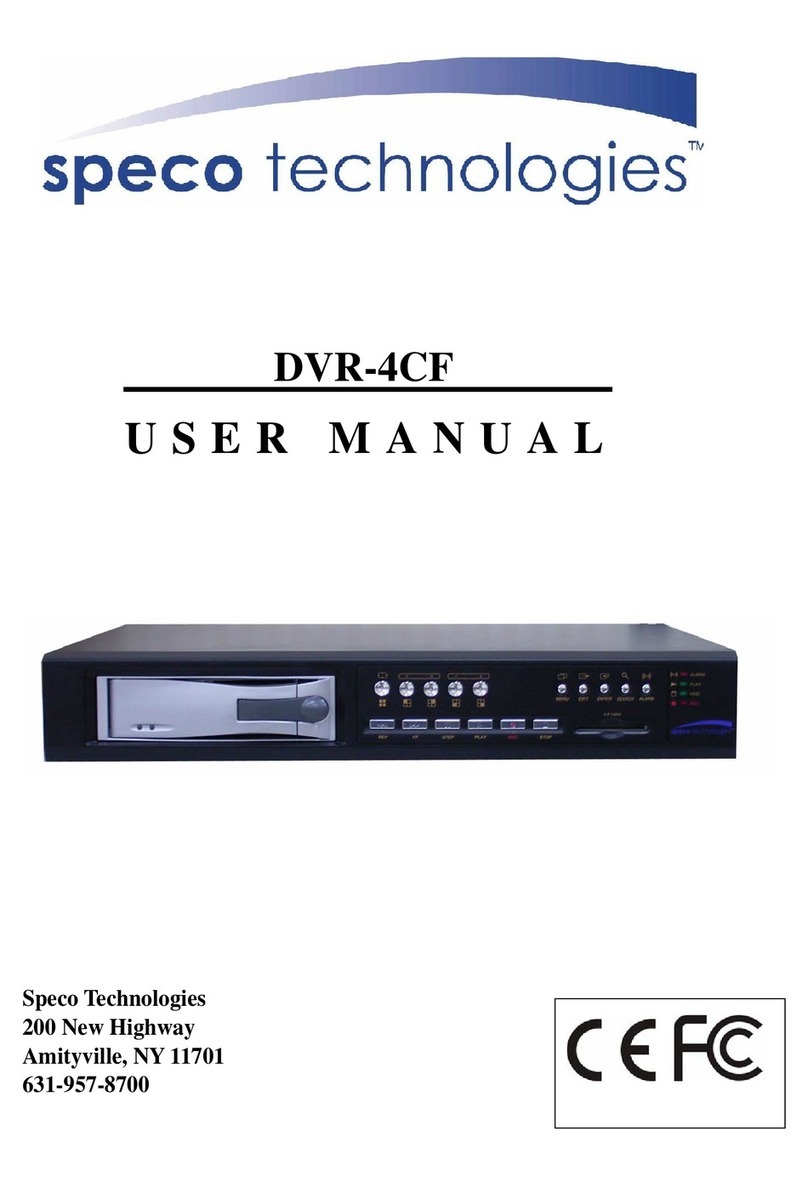
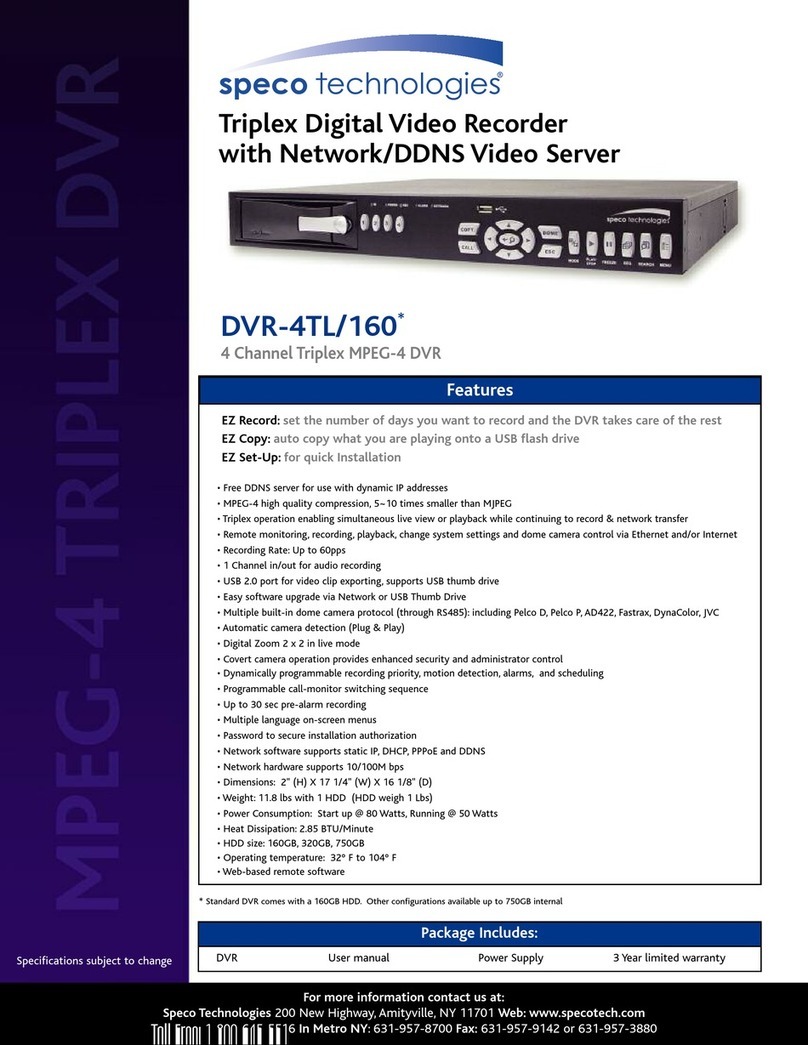
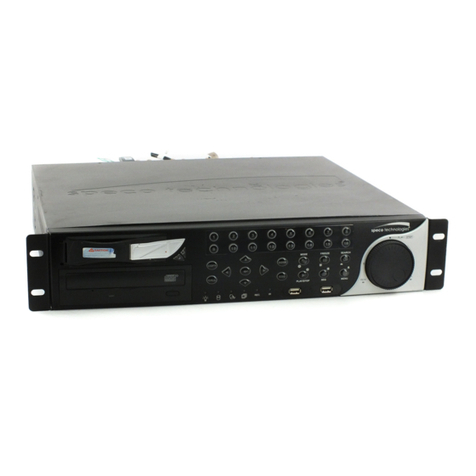
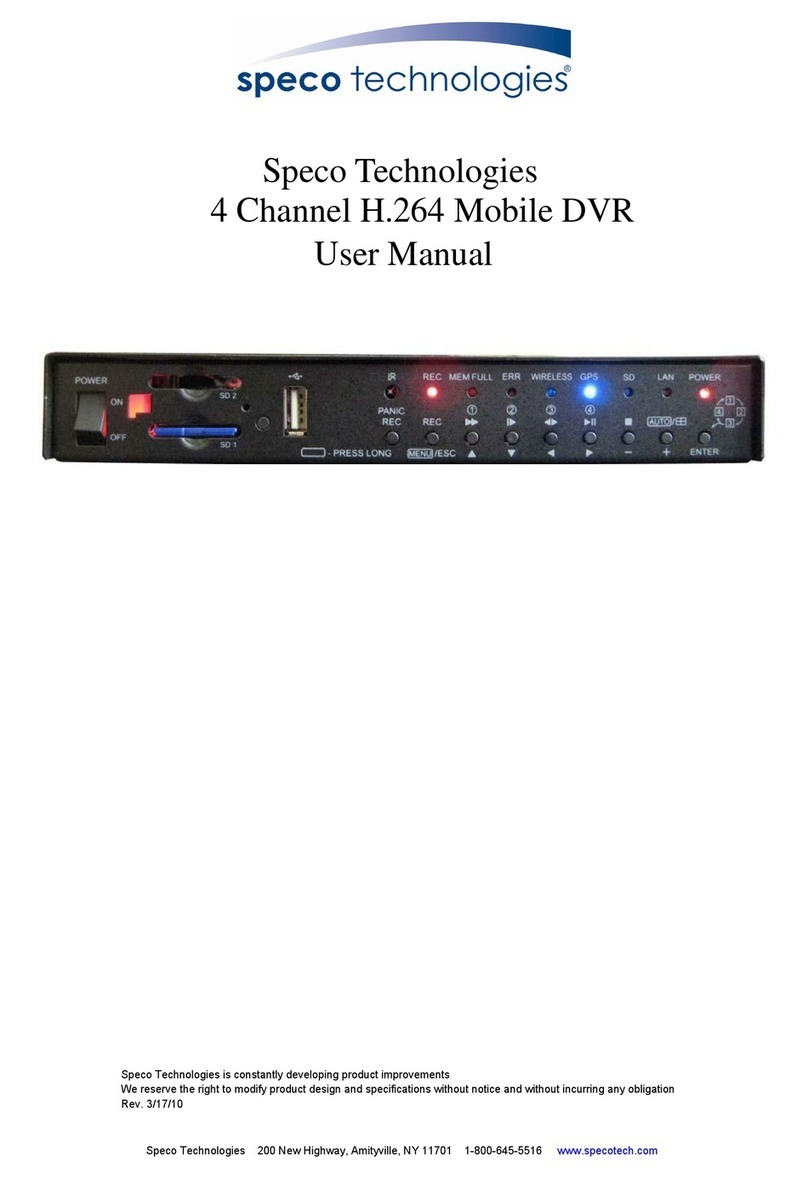
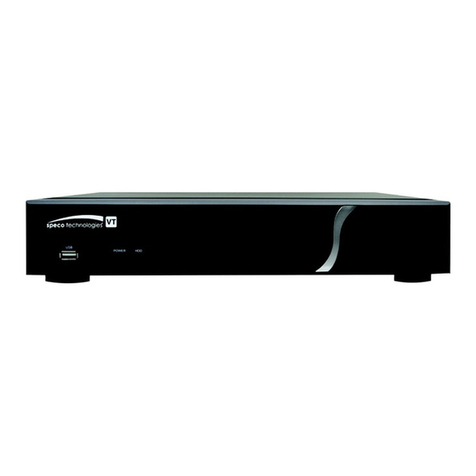
Speco PC Pro Series User manual

PC Pro Series
User Manual

P/N: 300AC2FA-CPM
MADE IN TAIWAN

FCC NOTICE (Class A)
This device complies with Part 15 of the FCC Rules. Operation is subject to the
following two conditions: (1) this device may not cause harmful interference, and (2)
this device must accept any interference received, including interference that may
cause undesired operation.
Federal Communications Commission Statement
NOTE- This equipment has been tested and found to comply with the limits for a Class A
digital device, pursuant to Part 15 of the FCC Rules. These limits are designed to provide
reasonable protection against harmful interference in a residential installation. This
equipment generates uses and can radiate radio frequency energy and, if not installed and
used in accordance with the instructions, may cause harmful interference to radio
communications. However, there is no guarantee that interference will not occur in a
particular installation. If this equipment does cause harmful interference to radio or television
reception, which can be determined by tuning the equipment off and on, the user is
encouraged to try to correct the interference by one or more of the following measures:
Reorient or relocate the receiving antenna.
Increase the separation between the equipment and receiver.
Connect the equipment into an outlet on a circuit different from that to which the receiver
is connected.
Consult the dealer or an experienced radio/television technician for help.
European Community Compliance Statement (Class A)
This product is herewith confirmed to comply with the requirements set out in the
Council Directives on the Approximation of the laws of the Member States relating to
Electromagnetic Compatibility Directive 2004/108/EEC.
Warning - This is a Class A product. In a domestic environment this product may cause radio
interference in which case the user may be required to take adequate measures to correct this
interference.
DISCLAIMER
No warranty or representation, either expressed or implied, is made with respect to the contents of
this documentation, its quality, performance, merchantability, or fitness for a particular purpose.
Information presented in this documentation has been carefully checked for reliability; however, no
responsibility is assumed for inaccuracies. The information contained in this documentation is
subject to change without notice.
In no event will the manufacturer be liable for direct, indirect, special, incidental, or consequential
damages arising out of the use or inability to use this product or documentation, even if advised of
the possibility of such damages.
TRADEMARKS
All other products or corporate names mentioned in this documentation are for identification and
explanation purposes only, and may be trademarks or registered trademarks of their respective
owners.
COPYRIGHT
All rights reserved. No part of this publication may be reproduced, transmitted, transcribed, stored
in a retrieval system, or translated into any language in any form by any means without the written
permission of the manufacturer.
THE MARK OF CROSSED-OUT WHEELED BIN INDICATES THAT THIS
PRODUCT MUST NOT BE DISPOSED OF WITH YOUR OTHER HOUSEHOLD
WASTE. INSTEAD, YOU NEED TO DISPOSE OF THE WASTE EQUIPMENT BY
HANDING IT OVER TO A DESIGNATED COLLECTION POINT FOR THE
RECYCLING OF WASTE ELECTRICAL AND ELECTRONIC EQUIPMENT. FOR
MORE INFORMATION ABOUT WHERE TO DROP OFF YOUR WASTE
EQUIPMENT FOR RECYCLING, PLEASE CONTACT YOUR HOUSEHOLD WASTE
DISPOSAL SERVICE OR THE SHOP WHERE YOU PURCHASED THE PRODUCT.
Battery Safety Information
-Store the batteries in a cool dry place.
-Do not dispose of used batteries in domestic waste. Dispose of batteries at special
collection points or return to point of sale if applies.
-Remove the batteries during long periods of non-use. Always remove exhausted
batteries from the remote control. Battery leakage and corrosion can damage this
remote control, dispose of batteries safely.
-Do not mix old and new batteries.
-Do not mix different types of batteries: alkaline, standard (carbon-zinc) or rechargeable
(nickel-cadmium).
-Do not dispose of batteries in a fire. The batteries may explode or leak.
-Never short circuit the battery terminals.

WARNING
TO REDUCE RISK OF FIRE OR ELECTRIC SHOCK, DO NOT EXPOSE THIS
APPLIANCE TO RAIN OR MOISTURE.
CAUTION
IF THERE IS ANY DAMAGE, SHORTAGE OR INAPPROPRIATE ITEM IN THE
PACKAGE, PLEASE CONTACT WITH YOUR LOCAL DEALER. WARRANTY
VOID FOR ANY UNAUTHORIZED PRODUCT MODIFICATION.
Manual Conventions
The following conventions are used throughout this manual
Caution symbol is intended to alert the user of the important installation and
operating instructions. Fail to comply may damage the system.
i
Information symbol is intended to provide additional information for the purpose of
clarification.

TABLE OF CONTENTS
Chapter 1 Introduction.......................................................................1
1.1 Package Contents..................................................................................1
1.2 Specification ...........................................................................................2
1.3 Software Features..................................................................................3
1.4 Front Panel.............................................................................................5
1.4.1 The Front Panel Control Buttons in Guest Mode......................9
1.5 Back Panel ...........................................................................................10
1.5.1 8 Channels ..............................................................................10
1.5.2 16 Channels ............................................................................ 11
Chapter 2 Hardware Installation .....................................................12
2.1 Connecting Device ...............................................................................12
2.2 Remote Controller Buttons...................................................................13
2.2.1 The Remote Controller Buttons in Guest Mode......................17
2.3 Sensor/Relay Interface pinhole allocation............................................18
2.4 Audio In Interface pinhole allocation ....................................................19
Chapter 3 Using the DVR Software ................................................20
3.1 Running the Unit for the First Time ......................................................20
3.2 Function buttons in Advanced/Preview Mode......................................20
3.2.1 Using Event Log Viewer..........................................................23
3.3 Function Buttons in Playback Mode.....................................................26
3.4 Function Buttons in Compact Mode.....................................................29
3.5 Function Buttons in PTZ Camera Controller ........................................30
3.6 Setting Up and Using the EMAP..........................................................31
3.6.1 To Set Up the EMAP ...............................................................31
3.6.2 To Use the EMAP....................................................................32
3.7 To Cut and Save the Wanted Portion of the Recorded Video..............32
3.8 To Bookmark a Section of the Video....................................................33
3.9 To Search Using the Visual Search .....................................................33
3.10 To Search Using the Event Search ......................................................34
3.12 To Setup the PTZ/IP PTZ Camera .......................................................36
3.12.1 Setup the PTZ Camera ...........................................................36
3.12.2 Setup the IP PTZ Camera.......................................................37
Chapter 4 Customizing the DVR System.......................................38
4.1.1 To Set the POS Setting ...........................................................45
4.2.1 Setup the Object Counting......................................................51
4.3 Recording Setting.................................................................................52
4.3.1 To Mask/Shield an area on the screen....................................54
4.3.2 To show and change the color of the Mask ............................54
4.3.3 To Playback Encrypted Video .................................................54
4.4 Network Setting....................................................................................55
4.5 Schedule Setting ..................................................................................58

4.5.1 Set schedule at specific portion of time ..................................59
4.6 Backup Setting .....................................................................................59
4.6.1 To Backup file..........................................................................59
4.6.2 Setup Quick Backup................................................................60
4.7 Sensor Setting......................................................................................61
4.7.1 To Setup External I/O Box.......................................................62
4.8 Relay Setting........................................................................................64
4.9 Alarm Setting........................................................................................65
4.9.1 To Setup Alarm Relay: ............................................................69
4.9.2 To Setup the Alarm Sound Setting: .........................................69
4.9.3 To Setup Call Out List: ............................................................70
4.9.4 To Setup Send E-mail Setting: ................................................70
4.9.5 To Setup FTP Setting: .............................................................71
4.9.6 To Setup Alarm Recording Setting: .........................................71
4.9.7 To Setup SMS/MMS Setting: ..................................................72
4.9.8 To Setup PTZ Preset Point: ....................................................73
4.9.9 To Setup Alarm SOP: ..............................................................73
4.9.10 To Setup CMS Setting.............................................................73
4.9.11 To Setup POS Keyword Setting ..............................................74
4.9.12 Missing, Suspicious Object, and Scene Change Detected.....74
4.10 User Setting .........................................................................................77
Chapter 5 Backup Video Players....................................................79
5.1 Familiarizing QLogViewer Buttons.......................................................80
5.2 Familiarizing the Player Buttons ..........................................................81
Chapter 6 Using Functional Keys...................................................83
Chapter 7 Using the Remote Programs.........................................84
7.1 Familiarizing the WebViewer Buttons ..................................................85
7.1.1 To Setup Remote System Setting ...........................................87
7.2 Familiarizing the WebViewer PTZ Buttons ..........................................89
7.3 Familiarizing the Remote Console Buttons..........................................90
7.3.1 To Setup Remote Console Setting..........................................91
7.4 Using the Remote Playback.................................................................92
7.4.1 Familiarizing the Local Playback Buttons ...............................94
7.4.2 Familiarizing the RealTime Playback Buttons.........................96
7.4.3 Familiarizing the Download and Playback Buttons.................98
7.5 Using HandyViewer to Access DVR server .........................................99
7.6 Using PDAViewer to Access DVR Server ............................................99
7.6.1 To install PDAViewer thru ActiveSync .....................................99
7.6.2 To install PDAViewer from the Internet .................................100
7.6.3 To Use the PDAViewer..........................................................101
7.6.4 Using JavaViewer to Access DVR Server.............................102
7.6.5 To Use the JAVAViewer .........................................................103

Chapter 8 Image Verification.........................................................105
8.1 To Run the ImageVerification program...............................................105
Chapter 9 iEnhance........................................................................106
9.1 To Use iStable ....................................................................................108
Chapter 10 Web Tools......................................................................109
10.1 Dispatch Server..................................................................................109
10.2 Remote Setup .................................................................................... 110
10.2.1 To Add DVR server................................................................110
10.2.2 To Setup Remote DVR Server .............................................. 111
10.3 Remote Backup..................................................................................123
Chapter 11 Using the Remote Control Server...............................126
APPENDIX A Network Service Port .......................................................127
APPENDIX B Install PTZ through RS-232 Interface.............................128

1
Chapter 1 Introduction
The SPECO PC Pro is a professional series of standalone DVR units that provide up to 16
channels of hybrid and real-time monitoring and digital recording of surveillance video. It can
connect to 4 sensors and relays and also provide up to 16 audio inputs. No software and hardware
installation required. Simply connect the cables and start the video surveillance process. Through
the USB port, user can backup the recording video and playback within the bundled software on
personal computer.
1.1 Package Contents
(1)
(2)
(3)
(4)
(5)
(6)
PCProSeries
QuickGuide
(7)
PCProSeries
UserManual
(8)
(9)
F(1)PC Pro unit F(2) Utility Software CD (Manual included)
F(3) Remote control(batteries included) F(4) Recovery DVD
F(5) Power Cord F(6) DVI Camera Loop Out Cables
F(7) Quick Install Guide F(8) Users Manuals
F(9) Rack Ears x 2
i
The package contents may vary according to your model.

2
1.2 Specification
PC Pro Series
Model PC Pro 16 PC Pro 8
Operating system WinXP embedded
Video input 16 8
Video loop output 16 8
Display rate(NTSC/PAL) 480/400 fps 240/200 fps
Recording frame rate(CIF) 480 (FPS@352*240) 240 (FPS@352*240)
Audio input 16 8
Sensor/Relay 4/4 4/4
DVD-RW Yes Yes
Removable HDD tray 1 HDD tray(support up to 4 HDD)
DOM 2 GB
H/W accesorry Remote controller
Ethernet RJ-45, 10/100/1000 Mbps
USB 2.0 Front 2 ports, Rear 4 ports
LCD Display Temperature/ System status/ HDD left size/ Alarm status
Operation via front panel PTZ control/ channel select/ split select/ playback control/
mode select
Dimensions (W x H x D) 430*110*410 mm
Power Supply Unit 270 Watt
Dual-monitor output Yes

3
1.3 Software Features
Recording Modes
Continuous Recording
Smart Recording
Motion Recording
Voice detection Recording
Alarm Recording
Manual Recording
i
All modes can be triggered by schedule
De-interlace
Options Optimize for dynamic or static camera scenes
Dual-monitor
output
Support Dual Monitor environment for independent preview and
playback or EMAP
Operation via
front panel
PTZ control/ channel select/ split select/ playback control/ mode
select
Motion Detection Detects all video motion within the camera focus
Privacy
Protection Editable shield preventing private areas from monitoring and
recording
Object Detection Missing Object/ Suspicious Object/ Scene Change
E-map Function Show the positions of cameras, sensors, relays and triggered
status in a real map image that is configurable within the GUI
Attention A utility that monitors the operators response time to alarm
messages
Powerful Search By date, time, camera, area, event, Visual search, and log file
Bookmark Easily save links to particular locations of recorded data and play
them directly from the saved links
POS Integration
Compatible with most commonly used POS system
Easy to add POS protocol
Confidential Word Filter
Change location of POS text on camera display image
Advanced Event
Log Viewer Details complete event logs according to your selection on event,
operation, POS, system and network events
Alarm Triggered
Mode Single event or multiple events as alarm trigger conditions
Smart Alert
Functions
Launch E-map
Cam icon display
Digital Deterrent
Email

4
Make a phone call
Send files to FTP
SMS and MMS
PTZ preset point tracking
Alarm SOP wizard
Enlarge camera view (Full screen)
Central
Management Central Management System(CMS)
Remote Access
IE browser
Remote Console
Smart phone viewer
PDA viewer
Dispatch Server Share transmission loading; enable more clients remote access
and high-speed data transmission
PDA Viewer 4-cam view, full screen and live audio
Smart phone
viewer Supports Symbian and Windows smart phone system/ support PTZ
cameras control on smart phones with JAVA2.0
DDNS Support for dynamic IP addressing
iEnhance Enhance video quality such as Brightness, Contrast, Hue,
Saturation, Sharpness, Noise Reduction, De-interlace and Gray
Scale of recorded data
iStable Fix shaking and jolts impact on video with just one click

5
1.4 Front Panel
(1)
(3)
(4) (5) (8) (9)
(7) (10)(11)(12)(13)
(18)(17)(16)(15)(14)(6)
(19)
(20)
(2)
Name Function
(1) USB 2.0 port 2 x USB 2.0 ports for connecting any USB interface devices, ex:
USB pen drive, external hard disk, keyboard, mouse…and so on.
(2) IR Sensor Receive signal from the remote control to operate the unit
(3) IR Sensor To connect extended IR sensor cable
(4) System power button
(5)
A functional key for multiple system control
- Press to enable multiple function modes and the
button will light up blue.
- To exit multiple function modes, press again.
+
1
: Switch to single screen display mode
+
2
: Switch to QUAD display mode
+
3
: Switch to 9 spilt screen display mode
+
4
: Switch to 16 spilt screen display mode
+
5
: Switch to one single and 8 spilt screen
display mode
+
6
: Switch to one single and 13spilt screen
display mode
+
7
: To enable auto scan function
+
8
: Switch to full screen display mode

6
Name Function
(5)
+
9
: To freeze the live preview video screen. To
unfreeze press
9
again. User
can snapshot the freeze screen while
freezing.
+
10
: To backup recorded video file to pen
drive(see Chapter 4.6.2)
+
11
: Allow user to set a video segment from A
to B point and play on the surveillance
screen until user stop.
1. Switch to Playback mode
2. Press to enter multiple function mode
3. During the playback, press
11
to set the A point of
video segment. User will see a triangle mark on play
progress bar.
4. And then, press
11
again to set the B point of
video segment. User will see another triangle mark on play
progress bar. To cancel AB repeat segment, press
11
again.
5. The AB point segment can be saved by click Output button
on Playback GUI
6. In the Save As dialog box, locate on where you want to
save the file, type the filename, and select the video format
+
12
: To lock panel and remote control all
function buttons. To unlock, press
12
and the system will
require user to enter the password(default system password is
admin/admin)
(6) Number button
1
~
16
- As a number key for entering password
in playback and preview mode
- Channel camera selection number in
playback and preview mode
- As a preset poison with in
PTZ control mode

7
Name Function
(6) Number button
1
~
12
- With button can switch to
different screen display modes and
enable auto scan function
- To call out 1~ 8 map figures in E-map
mode
(7) LCD Display Display DVR system status such as temperature and opearate
status
(8) Confirm or make a selection
(9) To start recording video
(10) To enable network connection
(11) To reset alarm status
(12) Cancel a selection
(13) PTZ control button
To move PTZ camera lens to left, right, up and down
To zoom in view of PTZ camera lens
(14) Zoom + / Zoom -
To zoom out view of PTZ camera lens
To focus in PTZ camera lens
(15) Focus + / Focus -
To focus out PTZ camera lens
To speed up movement of PTZ camera lens
(16) Speed + / Speed
- To speed down movement of PTZ camera lens
To move the PTZ camera to the preset poison. Press
+ number button.
i
- Please setup the preset poison before using
button function. To setup the preset poison, please refer
to Chapter 3.11.1.
- Without setup preset poison, the preset button
() will not be functional when user presses.
(17) Preset

8
Name Function
(18) Auto Pan To enable auto pan function
system status indicators:
: System power indicator. Indicate running state of system.
Lights when the system is running.
: Removable hard disk indicator. Indicate running state of
the hard disk. Lights when the HDD is running
: Recording status indicator. Lights when the system is
recording.
(19) Status LEDs
: Network status indicator. Lights when the system network
connection is enabled.
Playback control button in playback mode
RE
V
FWD
:
Speed shuttle for adjusting reversed and
forward (2x, 4x, 8x, 16x or 32x) speed during
playback. Turn left is reversed and turn right is
forwarded.
(20) Playback button
:
To move to next or previous frame during
playback. Turning left is to go back to one
previous frame and turning right is to go
forward one frame..
(20) Playback button
: Switch to playback mode, preview mode or E-map mode
: To select the playback date and time
: To temporary stop playback
: To reverse playback
: To play the recorded video

9
1.4.1 The Front Panel Control Buttons in Guest Mode
When user uses Guest account to operate DVR server, the front panel control buttons of DVR are
limited to preview and playback function only. The following table lists the control buttons that are
available while in Guest mode.
i
In the Guest mode, user only can use remote controller and front panel control buttons
to operate DVR server.
Mode Function
Preview Mode
A functional key for multiple system control
- Press to enable multiple function modes and the
button will turn to blue light.
- To exit multiple function modes, press again.
+
1
: Switch to single screen display mode
+
2
: Switch to QUAD display mode
+
3
: Switch to 9 spilt screen display mode
+
4
: Switch to 16 spilt screen display mode
+
5
: Switch to one single and 8 spilt screen display
mode
+
6
: Switch to one single and 13spilt screen display
mode
+
7
: To enable auto scan function
+
8
: Switch to full screen display mode
Preview Mode
+
9
: To freeze the live preview video screen. To
unfreeze press
9
again. User can
snapshot the freeze screen while freezing.
+
10
: To backup recorded video file to pen drive(see
Chapter 4.6.2)
Playback Mode
: Switch to playback mode, preview mode or E-map mode
: To select the playback date and time

10
1.5 Back Panel
1.5.1 8 Channels
1 2 3 4 5 6 7 8
1 2 3 4 5 7 8
12345678
+
-
+
-
+
-
+
-
+
-
+
-
+
-
+
-
AUDIO IN TV O UT
DUAL-VGA OUT
SENSO R IN RELA Y O UT
G123412 34GGG1 2 3 4
21
N
/
AN
/
AN
/
AN
/
A
(2)
(1)
(3) (4)
(10) (9) (8) (7) (6) (5)
6
Name Function
(1) Video Loop Out Output the video signal to a CCTV monitor. Only output one channel
signal at a time.
(2) CH1~8 Input the video camera signal and display it on channel 1~ 8
(3) Audio In Input the audio signal from a microphone or audio output device.
System supports up to 8 audio input devices. The audio is
embedded with channel 1~ 8
i
The audio input device needs to be powered by external
power.
(4) Call Out Output the video signal to a Call monitor
(5) Power plug Connect the power cord into this port
(6) Relay Out Support 4 relay devices
(7) Sensor In Support up to 4 sensor devices
(8) VGA Out Output the video signal to a CRT or LCD monitor
(9) LAN Port For Ethernet connection
(10) USB Port 4 USB ports for connecting any USB interface devices.

11
1.5.2 16 Channels
12345678
910 11 12 13 14 15 16
1 2 3 4 5 6 7 8 9 1 0 11 12 13 14 15 16
+
-
+
-
+
-
+
-
+
-
+
-
+
-
+
-
+
-
+
-
+
-
+
-
+
-
+
-
+
-
+
-
AUDIO IN TV OUT
DUAL-VGA OUT
VIDEOL OOPOUT
SENSO R I N REL A Y O UT
G123412 34GGG1 2 3 4
21
2 1
N
/
AN
/
AN
/
AN
/
A
VIDEO IN
(1) (2) (3)
(10) (9) (8) (7) (6) (5) (4)
Name Function
(1) CH1~16 Input the video camera signal and display it on channel 1~ 16
(2) Audio In Input the audio signal from a microphone or audio output device.
System supports up to 16 audio input devices. The audio is
embedded with channel 1~ 16
i
The audio input device needs to be powered by external
power.
(3) Call Out Output the video signal to a Call monitor
(4) Power plug Connect the power cord into this port
(5) Relay Out Support 4 relay devices
(6) Sensor In Support up to 4 sensor devices
(7) VGA Out Output the video signal to a CRT or LCD monitor
(8) Video Loop Out Output the video signal to a CCTV monitor. Only output one channel
signal at a time.
(9) LAN Port For Ethernet connection
(10) USB Port 4 USB ports for connecting any USB interface devices.

12
Chapter 2 Hardware Installation
2.1 Connecting Device
The DVR unit can connect up to 16 video cameras, 4 sensor devices, 4 relay devices and output
video to a TV or CRT/LCD monitor. Connecting the unit to a DVD-RW/ external hard disk through
USB connection, the bundled software enables you to transfer and back up the recorded video.
Also, the bundled software can playback and segment the backup recorded video.
Follow the illustration below to make the connection:
CRT/LCD Monitor
Alarm
Sensor
Camera 1 ~ 16
Microphone
Internet
webViewer PDAViewer HandyViewer
12345678
910 11 12 13 14 15 16
12345678910 111213141516
+
-
+
-
+
-
+
-
+
-
+
-
+
-
+
-
+
-
+
-
+
-
+
-
+
-
+
-
+
-
+
-
AUDIO IN TV O U T
DUAL-VGA O UT
VIDEO LOOP OUT
SEN SO R I N RELAY O UT
G123412 34GGG1 23 4
21
2 1
N
/
AN
/
AN
/
AN
/
A
VIDEO IN
CCTV Monitor
Call Monitor
Speaker
Pen drive/ External hard disk
Mouse
Keyboard
POS
RS-232
Cable
UPS
Power
Cord
Power
Cord
Table of contents
Other Speco DVR manuals

Speco
Speco D4RS Instruction manual

Speco
Speco DVR-4TN Series User manual

Speco
Speco D16VT User manual

Speco
Speco D4VN User manual

Speco
Speco D12LX Technical manual

Speco
Speco H16HRL User manual

Speco
Speco DVR-4CF User manual

Speco
Speco D4VS User manual

Speco
Speco DVR82HD User manual

Speco
Speco D4VX User manual
Popular DVR manuals by other brands

Lorex
Lorex LH160 ECO6 SERIES instruction manual

D-Link
D-Link mydlink DNR-312L user manual

HIK VISION
HIK VISION DS-9000 Series user manual

Sheng Jay Automation Technologies
Sheng Jay Automation Technologies AK54 Pro user manual

COP-USA
COP-USA DVR2316SE-C user manual

Trajet
Trajet Everec ME1 instruction manual