Spycentre Security 5817 User manual

SpyCentre Security® Since 1993 1-800-292-7748
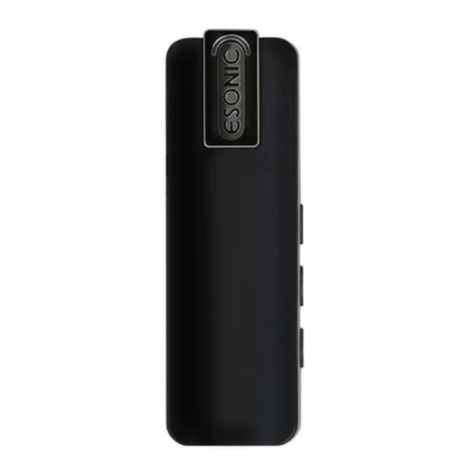
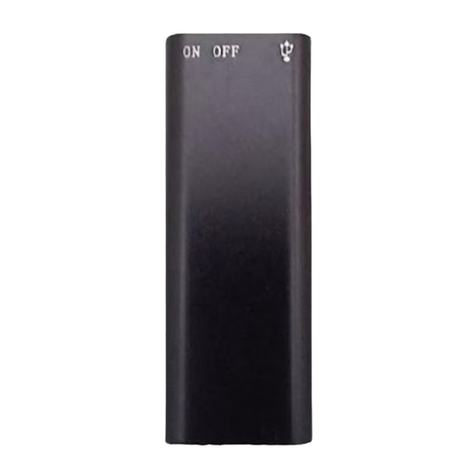
5817 – Voice Activated Sleek Audio Recorder Pen
How to charge the Battery:
● Connect the audio recorder to a PC or USB power supply with the provided AUX to USB
cable
● It takes 2.5 Hours to fully charge
● Red flashing light = under 30%
● Blue flashing light =30% - 60%
● Green flashing light = under 60%- 100%
● Solid green light = Fully charged
How to record a continuous audio file:
● Near the top of the pen is a silver pen clip
● Slide the clip down to activate the device
● The device is now recording
● Once finished, slide the clip up to stop the recording and turn off the device
● Wait 5 seconds before making another recording

How to record a voice-activated audio file:
● While the device is off, plug in the headphones to the remote control and connect to the
"AUX" port on top of the pen
● Press and hold the "M" button and a LED light will be visible on the pen
● Press the stop button again to change between voice activation and continuous
recording
● A solid LED light = voice activation is on
● A blinking LED light = Voice activation is off
● To save your mode create a new recording file
Note: If the device runs out of power during the recording, it will finalize and save the file
before the battery dies. Voice activation will not extend the battery life of the device.
How to set the recording quality on the device:
● While the device is off, plug in headphones to the remote control and connect to the
"AUX" port on the top of the pen
● There are three recording qualities, LP, HQ, XHQ
● To change the quality, press and hold the "M" button for 3 seconds
● Lights: Blue LED = XHQ, Green LED = HQ, Red LED = LP
● You can listen to the differences in quality by starting a new recording file with the
headphones plugged in

How to playback files on the device:
● While the device is off, plug the headphones into the remote control and connect to the
"AUX" port on top of the pen
● Press the play, and pause buttons on the remote control, and the first recorded file will
begin to play
● Navigate between files by using the next and button on the remote control
● Solid light = standby mode
How to delete a recording on the device:
● While in the playback
● Press and hold the stop button for about 3 seconds
● A beep sound will be heard through the headphones
● The recording should then continue playing
● Press the stop button quickly to delete the file
● A longer beep sound will be heard through the headphones
● The audio file has been deleted
How to delete all recordings directly off the device:
● While in standby mode, press and hold the menu button for about 3 seconds
● The LED lights up and flashes green and red
● Press and Hold the next button for 10 seconds until you hear a beeping noise
● All recordings are now deleted
How to set the time and date stamp on a Windows computer:
● Connect the device to the USB port of the computer
● Double-click the “TimeSetup.exe” file. The “Date_Time.cfg” creator will open
● Press start to sync the date and time with the PC
● A new file will be created called “Date_Time.cfg”
● Disconnect the device from the PC and create a new recording to sync the date and time
● Reconnect the device to a PC; if “Date_Time.cfg” is not visible, the date and time are
now set
How to manage and delete files on a Windows computer:
● Connect the device to the PC
● When connected, the PC will recognize the device as a removable disk
● Open the “MemoQ” folder
● Inside will be the “Voice” folder. Double-click to open the folder
● Double-click the file you wish to play
● To delete a file, right-click and select delete from the popup menu
Note: To playback the files on these devices, you may need to download a media
player that can play in WAV format. We recommend VLC media player.

How to set the time and date on a Mac:
Note: The following steps must be completed to set the date and time properly. The
“TimeSetup.exe” program can only run on a Windows Computer.
● Connect the device to the USB port of the computer
● When connected, the Mac will recognize the device as a removable disk
● Open text edit
● Create a new plain text file
Note: Plain text and rich text are different formats. You can change the text type by
selecting format and then choosing “make plain text” also, ensure that wrap to page is
disabled.
● Input the date in year, month, day, hour, minute, and second, and the time is in 24-hour
format, as well as the extra E22 and twelve zeros
● Example: 2024 06 15 13 30 11E22000000000000 =, 06/15/2024 at 1:30:11 pm
● Save the file as “Date_Time.cfg”
● After saving, the file will be named “Date_Time.cfg.txt”, to create a .cfg file, the file must
be edited
● Locate the “Date_Time.cfg” on your Mac, but do not open it
● Hold control on your keyboard and click on the file
● A popup menu will display, and in the popup menu, click on get info
● Here we can edit the name of the extension and remove the .txt from the
“Date_Time.cfg.txt” file
● Another popup will occur, and choose use .cfg
● There is one last step to perform before we have created the file, and that is to uncheck
the box labeled “Hide Extension” and close the get info popup
Note: at this point, the “Date_Time.cfg” files time information can not be edited
● Now move the time file into the folder directly next to the “Time Setup” program
● The folder should now have the following
○ Version Folder
○ Voice Folder
○ Time Setup Program
○ Date_Time.cfg
Note: If the time setup program is not present, the time will not work.
● Safely eject the device from the computer and create a new recording to import the
corrected time and date stamp
● When the device is connected again to the computer, the “Date_Time.cfg” file should no
longer be present, indicating the device has accepted the new time and date
● If the “Date_Time.cfg” is still present, the device did not accept the date and time, and
one of the steps was missed. Delete the “Date_Time.cfg” and start again

How to manage and delete files on a Mac:
● Connect the device to your Mac computer
● When connected, the Mac will recognize the device as a removable disk
● Open the “Record” folder
● Open the “Voice” folder
● Double-click the file you wish to play
● To delete a file, click and drag the file you wish to delete to the trash bin
● Empty the trash bin with the device still plugged into your computer to delete the file from
the device permanently
Note: If the above step is not completed on a Mac, the recorded files will not be entirely
deleted from the device. You will have a phantom folder containing the deleted files that
can not be seen on Mac that still take up memory space. Empty the “trash bin” to clear
these files, or your recorder may run out of room.
How to set time and date on a Google Chromebook:
● Connect the device to the USB port of the Chromebook
● The first thing to do is to create a new .txt file
● Select the “O” icon called the app launcher, similar to a Windows icon button, located in
the bottom left corner of the screen
● Type in text in the search bar, and open the text application
● Input the date in year, month, day, hour, minute, and second, and the time is in 24-hour
format, as well as the extra E22 and twelve zeros
● Example: “2024 06 15 13 30 11E22000000000000” =, 06/15/2024 at 1:30:11 pm
● Select save as and save the file as “Date_Time.cfg”
● After creating the “Date_Time.cfg” file connect the device to the computer
● If a pop-up does not occur, select the “O” icon called the “App Launcher”, similar to a
Windows icon button, located in the bottom left corner of the screen
● Underneath the “Google Drive” are “My Drive”, “Downloads”, “New Services”, and
something else that may be named “Removable Drive”
● Select the “Removable Drive”. If unsure of this step, disconnect the device from the
Chromebook and see what is no longer available under “Google Drive: from step 4
● After selecting the “Removable Drive,” you can view the device’s memory
● Add the “Date_Time.cfg” file next to the time setup program
● The folder should now have the following
○ Version Folder
○ Voice Folder
○ Time Setup Program
○ Date_Time.cfg
Note: If the time setup program is not present, the time will not work.

● Disconnect the device from the computer and create a new recording to import the
corrected time and date stamp
● When the device is connected again to the computer, the “Date_Time.cfg” file should no
longer be present, indicating the device has accepted the new time and date
● If the “Date_Time.cfg” is still present, the device did not accept the date and time, and
one of the steps was missed. Delete the “Date_Time.cfg” and start again
How to playback files on a Google Chromebook:
● Connect the device to the USB port of the Chromebook
● A pop-up menu may occur; if so, select “View Files”
● If a pop-up does not occur, select the “O” icon called the “App Launcher“ similar to a
Windows icon button located in the bottom left corner of the screen
● Underneath the “Google Drive” are “My Drive,” “Downloads,” “New Services,” and
something else that may be named “Removable Drive”
● Select the “Removable Drive.” If unsure of this step. Disconnect the device from the
Chromebook and see what is no longer available under Google Drive from step 4
● After selecting the “Removable Drive,” you can now navigate the folders in the main
folder to find the recorded files
● Double click to play
How to Set time and date with an Android smartphone or tablet:
● To set the time and date, the first step is creating the “Date_Time.cfg” file
● Create a new text document in the notepad App
● Input the date in year, month, day, hour, minute, and second, and the time is in 24-hour
format, as well as the extra E22 and twelve zeros
● Example: “2024 06 15 13 30 11E22000000000000” =, 06/15/2024 at 1:30:11pm
● To save the file, choose “Save As,” select “Text File,” and name the file “Date_Time”
● Once saved, the next step is to locate where the file is saved, once found the file needs
to be renamed
● Rename the file “Date_Time.cfg”
● Adding the .cfg will convert the file into the format needed for the time and date
● Select the “Date_Time.cfg” file again and choose move/transfer so the file can be moved
to the recorder
● Open the files App and open the connected device
● Move the “Date_Time.cfg” file into the folder directly next to the time setup program
● The folder should now have the following
○ Version Folder
○ Voice Folder
○ Time Setup Program
○ Date_Time.cfg
Note: If the time setup program is not present, the time will not work.

● Now disconnect the device from the smartphone and create a new recording to import
the corrected time and date stamp
● When the device is connected again to the smartphone, the “Date_Time.cfg” file should
no longer be present, indicating the device has accepted the new time and date
How to playback files on an Android smartphone or tablet (No Apple Products):
● An OTG cable is required for this process. For all other steps, refer to the OTG cable
guide at https://spycentre.com/products/dual-android-otg-cable , scroll to the bottom of
the page and click on user guides
● Go to your “Device Storage,” and look for external memory. Inside will be all the files you
can click on to review what was captured
● For all other steps, refer to the OTG cable guide on spycentre.com
Note: To playback the files on these devices, you may need to download a media
player that can play in WAV format. We recommend VLC media player.
VLC Media Player (Recommended for optimal usage)
How to download VLC Media Player on a Mac computer
● Go to www.videolan.org and click the “Download VLC”
● It will open a new window and begin downloading
● If it does not automatically start downloading, press the “Click Here” and select one of
the mirrored sites
● Once completed, a new file named VLC will be visible on the desktop
● Open the folder, and in the folder, move the VLC to the “Applications Folder” by dragging
and dropping it
● Once in the “Application Folder,” the VLC player will complete the installation
● Open VLC Media Player in the applications folder and drag your video files to the “Drag
Here” dialog box to open and play
● If the VLC player is not installed, a change to the security and privacy settings is needed
● To access your security and privacy, click on the Apple icon on the taskbar and select
“System Preferences”
● Select “Security and Privacy”
● Make sure the lock icon on the bottom of the screen is open and set to “Make Changes”
● Select the button “Open Anyway”
● VLC will now be fully installed

How to download and use VLC Media Player on a Windows computer
● Go to www.videolan.org and click the “Download VLC”
● It will open a new window and begin downloading
● If it does not automatically begin downloading, press the “Click Here” and select one of
the mirrored sites
● Once downloading has been completed, select run and install
● Once finished, a VLC icon will now be available on your PC
● To default, open a file in VLC Media Player, right-click on the file you wish to open and
select “Open With,” and choose VLC
● To change all files to default, open with VLC media player: Right-click and choose
“Properties,” then click on the “Change” button next to “Open With” and change it to
VLC, then press ok. Now the files will default open with VLC
Note: If the memory folder of the recorder does not automatically open when connected
to a PC, disconnect the device and perform the following.
1. Open the control panel by typing “control panel” in the search bar
2. Select programs
3. Under default programs, click “Change Default Settings for Media or Devices”
4. Under removable devices, select “Open Folder” to view files
5. Save and reconnect the device to the computer
The Spy Gear Superstore® Since 1993
Table of contents
Other Spycentre Security Recording Equipment manuals
Spycentre Security
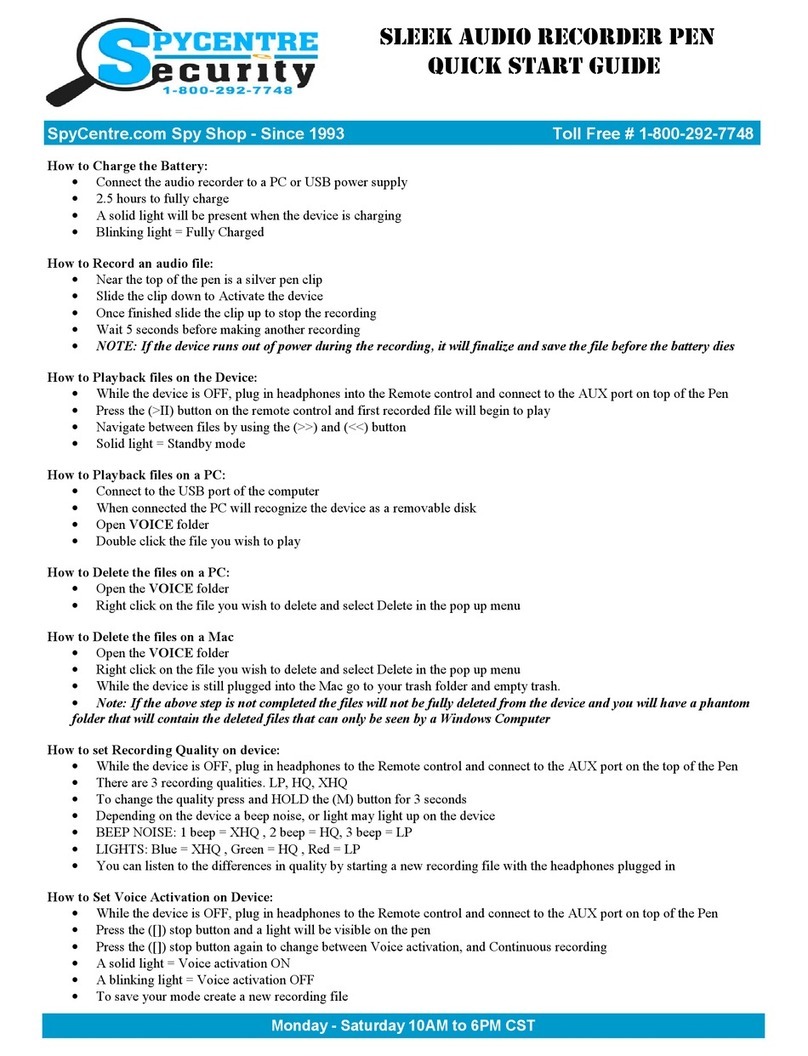
Spycentre Security 5817 Operating and maintenance instructions

Spycentre Security
Spycentre Security 6912 User manual

Spycentre Security
Spycentre Security 1812 User manual
Spycentre Security
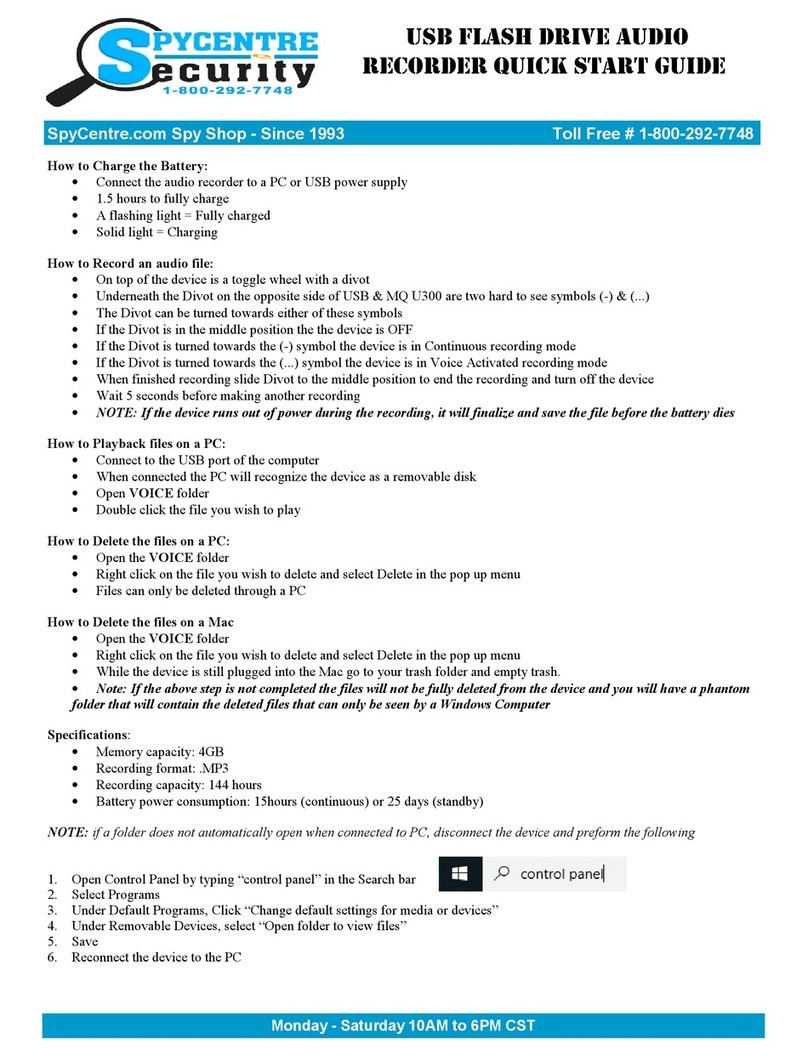
Spycentre Security 1416 User manual
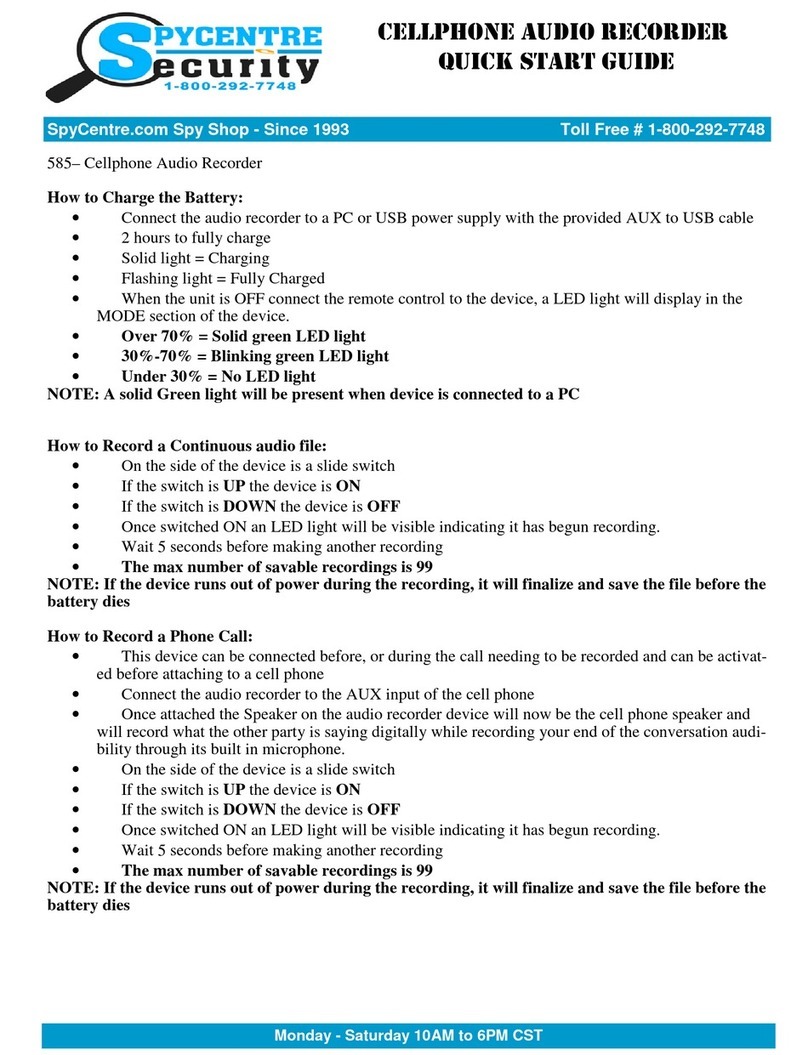
Spycentre Security
Spycentre Security 585 User manual
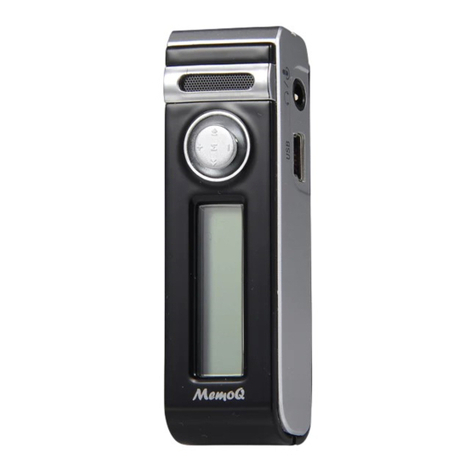
Spycentre Security
Spycentre Security 1759 User manual
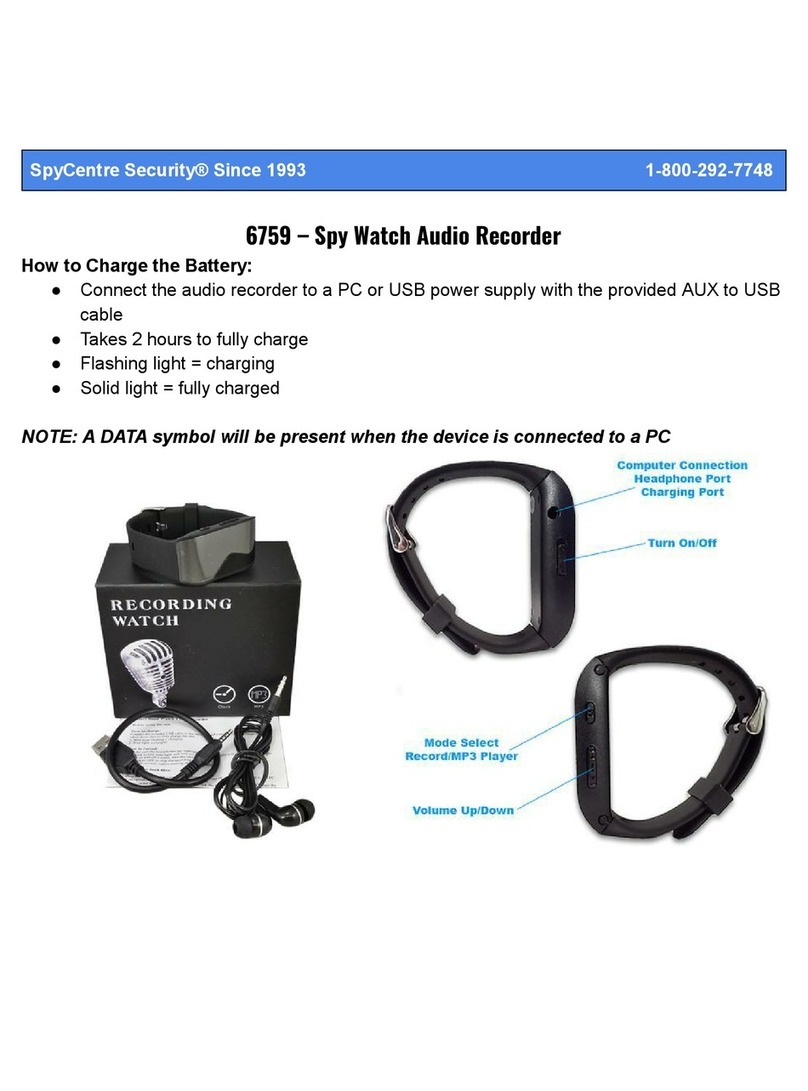
Spycentre Security
Spycentre Security 6759 User manual

Spycentre Security
Spycentre Security 5817 User manual
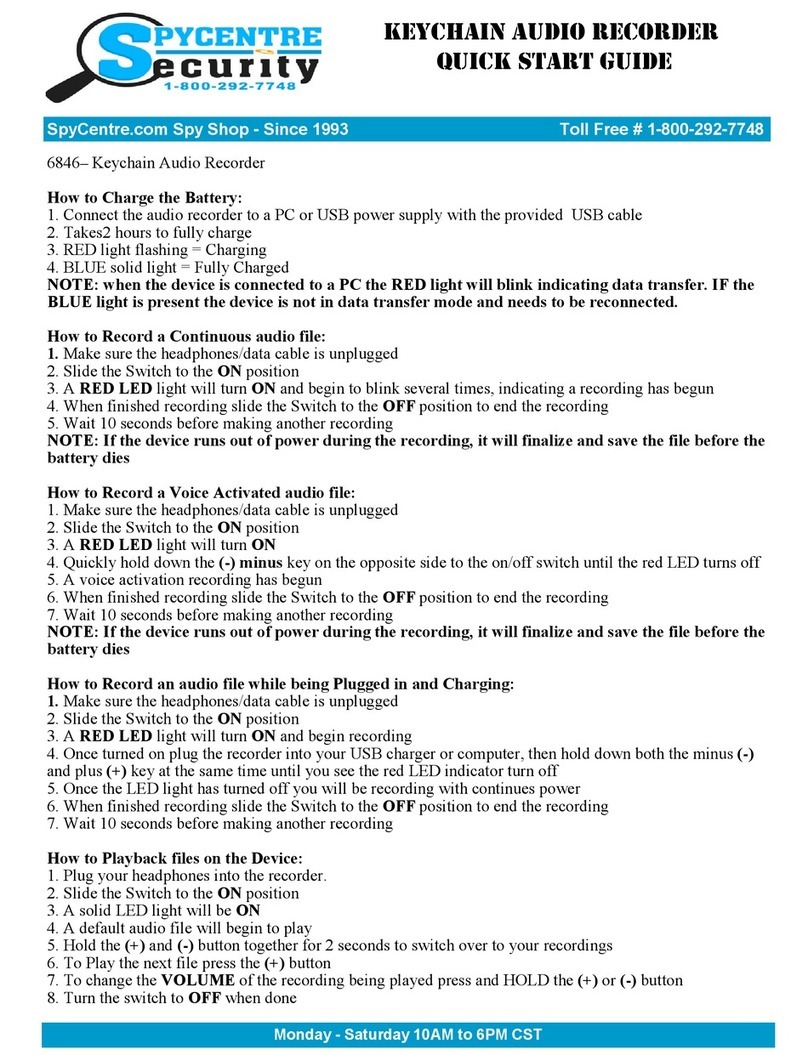
Spycentre Security
Spycentre Security 6846 User manual
Spycentre Security
Spycentre Security 1758-1 User manual
