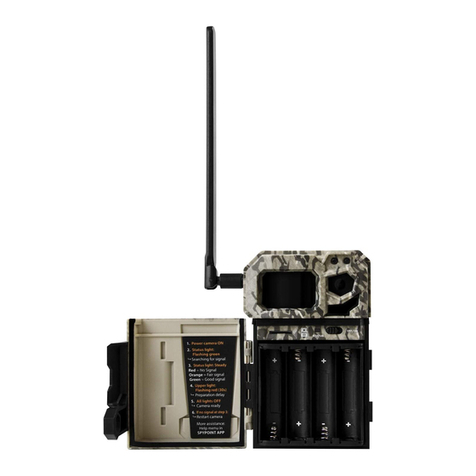
Join the SPYPOINT community
2. CONFIGURE THE CAMERA
the Date & Time in the General settings to have the right info stamped
PHOTO
Delay: Sets the time interval to wait between each detection
before the camera records the next photo
Multi-shot: Takes up to 6 consecutive shots at each detection, with
TIME LAPSE
Interval: This option allows the camera to take photos at regular
VIDEO
Delay: Choose the time interval between each detection
Video lenght:
WIRELESS
Phone #: Add up to 4 other phone numbers that will receive the
1. SET THE MMS WIZARD
The SPYPOINT MMS lets you receive your pictures & camera status
Launch the MMS test when you will have answered these few basic
You can subscribe to a plan anytime during your free trial at:
WWW.SPYPOINT.COM/MMS
Before the end of your 30 days free trial, don’t forget to activate a
GENERAL SETTINGS
Language: Set the language you want to use
Month/Day/Year or as Day/Month/Year
12H / 24H
Date: Set the date
Time: Set the time
Sensitivity:
Low/Medium/High
Normal/High
Battery type: Choose the type of battery you are using
Info on photos: Stamp the date, time, temperature & moon phase on
your photos
Night mode: Set the best option for photos
/C
Note:
1.Insérez l’extrémité de la courroie dans la fente
quisetrouve au dos du mécanisme.
2.Insérez la courroie dans la fente sous le levier
etfaites-laressortir en arrière.
3.Créer une tension sur la courroie en la tirant vers
ladroite,puis rabattez vers la gauche le levier pour
maintenirlaposition.
3.INSTALLATION OF THE CAMERA
INSTALL THE CAMERA WITH THE SUPPLIED STRAP
Recommended installation height:
The camera should be installed at the same height as the animal’s
Ideal installation for quality pictures & videos:
To get brighter pictures at night , you should have elements in the
Note that the camera should not directly be facing the sun to avoid
TEST THE DETECTION OF THE CAMERA
-
Pass in front of the camera from left to
the test light blinks to indicate that the
camera would normally have saved a
detect the movement, increase the
detection sensitivity using the
SENSITIVITY option in the
SETTINGS menu or realign the system
EST mode, it is possible to take a photo by pressing the
VERIFY THE CELLULAR SIGNAL
To test the cellular signal, go to the
Once the test will be completed, it will tell
signal strengh when tested will be displayed
High <75 / Normal 75 to 95 / Low >95
START THE CAMERA
Select the desired operating mode(photo, time lapse or video) on the
