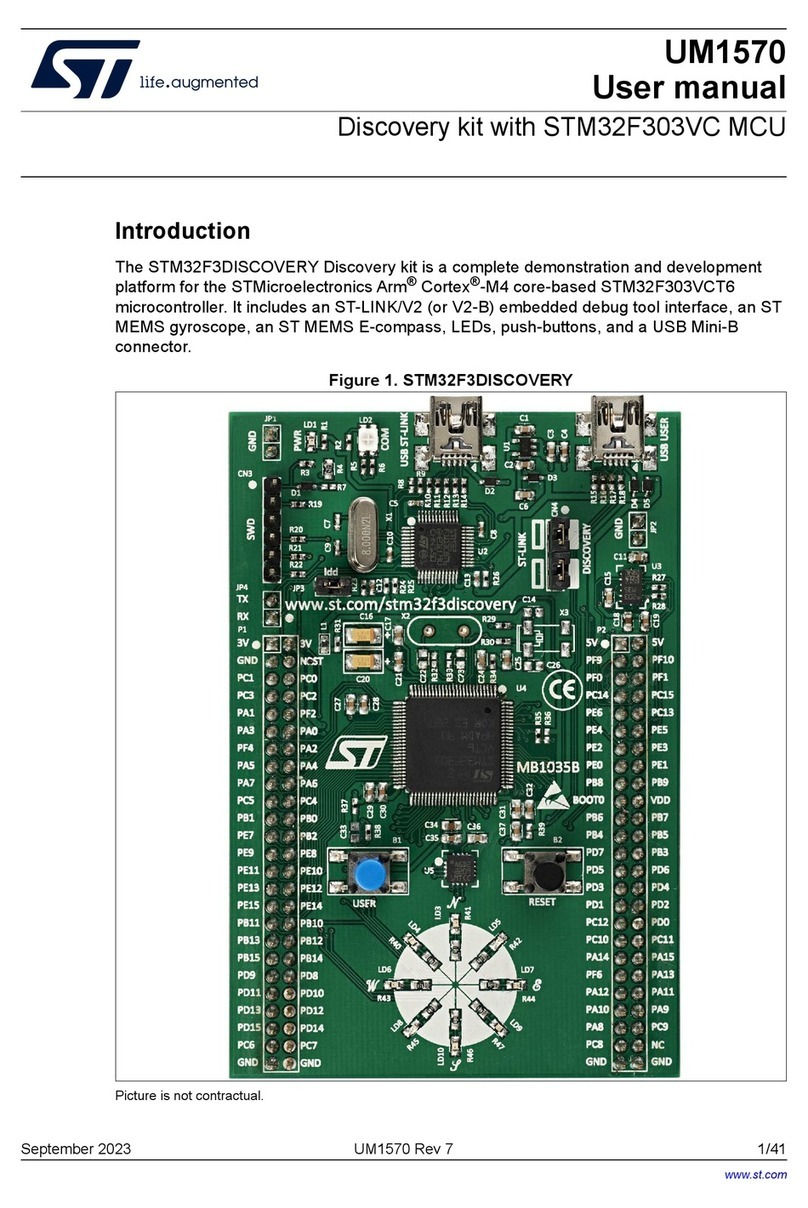
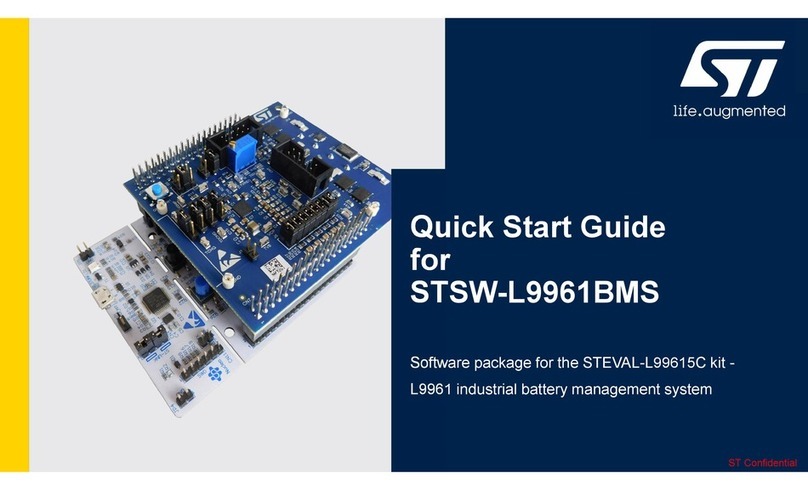
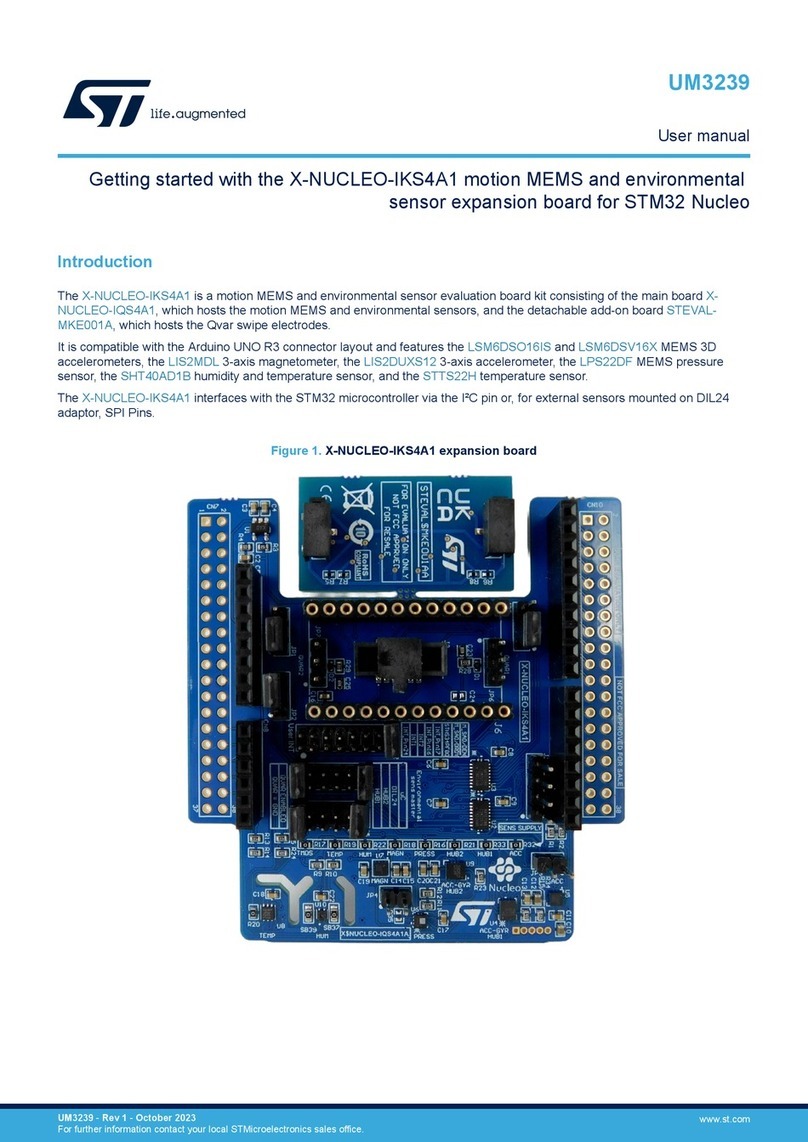
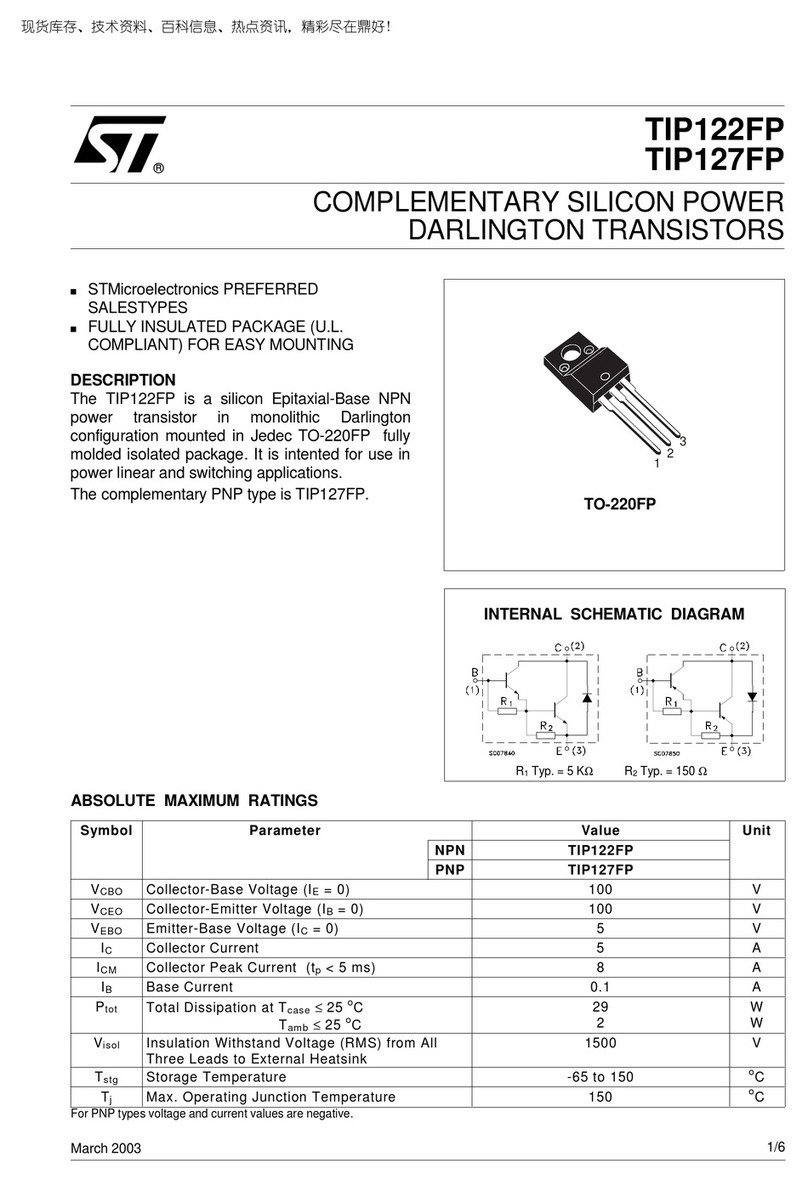
ST EVALSPEAr320HMI User manual

April 2011 Doc ID 18410 Rev 3 1/36
UM1045
User manual
EVALSPEAr320HMI
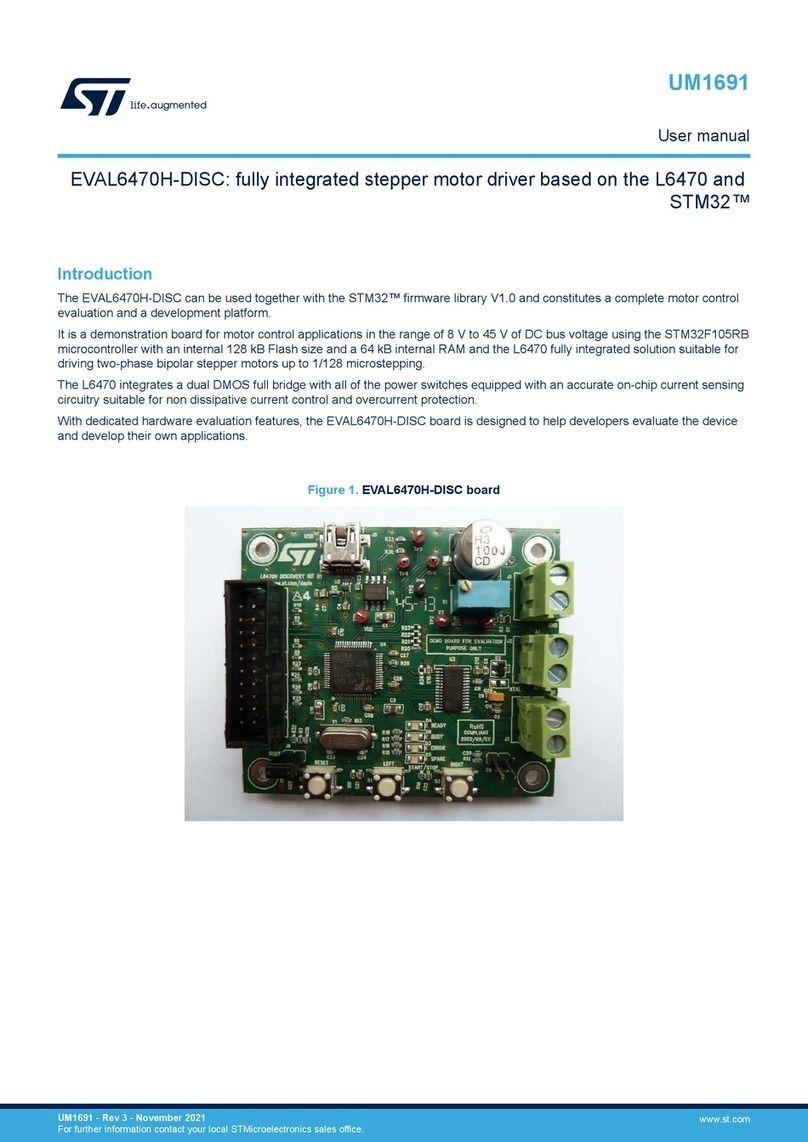
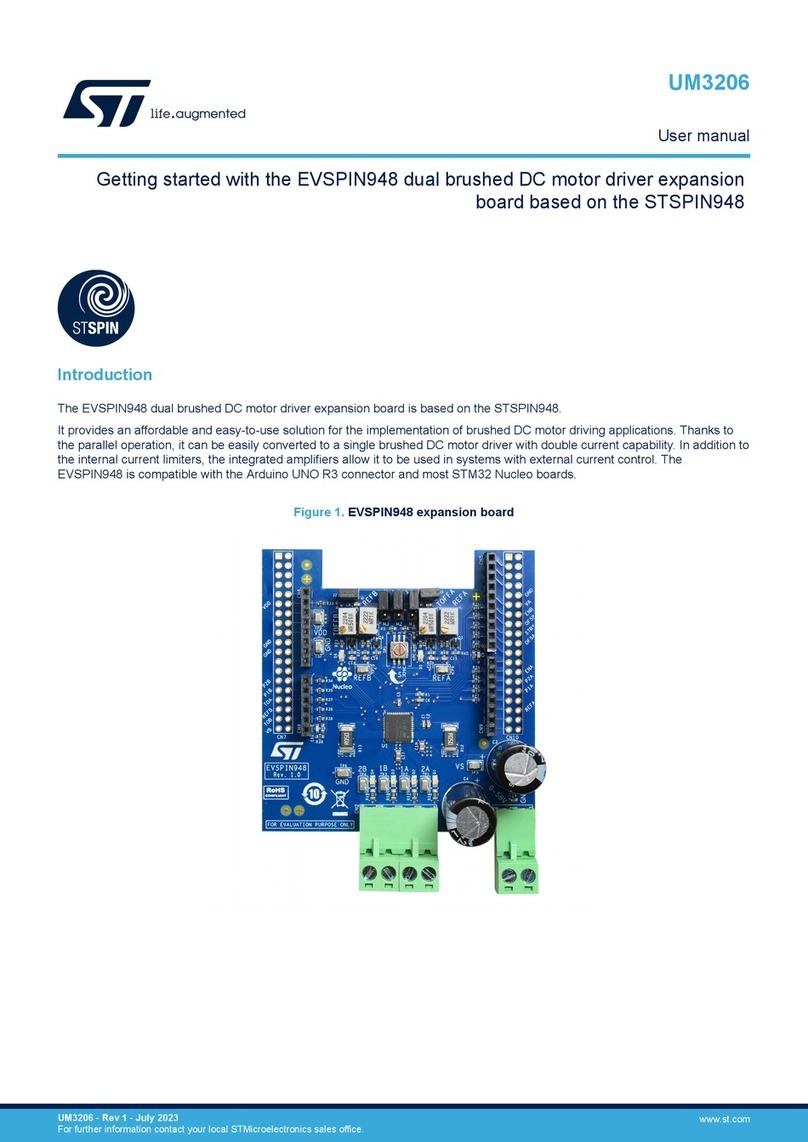
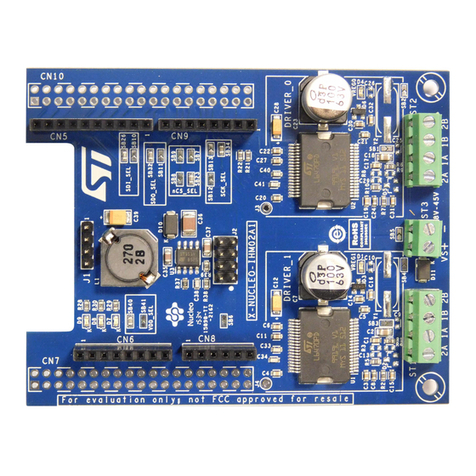
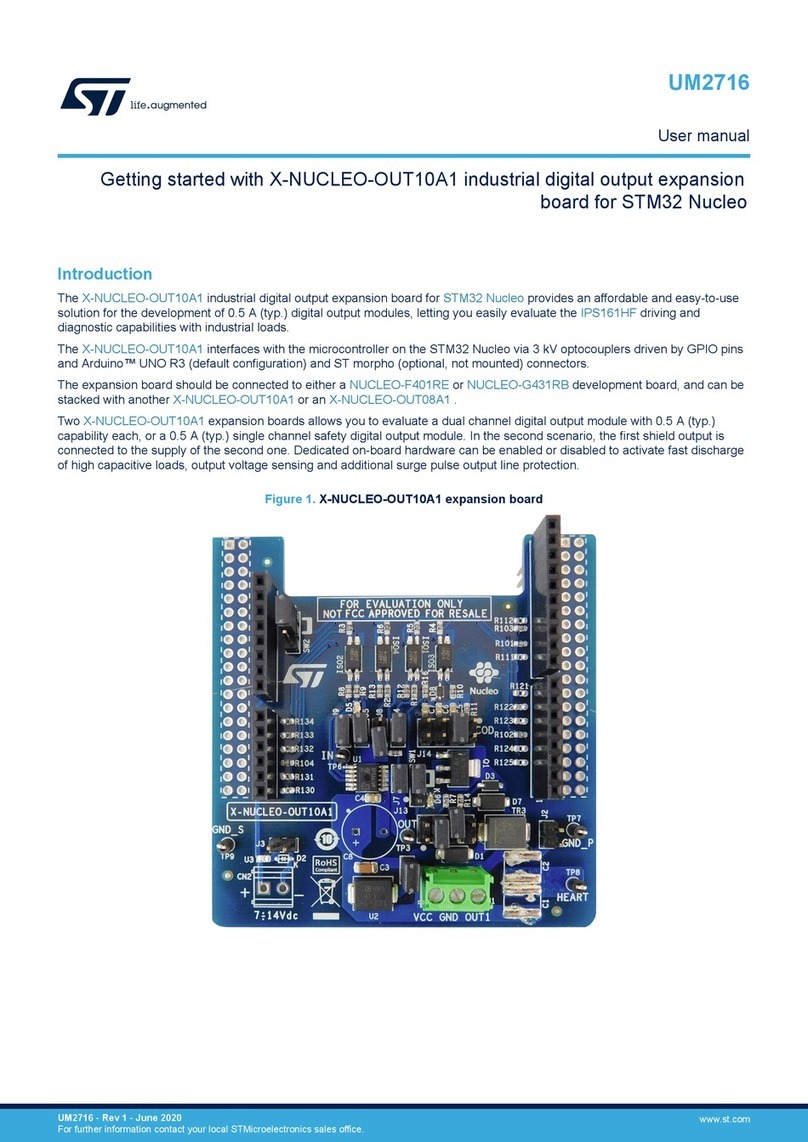
SPEAr320 expansion board for HMI applications, revision 2
Introduction
This document applies to revision 2 EVALSPEAR320HMI expansion boards.
This board is intended to be used in conjunction with a SPEAr320 CPU board (sold
separately) to evaluate the SPEAr320 microprocessor with a variety of devices, especially in
its SMII automation networking mode.
Note: The SPEAr320 CPU board order code is EVALSPEAR320CPU.
Expansion board
CPU board
www.st.com
www.BDTIC.com/ST

Contents EVALSPEAr320HMI
2/36 Doc ID 18410 Rev 3
Contents
1 Features . . . . . . . . . . . . . . . . . . . . . . . . . . . . . . . . . . . . . . . . . . . . . . . . . . . . . . . 6
2 Block diagram and layout . . . . . . . . . . . . . . . . . . . . . . . . . . . . . . . . . . . . . . . . 6
3 Getting started . . . . . . . . . . . . . . . . . . . . . . . . . . . . . . . . . . . . . . . . . . . . . . . . . 8
3.1 Unpacking . . . . . . . . . . . . . . . . . . . . . . . . . . . . . . . . . . . . . . . . . . . . . . . . . . . . . . . 8
3.2 Connecting . . . . . . . . . . . . . . . . . . . . . . . . . . . . . . . . . . . . . . . . . . . . . . . . . . . . . . 8
3.3 Booting . . . . . . . . . . . . . . . . . . . . . . . . . . . . . . . . . . . . . . . . . . . . . . . . . . . . . . . . . 8
4 Block descriptions and configurations . . . . . . . . . . . . . . . . . . . . . . . . . . . . . 9
4.1 MicroSD card power up . . . . . . . . . . . . . . . . . . . . . . . . . . . . . . . . . . . . . . . . . . . . 9
4.2 Ethernet . . . . . . . . . . . . . . . . . . . . . . . . . . . . . . . . . . . . . . . . . . . . . . . . . . . . . . . 10
4.3 TFT LCD with touch . . . . . . . . . . . . . . . . . . . . . . . . . . . . . . . . . . . . . . . . . . . . . . 10
4.3.1 Connecting an LCD . . . . . . . . . . . . . . . . . . . . . . . . . . . . . . . . . . . . . . . . . . . . . . 11
4.3.2 Connecting a touch screen . . . . . . . . . . . . . . . . . . . . . . . . . . . . . . . . . . . . . . . . 12
4.4 CAN . . . . . . . . . . . . . . . . . . . . . . . . . . . . . . . . . . . . . . . . . . . . . . . . . . . . . . . . . . 13
4.5 RS232 transceivers (U500 and U501) . . . . . . . . . . . . . . . . . . . . . . . . . . . . . . . . 14
4.6 Power supply . . . . . . . . . . . . . . . . . . . . . . . . . . . . . . . . . . . . . . . . . . . . . . . . . . . 15
4.7 Dual interface EEPROM (U702) . . . . . . . . . . . . . . . . . . . . . . . . . . . . . . . . . . . . . 15
4.8 NAND flash memory (U100) . . . . . . . . . . . . . . . . . . . . . . . . . . . . . . . . . . . . . . . . 15
4.9 Audio output . . . . . . . . . . . . . . . . . . . . . . . . . . . . . . . . . . . . . . . . . . . . . . . . . . . . 16
4.10 LEDs (LD700 through LD703) . . . . . . . . . . . . . . . . . . . . . . . . . . . . . . . . . . . . . . 16
4.11 Reset button (B700) . . . . . . . . . . . . . . . . . . . . . . . . . . . . . . . . . . . . . . . . . . . . . . 16
4.12 Setting ADC conversion limits . . . . . . . . . . . . . . . . . . . . . . . . . . . . . . . . . . . . . . . 16
5 Connector pinouts . . . . . . . . . . . . . . . . . . . . . . . . . . . . . . . . . . . . . . . . . . . . . 17
5.1 CAN DB9 plug connectors (CN400 and CN401) . . . . . . . . . . . . . . . . . . . . . . . . 17
5.2 Ethernet RJ45 connector (CN300) . . . . . . . . . . . . . . . . . . . . . . . . . . . . . . . . . . . 17
5.3 RS232/UART0 DB9 plug connector (CN500) . . . . . . . . . . . . . . . . . . . . . . . . . . . 18
5.4 RS232/UART2 DB9 plug connector (CN501) . . . . . . . . . . . . . . . . . . . . . . . . . . . 18
5.5 RS232/UART1 DB9 plug connector (CN502) . . . . . . . . . . . . . . . . . . . . . . . . . . . 18
5.6 ET057010DHU LCD interface connector (J600) . . . . . . . . . . . . . . . . . . . . . . . . 19
www.BDTIC.com/ST

EVALSPEAr320HMI Contents
Doc ID 18410 Rev 3 3/36
5.7 EDT unified LCD interface connector (J601) . . . . . . . . . . . . . . . . . . . . . . . . . . . 19
5.8 STMPE811 touch screen connectors (CN600 & TS_CN600) . . . . . . . . . . . . . . 20
5.9 General purpose ADC connector CN700 . . . . . . . . . . . . . . . . . . . . . . . . . . . . . . 21
5.10 General purpose GPIO, I2C connector (CN701) . . . . . . . . . . . . . . . . . . . . . . . . 22
5.11 Primer2 extension connector (CN702) . . . . . . . . . . . . . . . . . . . . . . . . . . . . . . . . 22
5.12 Unified power line modem (PLM) connector (CN704) . . . . . . . . . . . . . . . . . . . . 23
5.13 Mono 3.5 mm audio jack connector (CN703) . . . . . . . . . . . . . . . . . . . . . . . . . . 23
5.14 MicroSD card connector (CN800) . . . . . . . . . . . . . . . . . . . . . . . . . . . . . . . . . . . 24
5.15 Power supply connectors (CN900 and CN901) . . . . . . . . . . . . . . . . . . . . . . . . . 24
5.16 SPEAr320 CPU board 86-pin connectors (J1 and J2) . . . . . . . . . . . . . . . . . . . . 25
Appendix A Expansion board components . . . . . . . . . . . . . . . . . . . . . . . . . . . . . 27
Appendix B License agreements . . . . . . . . . . . . . . . . . . . . . . . . . . . . . . . . . . . . . 30
Revision history . . . . . . . . . . . . . . . . . . . . . . . . . . . . . . . . . . . . . . . . . . . . . . . . . . . . 35
www.BDTIC.com/ST

Tables EVALSPEAr320HMI
4/36 Doc ID 18410 Rev 3
Tables
Table 1. Ethernet PHYU300 default configuration . . . . . . . . . . . . . . . . . . . . . . . . . . . . . . . . . . . . . . 10
Table 2. LCD module backlight control . . . . . . . . . . . . . . . . . . . . . . . . . . . . . . . . . . . . . . . . . . . . . . . 10
Table 3. J600 configuration options (ET057010DHU) . . . . . . . . . . . . . . . . . . . . . . . . . . . . . . . . . . . 11
Table 4. J601 configuration options (unified interface displays) . . . . . . . . . . . . . . . . . . . . . . . . . . . . 11
Table 5. CAN0 transceiver settings . . . . . . . . . . . . . . . . . . . . . . . . . . . . . . . . . . . . . . . . . . . . . . . . . 13
Table 6. CAN1 transceiver settings . . . . . . . . . . . . . . . . . . . . . . . . . . . . . . . . . . . . . . . . . . . . . . . . . 13
Table 7. UART0 RS232 handshake enable configuration . . . . . . . . . . . . . . . . . . . . . . . . . . . . . . . . 14
Table 8. Bringing UART0/RS232 transceiver signals from the CPU board . . . . . . . . . . . . . . . . . . . 14
Table 9. U900 DC/DC converter jumpers . . . . . . . . . . . . . . . . . . . . . . . . . . . . . . . . . . . . . . . . . . . . . 15
Table 10. General purpose LEDs . . . . . . . . . . . . . . . . . . . . . . . . . . . . . . . . . . . . . . . . . . . . . . . . . . . . 16
Table 11. CAN DB9 plug connector pinouts (CN400 and CN401) . . . . . . . . . . . . . . . . . . . . . . . . . . . 17
Table 12. Ethernet RJ45 connector pinout (CN300). . . . . . . . . . . . . . . . . . . . . . . . . . . . . . . . . . . . . . 17
Table 13. RS232/UART0 DB9 plug connector pinout (CN500) . . . . . . . . . . . . . . . . . . . . . . . . . . . . . 18
Table 14. RS232/UART2 DB9 plug connector pinout (CN501) . . . . . . . . . . . . . . . . . . . . . . . . . . . . . 18
Table 15. RS232/UART1 DB9 plug connector pinout (CN502) . . . . . . . . . . . . . . . . . . . . . . . . . . . . . 18
Table 16. ET057010DHU LCD interface connector pinout (J600) . . . . . . . . . . . . . . . . . . . . . . . . . . . 19
Table 17. EDT Unified LCD interface connector pinout (J601). . . . . . . . . . . . . . . . . . . . . . . . . . . . . . 19
Table 18. STMPE811 touch screen connector pinouts (CN600 & TS_CN600) . . . . . . . . . . . . . . . . . 20
Table 19. General purpose ADC connector pinout (CN700) . . . . . . . . . . . . . . . . . . . . . . . . . . . . . . . 21
Table 20. General purpose GPIO, I2C connector pinout (CN701) . . . . . . . . . . . . . . . . . . . . . . . . . . . 22
Table 21. Primer2 extension connector pinout (CN702). . . . . . . . . . . . . . . . . . . . . . . . . . . . . . . . . . . 22
Table 22. Unified power line modem (PLM) connector pinout (CN704) . . . . . . . . . . . . . . . . . . . . . . . 23
Table 23. Mono 3.5 mm audio jack connector pinout (CN703) . . . . . . . . . . . . . . . . . . . . . . . . . . . . . 23
Table 24. MicroSD card connector pinout (CN800) . . . . . . . . . . . . . . . . . . . . . . . . . . . . . . . . . . . . . . 24
Table 25. Power supply connector pinouts (CN900 and CN901) . . . . . . . . . . . . . . . . . . . . . . . . . . . . 24
Table 26. SPEAr320 CPU board connectors J1 pins . . . . . . . . . . . . . . . . . . . . . . . . . . . . . . . . . . . . . 25
Table 27. SPEAr320 CPU board connectors J2 pins . . . . . . . . . . . . . . . . . . . . . . . . . . . . . . . . . . . . . 26
Table 28. Expansion board components . . . . . . . . . . . . . . . . . . . . . . . . . . . . . . . . . . . . . . . . . . . . . . 27
Table 29. Document revision history . . . . . . . . . . . . . . . . . . . . . . . . . . . . . . . . . . . . . . . . . . . . . . . . . 35
www.BDTIC.com/ST

EVALSPEAr320HMI Figures
Doc ID 18410 Rev 3 5/36
Figures
Figure 1. Expansion board block diagram . . . . . . . . . . . . . . . . . . . . . . . . . . . . . . . . . . . . . . . . . . . . . . 6
Figure 2. Expansion board layout . . . . . . . . . . . . . . . . . . . . . . . . . . . . . . . . . . . . . . . . . . . . . . . . . . . . 7
Figure 3. SPEAr320 CPU board 86-pin connector pinouts (J1 and J2). . . . . . . . . . . . . . . . . . . . . . . 25
www.BDTIC.com/ST

Features EVALSPEAr320HMI
6/36 Doc ID 18410 Rev 3
1 Features
●1 x Ethernet RJ45 connector (ST802RT1A)
●1x LCD interface for 5.7” 640x480 EDT screen (ET057010DHU)
●1x Unified LCD interface (EDT displays with Unified interface)
●1x Resistive touch screen interface (STMPE811)
●2 x CAN DB9 plug connectors
●3 x RS232 DB9 plug connectors (ST3232EBTR)
●Onboard temperature sensor and potentiometer (STMPE811)
●64 Kbit dual interface EEPROM: ISO 15693 and ISO 18000-3 mode 1 compliant
contactless interface + I2C (M24LR64)
●4Gb NAND flash memory
●PWM mono audio output
●Analog extension connector featuring 8 ADC lines
●General purpose extension connector with GPIOs and I2C functionality
●Unified Power Line modem (PLM) connector
●Raisonance Primer2 extension boards interface connector
●DC/DC converter L7986A (+24V/+5V)
●MicroSDcard socket
●4 LEDs
●2 general purpose buttons
●System reset button
2 Block diagram and layout
Figure 1. Expansion board block diagram
(sold separately)
SPEArTM320
CPU
board
5.7 inch TFT LCD
with TOUCH
640 x 480
FLASH
NAND 4 Gb
Buttons
Reset
ST802RT1A
RJ45
LEDs
DC/DC
+5V Micro
SD card
GPIO/12C connector
Potentiometer
ADC connector
Temperature
DB9/M DB9/M DB9/M
RS232 RS232 RS232
CAN 1
CAN 2
DB9/M
DB9/M
Unified PLM interface
Primer2 ext. interface
Dual EPROM
Audio output
www.st.com
www.BDTIC.com/ST

EVALSPEAr320HMI Block diagram and layout
Doc ID 18410 Rev 3 7/36
Figure 2. Expansion board layout
CN600
Touch-screen
interface
R609
Potentiometer
U600
Touch sensing +
temperature
sensor
U702
Dual interface
EEPROM +
antenna
B601
User button 1
B602
User button 2
U100
NAND flash
CN401
CAN1
LEDs
CN400
CAN0
B700
Reset
CN901,
CN900
Power plugs
CN500
RS232_0
UART0
CN502
RS232_1
UART1
CN501
RS232_2
UART2
Buzzer
R713
Volume control
CN703
Audio out
J601
Unified LCD
connector
CN800
MicroSD card
J600
LCD connector
CN704
Unified PLM
connector
CN700 ADC
connector
CN701 GPIO,
12C connector
CN702
Primer2
extensions
connector
CN300
Ethernet0
SPEAr320
CPU board
(sold separately)
www.BDTIC.com/ST

Getting started EVALSPEAr320HMI
8/36 Doc ID 18410 Rev 3
3 Getting started
3.1 Unpacking
Warning: This board contains static sensitive devices.
The EVALSPEAr320HMI evaluation board is shipped in protective anti-static packaging. Do
not submit the board to high electrostatic potentials, and follow good practices for working
with static sensitive devices.
●Wear an anti-static wristband. Wearing a simple anti-static wristband can help
prevent ESD from damaging the board.
●Zero potential. Always touch a grounded conducting material before handling the
board, and periodically while handling it.
●Use an anti-static mat. When configuring the board, place it on and anti-static mat to
reduce the possibility of ESD damage.
●Handle only the edges. Handle the board by its edges only, and avoid touching board
components.
3.2 Connecting
1. Carefully plug the CPU board into the expansion board.
2. On the EVALSPEAr320CPU board, set Switch 2 to parallel NAND 8 boot mode:
3. Connect a serial cable from the expansion board (connector CN500: RS232_0/UART0)
to the host PC (see Figure 2: Expansion board layout).
4. On the host PC running Windows or Linux, start the Terminal program.
5. Connect a power supply to the SPEAr320 HMI evaluation board as described in
Section 4.6: Power supply on page 15.
6. Apply power to the board. The Terminal program displays a sequence of boot
messages followed by the Linux console prompt.
For more information, refer to user manual UM0844, Getting started with Linux for SPEAr,
available at www.st.com/spear.
3.3 Booting
The SPEAr320 HMI evaluation board can boot a Linux kernel pre-installed in the parallel
NAND Flash. At power on, the serial port outputs a brief header message with some uBoot
information (uBoot version, SDK version, and some internal hardware information). At this
point you can choose to:
●Stop the system directly in uBoot: Before the boot delay time expires (default is
3 seconds), press the spacebar on the host computer’s keyboard.
●Boot Linux: The system boot is finished when the login prompt appears in the console.
The default login user name for super user is root; no password is required.
Positions 1, 4, 6, and 7: Off Positions 2, 3, 5, and 8: On
www.BDTIC.com/ST

EVALSPEAr320HMI Block descriptions and configurations
Doc ID 18410 Rev 3 9/36
4 Block descriptions and configurations
●MicroSD card power up
●Ethernet on page 10
●TFT LCD with touch on page 10
–Connecting an LCD on page 11
–Connecting a touch screen on page 12
●CAN on page 13
●RS232 transceivers (U500 and U501) on page 14
●Power supply on page 15
●Dual interface EEPROM (U702) on page 15
●NAND flash memory (U100) on page 15
●Audio output on page 16
●LEDs (LD700 through LD703) on page 16
●Reset button (B700) on page 16
Note: See also: Chapter 5: Connector pinouts on page 17
4.1 MicroSD card power up
The MicroSD card connector is on the EVALSPEAR320HMI SDIO interface.
To power-up the MicroSD card properly:
1. Detect card insertion.
Card detection is managed by the standard SDIO signal SDCD.
2. Enable the single channel power switch U801 by means of PL_GPIO42 (active low).
By default, U801 power output is disabled by the R808 pull-up resistor connected to the
power switch enable pin.
JP800 controls the MicroSD card access that manipulates the MicroSD interface Write
Protect signal. By default JP800 is closed, and the card is used in Write-Enabled mode.
See also: MicroSD card connector (CN800) on page 24
www.BDTIC.com/ST

Block descriptions and configurations EVALSPEAr320HMI
10/36 Doc ID 18410 Rev 3
4.2 Ethernet
The board has one Ethernet PHY (U300) connected through the media-independent
interfaces (MII) to the Ethernet MAC on the CPU board processor.
Ethernet PHY default MII addresses: 0x01
Two LEDs embedded in the RJ45 connector (CN300) indicate the line status:
●The green LED is on whenever the Ethernet is linked.
●The yellow LED blinks during TX or RX activity.
Table 1 lists the Ethernet Phy default configuration.
4.3 TFT LCD with touch
The expansion board has one 5.7” LCD screen that is attached to the internal SPEAr320
LCD controller.
TFT LCD display characteristics
●Resolution: 640 x 480 pixels
●Display colors: up to 16.7M
●24-bit RGB parallel interface
The LCD module has white LED backlight and a resistive touch panel. The complete LCD
module, including backlight, is connected to the 3.3V power domain. LED backlight can be
manually powered on or off using JP600; if JP600 is left open, the backlight can be powered
by the microprocessor PWM signal (PWM0). See Tab l e 2
Table 1. Ethernet PHYU300 default configuration
Function Default configuration
Auto negotiation Enabled
10/100 Mbits 100 Mbits selected for auto negotiation advertisement
Half/Full duplex Full duplex selected for auto negotiation advertisement
Internal Loopback Disabled
Power down Disabled (PHY is not in Power down)
MII/RMII mode MII selected
Table 2. LCD module backlight control
Jumper Description Configuration
JP600
LCD backlight: on; Intensity: 100%
LCD backlight: off; Intensity: 0%
LCD backlight can be controlled using MPU PWM channel 0
Intensity: according to the PWM duty cycle
Recommended signal operational frequency: 1.5 kHz
123
123
123
www.BDTIC.com/ST

EVALSPEAr320HMI Block descriptions and configurations
Doc ID 18410 Rev 3 11/36
4.3.1 Connecting an LCD
The expansion board has two physical interfaces for Emerging Display Technologies (EDT)
LCDs:
●J600
– for ET057010DHU
–24bpp
– direct 8:8:8 RGB signaling
Ta b le 3 lists J600 configuration options.
See also ET057010DHU LCD interface connector (J600) on page 19
●J601
– for devices that have EDT displays with a unified interface
–16bpp
One bpp is normally not used, but this pixel is still output. It can be used as a
bright bit to connect to the least significant bit (LSB) of R, G, and B components of
a 6:6:6 TFT panel.
– direct 5:5:5 RGB
This interface can cover LCD screens from 3.5 to 7 inches (such as ET057090DHU
and ET070080DH6).
Table 4 on page 11 lists J601 configuration options.
See also EDT unified LCD interface connector (J601) on page 19
Table 3. J600 configuration options (ET057010DHU)
Jumper Description Configuration
SB600, SB601:
Left/right internal shift register
direction settings
STH->S01->…->S0960->STHO
(Default)
SB600: open
SB601: close
STH->S0960->…->S01->STHO SB600: close
SB601: open
SB602, SB603:
Up/down scan settings
Reverse scan SB602: open
SB603: close
Normal scan
(Default)
SB602: close
SB603: open
Table 4. J601 configuration options (unified interface displays)
Jumper Description Configuration
SB610, SB611:
Rotate settings
L/R: STH->S0960->…->S01->STHO
U/D: Reverse Scan
SB610: open
SB611: closed
L/R: STH->S01->…->S0960->STHO
U/D: Normal Scan
(Default)
SB610: closed
SB611: open
SB604, SB605:
Blue LSB setting
Blue LSB bit connected to the blue MSB bit SB604: open
SB605: closed
Intensity bit connected to the Blue LSB bit SB604: closed
SB605: open
www.BDTIC.com/ST

Block descriptions and configurations EVALSPEAr320HMI
12/36 Doc ID 18410 Rev 3
4.3.2 Connecting a touch screen
See also: STMPE811 touch screen connectors (CN600 & TS_CN600) on page 20
The expansion board provides two ways to use the SPEAr320 touch screen interface.
●The first is based on the SPEAr320 internal Touch IP block, and can be used by means
of the TS_xxx block (in the schematics) and the TS_CN600 interface connector.
●The second uses the standalone external touch screen controller, STMPE811 (U600).
STMPE811 is interfaced by means of the I2C bus and interrupt output pin.
The STMPE811 has:
– A 4-wire touch screen controller (CN600)
– A multiplexed general purpose input/output (GPIO) port expander, or an 8-input,
12-bit ADC (the default configuration).
– Temperature sensor
The STMPE811 (U600) internal temperature sensor can be used for informative
temperature measurements, such as a reference for compensation of the touch
screen parameters.
Temperature measurement is optimized for temperatures from 0 to 85oC.
– User potentiometer
A 10 KΩpotentiometer is available on the board, connected to the analog input
AIN0 of the STMPE811 (U600).
– User buttons
The remaining pins of the STMPE811 (U600) touch screen controller are used to
service two user buttons (B600, B601) that are connected to the GPIO pins IO2
and IO3.
All temperature measurements, potentiometer voltage measurements, and button
status information is available by means of the I2C bus.
Any of these tracked parameters can trigger a preconfigured interrupt event that is
subsequently signaled to the SPEAr320 MPU by means of the STMPE811 Interrupt
line.
SB606, SB607:
Green LSB setting
Green LSB bit connected to the green MSB bit SB606: open
SB607: closed
Intensity bit connected to the green LSB bit SB606: closed
SB607: open
SB608, SB609:
Red LSB setting
Red LSB bit connected to the red MSB bit SB608: open
SB609: closed
Intensity bit connected to the red LSB bit SB608: closed
SB609: open
Table 4. J601 configuration options (unified interface displays) (continued)
Jumper Description Configuration
www.BDTIC.com/ST

EVALSPEAr320HMI Block descriptions and configurations
Doc ID 18410 Rev 3 13/36
4.4 CAN
The EVALSPEAR320HMI evaluation board supports two channels of CAN2.0A/B compliant
CAN bus communication, based on a 3.3 V CAN transceiver.
High-speed mode, standby mode, and slope control mode are selected by setting JP400
and JP403 as shown in Table 5 and Ta b l e 6 .
See also: CAN DB9 plug connectors (CN400 and CN401) on page 17
Table 5. CAN0 transceiver settings
Jumper Description Configuration
JP400
Standby mode
High-speed mode (Default)
Slope control mode
JP401 Installing JP401 enables the CAN0 terminal 120Ωresistor.
Default: installed
Table 6. CAN1 transceiver settings
Jumper Description Configuration
JP403
Standby mode
High-speed mode (Default)
Slope control mode
JP404 Installed, JP404 enables the CAN1 terminal 120Ωresistor.
Default: installed
123
123
123
12
3
123
123
123
12
3
www.BDTIC.com/ST

Block descriptions and configurations EVALSPEAr320HMI
14/36 Doc ID 18410 Rev 3
4.5 RS232 transceivers (U500 and U501)
The board has three RS232 DB9 plug connectors; see also:
●RS232/UART0 DB9 plug connector (CN500) on page 18
●RS232/UART2 DB9 plug connector (CN501) on page 18
●RS232/UART1 DB9 plug connector (CN502) on page 18
Using reduced modem control signals, UART0 can fully utilize the U500 RS232 transceiver;
the RS232_0 signals are available through CN500.
Note: If the U500 RS232 transceiver is not soldered on the board, RS232_TXD and RS232_RXD
signals can be brought in from the CPU board to the CN500 connector (see Ta bl e 8 ).
UART1 and UART2 have only RX/TX functionality, and are connected to the U501 RS232
transceiver; RS232_1 signals are available from CN502, and RS232_2 signals are available
from CN501.
Table 7. UART0 RS232 handshake enable configuration
Jumper Description Configuration
JP200
UART0_CTS active
UART0_CTS inactive (Default)
The related PL_GPIO38 controls LCD backlight dimming (signal LCD_LEDCTRL)
JP201
UART0_RTS active
UART0_RTS inactive (Default)
The related PL_GPIO37 drives the onboard buzzer
123
123
123
123
Table 8. Bringing UART0/RS232 transceiver signals from the CPU board
Jumper(1) Description
JP20 Connects the RS232_TXD signal from the CPU board RS232 transceiver to CN500 (UART0)
Default: Not installed
JP21 Connects the RS232_RXD signal from the CPU board RS232 transceiver to CN13 (UART0)
Default: Not installed
1. Do not install if U10 is soldered to the expansion board.
www.BDTIC.com/ST

EVALSPEAr320HMI Block descriptions and configurations
Doc ID 18410 Rev 3 15/36
4.6 Power supply
There are two ways to supply power to the SPEAr320 HMI evaluation board:
●Connect the +5 V voltage adapter (included in the EVALSPEAr320HMI package) to the
J11 power voltage connector on the CPU board.
●Connect a 7 to 30 V DC power source (not included in the EVALSPEAr320HMI
package) to either connector CN900 or connector CN901 on the expansion board.
The input voltage is connected to the DC/DC converter, U900 (either L7986A or L5973A,
see Ta b l e 9 ).
The board is protected against overvoltage by the D903 Transil diode (SM6T33A), and
against possible reverse polarity voltage (from an incorrect power plug-in) by the D902
Schottky diode (STPS3L40U).
See also: Power supply connectors (CN900 and CN901) on page 24
4.7 Dual interface EEPROM (U702)
The expansion board has 64-Kbit EEPROM memory (M24LR64) with password protection
and dual interface.
The M24LR64-R device is a dual-access, electrically erasable programmable memory
(EEPROM) that features an I2C interface, and can be operated from a VCC power supply. It
is a contactless memory, powered by the received 13.56 MHz carrier electromagnetic wave.
The M24LR64-R is organized as 8192 × 8 bits in the I2C mode, and as 2048 × 32 bits in the
ISO 15693 and ISO 18000-3 mode 1 RF mode.
4.8 NAND flash memory (U100)
The expansion board has a 4-Gbit (512Mx8bit with spare 16Mx8 bit) NAND flash memory
device supplied from the 3.3V domain. This memory has a x8 interface, and is divided into
blocks that can be erased independently; it is possible to preserve desired data while
erasing data that is no longer of interest.
The device contains 4096 blocks, composed of 64 pages.
Table 9. U900 DC/DC converter jumpers
Jumper Description Configuration
JP900 Disconnects the +5V delivered from the DC/DC converter U900.
Default: installed
JP901 (3-pin resistor)
Install to use L7986A (Default)
Install to use L5973A
JP902 (3-pin resistor)
Install to use L7986A (Default)
Install to use L5973A
12
3
123
123
123
123
www.BDTIC.com/ST

Block descriptions and configurations EVALSPEAr320HMI
16/36 Doc ID 18410 Rev 3
4.9 Audio output
Using PWM modulation, the SPEAr320 HMI board, revision 2.0 has mono audio output on
SPEAr320 PWM channel 1. If PL_GPIO37/PWN1 is occupied by an alternate function
(UART0_RTS), PWM channel 2 (PWM2) can be used. To use PWM2, install jumper JP202
(default = uninstalled).
The PWM signal is filtered and amplified by operational amplifier U701; output is available
either though the on-board buzzer (U700), or at the mono 3.5 mm audio jack connector
(CN703). Potentiometer R713 controls the output volume.
If audio output is not used, the amplifier can be bypassed by installing JP702.
See also: Mono 3.5 mm audio jack connector (CN703) on page 23
4.10 LEDs (LD700 through LD703)
There are 4 general purpose LEDs on the top of the board. An LED turns on when its
related GPIO pin is driven high.
4.11 Reset button (B700)
The manual reset button on top of the board resets the microprocessor on the CPU board.
To disconnect the reset button from the CPU board input reset signal, unsolder resistor
R702.
4.12 Setting ADC conversion limits
●Lower limit: pin CN700-19, jumper JP700
●Upper limit: CN700-1, jumper JP701
See also: General purpose ADC connector CN700 on page 21
Table 10. General purpose LEDs
GPIO pin LED GPIO pin LED
PL_GPIO47 LD700 PL_GPIO49 LD702
PL_GPIO48 LD701 PL_GPIO50 LD703
Jumper Description Configuration
JP701
Connects the expansion board +2V5_ADC ADC supply voltage to the CPU board pin
ADC_VREFP (Default)
Connects the external ADC expansion supply voltage to the CPU board pin
ADC_VREFP
JP700
Connects the expansion board ADC supply voltage domain GND to the CPU board pin
ADC_VREFN (Default)
Connects the external ADC expansion GND (lower limit) supply voltage to the CPU board
pin ADC_VREFN
123
123
123
123
www.BDTIC.com/ST

EVALSPEAr320HMI Connector pinouts
Doc ID 18410 Rev 3 17/36
5 Connector pinouts
5.1 CAN DB9 plug connectors (CN400 and CN401)
5.2 Ethernet RJ45 connector (CN300)
Table 11. CAN DB9 plug connector pinouts (CN400 and CN401)
Pin Description Pin Description
1, 4, 8 NC 7 CANH
2 CANL 3, 6 GND
5 Chassis 9 Optional supply voltage (+3V3 or +5.0V)
12345
6789
Table 12. Ethernet RJ45 connector pinout (CN300)
Pin Description Pin Description
1 TxData+ 5 TxData
2 RxData+ 6 NC
3 NC 7 RxData
4 NC 8 NC
Front View
18
www.BDTIC.com/ST

Connector pinouts EVALSPEAr320HMI
18/36 Doc ID 18410 Rev 3
5.3 RS232/UART0 DB9 plug connector (CN500)
5.4 RS232/UART2 DB9 plug connector (CN501)
5.5 RS232/UART1 DB9 plug connector (CN502)
Table 13. RS232/UART0 DB9 plug connector pinout (CN500)
Pin Description Pin Description
1 NC (R500 R79 can interconnect this pin with pins 4, 6) 6 Connected to pin 4
2 UART0_RX 7 UART0_RTS
3 UART0_TX 8 UART0_CTS
4 Connected to pin 6 9 NC
5 GND
12
345
6789
Table 14. RS232/UART2 DB9 plug connector pinout (CN501)
Pin Description Pin Description
1 NC (R502 can interconnect this pin with pins 4, 6) 6 Connected to pin 4
2 UART2_RX 7 Connected to pin 8
3 UART2_TX 8 Connected to pin 7
4 Connected to pin 6 9 NC
5 GND
12
345
6789
Table 15. RS232/UART1 DB9 plug connector pinout (CN502)
Pin Description Pin Description
1 NC (R503 can interconnect this pin with pins 4, 6) 6 Connected to pin 4
2 UART1_RX 7 Connected to pin 8
3 UART1_TX 8 Connected to pin 7
4 Connected to pin 6 9 NC
5 GND
12
345
6789
www.BDTIC.com/ST

EVALSPEAr320HMI Connector pinouts
Doc ID 18410 Rev 3 19/36
5.6 ET057010DHU LCD interface connector (J600)
5.7 EDT unified LCD interface connector (J601)
Table 16. ET057010DHU LCD interface connector pinout (J600)
Pin Description Pin Description Pin Description Pin Description
1 L/R 11 CLLP (HSYNC) 21 CLD7 (R7) 31 CLD17 (B1)
2 U/D 12 CLCP (DCLK) 22 CLD8 (G0) 32 CLD18 (B2)
3 GND 13 GND 23 CLD9 (G1) 33 CLD19 (B3)
4 GND 14 CLD0 (R0) 24 CLD10 (G2) 34 CLD20 (B4)
5 +3V3 15 CLD1 (R1) 25 CLD11 (G3) 35 CLD21 (B5)
6 +3V3 16 CLD2 (R2) 26 CLD12 (G4) 36 CLD22 (B6)
7 CLPOWER (PWCTRL) 17 CLD3 (R3) 27 CLD13 (G5) 37 CLD23 (B7)
8 LCD_LEDCTRL (LEDCTRL) 18 CLD4 (R4) 28 CLD14 (G6) 38 nRESET
9 CLAC (ENB) 19 CLD5 (R5) 29 CLD15 (G7) 39 GND
10 CLFP (VSYNC) 20 CLD6 (R6) 30 CLD16 (B0) 40 +3V3
Table 17. EDT Unified LCD interface connector pinout (J601)
Pin Description Pin Description Pin Description Pin Description
1 GND 11 CLD14 (B2) 21 GND 31 CLFP (VSYNC)
2 GND 12 CLD13 (B1) 22 CLD5 (R5) 32 CLAC (ENB)
3 +3V3 13
Intensity Bit /
CLD17 (B0) 23 CLD4 (R4) 33 Rotate
4 +3V3 14 GND 24 CLD3 (R3) 34 NC
5 CLPOWER (PWCTRL) 15 CLD11 (G5) 25 CLD2 (R2) 35 GND
6 LCD_LEDCTRL (LEDCTRL) 16 CLD10 (G4) 26 CLD1 (R1) 36 +3V3
www.BDTIC.com/ST

Connector pinouts EVALSPEAr320HMI
20/36 Doc ID 18410 Rev 3
5.8 STMPE811 touch screen connectors (CN600 & TS_CN600)
7 nRESET 17 CLD9 (G3) 27
Intensity Bit /
CLD5 (R0) 37 Touch_YU
8 CLD17 (B5) 18 CLD8 (G2) 28 CLCP (DCLK) 38 Touch_XR
9 CLD16 (B4) 19 CLD7 (G1) 29 GND 39 Touch_YD
10 CLD15 (B3) 20 Intensity Bit /
CLD11 (G0) 30 CLLP (HSYNC) 40 Touch_XL
Table 17. EDT Unified LCD interface connector pinout (J601)
Pin Description Pin Description Pin Description Pin Description
Table 18. STMPE811 touch screen connector pinouts (CN600 & TS_CN600)
Pin Description Pin Description
1 Touch_YU 3 Touch_YD
2 Touch_XR 4 Touch_XL
www.BDTIC.com/ST
This manual suits for next models
2
Table of contents
Other ST Computer Hardware manuals

ST
ST STEVAL-ISF001V1 User manual

ST
ST X-NUCLEO-IDB05A2 User manual

ST
ST ZigBee SNDEV-260 User manual

ST
ST STSW-L9961BMS User manual

ST
ST STEVAL-IFP048V1 User manual

ST
ST X-NUCLEO-IHM13A1 User manual

ST
ST STEVAL-CCH002V2 User manual

ST
ST X-NUCLEO-BNRG2A1 User manual

ST
ST X-NUCLEO-NFC01A1 User manual

ST
ST X-CUBE-SBSFU User manual

ST
ST STEVAL-ST25R3916B User manual

ST
ST STEVAL-ISQ008V1 User manual

ST
ST FP-ATR-ASTRA1 User manual

ST
ST X-NUCLEO-IHM02A1 User manual
ST
ST STEVAL-OET005 User manual

ST
ST X-NUCLEO-OUT13A1 User manual

ST
ST X-NUCLEO-OUT05A1 User manual

ST
ST M41ST85W User manual

ST
ST STEVAL-IFP047V1 User manual

ST
ST STEVAL-STWINMA2 User manual