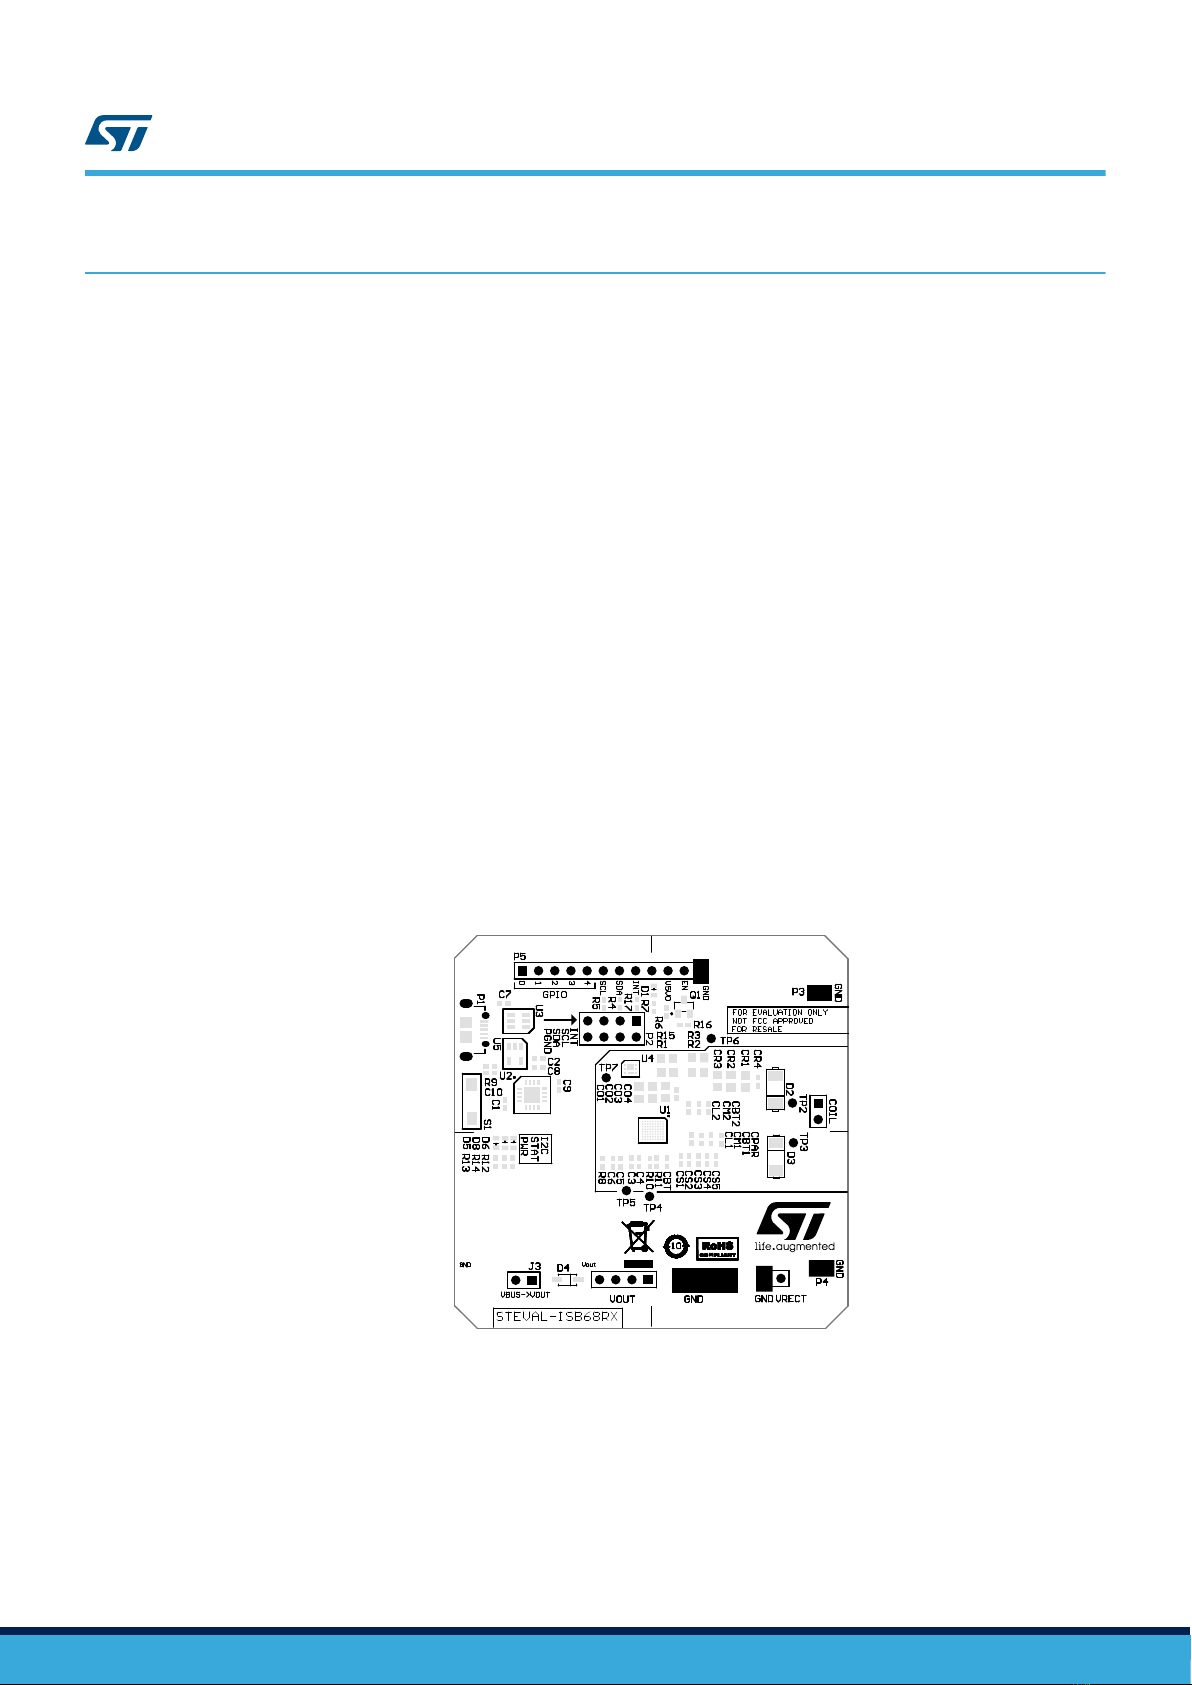
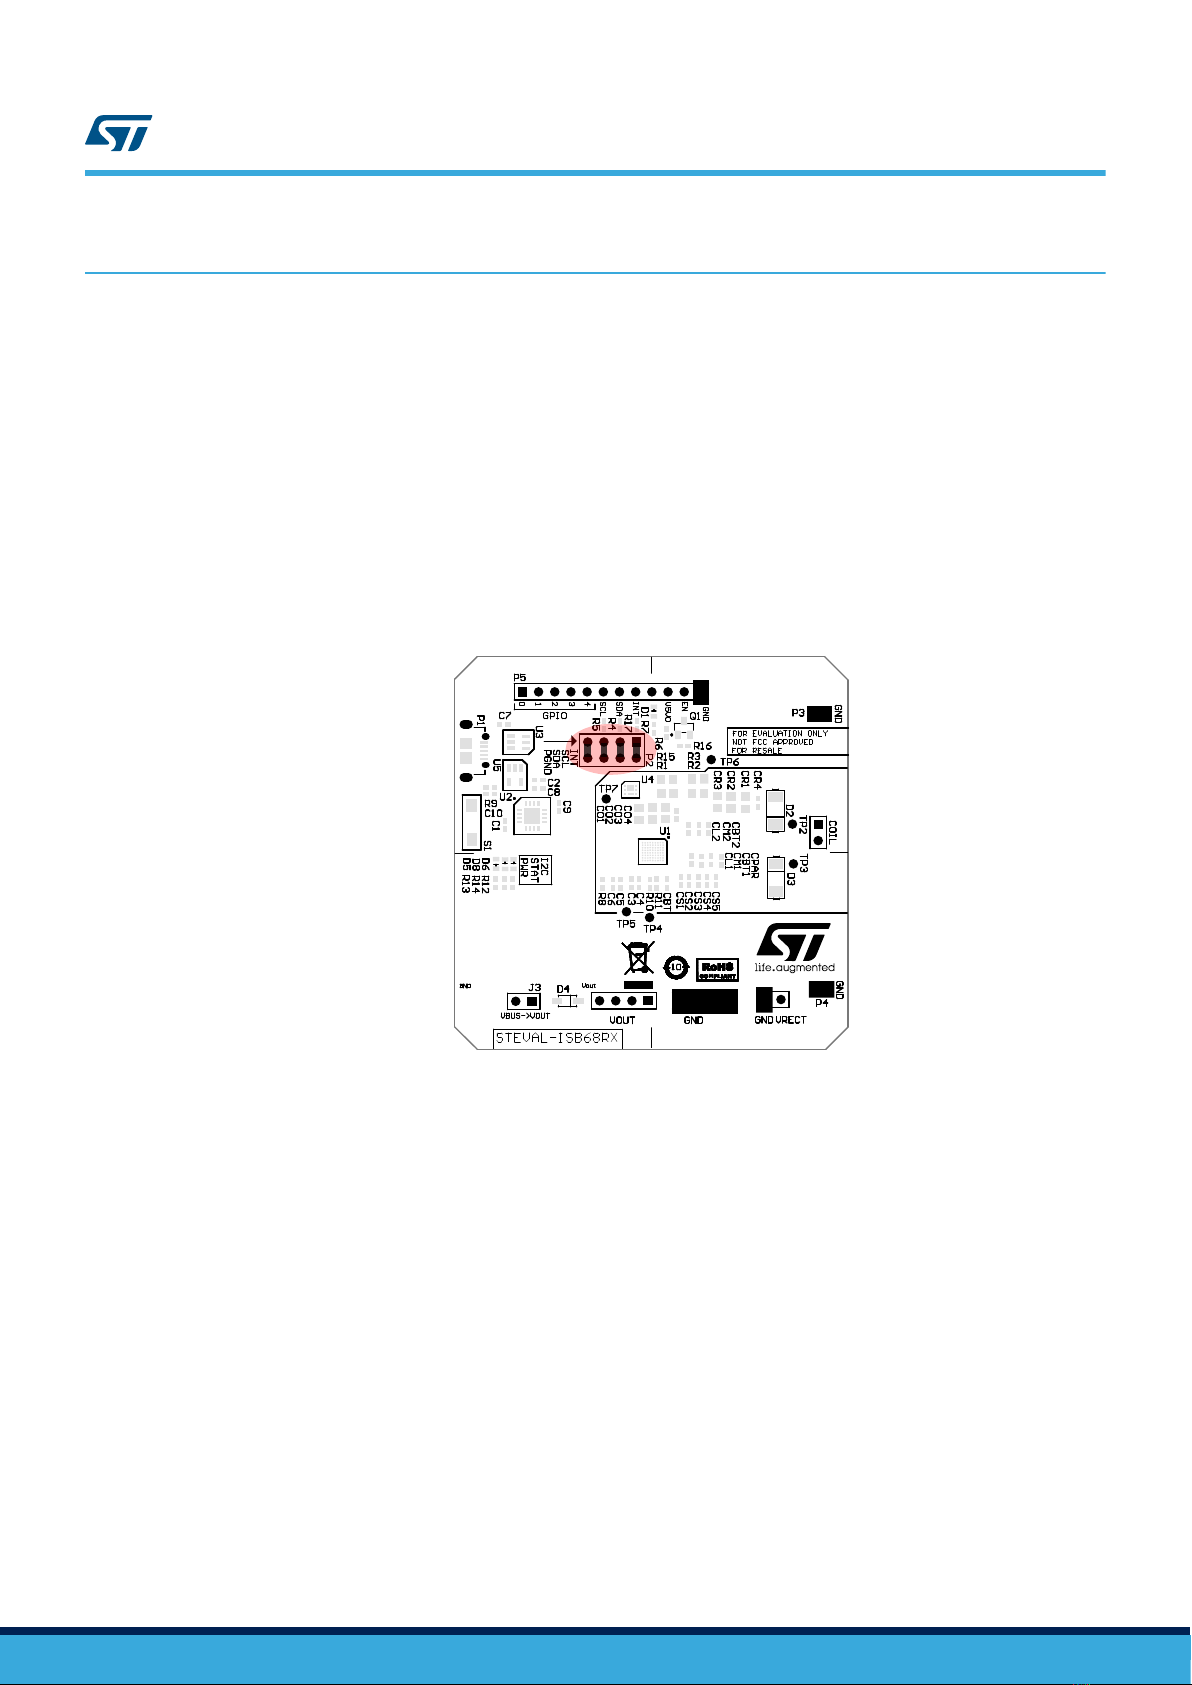
4Default configuration of STWLC68JRH
The configuration settings of the STWLC68JRH chip are retrieved from the OTP memory at power-up, but they
can be temporary changed via GUI once the STEVAL-ISB68RX is powered by the transmitter and the modified
values are kept until a reset of chip occurs.
The default STWLC68JRH settings are the following ones:
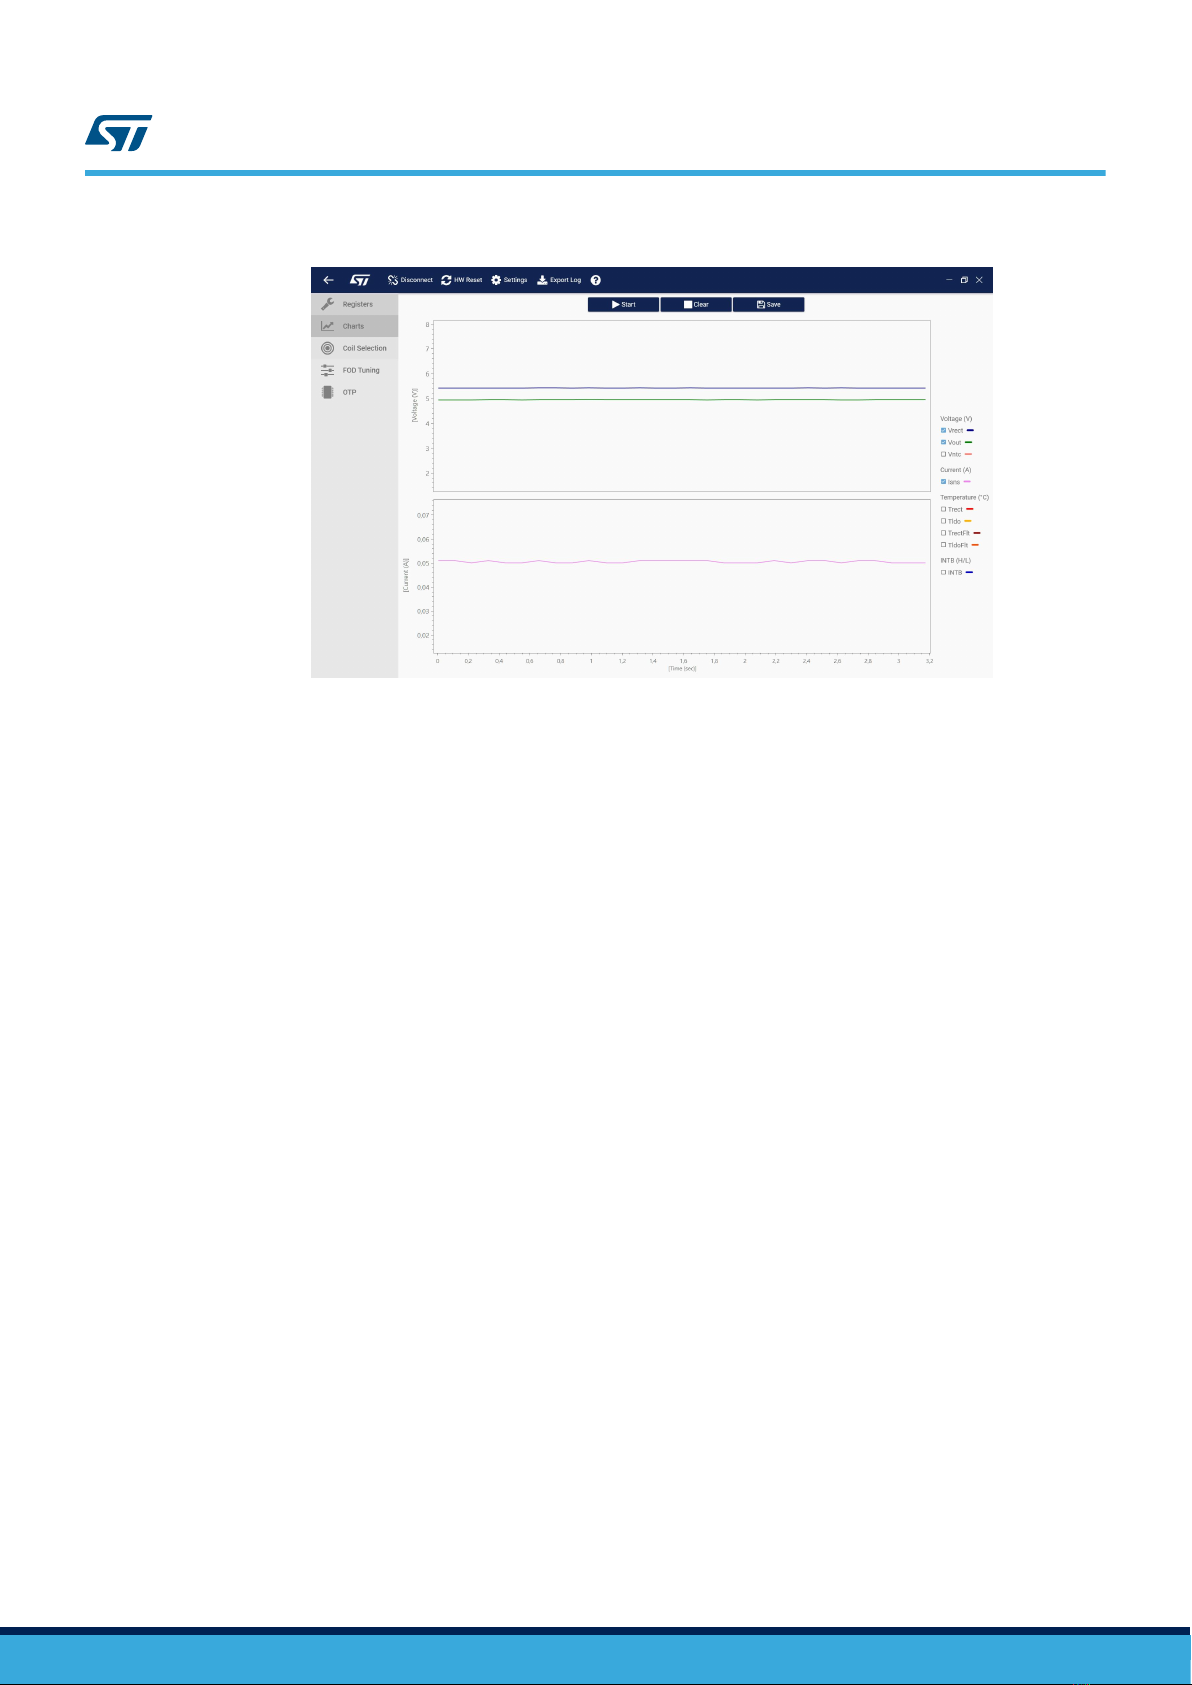
• The output voltage is set to 5.0 V.
• The output is disabled if the VRECT voltage is lower than 4 V. This threshold is programmable, and it is used
to prevent the supply voltage of the STWLC68JRH from being too low because of severe output load
transient or TX/RX coils misalignment.
• The output current limit is set to 1.5 A.
• The INTB pin is set as open-drain and it is assigned to over-temperature, over-current and over-voltage
protections interrupts.
• The dummy load is set to 40 mA. All wireless power systems are designed to transfer a minimum amount of
power, below which the ASK modulation and the output voltage regulation are not well controlled. To
overcome these problems and to ensure proper RX-to-TX communication stability, a dummy load function
can be enabled. The dummy load is a constant current internally drawn at the VOUT output and it
progressively fades away as soon as the external load increases. The default 40 mA value is a good trade-
off between internal power dissipation at no load and ASK communication stability over the full output power
range.
• A deeper ASK modulation index is enabled when the output current is lower than 100 mA. The
STWLC68JRH has two pairs of pins dedicated to ASK modulation. In normal conditions only the COMM1
and COMM2 pins are used. In light-load conditions the CLAMP1 and CLAMP2 pair can be activated to
provide a deeper ASK modulation that significantly enhances the RX-to-TX communication signal-to-noise
ratio.
• The output of STWLC68JRH is automatically enabled when the voltage at VRECT (output of the rectifier)
crosses 5.08 V threshold.
• The nominal STWLC68JRH idle current is set to 17 mA. This current is application-dependent and reflects
the consumption of the chip and the circuitry eventually connected to V5V0 and V1V8 pins. The value of the
current is important for the correct tuning of the Foreign Object Detection function.
• The GPIO0 pin is set as open-drain output and assigned to D1 LED, so that it lights on when the output is
enabled.
The STWLC68JRH implements over-temperature, over-voltage and over-current protections to prevent
damage to the chip itself, to the load and to the external components. The device has two internal
temperature sensors, physically located close to the rectifier and to the main LDO linear regulator.
• The default setting for the over-temperature protection consists in disabling the output and sending EPT
packet to the transmitter in case one of the above-mentioned sensors detects more than 80 °C. As a further
protection, a second, higher threshold of 125 °C triggers an internal circuitry that shorts to ground both AC1
and AC2 pins.
• The protection based on external NTC sensor is disabled by default. This function is mostly used to monitor
and protect the receiving coil against over-heating.
• The over-voltage protection the STWLC68JRH monitors the voltage at the output of the rectifier. A lower
threshold (set by default to 12 V) triggers a momentary VRECT clamper: the IEXT pin goes low and a
discharge current flows through the external resistor connected between VRECT and IEXT. This action is
effective in reducing the VRECT voltage and generally it is intended to take place in case of brief, non-
repetitive voltage spikes at VRECT (for example due to abrupt change in the coupling factor of the RX/TX
coils). Usually this protection does not interrupt the power transfer process. In STEVAL-ISB68RX the default
settings associate an EPT packet generation to this protection too, therefore the power transfer is terminated
by the transmitter.
A higher threshold, set to 25 V, triggers the already mentioned AC1-AC2 short-to-ground mechanism as a
further safety.
• The output over-current protection is set to 1.5 A, resulting in output disconnection an EPT packet
generation once triggered.
UM2681
Default configuration of STWLC68JRH
UM2681 - Rev 1 page 6/18